Let Me Tell You About These Cheesecake Pots
I have to admit, the first time I tried these 2-ingredient Japanese cheesecake pots, I did not expect much. My friend Yuki showed up—late as usual—before movie night a while back, grinning and clutching a scribbled recipe. “It’s just eggs and cream cheese,” she claimed, with the confidence of someone who’s either about to wow you or prank you. We made them anyway. Pro: they’re dead simple. Con: you will absolutely end up eating more than your fair share (ask me how I know). Oh, and my dog licked the bowl, so it’s at least canine-approved, though I can’t recommend that.
Why I Keep Coming Back to This Recipe
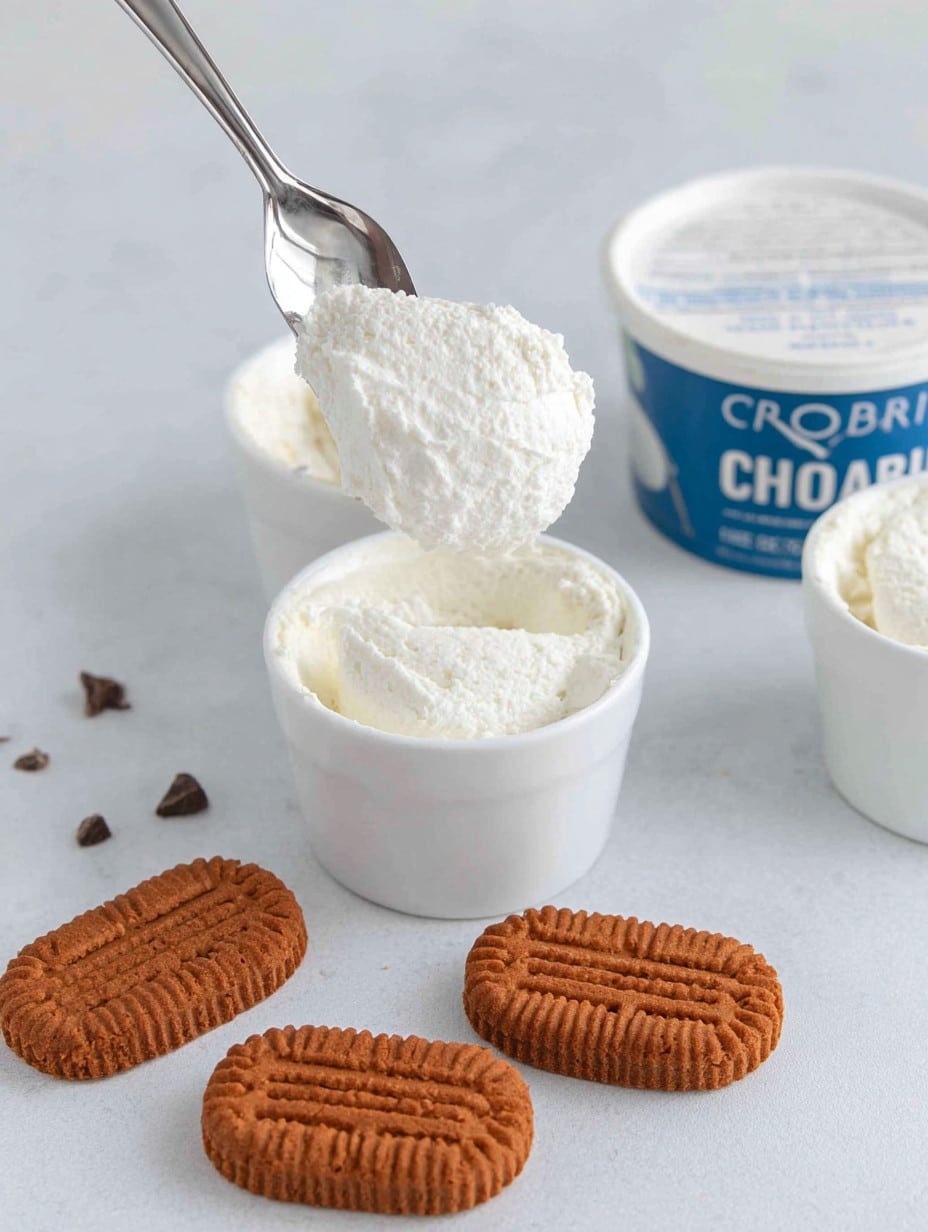
I make these little cheesecake pots whenever I’m short on time (or patience). No water baths, no fiddly layers, no sink full of sad dishes glaring at me afterward. My partner calls it “cheating cheesecake”; my cousin, who can’t bake for toffee, surprised us all by making it perfectly the first go! Plus, the texture is just the best—smoother than my pickup lines at uni, if we’re being honest. And if you’ve ever flung open your fridge at 10pm looking for something sweet and not found a ready-made dessert, well—this is my solution for precisely those moments.
The Not-So-Secret Ingredients (and Swaps, Because Real Life Happens)
- 200g cream cheese (the block kind. Sometimes I just use the stuff in a tub if I don’t have a block—don’t tell my grandmother, she’d be horrified. Philadelphia is fine, but I’ve bought Aldi’s version and couldn’t tell the difference honestly!)
- 2 large eggs (free-range if I have them, but regular supermarket eggs have worked just fine. I used duck eggs once out of curiosity—richer, but a little odd. Didn’t hate it.)
That’s it. If you must have sweetness, try a spoonful of sugar or honey stirred in, but I like them as-is, especially if I’m topping with fruit. A pinch of vanilla or lemon zest is nice, too, but optional. I have a neighbour who swears by adding a dollop of Greek yogurt (I tried, wasn’t my cup of tea.)
How to Make Them—The Chill Way
- Preheat your oven to 160C (320F), or whatever your oven considers to be “medium low.” Grease 3 or 4 small ramekins, or just use a muffin tin if that’s what you’ve got lying around. I sometimes just wipe a bit of butter on them with a bit of paper towel—doesn’t need to be perfect.
- Pop the cream cheese in a microwave-safe bowl. Zap it for about 20 seconds to soften—it’ll stir more easily. Add the eggs. Stir together with a spatula, or a fork if that’s what you’ve got. Really give it a good mix: you want it smooth, but don’t fret if you see the odd lump—mine always has a few.
- Pour the mixture into your prepared ramekins, dividing evenly. Scrape the bowl—this is where I sneak a taste. Pretty sure the raw egg police would scold me, but hey.
- Place ramekins on a baking tray. Fill the tray with about a centimetre (half an inch, more or less) of hot water so it comes partway up the sides. Don’t panic if it’s not exact—I’ve balanced them precariously more than once and it’s always worked out.
- Bake for 23 to 28 minutes, until the tops are set but there’s just the tiniest wobble in the centre. (Resist the urge to poke it, if you can.)
- Cool for at least half an hour at room temperature, then chill them in the fridge. Honestly, I think they’re nicer cold, but sometimes I cave and eat one warm with a spoon.
Little Notes from My Many Mishaps
- I once filled the tray with cold water by mistake—took an extra 10 minutes to bake, but nothing exploded!
- Don’t panic if the tops crack a bit while cooling. Just cover it with berries or a sprinkle of powdered sugar. No one will notice, promise.
- It’s okay if you underbake them a smidge; I actually prefer them silky and barely set, but maybe that’s just me?
Twists and Tinkering (Some Better Than Others)
- I once added a spoonful of matcha powder. Turned my pots green—looked fun, tasted slightly grassy, but good with strawberries on top.
- Swapped half the cream cheese for mascarpone one time. Super creamy! But it was almost too rich, so I stick with the regular version.
- Add chocolate chips if you like. Or don’t. (I dropped a whole bar in once; disastrous, but not uneatable.)
The Few Things You’ll Need
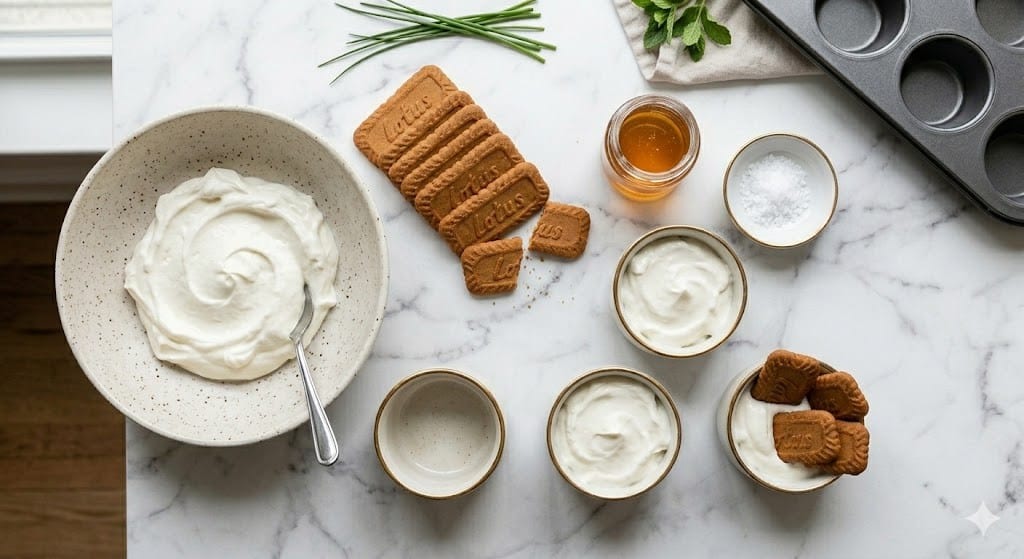
- 3-4 small ramekins (or just use a muffin tin, in a pinch)
- A bowl, fork or spatula (I’ve used both, depends what’s clean)
- Baking tray (or roasting tin—whatever fits the pots)
- Kettle for hot water—if you don’t have one, just run the tap hot for a while… it’s fine, really
How I Store Them (If I Get a Chance)
These keep in the fridge for about three days in an airtight container, though in my house they’ve never lasted that long. (One time I made extra and hid them at the back behind the pickles. My partner sniffed them out within hours. Can’t win.)
Serving Them Up: I Have Opinions
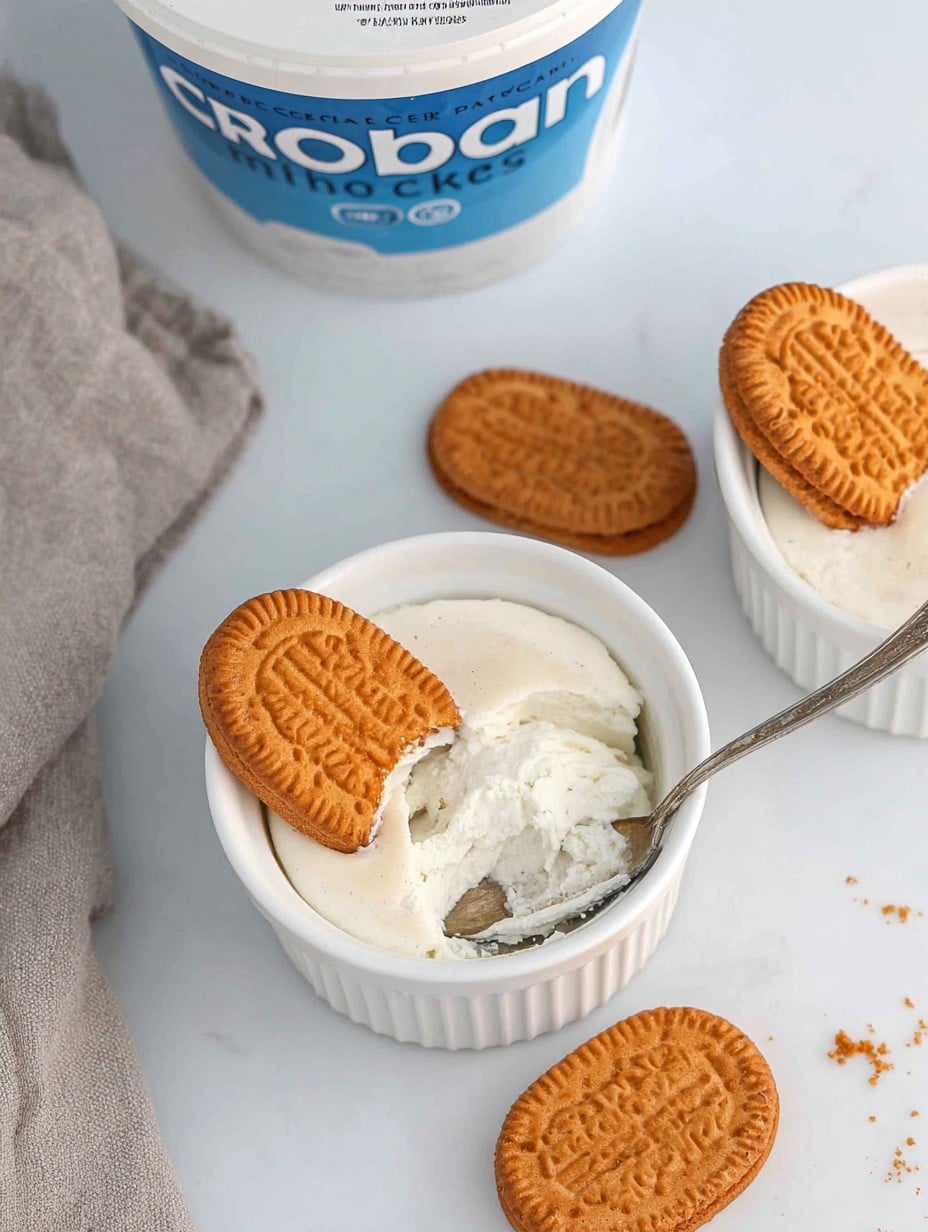
Best eaten straight from the pot, with a haphazard spoonful of jam, or some sliced fruit on top. My cousin likes hers with a sprinkle of sea salt. Sometimes for breakfast, but only if I’m feeling rebellious; alongside a strong cup of tea, it’s the best. For a fancier vibe, I dust with icing sugar—makes me feel like I’ve made an effort. (Spoiler: I have not.)
Pro Tips From Too Much Practice
- I once tried skipping the chilling step. It set weird, almost rubbery. Actually, I think overnight is best if you can bear the wait.
- Mixer not needed—hand mixing will do. I broke my whisk last month and the fork worked just fine after all.
- Don’t overfill the ramekins—they puff a bit, then sink, and once I had one overflow. Not tragic, but a bit of a bother to clean up.
FAQ—Because People Actually Ask
Do I really have to use a water bath?
Well, not strictly, but it makes the texture smoother. I’ve baked them without and they just come out a tad denser, not bad though if that’s your jam.
Can I make these ahead?
Definitely. I sometimes make them a day ahead and swear they taste creamier the next day! (Or maybe that’s just optimism speaking.)
My pots cracked—is this a disaster?
Nope! It happens to me too. Bit of fruit, no one notices (or cares). Human food, not a museum piece.
What if I only have a big dish?
Go for it. It’ll take longer to bake (probably closer to 35 minutes), and you might want to eat it straight from the dish (I do).
Are these gluten free?
Yep. Unless you add some cookie crumbs on top (tempting).
— And if you ever wonder whether you should share: sometimes I tell myself I will, then suddenly there’s only one left. Story of my life.
Ingredients
- 200g cream cheese (the block kind. Sometimes I just use the stuff in a tub if I don’t have a block—don’t tell my grandmother, she’d be horrified. Philadelphia is fine, but I’ve bought Aldi’s version and couldn’t tell the difference honestly!)
- 2 large eggs (free-range if I have them, but regular supermarket eggs have worked just fine. I used duck eggs once out of curiosity—richer, but a little odd. Didn’t hate it.)
Instructions
-
1Preheat your oven to 160C (320F), or whatever your oven considers to be “medium low.” Grease 3 or 4 small ramekins, or just use a muffin tin if that’s what you’ve got lying around. I sometimes just wipe a bit of butter on them with a bit of paper towel—doesn’t need to be perfect.
-
2Pop the cream cheese in a microwave-safe bowl. Zap it for about 20 seconds to soften—it’ll stir more easily. Add the eggs. Stir together with a spatula, or a fork if that’s what you’ve got. Really give it a good mix: you want it smooth, but don’t fret if you see the odd lump—mine always has a few.
-
3Pour the mixture into your prepared ramekins, dividing evenly. Scrape the bowl—this is where I sneak a taste. Pretty sure the raw egg police would scold me, but hey.
-
4Place ramekins on a baking tray. Fill the tray with about a centimetre (half an inch, more or less) of hot water so it comes partway up the sides. Don’t panic if it’s not exact—I’ve balanced them precariously more than once and it’s always worked out.
-
5Bake for 23 to 28 minutes, until the tops are set but there’s just the tiniest wobble in the centre. (Resist the urge to poke it, if you can.)
-
6Cool for at least half an hour at room temperature, then chill them in the fridge. Honestly, I think they’re nicer cold, but sometimes I cave and eat one warm with a spoon.
Approximate Information for One Serving
Nutrition Disclaimers
Number of total servings shown is approximate. Actual number of servings will depend on your preferred portion sizes.
Nutritional values shown are general guidelines and reflect information for 1 serving using the ingredients listed, not including any optional ingredients. Actual macros may vary slightly depending on specific brands and types of ingredients used.
To determine the weight of one serving, prepare the recipe as instructed. Weigh the finished recipe, then divide the weight of the finished recipe (not including the weight of the container the food is in) by the desired number of servings. Result will be the weight of one serving.
Did you make this recipe?
Please consider Pinning it!




