First, Let’s Talk About This Meatloaf (So Many Memories!)
If we’re being completely honest, meatloaf probably wasn’t my favourite thing as a kid—my mum’s version back then was more mystery loaf than meatloaf (sorry Mum, love you). But then, years later, I tried making my own one lazy Sunday, accidentally doubled the breadcrumbs, and turned out something so juicy that the whole family asked for seconds—shocking, right? Maybe it was the ketchup pool on top. Maybe I just got lucky. Anyway, now this best homemade meatloaf recipe has become my go-to when I need comfort food that doesn’t care if the weather decides to go full-on British drizzle or if I forgot to plan dinner. No lie, it’s the sort of dish even my fussy nephew will eat, and he usually only wants beige food.

Why This Meatloaf Hits the Spot Every Time
I’ll be honest, I make this when I can’t be bothered to fuss but still want something that feels like a hug. My family goes absolutely bananas for it (no, really—my partner tried to take part of it for lunch the next day and nearly caused a diplomatic incident). There’s something about that sticky, sweet glaze and all the nooks and crannies inside that soak up mashed potatoes. Also, I used to hate when meatloaf would come out dry or weirdly spongy, but with this method, that just doesn’t happen anymore—okay, unless I totally forget it in the oven, which, ahem, has only happened twice. (Don’t tell anyone!)
What You’ll Need (Substitutions Welcome)
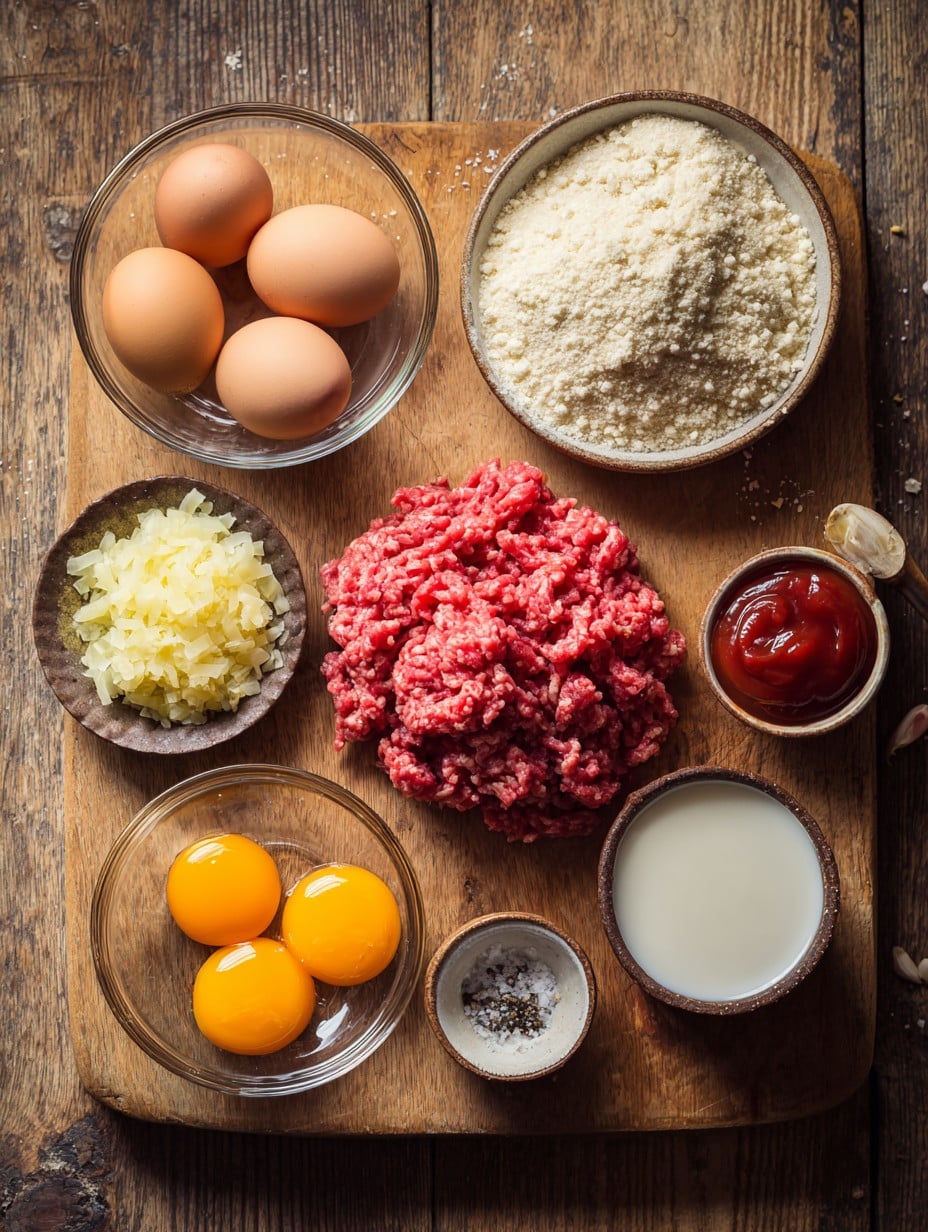
- 2 lbs (about 900g) ground beef (I’ve also done half beef, half pork when I’m feeling fancy, and honestly, it’s great either way; ground turkey works okay in a pinch for a lighter version, though you’ll miss some richness)
- 1 cup breadcrumbs (store-bought, homemade, or, on one wild Sunday, I used some crumbled-up Ritz crackers—it worked)
- 2 big eggs, lightly beaten (duck eggs? Never tried it, but I hear people do)
- 1 onion, finely chopped (red or yellow—I’m not here to judge, and skipping it is fine if you’ve got picky eaters)
- 3 garlic cloves, minced (or just slap in a bit of garlic powder if you’re running low)
- 3/4 cup milk (I’ve used oat milk since I forgot to buy the real thing; didn’t tell the difference, honestly)
- 1/4 cup ketchup (plus more for that slick glaze on top)
- 2 tbsp Worcestershire sauce (I can never spell this without looking it up first; if you don’t have it, soy sauce or a splash of BBQ sauce works in a pinch)
- Salt and pepper (I never measure, but figure about 1 teaspoon salt, 1/2 teaspoon black pepper)
- 1 tsp dried thyme (totally optional, sometimes I just add a sprinkle of whatever’s on hand)
So, Here’s How to Pull It All Together
- First, preheat that oven to 350°F (175°C). Find a loaf pan—I swear by my battered old metal one, but anything loaf-y will do. If you don’t have one, just shape it into a vague rectangle on a baking tray (I’ve done it and nobody seemed to mind).
- In a big bowl, chuck in your ground meat, breadcrumbs, eggs, onion, garlic, milk, ketchup, Worcestershire sauce, salt, pepper, and whatever herbs you’re using. Get in there with your hands (watch out for cold meat brain freeze—seriously!) and mix it just until combined. If you overmix, you’ll get something a bit rubbery. Been there, regretted it.
- Smoosh it evenly into the pan (or your tray-loaf), pat it down gently, and don’t worry if the top’s lumpy. It always sorts itself out.
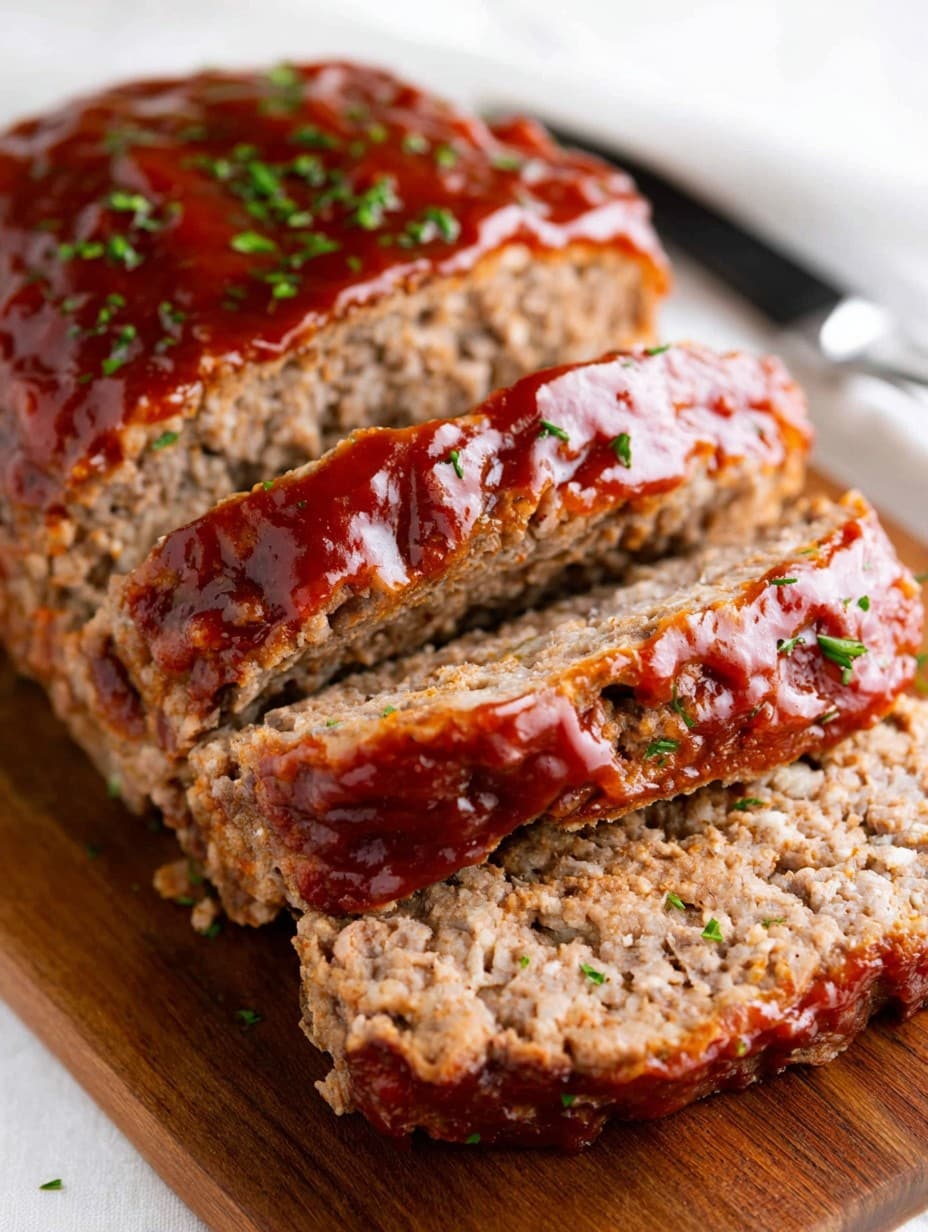
- Squirt a generous stripe of ketchup (or BBQ sauce, or honestly whatever’s red and tangy in your fridge), and spread it all over the top with a spoon or—controversially—a butter knife. You do you.
- Bake for 55–65 minutes, until juices run mostly clear and the top gets glossy and sticks to your fork. This is where I sneak a little bit off the end because I just can’t help myself. Let it rest for at least 10 minutes before trying to slice it—unless you want to watch it collapse into a meaty landslide. Up to you, obviously.
Notes (Lessons from the School of Oops)
- Actually, I find letting it cool a tad before slicing really helps with keeping the slices pretty. Not that it matters once gravy gets involved.
- If you like a firmer loaf, try letting the mixture sit for 10 minutes before baking—it firms up the breadcrumbs a bit. Or don’t. I sometimes forget, and it’s still good.
- I once tried to double the garlic for extra oomph, but it overpowered everything else. Moderation, folks.
Fun Variations I’ve Tried (Not All Winners!)
- I’ve swapped ketchup for chili sauce—liked the little kick.
- Chopped cooked bacon mixed in? Oh wow, yes.
- Cheddar cheese cubes inside—melty pockets of happiness. Though, on one attempt, I used blue cheese, and, well, let’s just say that wasn’t met with enthusiasm. Live and learn.
Do I Need Fancy Equipment?
Honestly? A loaf tin is handy, but you can free-form this bad boy on a tray and it won’t mind. If you don’t have a mixing bowl big enough, just rinse out your soup pot and use that—no one’s judging here. I’ve even used a mug to mash the breadcrumbs once (it works, mostly).
Storing Leftovers—If There Are Any
Technically, you can keep leftovers covered in the fridge for 2–3 days. Sometimes, I’ll even slice it cold for sandwiches. But, though honestly, in my house it never lasts more than a day. (Blame the midnight snackers. Not me, of course…)
How I Like to Serve This (And Maybe You Will Too)
Mashed potatoes and steamed peas are the classic—my gran always insisted on peas “for color”. Sometimes I serve it with crusty bread to soak up the sauce, or even just wedge a big slab in a roll and call it a meatloaf butty (if you know, you know). Also, a side of those crispy onions if I’m feeling a bit extra on a Friday!
Pro Tips (Learned the Hard Way)
- I once tried to speed things up and didn’t let it rest—huge mistake. All the juices ran out, and it got a bit sad. Let it chill for ten minutes (trust me)
- Don’t pack the meat too tight in the pan, or it can get weirdly dense, more brick than loaf. Just ease it in.
- Get the kids to squirt the ketchup on top—makes things messier but way more fun.
Meatloaf Questions I’ve Actually Gotten
- Can I freeze it? Oh, for sure. Wrap slices in foil and they reheat pretty well. It never tastes quite as good as fresh, but maybe that’s just me being fussy.
- What if I don’t like onions? Just leave ’em out, honestly—or swap for grated carrot. No one ever notices.
- What type of meat works best? I prefer the classic beef, but half beef half pork is richer and worth the try. Turkey will work, though it’s a bit more delicate, so maybe go easy on extra liquid or breadcrumbs.
- Why did my meatloaf fall apart? Probably too little binder (breadcrumbs and egg), or maybe you were too eager and sliced it straight out of the oven—done that!
- Can I make individual mini meatloaves? Yup! Just shape them smaller and cut the baking time back a bit (around 25–30 mins, but keep an eye on them).
(Not totally related, but if you end up with extra meatloaf and some leftover roasted veg, mash it all up and fry as a pseudo hash. Oof, so good.)
Ingredients
- 2 lbs ground beef
- 1 cup breadcrumbs
- 2 large eggs
- 1/2 cup milk
- 1 small onion, finely chopped
- 2 cloves garlic, minced
- 1/4 cup ketchup
- 2 tbsp Worcestershire sauce
- 1 tsp salt
- 1/2 tsp black pepper
- For the glaze: 1/3 cup ketchup, 2 tbsp brown sugar, 1 tbsp mustard
Instructions
-
1Preheat your oven to 350°F (175°C). Line a loaf pan with parchment paper or lightly grease it.
-
2In a large mixing bowl, combine ground beef, breadcrumbs, eggs, milk, onion, garlic, ketchup, Worcestershire sauce, salt, and pepper. Mix until just combined; do not overmix.
-
3Shape the mixture into a loaf and place it in the prepared pan.
-
4In a small bowl, mix together 1/3 cup ketchup, brown sugar, and mustard. Spread the glaze evenly over the top of the meatloaf.
-
5Bake in the preheated oven for 60 minutes, or until the meatloaf is cooked through and the internal temperature reaches 160°F (71°C).
-
6Let the meatloaf rest for 10 minutes before slicing. Serve warm.
Approximate Information for One Serving
Nutrition Disclaimers
Number of total servings shown is approximate. Actual number of servings will depend on your preferred portion sizes.
Nutritional values shown are general guidelines and reflect information for 1 serving using the ingredients listed, not including any optional ingredients. Actual macros may vary slightly depending on specific brands and types of ingredients used.
To determine the weight of one serving, prepare the recipe as instructed. Weigh the finished recipe, then divide the weight of the finished recipe (not including the weight of the container the food is in) by the desired number of servings. Result will be the weight of one serving.
Did you make this recipe?
Please consider Pinning it!!




