Alright, Let’s Talk Chocolate Chip Cookies…
You know, for years I thought Chocolate Chip Cookies were just a thing you did on rainy Saturdays when you needed the house to smell amazing or, let’s be honest, when life was being a bit of a pain (like missing socks or spilled tea, that sort of thing). This recipe? It’s the one I keep coming back to, ever since my cousin Amy accidentally doubled the chocolate chips at a family reunion and basically started a cookie legend in our house. Also, fair warning: if you leave a batch cooling on the counter, you will lose at least half to wandering hands. Experience talking.

Why You’ll Love This Recipe
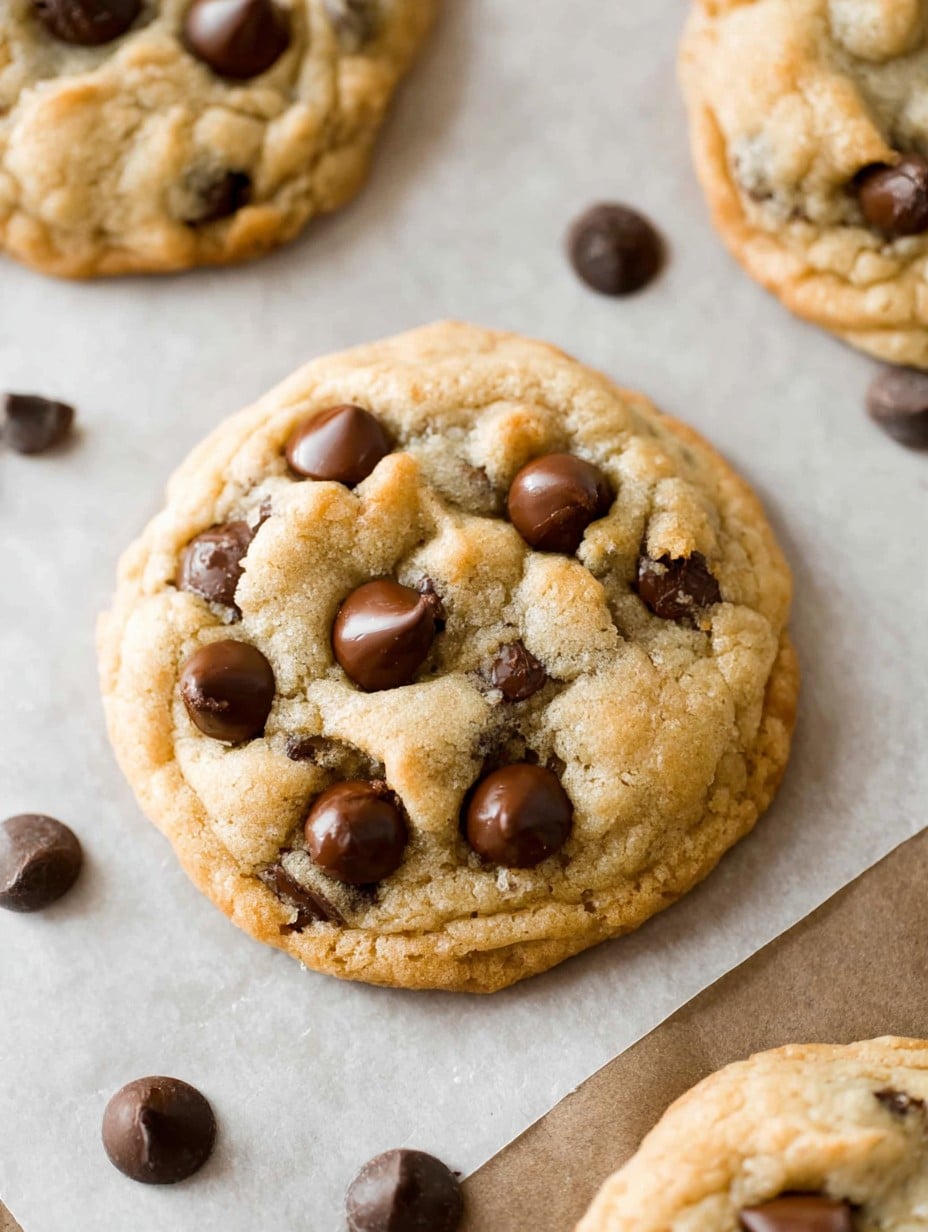
I make these when someone needs cheering up (which, lately—more often than not), or if I just want a treat that doesn’t involve a massive washing up session. My family goes crazy for these Cookies because they manage that magical combo of crispy at the edges and soft smack-dab in the center. Oh, and the dough is totally edible (not officially, but who listens to rules at home?), though honestly, I have to remind myself not to eat too much before baking. Once, I forgot to chill the dough and they came out a bit on the flat side. Still tasty! But maybe chill if you can.
What You’ll Need (And What You Can Swap)
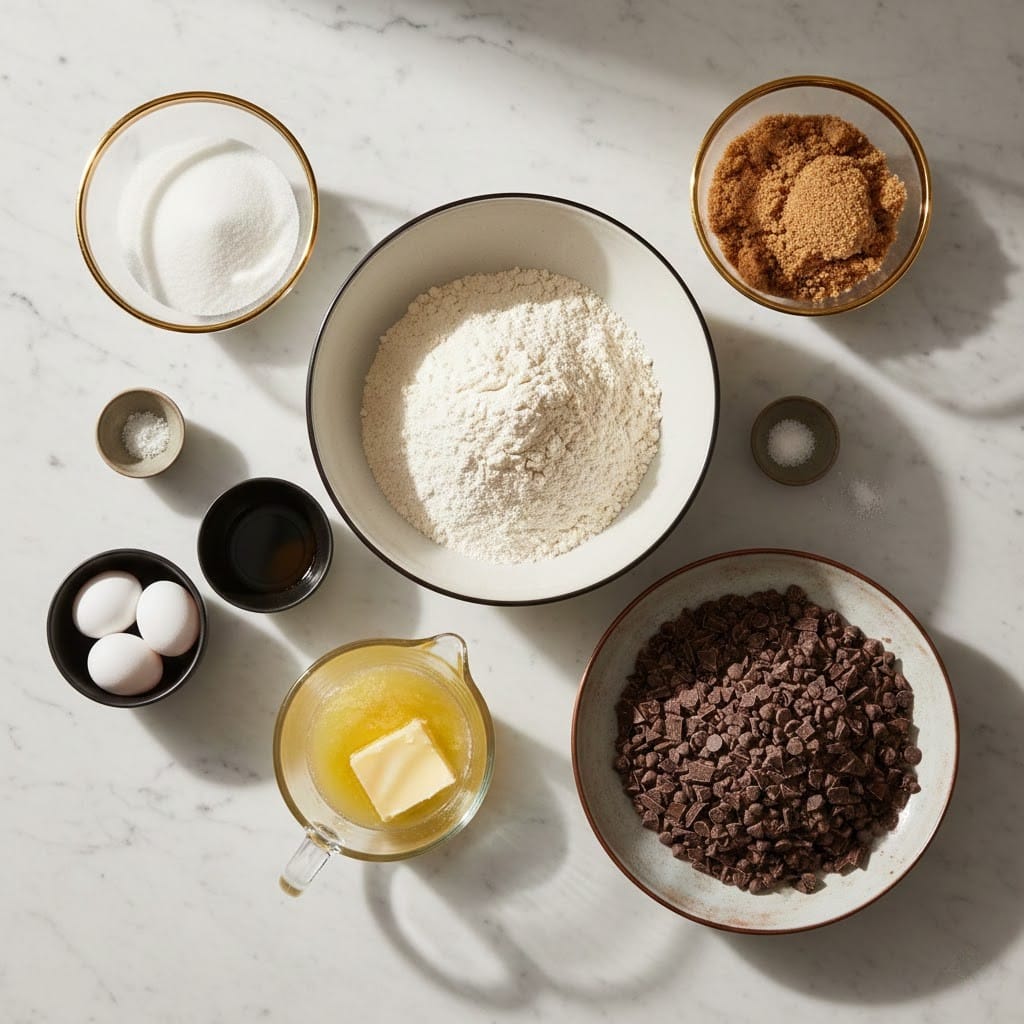
- 1 cup (225g) unsalted butter (sometimes, I use salted if that’s all I’ve got—just use a pinch less salt later)
- 1 cup light brown sugar (grandma insisted on muscovado, but, eh, any brown sugar’s grand)
- 1/2 cup granulated sugar
- 2 big eggs (I’ve used 3 small ones in a pinch, not sure it made a giant difference)
- 2 1/4 cups all-purpose flour (whole wheat works, but not quite as melt-in-your-mouth)
- 1 tsp baking soda (yeah, I’ve skipped it once, wasn’t the end of the world, just less lift)
- 1/2 tsp salt (or less if you started with salted butter)
- 2 tsp vanilla extract—if all you have is vanilla essence, sure, it works, never told anyone the difference after
- 2 cups (a big handful more if you’re feeling wild) chocolate chips—semi-sweet is my go-to, but milk or even dark chunks are fun
- Optional: 1 cup chopped nuts (pecans? walnuts? or skip them, totally your call)
How to Make These (With My Occasional Tangent)
- First things first, let your butter get all soft and squishy at room temp. Sometimes I get impatient and zap it for 10 seconds in the microwave—it’s fine, just don’t melt it to a puddle or things get weird.
- Mash that butter with the sugars in a big bowl. At this point, I always smell the mix. No idea why—just seems right. Beat in your eggs, one at a time. (If you drop shell in there, fish it out—no one likes a crunch in their cookie unless it’s a nut.)
- Tip in the vanilla, then everything else dry—flour, baking soda, salt. Stir it together. Don’t overthink this. If the flour puffs everywhere and you sneeze, you’re on the right track.
- Now comes the chocolate chips (and nuts if you want them). I always save a few for scattering on top, makes them look fancy for about 17 seconds before they’re demolished.
- This is where I usually sneak a taste—quality control, obviously. You can chill your dough at this point for an hour (makes them chewier, but I sometimes get impatient and skip straight to baking—depends on the day).
- Spoon big blobs (about 2 tablespoons) onto a lined baking tray. Give them some room to spread out—nobody likes cookie Siamese twins. (Actually, that’s maybe a fun experiment? On second thought… nah.)
- Bake at 350°F/175°C for about 10-12 minutes. They should look just set around the edges but soft in the middle. Don’t panic if they seem too soft—cookies keep baking on the tray outside the oven a bit as they cool.
- Cool on the tray for five minutes (or don’t, but they might break apart, ask me how I know), then move to a rack. Try to wait until they’re warm, not scalding, but, no promises—I always dive in too soon.
Stuff I’ve Learned (The Hard Way)
- If your butter’s too cold, arm workout alert. If it’s molten, the cookies spread like gossip at a family BBQ. Somewhere in between is golden.
- One time I tried baking these straight on a greasy old baking tray. Nope. Stick to parchment paper or a silicone mat.
- The dough freezes really well, but trying to eat it frozen is like gnawing on sweet gravel.
Mixing It Up: Experiments & Fails
- I’ve swapped half the chocolate chips for peanut butter chips—surprisingly nice!
- One time I added orange zest. Not my best idea. Stick to chips or maybe dried fruit if you’re feeling brave.
- Oats? Sure, about half a cup makes them chunkier. Kinda rustic, but in a good way.
- I once threw in a pinch of cinnamon. Honestly, not bad. Made the house smell like Christmas (in a weird way for May).
No Fancy Gear? No Problem
If you don’t have an electric mixer, just use a strong spoon and some elbow grease—it’s what my granddad did. And if you don’t have cooling racks, the back of a baking tray propped up works in a pinch (just don’t block the air underneath).
Storing Leftovers (If You Get That Far)
Officially, these keep 3 days in an airtight tin. Unofficially, I don’t think they’ve ever made it past breakfast the next day. If you hide a couple for yourself (yes, I’m that person), they’re great microwaved for 10 seconds to get gooey again.
How We Serve ‘Em at My Place
Glass of cold milk, obviously. Or, my sister dips hers in coffee and swears by it—go wild. We sometimes make ice cream sandwiches out of two cookies if it’s hot out (bit messy, very worth it). Once, my niece suggested crumbling them over pancakes, and actually… it’s genius (try it, you won’t be sorry).
Lessons From My Cookie Fails
- I once tried to bake two trays at once, swapping them halfway through. They came out uneven. I just bake one tray at a time now (slower, but so worth it).
- Skipping the parchment? Regret city. Scraped cookies off the pan for days. It’s worth the extra paper.
- Don’t rush creaming the butter and sugar; it actually does get fluffier and helps the cookies spread just right. I thought it didn’t matter. I was wrong. Oops.
Chit Chat: Questions I’ve Actually Gotten (and My Honest Answers)
Can I make these without eggs?
Sure, try a “flax egg”—I’ve done it in a pinch, it worked okay, a little crumbly but no complaints.
Why do my cookies turn out so flat?
Could be your butter’s too soft, or maybe you skipped chilling the dough (which, hands up, I’ve done).
Do I need to sift the flour?
I… don’t. My friend swears by it, says it makes a difference. Honestly, I’m too lazy.
Help! I ran out of chocolate chips!
I’ve chopped up a chocolate bar; it’s sometimes better because you get these puddles of chocolate instead of little chips.
Can I halve the recipe?
Yup, but, um, why would you? Trust me, they’ll go quick.
Alright, if you made it this far, you totally deserve a cookie. Or three. Thanks for letting me ramble alongside my recipe—hope it’s as much of a hit in your kitchen as it is at ours. If not, well, you’ll at least have a good story to share—and a few crumbs on the counter as proof.
Ingredients
- 2 1/4 cups all-purpose flour
- 1 teaspoon baking soda
- 1/2 teaspoon salt
- 1 cup unsalted butter, softened
- 3/4 cup granulated sugar
- 3/4 cup packed brown sugar
- 2 large eggs
- 2 teaspoons vanilla extract
- 2 cups semisweet chocolate chips
Instructions
-
1Preheat oven to 375°F (190°C) and line a baking sheet with parchment paper.
-
2In a medium bowl, whisk together the flour, baking soda, and salt.
-
3In a large bowl, beat the butter, granulated sugar, and brown sugar until creamy. Add eggs one at a time, then stir in vanilla extract.
-
4Gradually add the dry ingredients to the wet ingredients, mixing until just combined. Stir in chocolate chips.
-
5Drop tablespoonfuls of dough onto the prepared baking sheet, spacing about 2 inches apart.
-
6Bake for 10-12 minutes or until golden brown around the edges. Cool on the baking sheet for 2 minutes, then transfer to wire racks to cool completely.
Approximate Information for One Serving
Nutrition Disclaimers
Number of total servings shown is approximate. Actual number of servings will depend on your preferred portion sizes.
Nutritional values shown are general guidelines and reflect information for 1 serving using the ingredients listed, not including any optional ingredients. Actual macros may vary slightly depending on specific brands and types of ingredients used.
To determine the weight of one serving, prepare the recipe as instructed. Weigh the finished recipe, then divide the weight of the finished recipe (not including the weight of the container the food is in) by the desired number of servings. Result will be the weight of one serving.
Did you make this recipe?
Please consider Pinning it!!




