If You Only Make One Party Snack, Make It This One
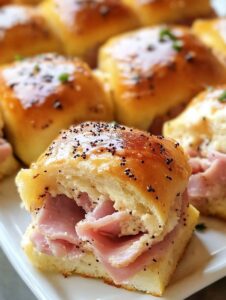
Alright, pull up a chair because I have to tell you about these glazed ham and cheese sliders that have—no kidding—single-handedly ruined all other party snacks for my family. I think the first time I made these was for a Sunday football get-together (which, if you ask me, was really a thinly veiled excuse for us to eat with our hands and judge each other’s napkin etiquette). So, there we were, everyone eyeing the bland veggie tray and being politely bored—then these golden little sandwiches landed on the table, and chaos ensued (the good kind). Seriously, I saw my brother take four before I even got one. Last time I made them, the neighbor stopped by “just to say hi” and managed to eat, let’s see… five? Maybe more. I lost count. And don’t even get me started on the secret ingredient. People ask, I dodge; it’s more fun that way. And if a couple end up missing form the tray before guests arrive? Well, that’s between me and my kitchen, innit?

Why I Can’t Stop Making (and Eating) These
I whip these up whenever we have people over, or if I’m just feeling like a comfort bite for movie night. There’s something about melty cheese, salty ham, and that sticky-sweet glaze that makes everyone irrationally happy (even my skeptical toddler, who thinks “green things” are hazardous). And, if I’m honest, I sometimes make them for no reason at all except that I know the leftovers taste amazing cold, right out of the fridge. Only, there are rarely leftovers—hmm. At some point, I tried making these with other breads, but nothing beats that squishy pull-apart roll (except maybe, and only maybe, a homemade brioche bun–but who’s got time for that on a busy Thursday?).
What You Need (Plus a Few Tricks!)
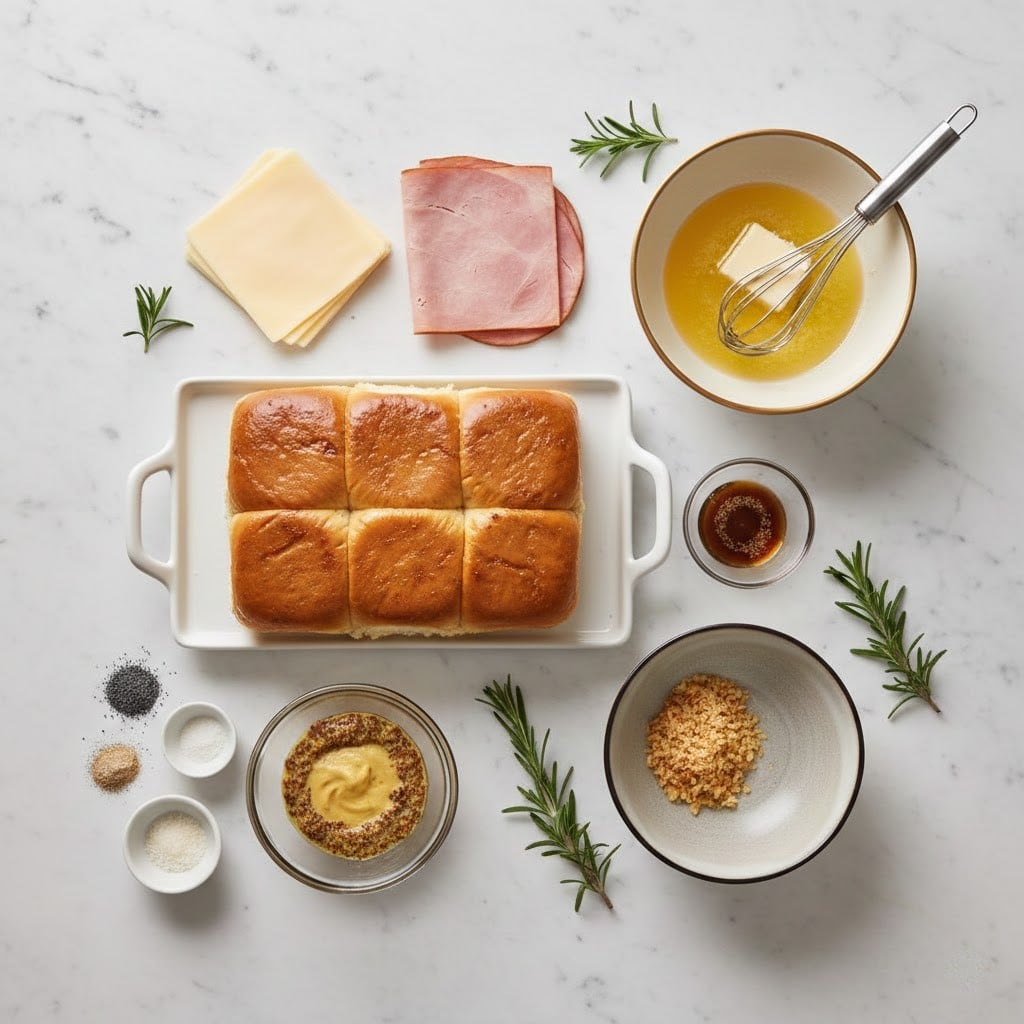
- 1 package (12-count) sweet Hawaiian rolls (I admit I sometimes use supermarket dinner rolls if I’m in a pinch; my gran would only use King’s, but honestly, any pillowy roll is fine)
- 1/2 pound (about 225g) deli ham, thinly sliced (Honestly, use smoked turkey if that’s what you’ve got—I’ve even tried leftover roast pork. All hits, none misses so far.)
- 8 slices Swiss cheese (I once swapped in cheddar by accident—not mad at it—but Swiss is my ride-or-die for these)
- 1/2 cup (1 stick) unsalted butter, melted
- 2 tablespoons Dijon mustard (I’ve used honey mustard in a pinch; husband liked it, I thought it was a tad sweet)
- 1 tablespoon brown sugar
- 1 tablespoon Worcestershire sauce
- 1 teaspoon onion powder
- 1 teaspoon poppy seeds (you can skip if you’re not feeling fancy, but they’re a nice touch)
- —and here’s the secret ingredient—1 tablespoon pickle juice (trust me, it sounds weird, but it makes all the difference)
- Optional: a sprinkle of cracked black pepper (sometimes I go rogue and add a dash of cayenne for heat)
How to Make Ham and Cheese Sliders That Actually Disappear
- Preheat your oven to 350°F (180°C). Or, if you’re like me and forget, set it once you’re halfway through assembly and pray the sandwiches forgive you.
- Without separating them, slice your rolls in half horizontally, like making a giant sandwich. Place the bottom half into a baking dish (roughly 9×13 is grand, but I’ve jammed them into a too-small pan before—still worked).
- Layer all the ham over the bottoms, then cover with cheese slices. Sometimes I sneak a piece of cheese for “quality control.” Place the tops of the rolls over the cheese layer—don’t overthink the symmetry here.
- Mix the melted butter, Dijon, brown sugar, Worcestershire, onion powder, poppy seeds, and that secret pickle juice together in a small bowl. Don’t worry if the mixture looks weird; it’ll bake up beautifully. Stir in black pepper or cayenne if you like.
- Pour the glaze mixture evenly over the top of the rolls. Use a spatula to coax it into the corners, or just sort of wing it like I do.
- Cover with foil and bake for about 15 minutes, then uncover and bake another 8–10 minutes until tops are golden and just a bit toasty. (This is the danger zone where they go from golden to kinda crispy in seconds, so keep one eye on them!)
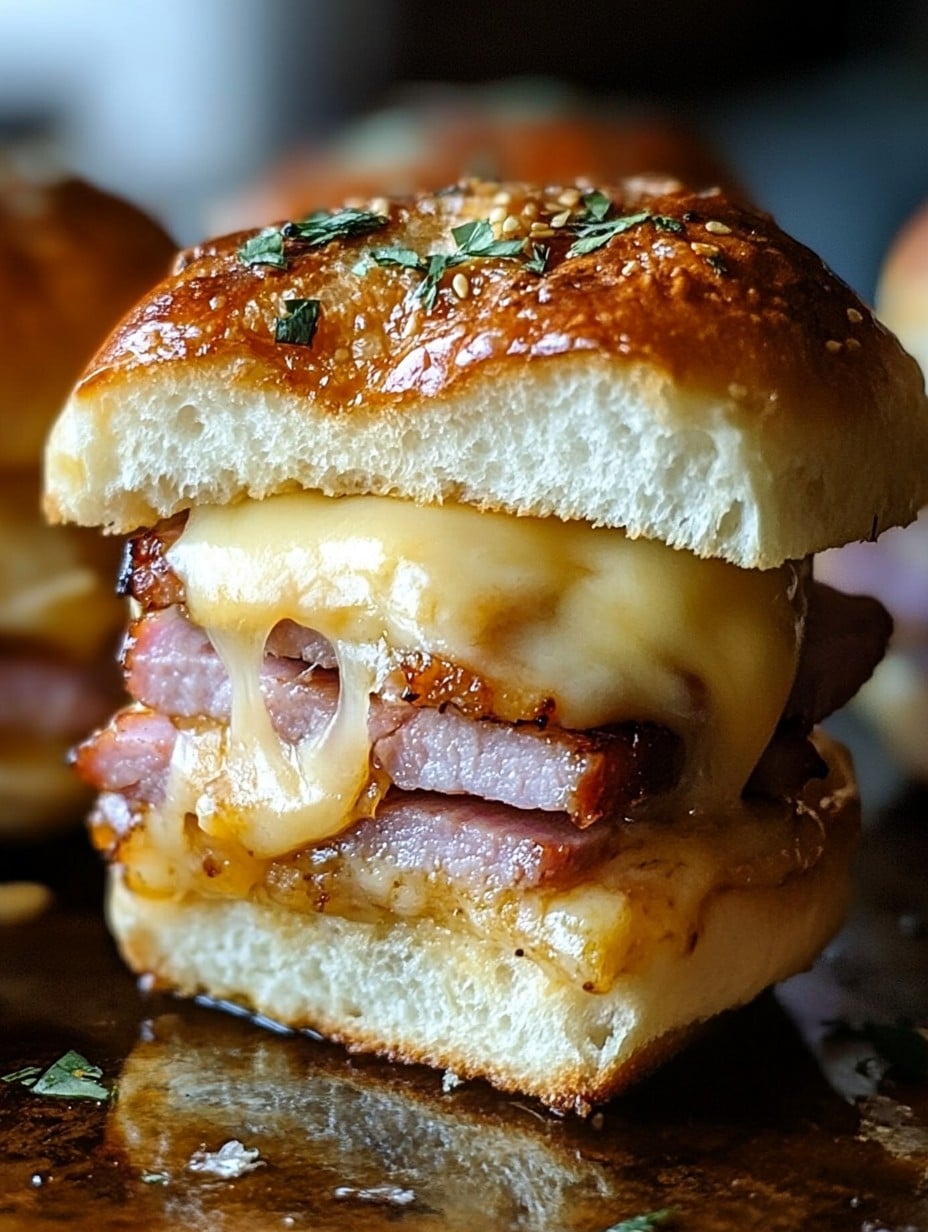
- Let them cool for a few minutes, then slice or pull apart. If you try to cut them too soon, you will regret it (lessons learned from impatience and burned fingertips).
Just a Few Notes From My Many Tries
- If you don’t have poppy seeds, it’s honestly fine; used sesame seeds once—no one noticed.
- Forgot the foil once, and the tops charred a bit. Still edible but maybe not “Instagrammable.”
- It’s totally fine to reheat these in the oven or even microwave. That said, cold sliders with morning coffee—oddly good combo.
Slider Experiments (aka Variations I Actually Ate)
- Roast beef & provolone: Not too shabby, but the glaze doesn’t pair as well. Maybe because I’m secretly loyal to ham.
- Added thin apple slices once. Tasted fancy, but the family didn’t get the memo.
- Tried with leftover rotisserie chicken—unexpectedly lovely.
- Once tried to make “healthy” with low-fat cheese… don’t bother; just eat the salad tomorrow.
Do You Really Need Fancy Gear?
You probably don’t. 9×13 baking dish works, any sharp bread knife does the slicing. I once used a pie tin and squished ’em in, so… improvise. Fancy pastry brush? Sure, but just pour and spread with a spoon otherwise. Foil’s the only thing you truly can’t skip (trust me—see above).
Will They Keep? (If You Can Stop Eating Them)
These keep in the fridge for up to three days, but, honestly, in my house they almost never survive till the next day. One time I thought I’d have plenty for lunch the next morning, but the midnight snack crew got there first. You snooze, you lose, I guess!
How I Love Serving These
Honestly, the only way to go is on a big board with some crunchy pickles and a bowl of kettle chips on the side. My cousin dips his in extra mustard, which seems a bit much—but who am I to judge bad habits passed down through the family? (And if it’s Sunday, maybe a cheeky beer.) No fuss, just hands and napkins.
Lessons I’ve Learned — Pro Tips from a Reformed Impatient Cook
- Don’t rush the bake. I once tried cranking the temperature, thinking I’d save a few minutes. The top burned, the cheese didn’t melt. Big regrets.
- If you let the sliders rest 5 minutes after baking, they’re way easier to slice (and you avoid molten cheese burns—ask me how I know).
- Actually, sometimes I make the glaze a day early and stash it in a jar. Just zap it before pouring. Makes assembly a breeze on game day.
It’s FAQ Time! (Because My Friends & Family Always Ask…)
- Can I use something besides Swiss cheese? For sure. Cheddar, gouda, provolone—go nuts. Pepper jack, even? Why not.
- Why pickle juice?! Okay, hear me out: it gives a tangy zing that balances the sweet glaze. Most folks can’t guess what it is, but everyone agrees the flavor’s next level.
- Do these freeze well? Eh, sorta. They’re fine if you zap them in the oven from frozen, but the bread gets a little moody. Not my fave way, but it’ll do in a pinch.
- Can I double the recipe? Absolutely. Just use two pans, and you might have to swap their positions halfway if your oven’s as unpredictable as mine.
- How do I reheat them? Few mins in a hot oven, or wrapped in foil. Microwave works, but you lose the toasty tops. It’s still tasty though.
And, by the way, if you ever forget the secret ingredient, just hide the empty pickle jar and pretend it never happened. Your guests’ll still love them—but maybe not quite as much. Enjoy, and save me one if you can!
Ingredients
- 1 package (12-count) sweet Hawaiian rolls (I admit I sometimes use supermarket dinner rolls if I’m in a pinch; my gran would only use King’s, but honestly, any pillowy roll is fine)
- 1/2 pound (about 225g) deli ham, thinly sliced (Honestly, use smoked turkey if that’s what you’ve got—I’ve even tried leftover roast pork. All hits, none misses so far.)
- 8 slices Swiss cheese (I once swapped in cheddar by accident—not mad at it—but Swiss is my ride-or-die for these)
- 1/2 cup (1 stick) unsalted butter, melted
- 2 tablespoons Dijon mustard (I’ve used honey mustard in a pinch; husband liked it, I thought it was a tad sweet)
- 1 tablespoon brown sugar
- 1 tablespoon Worcestershire sauce
- 1 teaspoon onion powder
- 1 teaspoon poppy seeds (you can skip if you’re not feeling fancy, but they’re a nice touch)
- 1 tablespoon pickle juice (trust me, it sounds weird, but it makes all the difference)
- Optional: a sprinkle of cracked black pepper (sometimes I go rogue and add a dash of cayenne for heat)
Instructions
-
1Preheat your oven to 350°F (180°C). Or, if you’re like me and forget, set it once you’re halfway through assembly and pray the sandwiches forgive you.
-
2Without separating them, slice your rolls in half horizontally, like making a giant sandwich. Place the bottom half into a baking dish (roughly 9×13 is grand, but I’ve jammed them into a too-small pan before—still worked).
-
3Layer all the ham over the bottoms, then cover with cheese slices. Sometimes I sneak a piece of cheese for “quality control.” Place the tops of the rolls over the cheese layer—don’t overthink the symmetry here.
-
4Mix the melted butter, Dijon, brown sugar, Worcestershire, onion powder, poppy seeds, and that secret pickle juice together in a small bowl. Don’t worry if the mixture looks weird; it’ll bake up beautifully. Stir in black pepper or cayenne if you like.
-
5Pour the glaze mixture evenly over the top of the rolls. Use a spatula to coax it into the corners, or just sort of wing it like I do.
-
6Cover with foil and bake for about 15 minutes, then uncover and bake another 8–10 minutes until tops are golden and just a bit toasty. (This is the danger zone where they go from golden to kinda crispy in seconds, so keep one eye on them!)
-
7Let them cool for a few minutes, then slice or pull apart. If you try to cut them too soon, you will regret it (lessons learned from impatience and burned fingertips).
Approximate Information for One Serving
Nutrition Disclaimers
Number of total servings shown is approximate. Actual number of servings will depend on your preferred portion sizes.
Nutritional values shown are general guidelines and reflect information for 1 serving using the ingredients listed, not including any optional ingredients. Actual macros may vary slightly depending on specific brands and types of ingredients used.
To determine the weight of one serving, prepare the recipe as instructed. Weigh the finished recipe, then divide the weight of the finished recipe (not including the weight of the container the food is in) by the desired number of servings. Result will be the weight of one serving.
Did you make this recipe?
Please consider Pinning it!