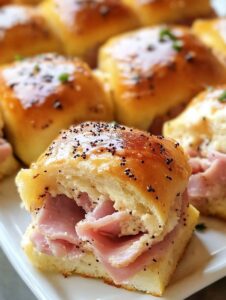
Let Me Tell You Why These Rolls Are My Brunch Secret Weapon
Alright, confession time: if you’ve ever thought, “I just need to bring something everyone will love and I really don’t want to fuss with a complicated, from-scratch thing,”—these Ham and Swiss Hawaiian Rolls with my so-called “mystery glaze” are about to be your new best friend. I was first roped into making these for an early-morning church brunch. Back then, I had to assemble them at 6am (nobody deserves that), so you’d better believe I learned every shortcut in the book. You know those roll recipes that seem easy but then your kitchen looks like a tornado hit? Not this. If you can run a butter knife and line up slices of cheese, you’re golden.

Also, true story: my husband once ate six in one sitting and then sighed happily like he’d figured out the meaning of life, so there ya go.
Why You’ll Probably Make These on Repeat
I make these when I honestly just want one pan, no fighting with dough, and maximum “everybody asks for seconds” energy. My family goes a little bananas for them (okay, a lot). You layer ham and Swiss (duh), but then the glaze is where people get all wide-eyed—sweet, savory, slightly sticky. I mean, when was the last time folks texted you about your brunch rolls, right? Oh, and if I’m feeling especially lazy (or it’s Monday and I haven’t had coffee), I swap in whatever lunchmeat and cheese I find. Still works.
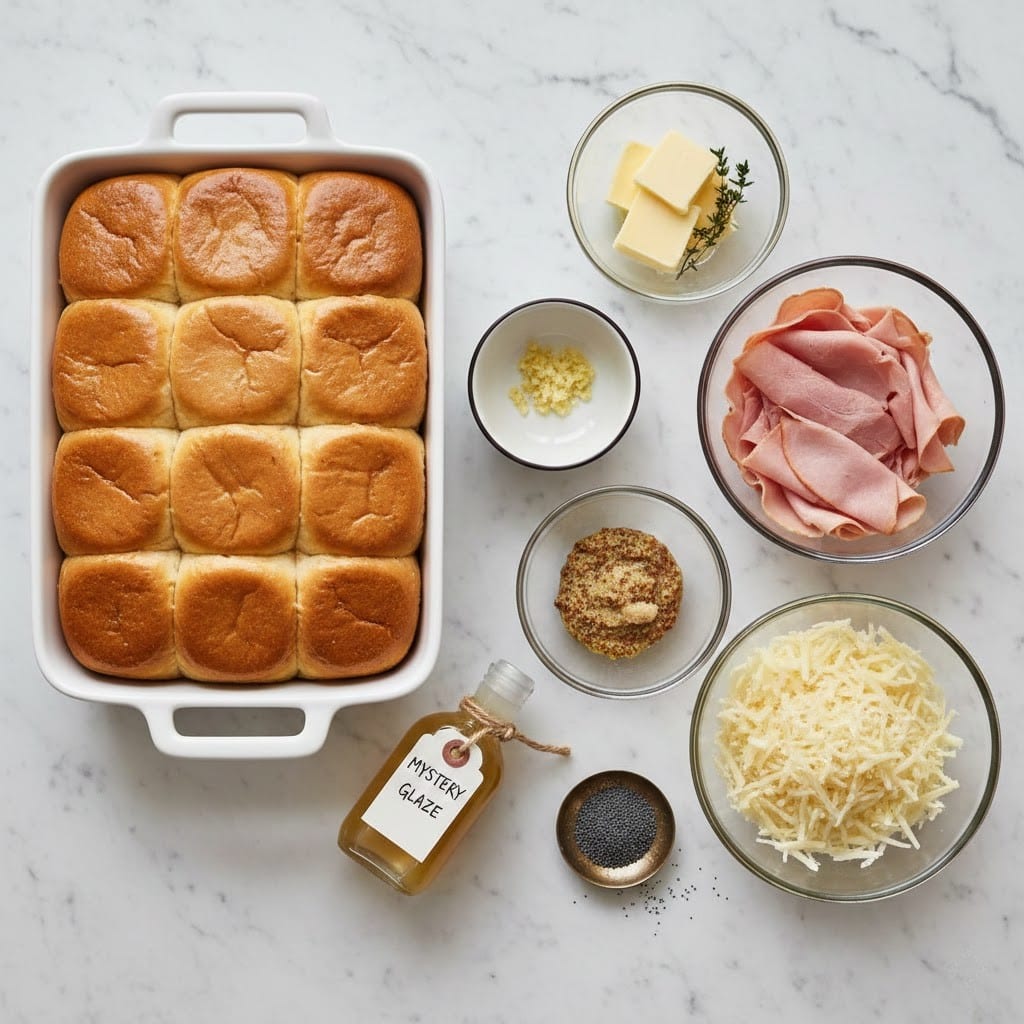
Here’s What You’ll Need (and What You Can Swap)
- 1 package (12 count) Hawaiian sweet rolls (King’s Hawaiian is classic but honestly any brand is fine—my grandma swore by whatever’s on sale)
- 250g (about 9 oz) good quality ham, sliced—not too thick (if it’s the week after Easter, leftover ham is king)
- 8 slices Swiss cheese (I go for slightly nutty Swiss, but provolone totally works if the store’s out; cheddar in a pinch, but kinda changes the mood)
- 4 tbsp (1/2 stick) unsalted butter, melted (sometimes I use salted and just skip the extra salt)
- 1 tbsp Dijon mustard (yellow works fine, no shame in that game)
- 1 tbsp brown sugar (packed; once I used honey because I ran out and nobody complained)
- 1 tbsp Worcestershire sauce
- 1/2 tsp garlic powder
- 1/4 tsp black pepper
- Optional: 1/2 tsp poppy seeds (for the drama, but if you forget them nothing explodes)
Alright, Here’s How You Throw This Together
- First, preheat your oven to 350°F (180°C). Not gonna lie, sometimes I forget and have to wait with the pan ready to go. So, maybe do this first 😉
- Without separating the rolls, slice the whole slab in half horizontally—like a giant sandwich bun. (A serrated knife is the bee’s knees here, but I’ve done it with a so-so bread knife and lived to tell about it.)
- Lay the bottom half in a 9×13-inch baking dish (or, honestly, whatever fits—my Pyrex is slightly wonky but works just fine).
- Layer all your ham slices evenly across the bottom. Yes, even those weird smaller bits—tuck them in for extra snackage.
- Now cover with cheese slices. Try to cover edge to edge, but if there’s a gap, no one cries over melted cheese.
- Cap it off with the roll tops. Line ’em up; “good enough” is the motto here.
- Time for the “mystery glaze”. Whisk (or honestly, just stir aggressively) the melted butter, Dijon, brown sugar, Worcestershire, garlic powder, and black pepper together in a measuring jug. Feel free to taste a smidge—just watch out, it’s oddly addictive.
- Pour the glaze (slowly or in wild zig-zags, your call) evenly across the tops. Get that sauce into the nooks and crannies so it gets all sticky. Sprinkle with poppy seeds if you fancy.
- Cover with foil. Bake for 15 minutes. Then, remove foil and bake another 8-10 minutes until toasty and cheese is oozy. (Sometimes I go an extra three minutes for maximum crispness, but watch so it doesn’t rage-burn!)
- Let ’em cool for, I’d say, 6 minutes—the cheese is basically lava straight from the oven. Then slice or just pull apart, depending on your mood.
Notes from a Serial Bruncher
- If you go too heavy on the glaze, things can get a bit soggy. Actually, I think less is more if you hate sticky fingers—but my nephew says, “goopier is better.” Your choice.
- Don’t be dainty with the cheese. Nobody likes a skimpy filling. (And if you mess up the slicing and your layers look wild, it still tastes bonkers good.)
Roll Variations I’ve Tested
- Turkey and Pepper Jack: Zippy! Maybe too spicy for Grandma, but a hit with teenagers.
- Roast beef with cheddar and horseradish in the glaze—okay, I wanted to love this, but the horseradish was a bridge too far for me. Maybe you’re braver?
- Vegetarian with sautéed mushrooms and provolone: shockingly meaty flavor, but gets wetter, so toast the mushrooms first.
Do You Really Need Special Gear?
So, the recipes always want a 9×13 pan and a serrated knife for slicing, sure. But my cousin used a pie dish and—no joke—a steak knife and didn’t miss a beat. Foil or a lid is helpful if you don’t like dry tops, but if you’re desperate, a baking sheet tented on top gets the job mostly done.
Keeping Leftovers (If You Have Them)
They do reheat surprisingly well in the microwave (30 seconds usually sorts it), but I think leftovers taste even better cold the next morning. Store ’em in a lidded container or wrapped up in foil. But honestly, in my house these barely last a day—so plan accordingly if you were hoping for leftovers!
How I Like to Serve ’Em
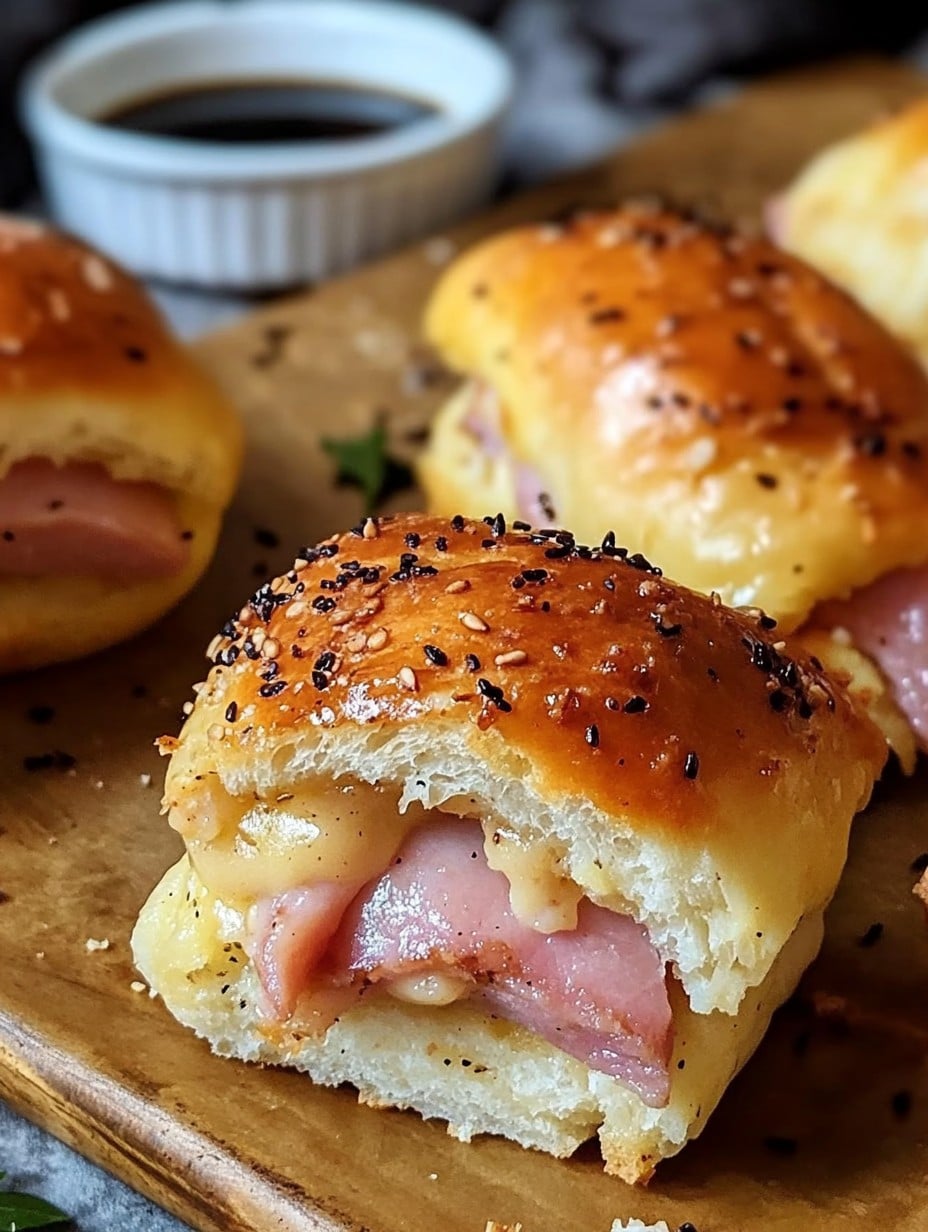
We’re big on brunch spreads, so I pile these rolls onto a big platter, maybe with some cut fruit and a coffee carafe, and people just dig in. Weird family tradition: my aunt dips hers in extra Dijon. I can’t say I get it, but it brings her joy, so I set out a little ramekin just for her.
The Lessons I Learned the Hard Way
- I once tried to rush the cooling step and—ouch!—molten cheese napalm. Just wait, it’s worth it.
- Don’t skip the foil step at the start! I got cocky one time and the tops turned more like hard toast than golden rolls. Not pleasant.
- If you use honey instead of brown sugar, you don’t need quite as much or the glaze tastes… well, kind of medicinal. (Don’t ask how I know.)
Questions I Actually Get About These Rolls
- Can I assemble these ahead of time?
- Yep! I put it all together the night before, then just glaze and bake in the morning. If I remember, I cover them so they don’t dry out (left them open once, they went crusty—oops!).
- Do the rolls get soggy?
- Sometimes! If you pour the glaze on way ahead and let them sit, then yeah, but honestly, some folks say the soggy bottom is the best part. Go figure.
- What’s in the “mystery glaze”? Is it a secret?
- Ha, it’s just a blend of mustard, brown sugar, butter, Worcestershire, and seasonings. Not very cloak-and-dagger, but I like to act mysterious for fun. (Keeps the kids guessing!)
- Can I freeze them?
- Sure can. I do before baking; cover tightly, then bake straight from frozen (add 10-ish mins to bake time). Just, uh, don’t forget they’re in the freezer like I did, unless you like surprise brunch six months later.
- What if I don’t have poppy seeds?
- No stress. Skip ’em or sprinkle some sesame seeds if you want crunch. Or go naked rolls (I do when I forget, which is 30% of the time, honestly).
So that’s my so-not-perfect-but-always-delicious Ham and Swiss Hawaiian Rolls for a crowd. Honestly, the trick is to relax, enjoy the process, and maybe sneak a roll before everyone else. Happy brunching!
Ingredients
- 1 package (12 count) Hawaiian sweet rolls (King’s Hawaiian is classic but honestly any brand is fine—my grandma swore by whatever’s on sale)
- 250g (about 9 oz) good quality ham, sliced—not too thick (if it’s the week after Easter, leftover ham is king)
- 8 slices Swiss cheese (I go for slightly nutty Swiss, but provolone totally works if the store’s out; cheddar in a pinch, but kinda changes the mood)
- 4 tbsp (1/2 stick) unsalted butter, melted (sometimes I use salted and just skip the extra salt)
- 1 tbsp Dijon mustard (yellow works fine, no shame in that game)
- 1 tbsp brown sugar (packed; once I used honey because I ran out and nobody complained)
- 1 tbsp Worcestershire sauce
- 1/2 tsp garlic powder
- 1/4 tsp black pepper
- Optional: 1/2 tsp poppy seeds (for the drama, but if you forget them nothing explodes)
Instructions
-
1First, preheat your oven to 350°F (180°C). Not gonna lie, sometimes I forget and have to wait with the pan ready to go. So, maybe do this first 😉
-
2Without separating the rolls, slice the whole slab in half horizontally—like a giant sandwich bun. (A serrated knife is the bee’s knees here, but I’ve done it with a so-so bread knife and lived to tell about it.)
-
3Lay the bottom half in a 9×13-inch baking dish (or, honestly, whatever fits—my Pyrex is slightly wonky but works just fine).
-
4Layer all your ham slices evenly across the bottom. Yes, even those weird smaller bits—tuck them in for extra snackage.
-
5Now cover with cheese slices. Try to cover edge to edge, but if there’s a gap, no one cries over melted cheese.
-
6Cap it off with the roll tops. Line ’em up; “good enough” is the motto here.
-
7Time for the “mystery glaze”. Whisk (or honestly, just stir aggressively) the melted butter, Dijon, brown sugar, Worcestershire, garlic powder, and black pepper together in a measuring jug. Feel free to taste a smidge—just watch out, it’s oddly addictive.
-
8Pour the glaze (slowly or in wild zig-zags, your call) evenly across the tops. Get that sauce into the nooks and crannies so it gets all sticky. Sprinkle with poppy seeds if you fancy.
-
9Cover with foil. Bake for 15 minutes. Then, remove foil and bake another 8-10 minutes until toasty and cheese is oozy. (Sometimes I go an extra three minutes for maximum crispness, but watch so it doesn’t rage-burn!)
-
10Let ’em cool for, I’d say, 6 minutes—the cheese is basically lava straight from the oven. Then slice or just pull apart, depending on your mood.
Approximate Information for One Serving
Nutrition Disclaimers
Number of total servings shown is approximate. Actual number of servings will depend on your preferred portion sizes.
Nutritional values shown are general guidelines and reflect information for 1 serving using the ingredients listed, not including any optional ingredients. Actual macros may vary slightly depending on specific brands and types of ingredients used.
To determine the weight of one serving, prepare the recipe as instructed. Weigh the finished recipe, then divide the weight of the finished recipe (not including the weight of the container the food is in) by the desired number of servings. Result will be the weight of one serving.
Did you make this recipe?
Please consider Pinning it!