Let Me Tell You About Sopaipillas (And My Sticky Fingers)
You ever have one of those foods that instantly throws you back to your grandma’s busy kitchen? For me, sopaipillas are basically nostalgia in crunchy form. The first time I tried making them on my own, I accidentally turned the whole thing into a science experiment—oil splattering everywhere, dough puffs stacking higher than my ambitions—but hey, I ended up with golden pillows of joy. Even my dog tried to sneak one (ok, he succeeded when I wasn’t looking). If you ask me, few things beat the smell and warmth of fresh sopaipillas straight out of the fryer… especially on a rainy afternoon when you’re just trying to avoid doing the dishes.
Why I Think You’ll Love This (Even If You’re Not a Messy Cook)
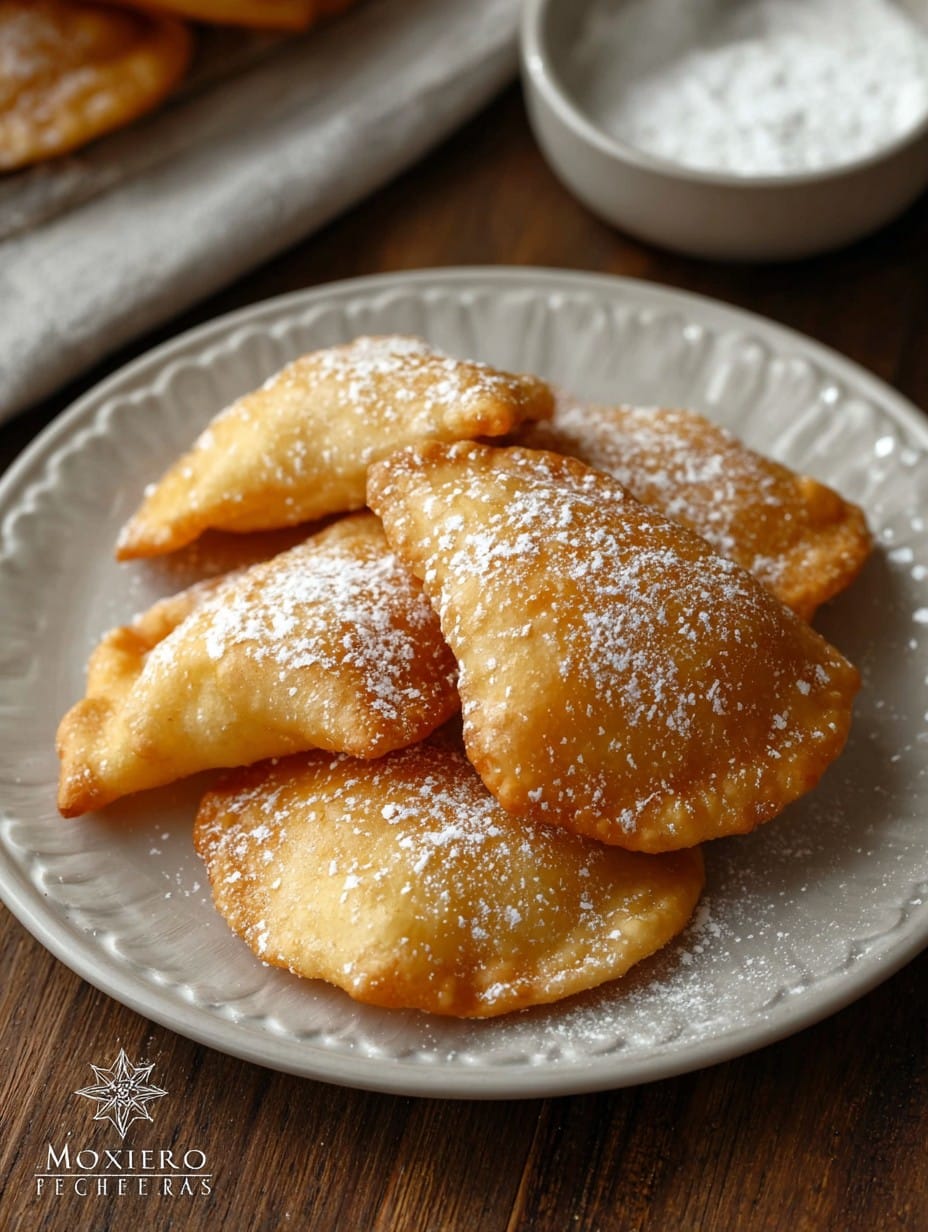
I make these sopaipillas whenever my family’s in that hangry mode between lunch and dinner—I’ll admit, they’re my secret weapon. There’s just something about their crispy outsides and fluffy insides that turns everyone into a kitchen vulture (I mean lovingly, obviously). And when I serve them up with honey (sometimes cinnamon sugar), I become everyone’s favorite for about ten minutes—until the plate’s empty again. I used to dread working with dough by hand, but really, you can’t mess this up too badly (unless you forget the baking powder, which I did once… those sopaipillas could have doubled as coasters).
The Ingredients List (With a Few Swaps and Confessions)
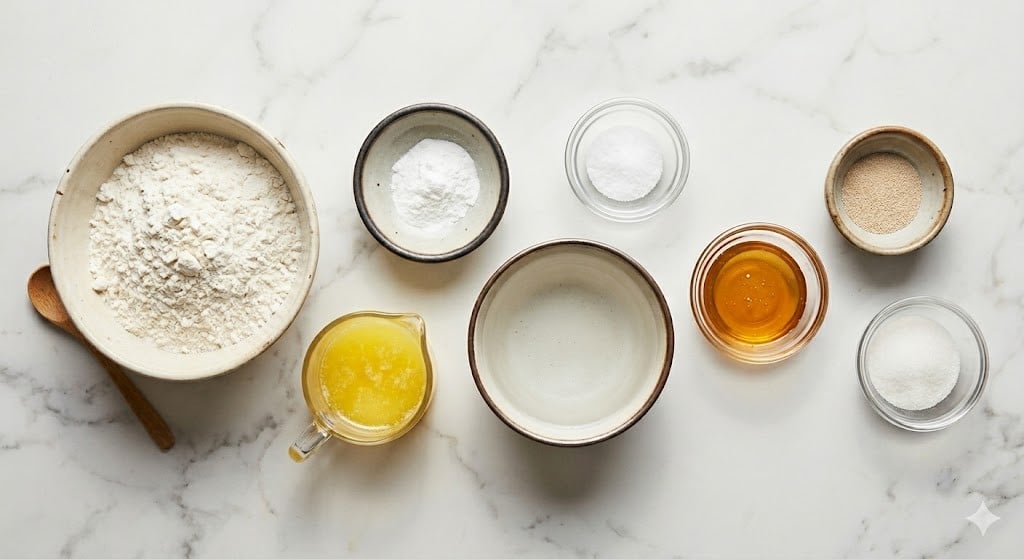
- 2 cups all-purpose flour (but I’ve swapped in bread flour in a pinch and it worked just fine)
- 2 teaspoons baking powder (seriously, don’t skip this)
- 1 teaspoon sugar (my aunt swears by sanding sugar, but I use whatever’s handy)
- 1/2 teaspoon salt (actually, a generous pinch seems to do the trick)
- 2 tablespoons unsalted butter, melted (I’ve done it with oil—honestly nobody noticed)
- 3/4 cup warm water (sometimes I need a bit more if the dough’s dry—just splash carefully)
- Vegetable oil, for frying (canola is my go-to, but I once tried coconut oil; it got a little weirdly sweet)
- Honey or cinnamon sugar, for serving (or both, depending on my mood)
How I Make Sopaipillas (Disaster-Proof, Mostly)
- Whisk the flour, baking powder, sugar, and salt together in a big bowl. (I occasionally forget the sugar and add it last; it turns out okay!)
- Stir in the melted butter, then start adding the warm water while mixing with your hand or a wooden spoon. You want a soft dough—if it’s crumbly, add a splash more water.
- Knead the dough gently on a floured counter for a couple minutes, just until it’s kinda smooth; don’t stress if it’s still a bit rough around the edges. Wrap or cover and let it rest 15 minutes. (Now’s when I clean up my flour mess. Or just scroll my phone, honestly.)
- Roll the dough out to about 1/4 inch thick (or a tad thinner—mine’s never perfect), then cut into 3-inch squares or triangles. You can make odd shapes too; who’s judging?
- Heat at least 2 inches of oil in a heavy pot (350°F/175°C is the sweet spot—don’t overcrowd the pot!).
- Fry a few pieces at a time. They should puff up and float—this is where I always get excited. Flip after 30–60 seconds, until both sides are golden brown and crispy.
- Fish them out with a slotted spoon, drain on paper towels, and try to hold back from eating one right away… or don’t. Drizzle with honey or toss in cinnamon sugar before serving—sometimes I do both at once!
Notes Form My Own Experiments (A Few Mishaps Included)
- If your dough is too sticky, I just dust with more flour, but don’t go wild or they’ll get tough. Learned that the hard way!
- My sopaipillas puff best if the oil’s nice and hot. If they aren’t puffing, give the oil a little more time to heat.
- I actually like slightly uneven thickness; some super thin ones get extra crispy… and those are my secret stash.
Some Variations—And a Flop
- I’ve mixed a little pumpkin puree into the dough in autumn. Tastes great, but keep the dough dry or they won’t puff well.
- One time, I tried stuffing chocolate chips inside; the chips just leaked out all over. Wouldn’t really recommend, unless you love a sticky cleanup.
- Oh, savory! My cousin adds a pinch of chili powder—it’s not traditional but makes for a pretty addictive snack.
The Equipment I Use—But You Don’t Need it All
If you have a pastry roller, great. Otherwise, use a wine bottle (that’s what I did before I found my rolling pin at a garage sale!). I use a heavy-bottomed pot for frying, but I’ve done it in a deep skillet too, just watch for splatters.
How I Store Sopaipillas (If We Ever Have Leftovers)
Store cooled sopaipillas in a loosely covered container on the counter—they’ll stay okay for about 24 hours, but in my house, they vanish faster than socks in the dryer. To reheat, pop in the oven for a few minutes to crisp up. Microwave works in a pinch, but they’ll get a bit chewy.
Serving ‘Em Up (Family Style, of Course)
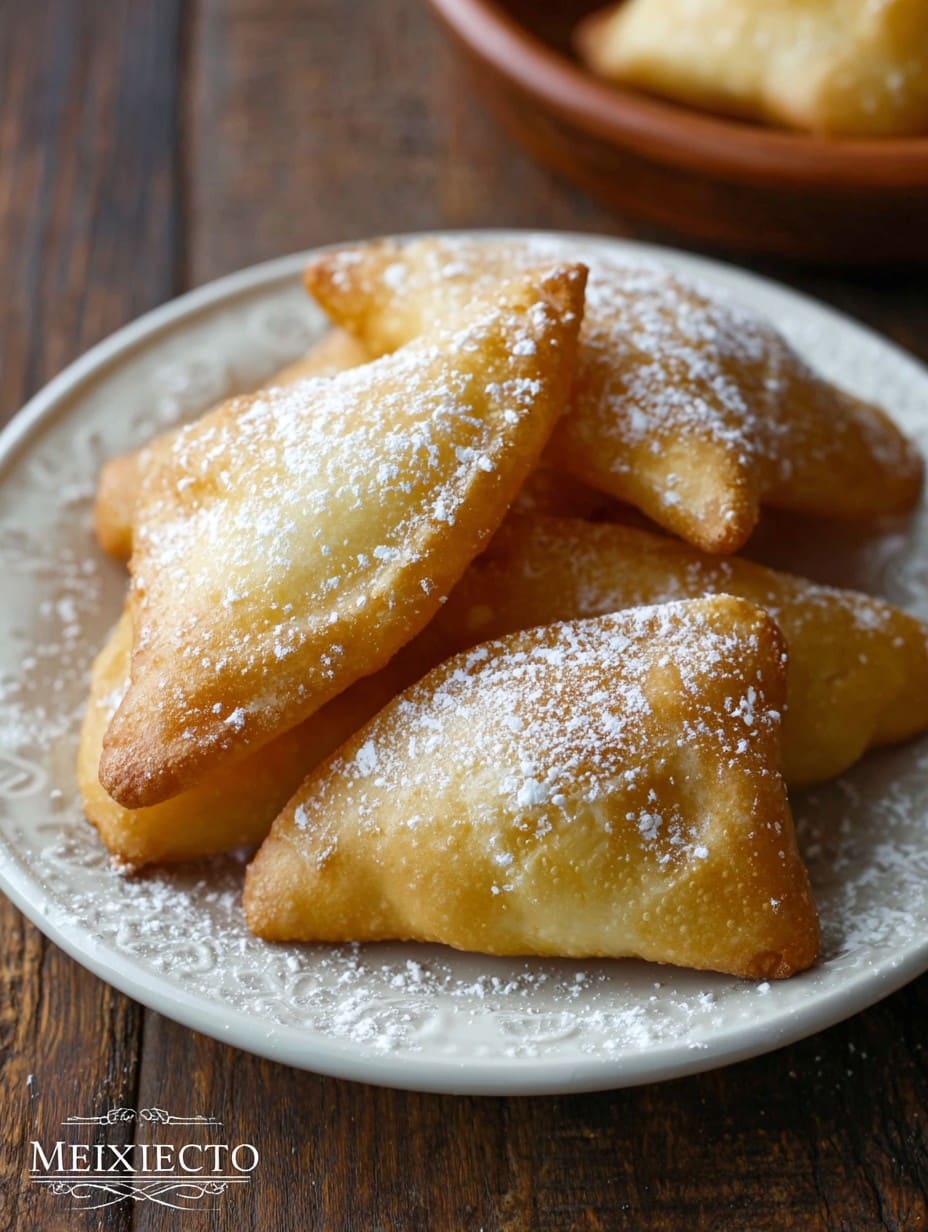
We pile them high on a plate and pass around a big jar of honey (sometimes maple syrup if I’m feeling Canadian). Growing up, we’d dip them one by one—no forks allowed, just sticky fingers and a few napkins nearby.
My Unfiltered Pro Tips
- Don’t rush the dough rest. I skipped it once and mine puffed… well, not much. Letting it chill makes all the difference.
- Try not to crowd the oil. I do this when I get impatient, and the sopaipillas end up greasy rather than crispy.
- And seriously, use a thermometer if you have one; guessing the oil temp sometimes works, sometimes doesn’t. (Ask me about the savory sopaipilla frisbees I once made.)
FAQ—Yep, People Really Ask Me These
- Can I make the dough ahead? You can! Refrigerate overnight, but take it out to warm up before rolling. It’s a bit firmer cold, so just let it hang out till it feels friendly.
- Can I bake these instead of frying? Well, you can bake at 400°F for 12–15 minutes, but honestly? Not as puffy or fun. Still good, sort of like airy biscuits, but missing that magic.
- Are sopaipillas sweet or savory? Traditionally, both! I’m a honey-over-everything person, but my uncle used to eat them with salsa. It’s a free world!
- How do I know if the dough is ready? If it bounces back a little when poked and doesn’t stick all over your fingers, probably good to go. But sometimes I just wing it.
- Can I freeze them? Sure, freeze the cooked ones in a zip bag. Rewarm in the oven when your cravings hit. (But fresh is best—I don’t always have the patience, to be honest.)
And there you have it—my not-so-perfect but genuinely loved authentic sopaipillas recipe! Hope you have as much fun making them as I do eating them. Oh! And don’t forget to wipe the flour off your brow before answering the door—trust me, learned that awkward lesson myself.
Ingredients
- 2 cups all-purpose flour (but I’ve swapped in bread flour in a pinch and it worked just fine)
- 2 teaspoons baking powder (seriously, don’t skip this)
- 1 teaspoon sugar (my aunt swears by sanding sugar, but I use whatever’s handy)
- 1/2 teaspoon salt (actually, a generous pinch seems to do the trick)
- 2 tablespoons unsalted butter, melted (I’ve done it with oil—honestly nobody noticed)
- 3/4 cup warm water (sometimes I need a bit more if the dough’s dry—just splash carefully)
- Vegetable oil, for frying (canola is my go-to, but I once tried coconut oil; it got a little weirdly sweet)
- Honey or cinnamon sugar, for serving (or both, depending on my mood)
Instructions
-
1Whisk the flour, baking powder, sugar, and salt together in a big bowl. (I occasionally forget the sugar and add it last; it turns out okay!)
-
2Stir in the melted butter, then start adding the warm water while mixing with your hand or a wooden spoon. You want a soft dough—if it’s crumbly, add a splash more water.
-
3Knead the dough gently on a floured counter for a couple minutes, just until it’s kinda smooth; don’t stress if it’s still a bit rough around the edges. Wrap or cover and let it rest 15 minutes. (Now’s when I clean up my flour mess. Or just scroll my phone, honestly.)
-
4Roll the dough out to about 1/4 inch thick (or a tad thinner—mine’s never perfect), then cut into 3-inch squares or triangles. You can make odd shapes too; who’s judging?
-
5Heat at least 2 inches of oil in a heavy pot (350°F/175°C is the sweet spot—don’t overcrowd the pot!).
-
6Fry a few pieces at a time. They should puff up and float—this is where I always get excited. Flip after 30–60 seconds, until both sides are golden brown and crispy.
-
7Fish them out with a slotted spoon, drain on paper towels, and try to hold back from eating one right away… or don’t. Drizzle with honey or toss in cinnamon sugar before serving—sometimes I do both at once!
Approximate Information for One Serving
Nutrition Disclaimers
Number of total servings shown is approximate. Actual number of servings will depend on your preferred portion sizes.
Nutritional values shown are general guidelines and reflect information for 1 serving using the ingredients listed, not including any optional ingredients. Actual macros may vary slightly depending on specific brands and types of ingredients used.
To determine the weight of one serving, prepare the recipe as instructed. Weigh the finished recipe, then divide the weight of the finished recipe (not including the weight of the container the food is in) by the desired number of servings. Result will be the weight of one serving.
Did you make this recipe?
Please consider Pinning it!




