So, Baked Ground Beef & Chili Tacos… These Are a Weeknight Ritual
I swear, every time I make these tacos, I picture myself back in my tiny first place—the kitchen barely big enough to turn around, and yet somehow that oven could fit a whole tray of these beauties. Maybe it’s just me, but there’s something about taco night that feels like home, even when there’s that one slightly burnt shell reminding you not everything’s perfect. My family never minded, though (they secretly fought over the crispier one anyway). Oh, before I forget, last week I accidentally dropped half the cheese on the floor—not my finest hour—turns out, the dog loved that part.
Why You’ll Love Making These (Trust Me)
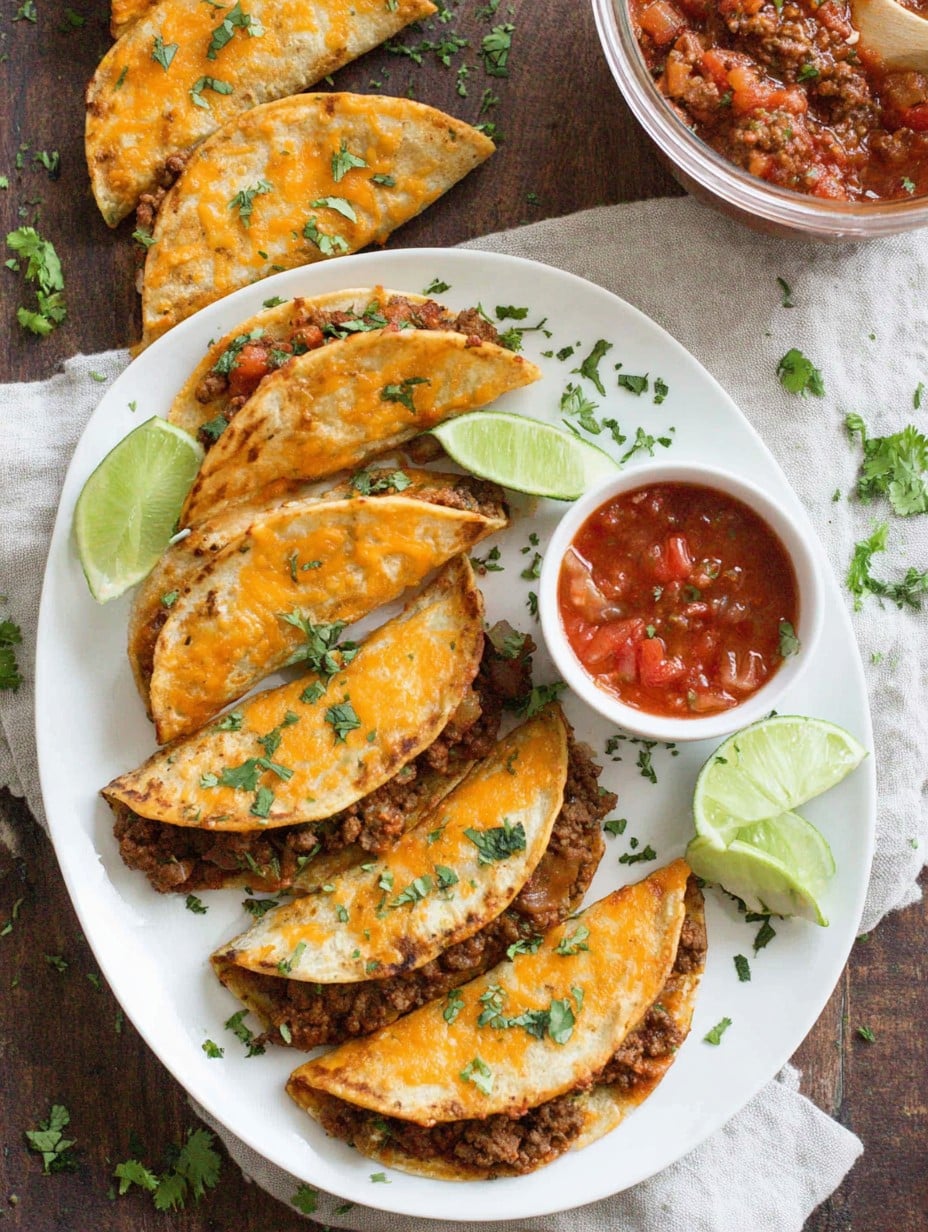
I make this when everyone’s got something going on and I just can’t mess up dinner again (don’t even ask about my maybe-undercooked lasagna attempt last month). My family pretty much loses their minds over these tacos, and honestly, who can blame them? Saucy beef, a kick of chili, plenty of cheese all tucked into crunchy shells that don’t crack apart on the first bite—that’s the dream, right? Plus, cleanup is somehow… sane. (Well, except for all the shredded cheese shrapnel, but that’s just life.)
Ingredients (And My Two Cents on Swaps)
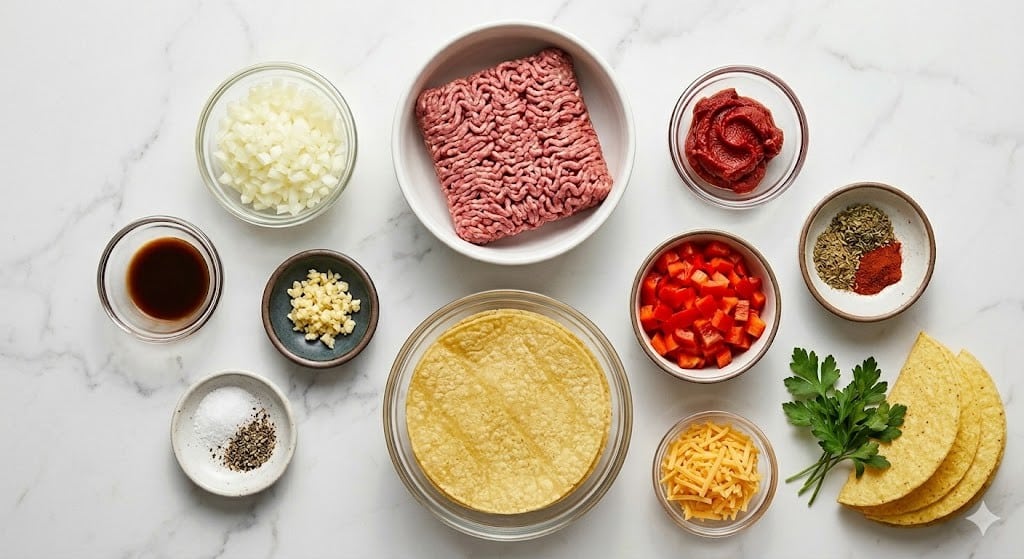
- 1 lb (about 450g) ground beef (I’ve used ground turkey in a pinch; nobody noticed except me)
- 1 small yellow onion, diced (or a hefty tablespoon of onion powder, if things are wild)
- 1 (15 oz/425g) can of chili beans, undrained (my gran was loyal to Bush’s, but store-brand is honestly just fine)
- 1 (4 oz/115g) can diced green chilies (optional but so good)
- 1 packet taco seasoning (or mix cumin, paprika, garlic powder, chili powder—I’m not judging)
- 2/3 cup chunky salsa (sometimes I just dump in whatever jar’s almost gone in the fridge; works every time)
- 2 cups shredded cheese (cheddar, Monterey Jack, or whatever’s hanging out in your cheese drawer)
- 10-12 hard taco shells (stand-up ones make life easier, but use whatever fits your tray)
- Olive oil or butter for sautéing the onion (a dash—not crucial, but adds a little something)
Here’s What You’ll Do (It’s Easier Than You Think)
- First, preheat the oven to 375°F (190°C). If you’re like me, you’ll forget until halfway through browning the meat; no worries, just do it when you remember.
- Heat a drizzle of olive oil in a large skillet over medium heat. Add the diced onion and cook for about 3 minutes, until it’s kind of softened but not all mushy.
- Now add in the ground beef and cook, breaking it up so it browns evenly. This is where I usually sneak a taste for seasoning—totally allowed.
- Drain most of the fat (or not, if you’re in a hurry). Sprinkle in the taco seasoning, stirring so it gets to know the beef.
- Pour in the can of chili beans (juice and all), green chilies, and salsa. Give it a good stir. Let the whole mess simmer for about 5 minutes. Don’t worry if it looks soupy—it thickens in the oven.
- While that’s bubbling, stand your taco shells up in a 9×13-inch baking dish. If a shell breaks, just shove it back together; it’ll glue itself with cheese later.
- Spoon the beef-chili mixture into each shell, filling them up generously. I make a mess every time. That’s fine.
- Top each taco with a heavy sprinkle (read: small mountain) of shredded cheese.
- Bake, uncovered, for 12-15 minutes. Cheese should bubble and the shells crisp up. (But if they look a tad brown at the edges, they’re perfect.)
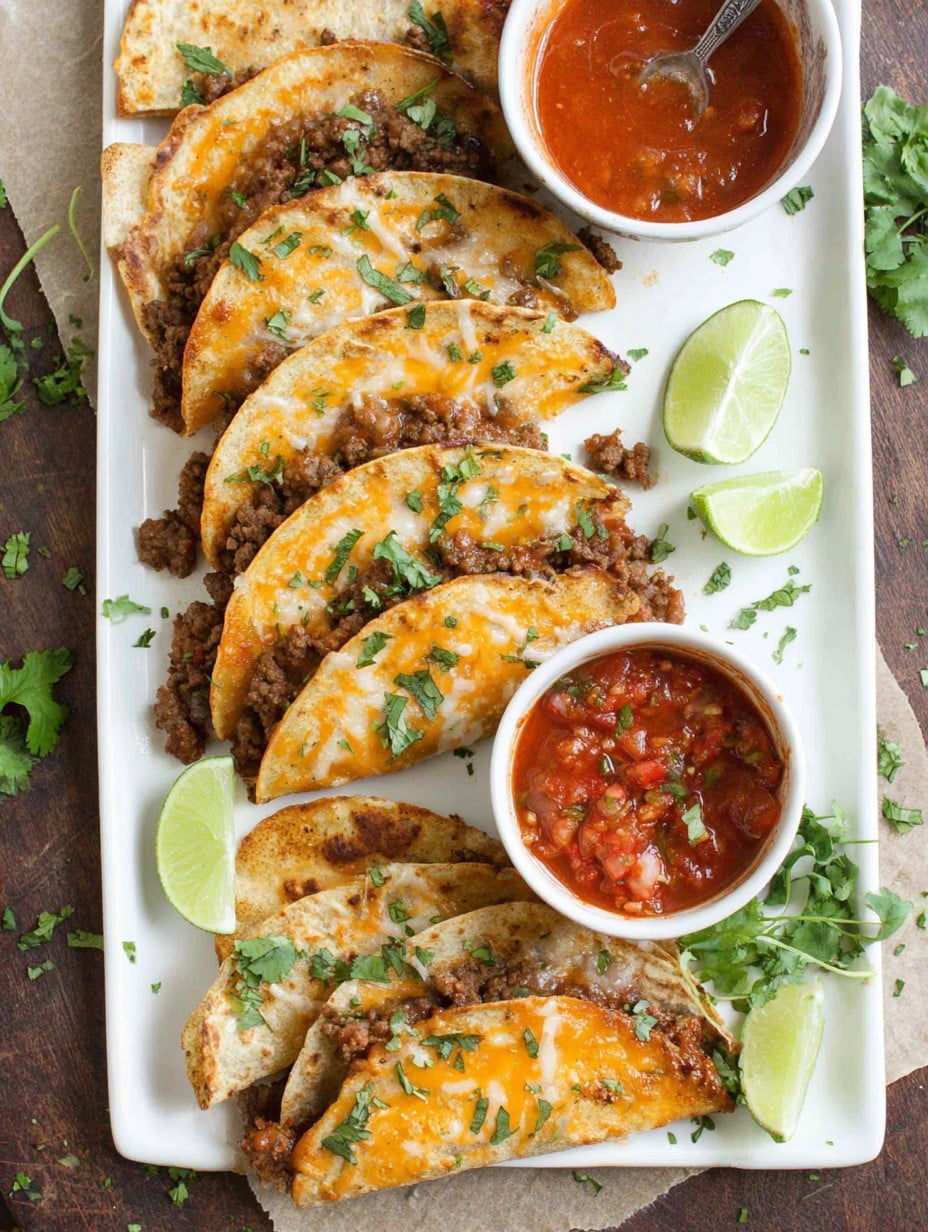
- Let them cool for a couple minutes (I always burn my tongue), then serve with whatever toppings you like—shredded lettuce, sour cream, more salsa, or jalapeños if you’re feeling spicy.
Stuff I’ve Learned Along the Way (Don’t Judge)
- If you overfill the shells, they’ll spill everywhere. But that’s half the fun?
- Parchment paper under the shells = easier cleanup. Wish I’d learned that one sooner.
- Softer taco shells work, but you don’t get that crunchy magic.
Things I’ve Tried (Some Worked, Some Didn’t!)
- Swapping ground beef for plant-based meat—actually pretty good, but I add more salsa then.
- Once tried with corn tortillas—the flavor was nice, but boy, what a soggy heap at the end (not recommended unless you’re eating with a fork… or have a strong napkin game).
- Blending different cheeses—Pepper Jack, sharp cheddar, even Gouda once (weird but fun).
What Gear You Really Need (Or Not)
- Large skillet—if yours is tiny, just cook the beef in two rounds. Or use a pot. Life hack!
- 9×13-inch baking dish—though in my college days I just jammed tacos onto a cookie sheet and hoped for the best.
- A cheese grater, unless you buy it pre-shredded (no shame, honestly saves time)
Storing Leftovers… If You Have Any
These are barely ever left the next day in my house, but if you do manage, stash them in a lidded container in the fridge. They’ll get a bit softer, but I actually think this tastes better next day—like the flavors finally all get to know each other. Reheat at 300°F until cheese is melty again.
How I Like to Serve ‘Em
Honestly, I just plunk the whole tray on the table, but my youngest insists on serving with extra sour cream and those neon-pink pickled onions (who knew?). Oh, chips and guac on the side never hurts—sometimes we even make taco ‘salads’ out of the little bits that fall apart. Waste not, want not, right?
Real-World Pro Tips (Learned the Hard Way)
- I once tried to rush the simmering step—don’t. The beef needs that time to soak everything up, or you’ll get puddle tacos.
- Trying to bake these at too-high heat? Don’t do it; shells burn, cheese doesn’t melt right, and your smoke alarm gets sassy.
FAQ (I’ve Actually Been Asked These!)
- Can I prep these ahead? Sure, you can make the beef mixture a day before and fill the shells right before baking. Actually, it’s even tastier then, I think.
- What if my taco shells keep falling over? Happens to the best of us—snug ’em up in the dish and use a ball of foil to prop them if you want. Or let chaos reign.
- Can I freeze these? Well, kind of? I did once, shells were a bit wilted but the flavor survived. Not world-changing, but fine in a pinch.
- Are chili beans spicy? Not usually, but read the can if you’re feeding “mild only” types. You can always use plain pinto or kidney beans instead.
- What if I don’t have taco seasoning? Just toss in a good shake of chili powder, cumin, dried oregano—all the usual suspects. Go with your gut.
One last thing—I sometimes make a double batch, and, uh, the leftovers disappear faster than the original. Must be kitchen gremlins, or maybe just late-night snackers. Either way: enjoy, and good luck keeping these beauties around for more than a day!
Ingredients
- 1 lb (about 450g) ground beef (I’ve used ground turkey in a pinch; nobody noticed except me)
- 1 small yellow onion, diced (or a hefty tablespoon of onion powder, if things are wild)
- 1 (15 oz/425g) can of chili beans, undrained (my gran was loyal to Bush’s, but store-brand is honestly just fine)
- 1 (4 oz/115g) can diced green chilies (optional but so good)
- 1 packet taco seasoning (or mix cumin, paprika, garlic powder, chili powder—I’m not judging)
- 2/3 cup chunky salsa (sometimes I just dump in whatever jar’s almost gone in the fridge; works every time)
- 2 cups shredded cheese (cheddar, Monterey Jack, or whatever’s hanging out in your cheese drawer)
- 10-12 hard taco shells (stand-up ones make life easier, but use whatever fits your tray)
- Olive oil or butter for sautéing the onion (a dash—not crucial, but adds a little something)
Instructions
-
1First, preheat the oven to 375°F (190°C). If you’re like me, you’ll forget until halfway through browning the meat; no worries, just do it when you remember.
-
2Heat a drizzle of olive oil in a large skillet over medium heat. Add the diced onion and cook for about 3 minutes, until it’s kind of softened but not all mushy.
-
3Now add in the ground beef and cook, breaking it up so it browns evenly. This is where I usually sneak a taste for seasoning—totally allowed.
-
4Drain most of the fat (or not, if you’re in a hurry). Sprinkle in the taco seasoning, stirring so it gets to know the beef.
-
5Pour in the can of chili beans (juice and all), green chilies, and salsa. Give it a good stir. Let the whole mess simmer for about 5 minutes. Don’t worry if it looks soupy—it thickens in the oven.
-
6While that’s bubbling, stand your taco shells up in a 9×13-inch baking dish. If a shell breaks, just shove it back together; it’ll glue itself with cheese later.
-
7Spoon the beef-chili mixture into each shell, filling them up generously. I make a mess every time. That’s fine.
-
8Top each taco with a heavy sprinkle (read: small mountain) of shredded cheese.
-
9Bake, uncovered, for 12-15 minutes. Cheese should bubble and the shells crisp up. (But if they look a tad brown at the edges, they’re perfect.)
-
10Let them cool for a couple minutes (I always burn my tongue), then serve with whatever toppings you like—shredded lettuce, sour cream, more salsa, or jalapeños if you’re feeling spicy.
Approximate Information for One Serving
Nutrition Disclaimers
Number of total servings shown is approximate. Actual number of servings will depend on your preferred portion sizes.
Nutritional values shown are general guidelines and reflect information for 1 serving using the ingredients listed, not including any optional ingredients. Actual macros may vary slightly depending on specific brands and types of ingredients used.
To determine the weight of one serving, prepare the recipe as instructed. Weigh the finished recipe, then divide the weight of the finished recipe (not including the weight of the container the food is in) by the desired number of servings. Result will be the weight of one serving.
Did you make this recipe?
Please consider Pinning it!




