Okay, I’ll level with you: Some mornings, I’m more likely to trip over the cat than whip up a hot breakfast. So overnight oats have basically become my best mate. The brown sugar kind? Well, it started as a slightly desperate attempt to win over my oat-hating partner (who’d honestly rather eat dry toast than oatmeal), but now even my teenage daughter requests it! Most days, I toss it together the night before, slap a lid on, and call it breakfast. It tastes like dessert disguised as a health food, which I think is the highest praise I can give.
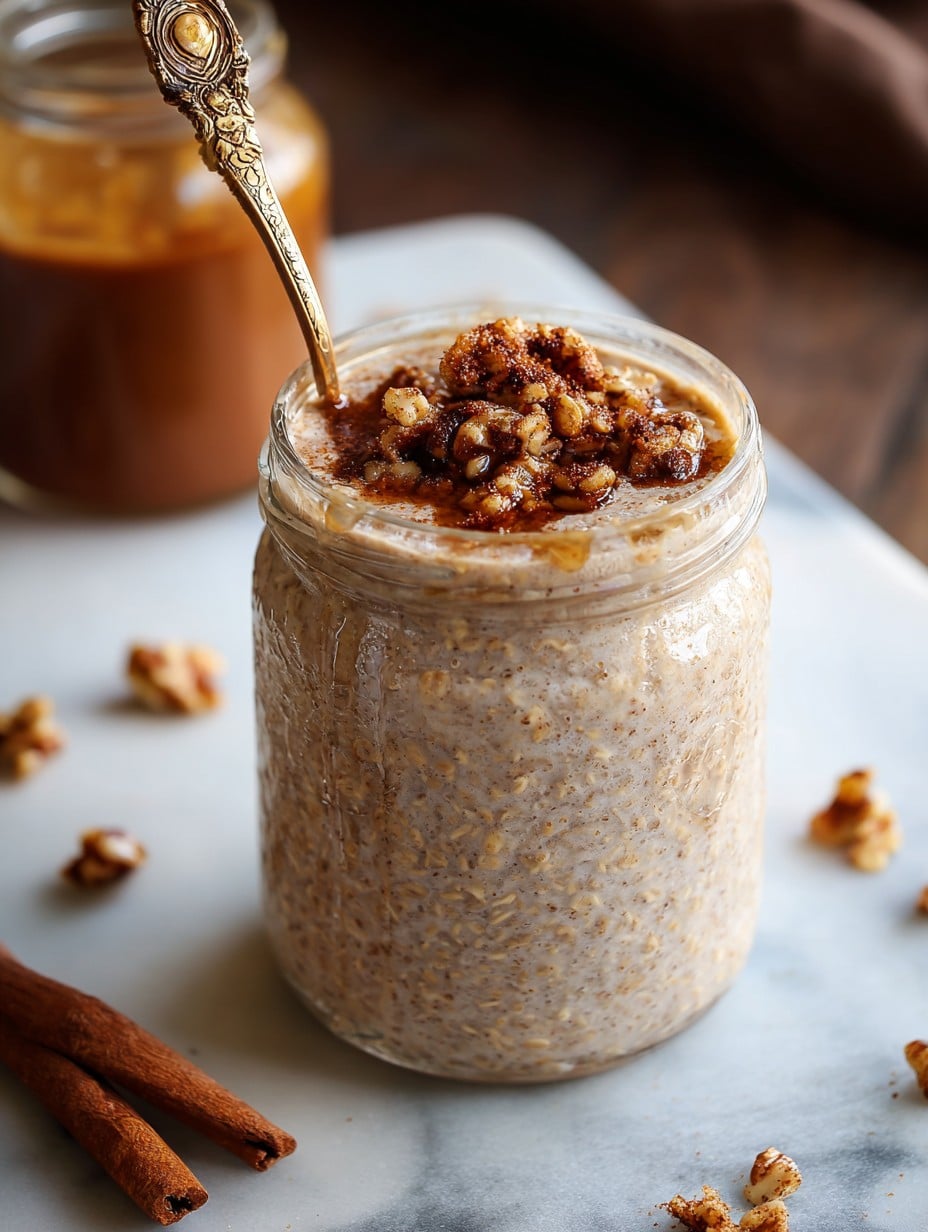
Why I Keep Making This (Even When I Swear Off Oats)
I actually make this on those weeks when I have zero motivation to meal prep anything fancier—if that ever changes, you’ll be the first to know. The combination of chewy oats, creamy milk, and the brown sugar melting in just gets me every time; it’s like getting away with eating a bowl of cookie dough for breakfast, but in a responsible-adult way. My family complains if I skip the cinnamon and brown sugar (I tried, once, to save a few calories – honestly regret is a powerful teacher), so now I don’t even bother with plain. Go big or go home, right?
What You’ll Need (Plus a Few Swaps I Actually Use)
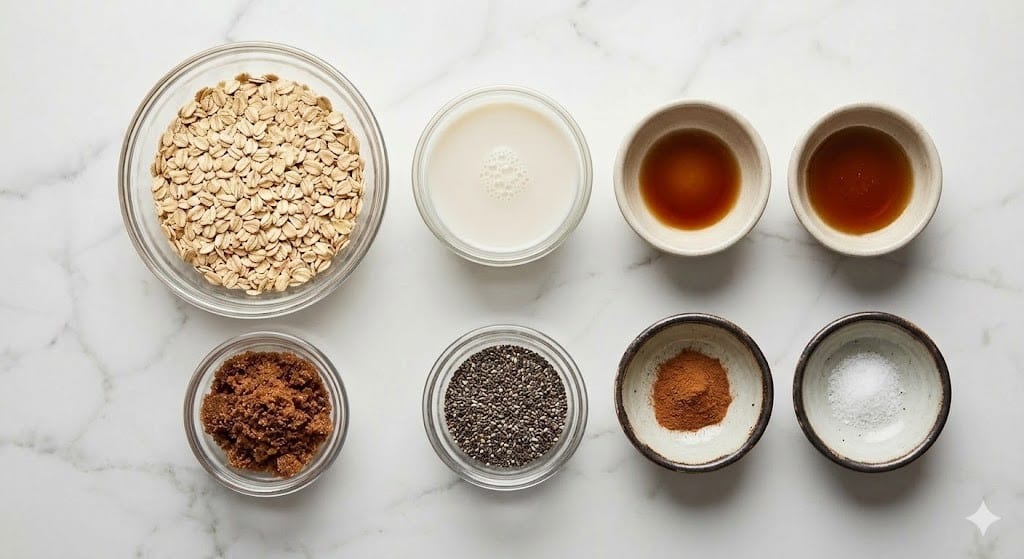
- 1/2 cup old-fashioned rolled oats (I sometimes use quick oats—my gran would give me a look, but it still works.)
- 1/2 cup milk (dairy, oat, almond, whatever is lurking in your fridge—I’ve even used half yogurt, half milk in a pinch.)
- 2 teaspoons brown sugar (light or dark, both give a lovely caramel note—sometimes I throw in a third teaspoon because… well, it’s early!)
- 1/2 teaspoon ground cinnamon (not technically essential, but trust me, the difference is wild)
- Pinch of salt (this is the sleeper ingredient—don’t forget it; I did. Once.)
- Optional: 1/4 cup Greek yogurt (makes it extra creamy if you want—or skip if you don’t have it)
- Toppings: sliced banana, chopped nuts, raisins (my daughter likes peanut butter, but hey, you do you)
How I Actually Make Brown Sugar Overnight Oats
- In a mason jar or any old bowl with a lid (I’ve literally used an empty jam jar), add oats, brown sugar, cinnamon, and salt. Give it a good stir; this is where I usually sneak a smell, because cinnamon and brown sugar? Pure happiness.
- Pour in your milk. Also throw in the Greek yogurt if you’re going that way. Stir again—don’t panic if it looks way too soupy; oats are like tiny sponges and they’ll soak it all up as they sleep.
- Pop the lid on (sometimes it’s just clingfilm over my mixing bowl, I won’t lie), then let it hang out in the fridge overnight, or at least 6 hours. If you forget and only have 3, it’s okay, it’ll just be a bit chewier.
- Next morning, stir again, check if it’s too thick (add a splash more milk if you like it looser). Top with banana, nuts, a dollop of peanut butter or whatever your heart wants.
- Then eat it cold, or warm it in the microwave for 30-45 seconds if you’re chilly (I usually do this in winter, because I’m not a monster!).
Word to the Wise (Things I’ve Actually Learned)
- Steel-cut oats aren’t great for this—learned that the hard way, unless you’re into tire-like textures.
- If it’s too sweet, dial back the brown sugar (but honestly, I’ve only ever done this once and regretted it because it wasn’t quite the same).
- If you forget the salt, it just tastes okay. I now keep a sticky note on my oats container—seriously, it makes a world of difference!
Some Versions That Worked (and One That Totally Didn’t)
Once I swapped half the milk for brewed coffee—oddly good if you’re a caffeine fiend. Grated apple or a handful of blueberries are excellent; raisins are controversial over here, but I like them. Tried adding chia seeds once for fiber, but on second thought, I didn’t love the gluey texture… your mileage may vary!
Kit You Need (or Not)
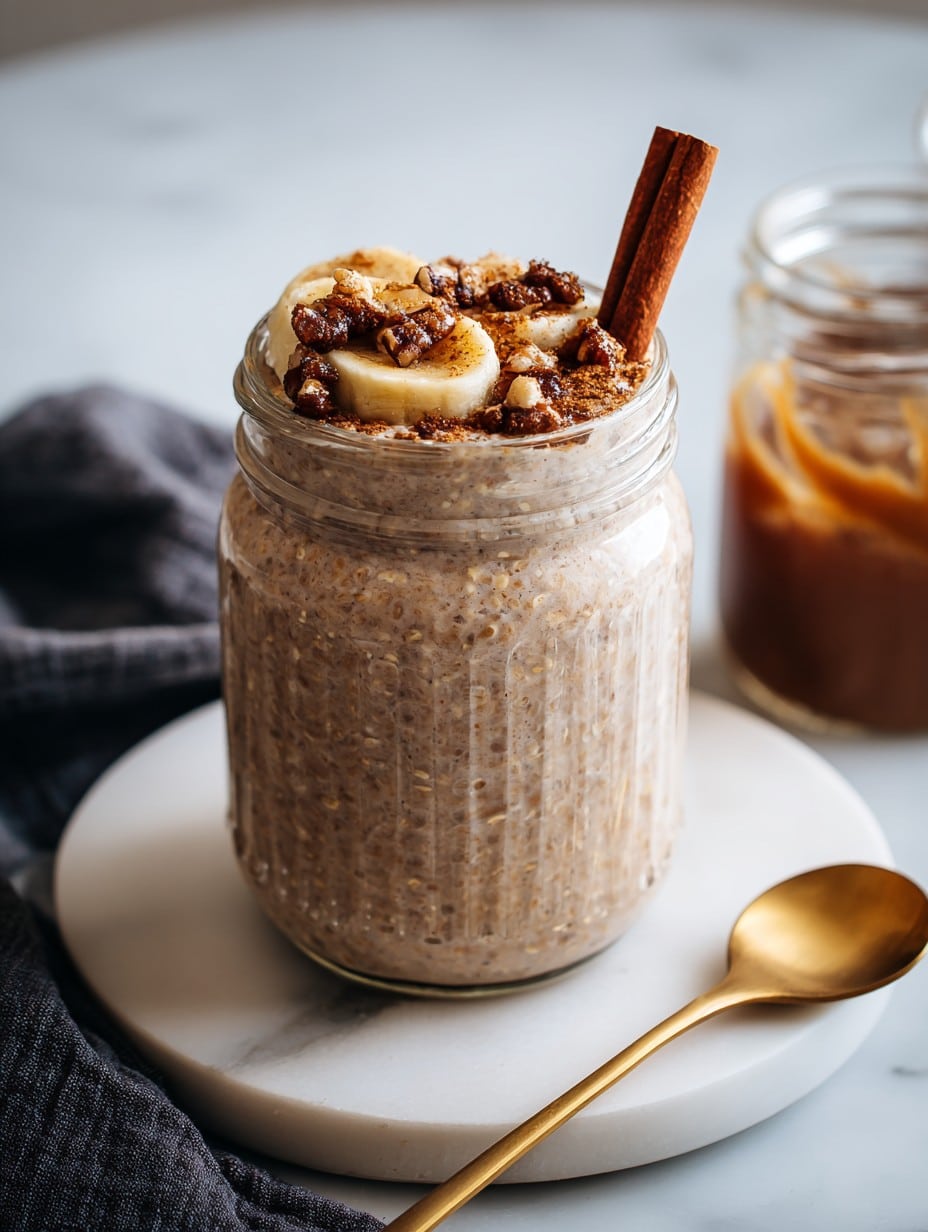
I always reach for a mason jar, but honestly, any container with a lid works. I’ve even used a washed-out soup pot when I ran out of Tupperware (it was clean, promise). If you’re stuck for lids, clingfilm and a rubber band does the job too; my gran would’ve shaken her head at me, but it does work.
How to Store (But Let’s Be Honest…)
Technically this keeps well in the fridge for up to 3 days. Though, to be honest, it never lasts that long in my house—a certain someone always raids the fridge at midnight. If you do manage to save some, just give it a stir and a splash of milk before eating.
How I Serve It (Read: Bribing Kids With Toppings)
I like it best with sliced banana and roasted pecans, but if I’m feeling fancy, a spoonful of berry jam on top is dreamy. My kid? She demands chocolate chips in hers, and my husband once put crumbled granola on his—not traditional, but who’s judging?
Pro Tips I Only Learned the Hard Way
- I once tried to skip the overnight part—nope, it was like chewing on drywall. Overnight really is the magic.
- If you add extra liquid before it’s set, you’ll have oat soup by morning. Learned that from a very strange Monday.
- Rushing the stirring step just leaves clumpy brown sugar pockets—delicious, but a bit uneven, so take a second and mix it well.
Questions My Friends (and a Stranger at Book Club) Have Asked
- Can I use steel-cut oats? Honestly, I’ve tried, and it just doesn’t work the same. Stick with rolled or quick oats.
- Is it okay to double the recipe? Sure is! I sometimes make a big batch on Sunday and it’s done me well for a few mornings—just stir before serving again.
- Does it taste better the next day? Actually, I think it does—the flavors get friendlier with a bit more time!
- What milk is best? Whatever you’ve got handy. I’m partial to oat milk lately, tastes super creamy.
- Do I have to eat it cold? Absolutely not—microwave for 30 seconds if you want it warm. Or just leave it on the counter while you get everyone ready and it chills a bit less.
So, there you have it. Brown Sugar Overnight Oats: simple, cozy, and honestly just a really good excuse to eat breakfast on the sofa. Enjoy!
Ingredients
- 1/2 cup old-fashioned rolled oats (I sometimes use quick oats—my gran would give me a look, but it still works.)
- 1/2 cup milk (dairy, oat, almond, whatever is lurking in your fridge—I’ve even used half yogurt, half milk in a pinch.)
- 2 teaspoons brown sugar (light or dark, both give a lovely caramel note—sometimes I throw in a third teaspoon because… well, it’s early!)
- 1/2 teaspoon ground cinnamon (not technically essential, but trust me, the difference is wild)
- Pinch of salt (this is the sleeper ingredient—don’t forget it; I did. Once.)
- Optional: 1/4 cup Greek yogurt (makes it extra creamy if you want—or skip if you don’t have it)
- Toppings: sliced banana, chopped nuts, raisins (my daughter likes peanut butter, but hey, you do you)
Instructions
-
1In a mason jar or any old bowl with a lid (I’ve literally used an empty jam jar), add oats, brown sugar, cinnamon, and salt. Give it a good stir; this is where I usually sneak a smell, because cinnamon and brown sugar? Pure happiness.
-
2Pour in your milk. Also throw in the Greek yogurt if you’re going that way. Stir again—don’t panic if it looks way too soupy; oats are like tiny sponges and they’ll soak it all up as they sleep.
-
3Pop the lid on (sometimes it’s just clingfilm over my mixing bowl, I won’t lie), then let it hang out in the fridge overnight, or at least 6 hours. If you forget and only have 3, it’s okay, it’ll just be a bit chewier.
-
4Next morning, stir again, check if it’s too thick (add a splash more milk if you like it looser). Top with banana, nuts, a dollop of peanut butter or whatever your heart wants.
-
5Then eat it cold, or warm it in the microwave for 30-45 seconds if you’re chilly (I usually do this in winter, because I’m not a monster!).
Approximate Information for One Serving
Nutrition Disclaimers
Number of total servings shown is approximate. Actual number of servings will depend on your preferred portion sizes.
Nutritional values shown are general guidelines and reflect information for 1 serving using the ingredients listed, not including any optional ingredients. Actual macros may vary slightly depending on specific brands and types of ingredients used.
To determine the weight of one serving, prepare the recipe as instructed. Weigh the finished recipe, then divide the weight of the finished recipe (not including the weight of the container the food is in) by the desired number of servings. Result will be the weight of one serving.
Did you make this recipe?
Please consider Pinning it!




