Oh, You Need This Caramel Apple Pie Yogurt Bowl in Your Life
So last autumn (gosh, where did the time actually go?) I decided to up my breakfast game, because honestly, I was tired of eating plain yogurt with a sad handful of granola staring into my phone. One chilly Saturday, with apples threatening to turn in the fruit bowl and a stubborn craving for anything remotely pie-like, this was born! I’m not saying it changed my life, but my mornings at least got a lot friendlier. Pro tip: it tastes just as dreamy as an afternoon snack. Or, occasionally, dinner. No judgment here.
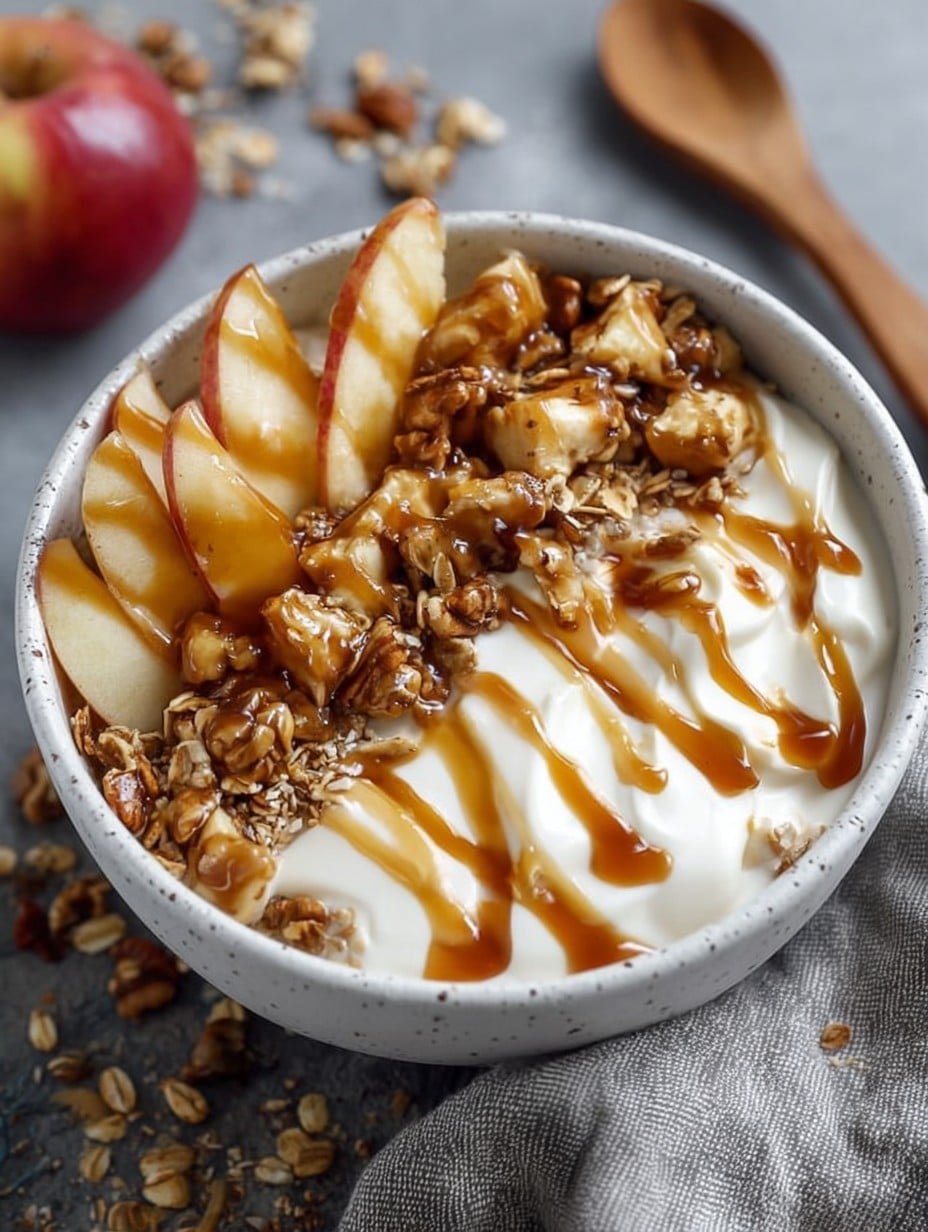
Why I Keep Coming Back to This Recipe
I make this whenever I want that whole apple pie warmth but don’t have three hours (or the patience, or the pie crust skills). My nephew goes wild for it—probably the caramel, if we’re honest. Sometimes the apples get a bit too soft; sometimes they’re crunchy, but somehow it always works. Plus, if I ever apologize for “cheating” with store-bought caramel sauce, someone always tells me to hush and just make more next time! It’s easy, customizable, and way less fussy than a real pie (though I will never shade a good slice of pie).
What You’ll Need: Ingredients & Real Talk Substitutes
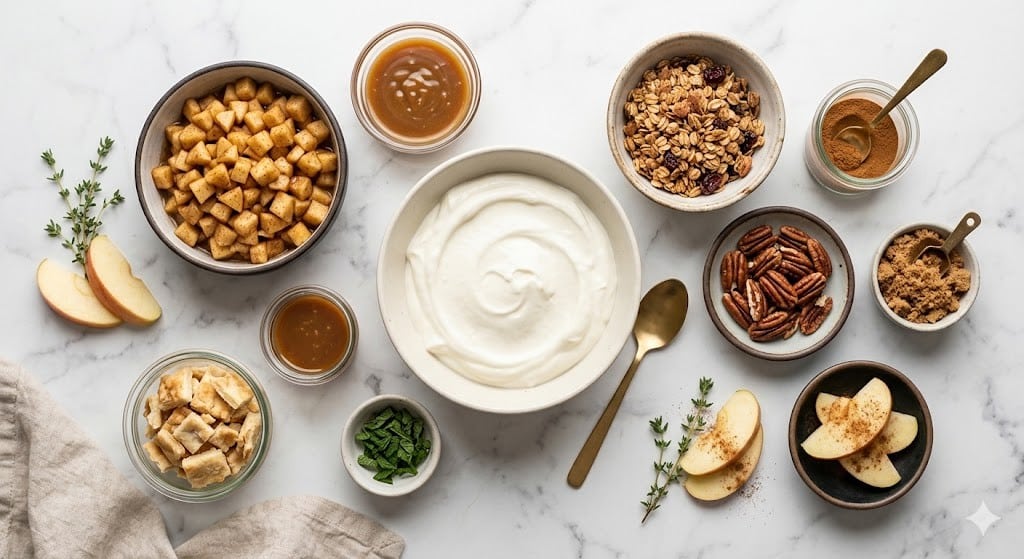
- 1 medium apple (I like Honeycrisp, but Granny Smith is good too. My grandma used Red Delicious, but honestly, any apple, even the last one at the bottom of your bag, works.)
- 170g (about 3/4 cup) plain Greek yogurt (sometimes I use vanilla if it’s what’s in the fridge—nobody has ever complained)
- 2 teaspoons caramel sauce (store-bought is totally fine; homemade if you’re feeling fancy)
- 1 teaspoon butter (salted or unsalted, pretty much whatever you’ve got)
- 1/2 teaspoon ground cinnamon (or a pinch more, because who measures cinnamon?)
- 1/4 teaspoon nutmeg (optional, but I’m a fiend for nutmeg this time of year)
- 1 tablespoon pecans or walnuts, roughly chopped (skip if nuts aren’t your thing, or swap in sunflower seeds for crunch)
- 1 teaspoon brown sugar (again, optional, but it gets that apple filling flavor spot-on)
- Pinch of salt
- Handful granola, for topping (optional, though what’s life without a little crunch?)
How To Pull This Off (Even Half Awake)
- Dice your apple into small-ish chunks; no need to fuss about peeling unless you’re really anti-peel (I’m too lazy for that most mornings).
- Heat a small frying pan over medium heat, drop in your butter, then slide in the apples. Let them sizzle just a bit.
- Sprinkle the cinnamon, nutmeg, salt, and brown sugar onto your apples. Stir them around a minute or two, until they start to soften and smell like, well, pie. I sometimes get impatient and eat a chunk right out of the pan. Watch your tongue. Hot sugar is no joke.
- Toss in the nuts and let them get a little toasty with the apples. Maybe one minute more. If the mixture looks sticky, you’re golden. If not, don’t stress—it’ll taste good regardless.
- Spoon your yogurt into a bowl (sometimes I swirl a little caramel right in at this stage because, why not?).
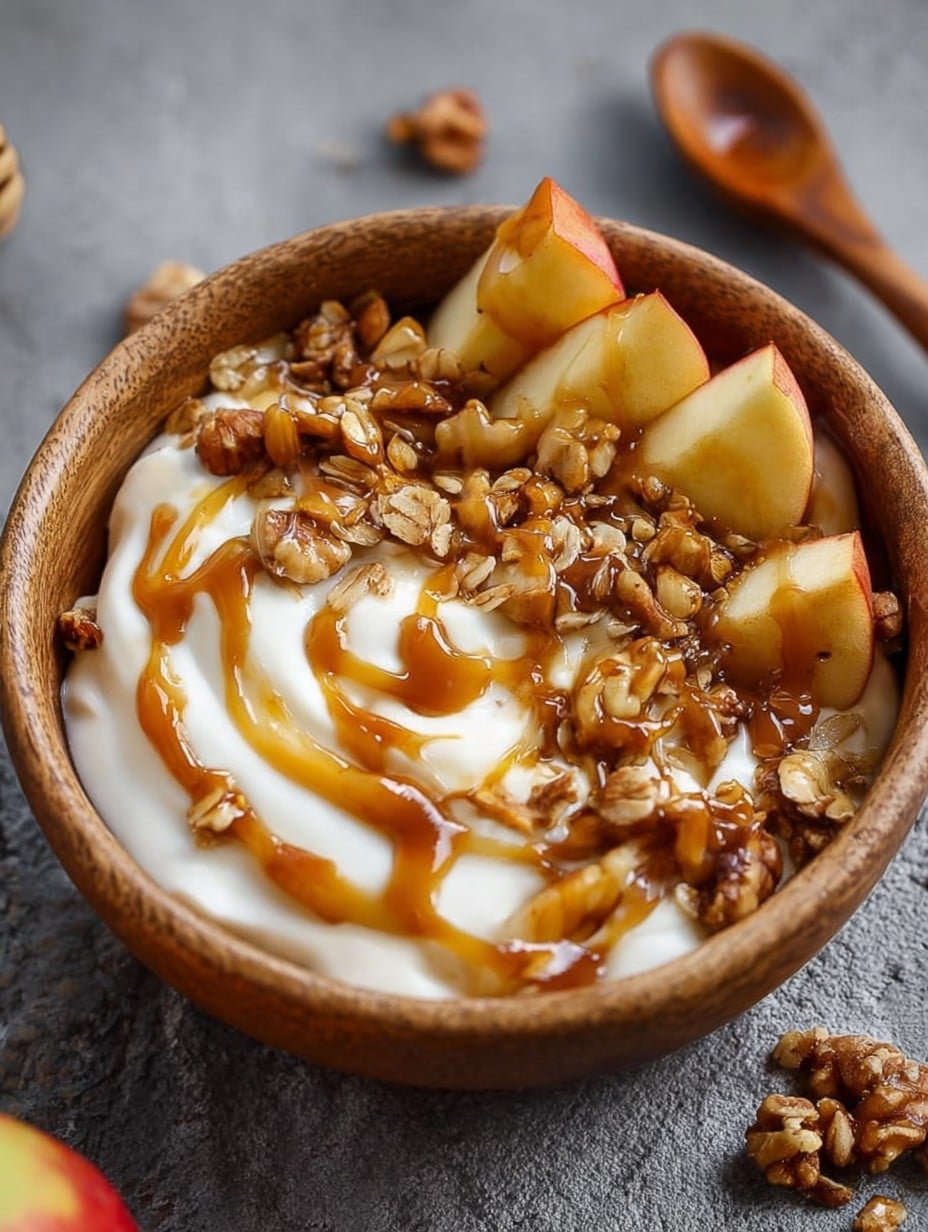
- Now pile those warm apples and nuts over the yogurt. The mixture can look a bit chaotic, but I swear that’s part of the charm.
- Drizzle with caramel sauce, then scatter granola on top. Sit back and admire. Or eat immediately (much more likely in my house).
Some Notes Nobody Tells You
- If your apples are super tart, just add a little more brown sugar. I once tried using pear instead—honestly, it didn’t scratch the apple itch, but it was okay.
- Greek yogurt is best for creaminess, but I’ve used regular when I ran out. Just not fat free, unless you want watery sadness.
Variations I’ve Experimented With (and a Fail)
- Mixing in a spoonful of peanut butter instead of nuts—surprisingly good if you like PB.
- Tried diced pears and a bit of ginger once, but it kind of just tasted… confused?
- A pinch of cardamom if you’re feeling wild. I once added raisins, but honestly, raisins have opinions.
The Stuff You Need (But Don’t Panic If You Don’t Have It)
- Small frying pan (ideally nonstick, but I used a cast iron skillet once—bit heavy, but worked!)
- Spatula or wooden spoon (a butter knife in a real pinch, been there)
- Mixing bowl (or mug—no judgment, big cups work too)
How to Store (Theoretically, If Any Survives)
Technically you can keep the stewed apples and nuts in a little container in the fridge for up to two days. But honestly, it barely lasts an hour around here. The yogurt, obviously, just goes back in its tub.
Ways I Like to Serve This
Sometimes I layer it parfait-style in little glasses for guests, but usually I grab a big bowl, dump it all in, and remember to add granola at the last second (my sister likes it extra crunchy, so she always adds more than I do). Great with coffee or, on weekends, with a splash of extra caramel and zero regrets.
May I Offer Some Friendly Pro Tips?
- If you rush the apples and keep the heat too high, they’ll just burn and get chewy (made that mistake more than once, oops). Low and slow wins here.
- If your caramel disappears into the yogurt, just add more on top—no one’s looking.
Questions I Actually Get (and Sometimes Ask Myself)
- Is this sweet enough for dessert? Honestly, yes—especially if you double the caramel. I mean, whose counting?
- Can I make it dairy-free? Yep, use coconut yogurt (delicious) and swap the butter for coconut oil.
- Will it keep overnight? The apples might get a bit soggy, but some folks love it that way. I think it tastes even better the next day, but that’s me.
- Do I need granola? No, but it adds crunch. I’ve used crushed digestive biscuits in a pinch; don’t tell the granola purists.
- Can I pack this for work? Sure—just keep the apples separate till you’re ready. Trust me, warm apples = happy desk lunch.
And on a totally unrelated note, do you ever find yourself humming while you cook these days? I caught myself belting the chorus to Superstition while stirring the apples, which might be why my neighbor asked what I was making. Anyway… Enjoy, and let me know if your version turns out even better.
Ingredients
- 1 medium apple (I like Honeycrisp, but Granny Smith is good too. My grandma used Red Delicious, but honestly, any apple, even the last one at the bottom of your bag, works.)
- 170g (about 3/4 cup) plain Greek yogurt (sometimes I use vanilla if it’s what’s in the fridge—nobody has ever complained)
- 2 teaspoons caramel sauce (store-bought is totally fine; homemade if you’re feeling fancy)
- 1 teaspoon butter (salted or unsalted, pretty much whatever you’ve got)
- 1/2 teaspoon ground cinnamon (or a pinch more, because who measures cinnamon?)
- 1/4 teaspoon nutmeg (optional, but I’m a fiend for nutmeg this time of year)
- 1 tablespoon pecans or walnuts, roughly chopped (skip if nuts aren’t your thing, or swap in sunflower seeds for crunch)
- 1 teaspoon brown sugar (again, optional, but it gets that apple filling flavor spot-on)
- Pinch of salt
- Handful granola, for topping (optional, though what’s life without a little crunch?)
Instructions
-
1Dice your apple into small-ish chunks; no need to fuss about peeling unless you’re really anti-peel (I’m too lazy for that most mornings).
-
2Heat a small frying pan over medium heat, drop in your butter, then slide in the apples. Let them sizzle just a bit.
-
3Sprinkle the cinnamon, nutmeg, salt, and brown sugar onto your apples. Stir them around a minute or two, until they start to soften and smell like, well, pie. I sometimes get impatient and eat a chunk right out of the pan. Watch your tongue. Hot sugar is no joke.
-
4Toss in the nuts and let them get a little toasty with the apples. Maybe one minute more. If the mixture looks sticky, you’re golden. If not, don’t stress—it’ll taste good regardless.
-
5Spoon your yogurt into a bowl (sometimes I swirl a little caramel right in at this stage because, why not?).
-
6Now pile those warm apples and nuts over the yogurt. The mixture can look a bit chaotic, but I swear that’s part of the charm.
-
7Drizzle with caramel sauce, then scatter granola on top. Sit back and admire. Or eat immediately (much more likely in my house).
Approximate Information for One Serving
Nutrition Disclaimers
Number of total servings shown is approximate. Actual number of servings will depend on your preferred portion sizes.
Nutritional values shown are general guidelines and reflect information for 1 serving using the ingredients listed, not including any optional ingredients. Actual macros may vary slightly depending on specific brands and types of ingredients used.
To determine the weight of one serving, prepare the recipe as instructed. Weigh the finished recipe, then divide the weight of the finished recipe (not including the weight of the container the food is in) by the desired number of servings. Result will be the weight of one serving.
Did you make this recipe?
Please consider Pinning it!




