Let’s Talk About Chocolate Banana Peanut Butter Bites
Okay, confession time: I’ve been making these little Chocolate Banana Peanut Butter Bites since—oh, I dunno, some rainy Tuesday years ago when I needed a pick-me-up between conference calls and my cat nearly stole the finished batch. It’s one of those recipes I come back to when craving something sweet but not too fussy. My kids (and, let’s be real, I) call them ‘banana chocolates’ even though that’s not really a thing. But hey, once you taste these, you’ll get it; names don’t matter as much as chocolaty fingers and a happy mouth, right?
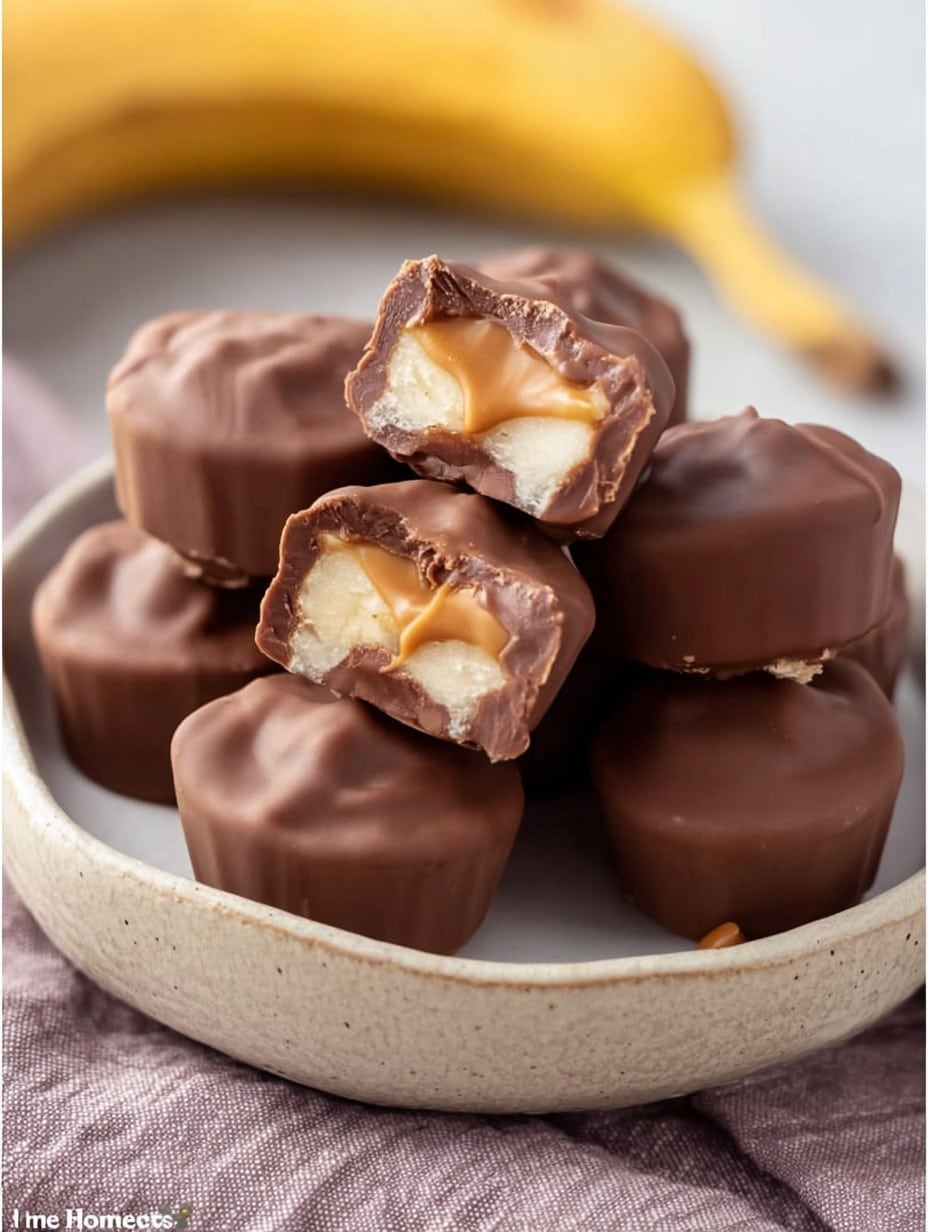
Why You’ll Love These (Honestly, I Can’t Stop Making Them)
I make these when the bananas are on that edge—you know, not quite smoothie fodder but definitely too soft for cereal. My family goes wild for them because they’re sweet but, somehow, not overly so. And look, if you ever get flustered by melted chocolate taking ages to set, trust me, I used to get all huffy about that too (now I just make peace with a slightly messy counter). They’re basically foolproof, unless you forget them in the freezer… which I have. Once. Maybe twice.
Here’s What You’ll Need (With My Favorite Swaps)
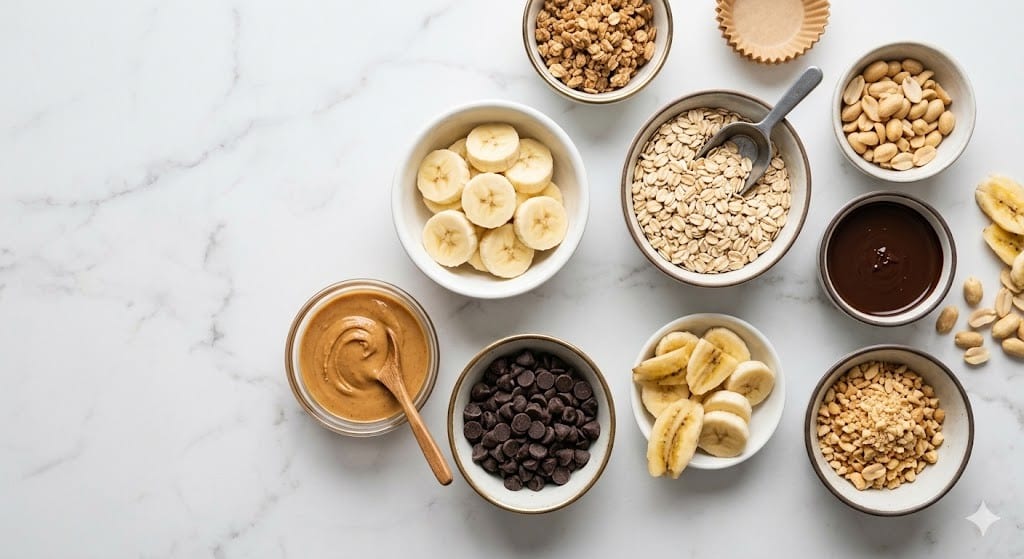
- 2 large bananas (ripe is best, but not falling apart; I sometimes use 3 if they’re tiny)
- 1/4 cup peanut butter (any brand, but my grandma always used Jif—I’m less fussy; sometimes almond butter sneaks in if that’s all we’ve got)
- 1 cup semi-sweet chocolate chips (milk chocolate is good too; or dark, if you’re feeling fancy or slightly dramatic)
- 1 teaspoon coconut oil (I’ve also tried a splash of canola when out of coconut—worked fine)
- Pinch of sea salt (optional; sometimes I forget and nobody notices)
How To Throw These Together (Some Steps Are Messy, Sorry!)
- Slice the bananas into coins, about 1/2 inch thick. Not too thin—they flop.
- Lay half of the banana slices out on a plate or small baking tray lined with parchment (wax paper works, too).
- Scoop a bit of peanut butter (maybe a small spoonful or a generous dab; you know your taste) onto each banana coin.
- Top with another banana coin, making a sort of sandwich. If they slide around, just laugh—it’s normal!
- Pop the assembled bites into your freezer for 15–20 minutes. This makes it less sticky for the chocolate dip (well, mostly less).
- Meanwhile, melt the chocolate chips and coconut oil together in a microwave-safe bowl—in 30-second bursts, stirring after each, so you don’t scorch the whole thing. Learned that one the hard way. Or use a double boiler if you’re feeling posh.
- Dip each banana sandwich into the melted chocolate, swirling it around so it gets mostly coated. Fingers get messy—totally worth it. Place back on the parchment. Sprinkle with sea salt if you remember.
- Stick the whole tray back in the freezer for at least 45 minutes. (This is where I usually sneak a taste. No shame.)
- Once they’re set, eat ‘em straight away, or keep in a container in the freezer. Thaw for a couple minutes if your teeth are sensitive, like mine in winter!
Little Discoveries & Notes From My Many Attempts
- Don’t overfill with peanut butter—it squishes out, and then it’s just chaos.
- If your chocolate seizes up, add a smidge more coconut oil and curse softly. It usually helps.
- I honestly think these taste better the next day, if you can wait. Which I never do.
Other Ways I’ve Tried This (and the One I Regret!)
- Swapped almond butter in—delicious, especially with a bit of cinnamon dusted on top.
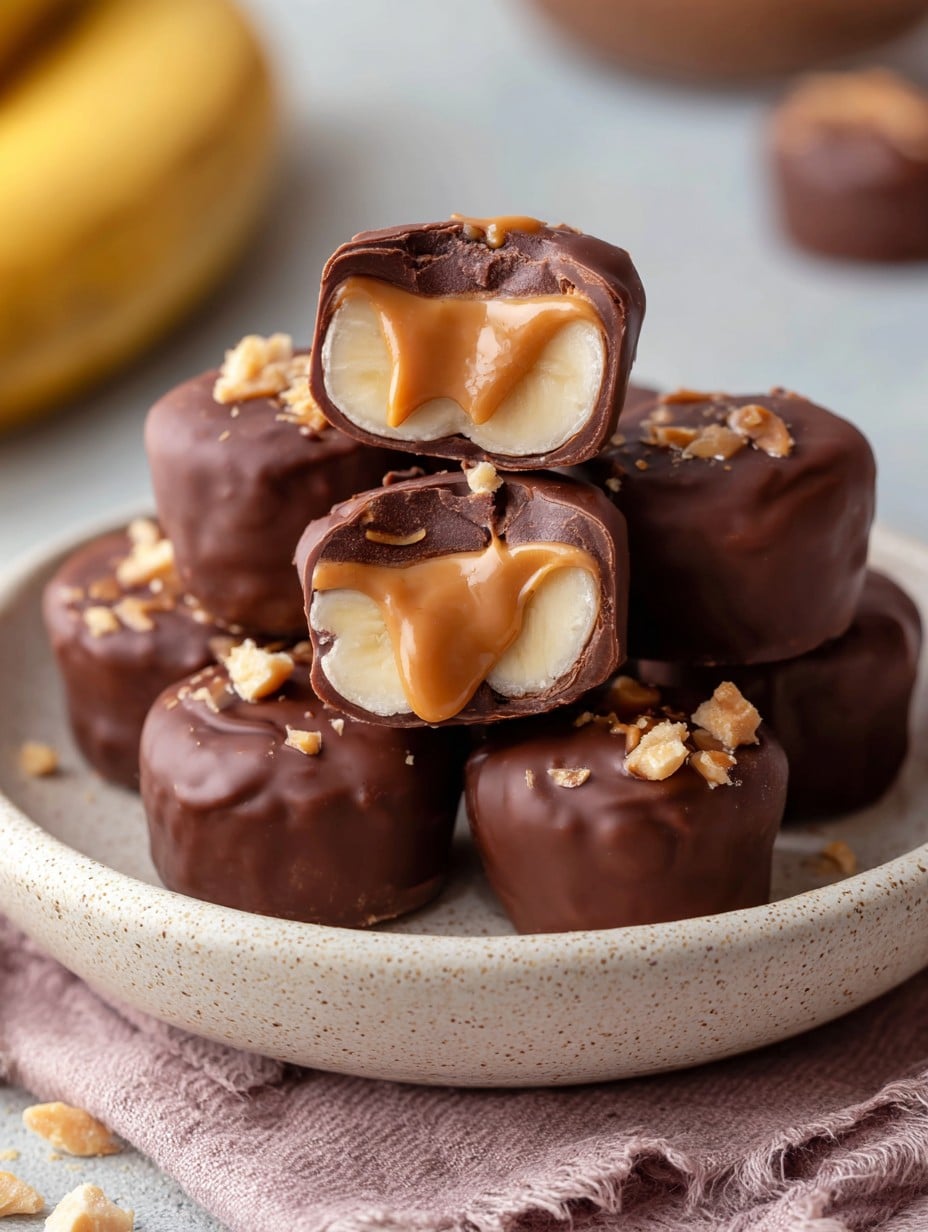
- Added a few chopped peanuts between the bananas (fancy, but I just ended up with more things on my floor).
- Tried rolling the finished bites in crushed pretzels once. Would not recommend—too salty and honestly, kind of a mess.
Kit You’ll Want (Or Just Wing It Like Me)
- A small, sharp knife for slicing bananas
- Microwave or double-boiler for melting chocolate (But honestly, you can put a heatproof bowl over a saucepan. I’ve even used a mug in a pinch!)
- Parchment or wax paper—no one likes welded-on chocolate.
- Baking tray or just a dinner plate if you can’t find yours at the back of the cupboard. Story of my life.
How to Store (Although Good Luck With That)
Technically, you can keep these bites in a sealed container in your freezer for up to a week. Real talk though—in my house, they don’t last more than a day. Once, I found a stray bite behind the ice tray after a PARTY, and yeah, it still tasted good (don’t judge!).
Serving Suggestions: What We Do
If I’m feeling grown-up, I serve these little bites on a proper plate with espresso. Sometimes the kids ask for whipped cream on top. There was a time we made a game out of guessing if there was peanut butter or Nutella inside (that probably says too much about my parenting style).
Lessons Learned (AKA Pro Tips So You Don’t Have to Mess Up Like I Did)
- Don’t rush the freezing. I once tried to dip the banana sandwiches in chocolate immediately—slippery disaster, chocolate all over the place. Actually, it was kind of fun, but not ideal.
- Make sure your bananas aren’t too ripe or you’ll end up with mash instead of slices. Or be prepared for an, um, abstract shape.
Chocolate Banana Peanut Butter Bites FAQ
Can I use a different nut butter? Oh, totally. Almond or cashew butter works just fine. Even sunflower seed butter if you need these nut-free (did that once for my nephew who has allergies; couldn’t really taste the difference, honestly).
Is there a way to make these vegan? Yep! Just pick dairy-free chocolate chips. The rest is already vegan. Super easy win.
My chocolate is all lumpy! What gives? Ahh, that’s that pesky seizing. Usually, a bit of extra coconut oil or even a splash of regular neutral oil gets it glossy again. And if you’ve overheated it—you may be S.O.L. (that’s an Aussie thing!) but you can always eat it with a spoon.
How do you stop them sticking to the tray? Parchment or wax paper. Or, in a pinch, I’ve even dusted a plate with a bit of powdered sugar. It’s… not perfect, but nothing’s wasted in my house.
Can I double the recipe? Please do. You’ll thank yourself later. Or your friends will.
(One last thing, if you ever accidentally make too many—just bring ‘em to work. You’ll be suddenly very popular. Learned that the fun way.)
Ingredients
- 2 large bananas (ripe is best, but not falling apart; I sometimes use 3 if they’re tiny)
- 1/4 cup peanut butter (any brand, but my grandma always used Jif—I’m less fussy; sometimes almond butter sneaks in if that’s all we’ve got)
- 1 cup semi-sweet chocolate chips (milk chocolate is good too; or dark, if you’re feeling fancy or slightly dramatic)
- 1 teaspoon coconut oil (I’ve also tried a splash of canola when out of coconut—worked fine)
- Pinch of sea salt (optional; sometimes I forget and nobody notices)
Instructions
-
1Slice the bananas into coins, about 1/2 inch thick. Not too thin—they flop.
-
2Lay half of the banana slices out on a plate or small baking tray lined with parchment (wax paper works, too).
-
3Scoop a bit of peanut butter (maybe a small spoonful or a generous dab; you know your taste) onto each banana coin.
-
4Top with another banana coin, making a sort of sandwich. If they slide around, just laugh—it’s normal!
-
5Pop the assembled bites into your freezer for 15–20 minutes. This makes it less sticky for the chocolate dip (well, mostly less).
-
6Meanwhile, melt the chocolate chips and coconut oil together in a microwave-safe bowl—in 30-second bursts, stirring after each, so you don’t scorch the whole thing. Learned that one the hard way. Or use a double boiler if you’re feeling posh.
-
7Dip each banana sandwich into the melted chocolate, swirling it around so it gets mostly coated. Fingers get messy—totally worth it. Place back on the parchment. Sprinkle with sea salt if you remember.
-
8Stick the whole tray back in the freezer for at least 45 minutes. (This is where I usually sneak a taste. No shame.)
-
9Once they’re set, eat ‘em straight away, or keep in a container in the freezer. Thaw for a couple minutes if your teeth are sensitive, like mine in winter!
Approximate Information for One Serving
Nutrition Disclaimers
Number of total servings shown is approximate. Actual number of servings will depend on your preferred portion sizes.
Nutritional values shown are general guidelines and reflect information for 1 serving using the ingredients listed, not including any optional ingredients. Actual macros may vary slightly depending on specific brands and types of ingredients used.
To determine the weight of one serving, prepare the recipe as instructed. Weigh the finished recipe, then divide the weight of the finished recipe (not including the weight of the container the food is in) by the desired number of servings. Result will be the weight of one serving.
Did you make this recipe?
Please consider Pinning it!




