So, You Want to Bake a Chocolate Chip Cookie Pie?
Let me tell you, the first time I made chocolate chip cookie pie, the kitchen looked like a cookie dough tornado rolled through. My little brother licked half the spoon before I could even say, ‘Oi, that’s for the pie!’ (And yeah, I pretended not to notice because, honestly, that’s half the fun—unless it’s company coming over. Then it’s new spatula time). This is one of those treats that started as a rainy-Saturday experiment and now, well, I’m basically not “allowed” to visit certain people’s houses unless I bring one—no pressure though, right?
Why You’ll Love This (Or, Why I Can’t Stop Making It)
I pull this recipe out when I want something cozy that pulls together in a snap—especially during those weeks I can’t remember where I left my good whisk or if the eggs are even still good (they usually are, don’t overthink it). Everyone in my family goes bonkers for this pie, even my friend June who loudly claims she DESPISES chocolate chips—but always happens to wander through the kitchen just as I pull it from the oven. And hey, if your dough looks funny at any point, keep going. Trust me. My first attempt looked like a plate of brown sludge and still tasted like heaven.
What Goes In—Or, Stuff I Usually Have on Hand
- 1 unbaked pie crust (store-bought is fine, don’t let anyone give you grief—my gran says Pillsbury but I’ve used whatever was on sale)
- 2 large eggs
- ½ cup (1 stick) unsalted butter, melted (or use salted and skip a pinch of salt later, because life’s short)
- ½ cup plain flour (I’ve swapped half for whole wheat before—no one noticed)
- ½ cup granulated sugar
- ½ cup brown sugar—light or dark, whichever’s lurking in your cupboard
- 1 cup semisweet chocolate chips (no one’s ever yelled if I tossed in toffee bits or swapped chips for chopped dark chocolate, either)
- 1 cup chopped nuts—pecans or walnuts. Or skip! My nephew is nut-averse so sometimes I just toss more chips in, if he’s over.
- A pinch of salt (ignore if you used salted butter)
- 1 splash vanilla extract—let’s call it about 1 teaspoon, but I rarely measure exactly
How I Usually Throw It Together
- Preheat the oven to 325°F (about 160°C). I forget sometimes, so if you do, just give the pie a minute longer to bake—no biggie.
- Slap that pie crust into a 9-inch pie plate. It doesn’t have to look perfect; I pinch the edges if I’m feeling fancy. Otherwise, just squish it in.
- Whisk up the eggs in a big bowl till they’re kind of frothy—that’s when I remember to hunt down the sugar, which is inevitably behind the pasta.
- Add the sugars and melted butter to the eggs. (Confession: I melt the butter in the microwave and usually let it cool for a minute so it doesn’t scramble the eggs. Ask me how I know that matters!)
- Stir in the flour, salt, and vanilla. It’ll look thick—don’t panic. That’s normal. Actually, it looks sort of wonky at this stage every time, but somehow always works itself out.
- Fold in the choc chips and nuts (or extra chips, or whatever you need to use up—one time I tossed in mini marshmallows. Wouldn’t repeat, but hey, we live and learn).
- Pour it all into your crust. Here’s where I usually swipe a taste with my finger—quality control, right?
- Bake for about 50-55 minutes. Start checking around 45; my old oven cooks hot, your mileage may vary. If the middle wobbles a lot, give it a few more minutes. The top will be gorgeously golden either way.
- Cool on a rack (okay, I just use the stovetop) until you can resist no longer, or at least 30 minutes.
A Few Notes from the Pie Trenches
- This thing firms up as it sits. Sometimes, it slices cleaner the next day—if you can wait that long. I can’t.
- If your crust edges get too brown, just tuck foil over them. Or let them get brown and call it rustic, as my aunt would say.
- Don’t stress if the center sinks slightly when cooling. That’s normal. Every pie does its own thing.
Variations I’ve Tried—And a Slip-Up
- Swapping peanut butter chips for half the chocolate—oh my, it’s good.
- Using coconut oil instead of butter. Actually, I find it works better if you don’t do this; it just tasted off to me. Maybe you’ll have better luck.
- Once I used white chocolate and dried cranberries—festive, but folks called it “breakfast pie.”
Necessary Gear (Or What I Usually Grab)
- 9-inch pie plate (I’ve made it in a brownie pan before—comes out more like cookie bars but still disappears fast)
- Mixing bowl and spoon (no stand mixer required—arm power builds character!)
- Whisk or fork for eggs
- If no pie plate, just use anything oven-safe—it’s liberating
Storing the Leftovers—If You Even Have Any
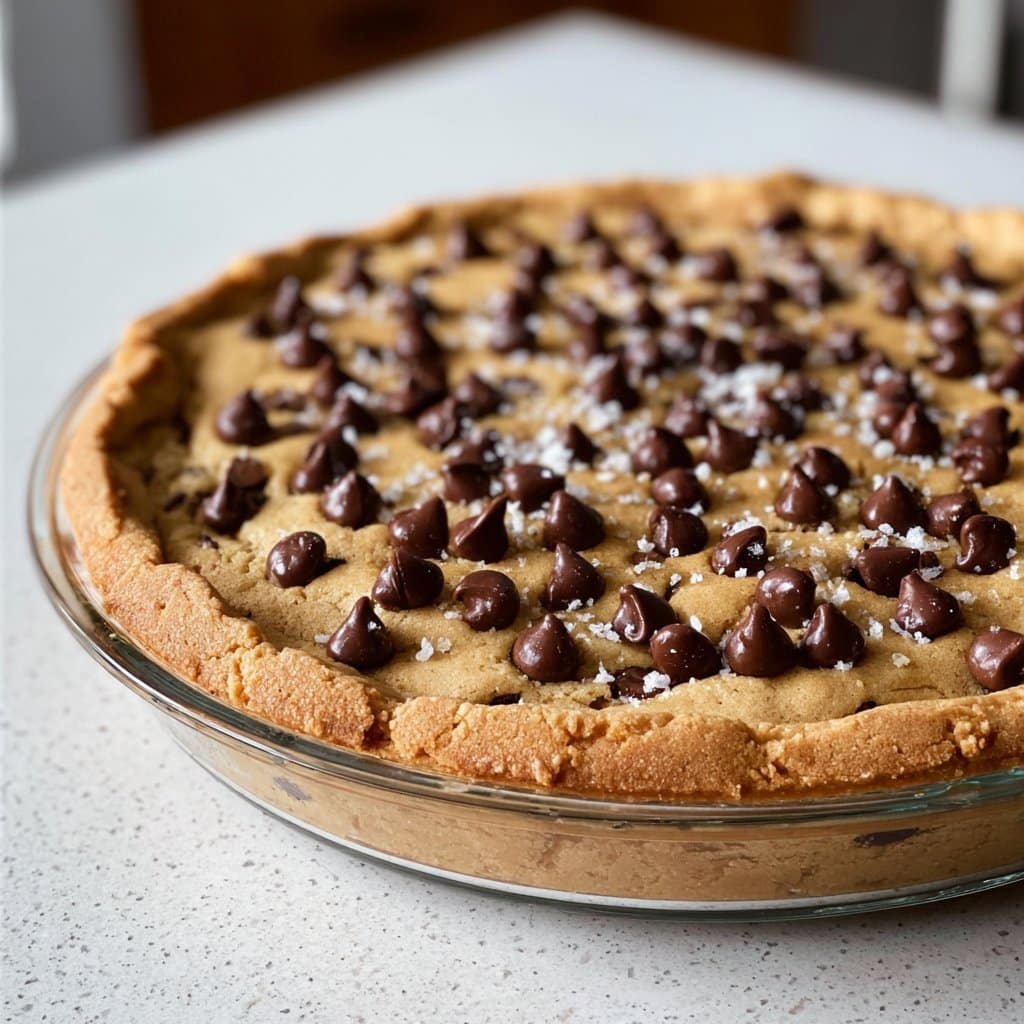
Truth be told, this pie never makes it past breakfast in my house. But if you do have leftovers, just cover and keep at room temp up to two days. Or fridge if you’re extra cautious (though don’t be surprised if it dries out a bit).
How I Like to Serve It
Big scoops with vanilla ice cream on top, straight from the pie dish if it’s family. For company or potlucks, I’ll dust it with powdered sugar and drizzle a bit of chocolate—fancy! My cousin swears by salted caramel sauce, but I still think nothing beats a puddle of melty ice cream.
Learned the Hard Way: My Not-So-Professional Tips
- Don’t rush the cooling: I cut into it steaming hot once and everything just oozed off the plate (delicious, inconvenient).
- Actually, letting butter cool a minute before mixing is important. Learned that form trial and error.
- A sprinkle of salt on top changes everything—but don’t overdo, or you’ll get the salt stare at the table.
Questions Folks Actually Ask Me
- Can I make this gluten-free? Probably! Haven’t tried it myself, but I hear swapping with a 1:1 GF flour works (Bob’s Red Mill is popular—see their primer). Give it a whirl.
- Can I freeze chocolate chip cookie pie? You can! Just wrap tight, freeze up to a month, and thaw overnight on the counter. I think it stays chewier if you warm it a bit before serving.
- Egg replacers: do they work? I’ve tried flax eggs once—created a denser pie but it still vanished at a family BBQ, so…yes?
- Is it better warm or cold? Hot take—warm is best with ice cream, but I tend to think it tastes richer the day after baking (if I have enough self-control to wait).
- Do I really need a pie plate? Not really! The pie doesn’t mind. Any oven-safe 9-inch-ish dish works. Heck, I’ve used a cast iron skillet just for fun.
One last thing—somehow, every time I make this, I end up humming the same silly tune I heard on a British baking show. No idea what the song’s called, but if you catch yourself tapping along too, just go with it. Oh, and if you’re after pie crust tips, Sally’s Baking Addiction has an amazing homemade crust tutorial—not that I’ve ever bothered, but maybe you’re a crust hero. Have fun, and let your cookie pie flag fly!
Ingredients
- 1 unbaked 9-inch pie crust
- 2 large eggs
- 1/2 cup all-purpose flour
- 1/2 cup granulated sugar
- 1/2 cup packed brown sugar
- 3/4 cup unsalted butter, melted and cooled
- 1 cup semisweet chocolate chips
- 1 cup chopped walnuts (optional)
- 1 tsp vanilla extract
- 1/4 tsp salt
Instructions
-
1Preheat oven to 325°F (163°C). Place the pie crust into a 9-inch pie dish if not already prepared.
-
2In a large bowl, beat eggs until foamy. Add flour, granulated sugar, and brown sugar. Mix until well combined.
-
3Blend in the melted butter, vanilla extract, and salt until smooth.
-
4Stir in chocolate chips and walnuts (if using). Pour the mixture into the prepared pie crust.
-
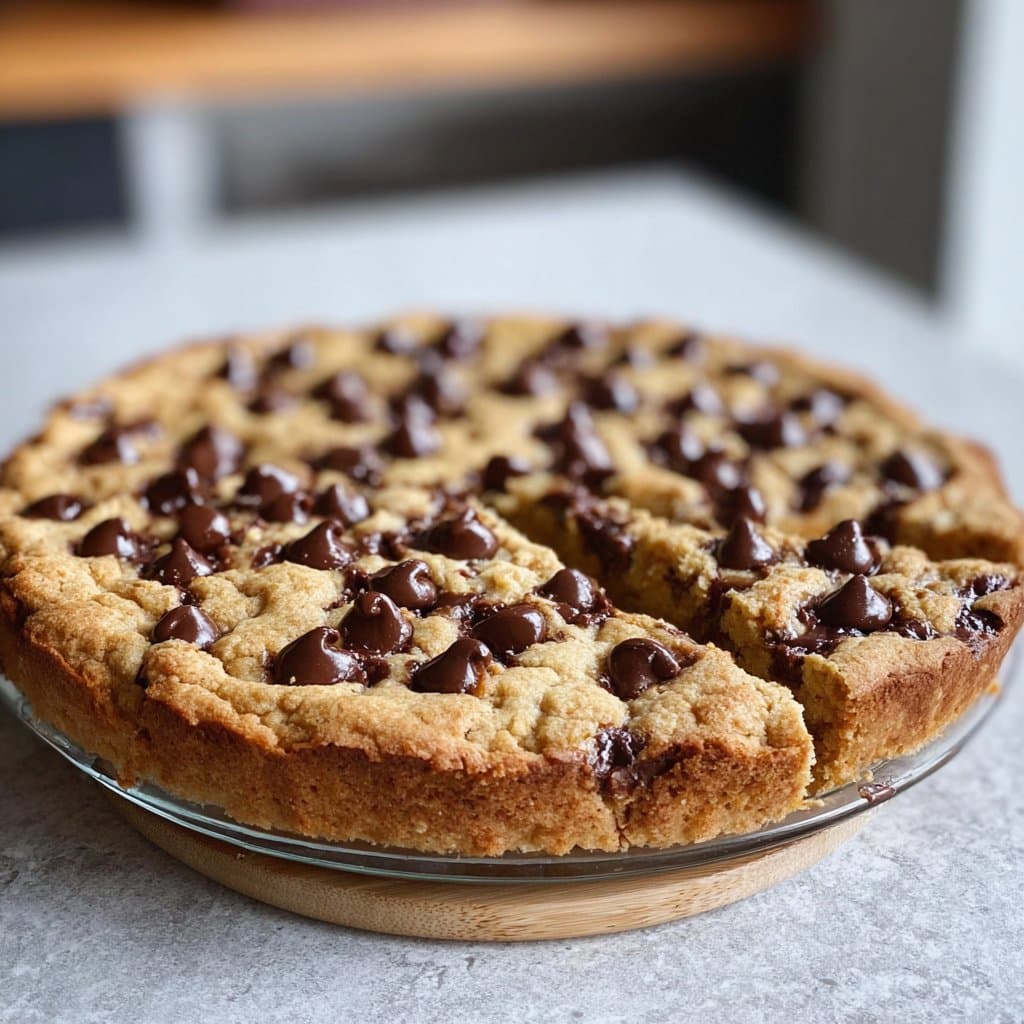
5Bake for 35 minutes or until the top is golden brown and the center is set. Let cool before slicing and serving.
Approximate Information for One Serving
Nutrition Disclaimers
Number of total servings shown is approximate. Actual number of servings will depend on your preferred portion sizes.
Nutritional values shown are general guidelines and reflect information for 1 serving using the ingredients listed, not including any optional ingredients. Actual macros may vary slightly depending on specific brands and types of ingredients used.
To determine the weight of one serving, prepare the recipe as instructed. Weigh the finished recipe, then divide the weight of the finished recipe (not including the weight of the container the food is in) by the desired number of servings. Result will be the weight of one serving.
Did you make this recipe?
Please consider Pinning it!!