Let Me Tell You About These 4th of July Red Velvet Cookies
So here’s a funny thing—I used to think red velvet was just chocolate cake wearing a red hat. Turns out, it’s its own quirky little flavor, and honestly, the cookies version might beat the cake for me (sacrilege, I know). Every 4th of July, my kitchen looks like a firecracker factory after these hit the oven—red crumbs everywhere, kids sneaking bites off the cooling rack.
It isn’t a proper cookout at my aunt Pat’s unless someone brings a huge plate of these. And if you catch me eating one before dinner? Maybe act like you saw nothing.
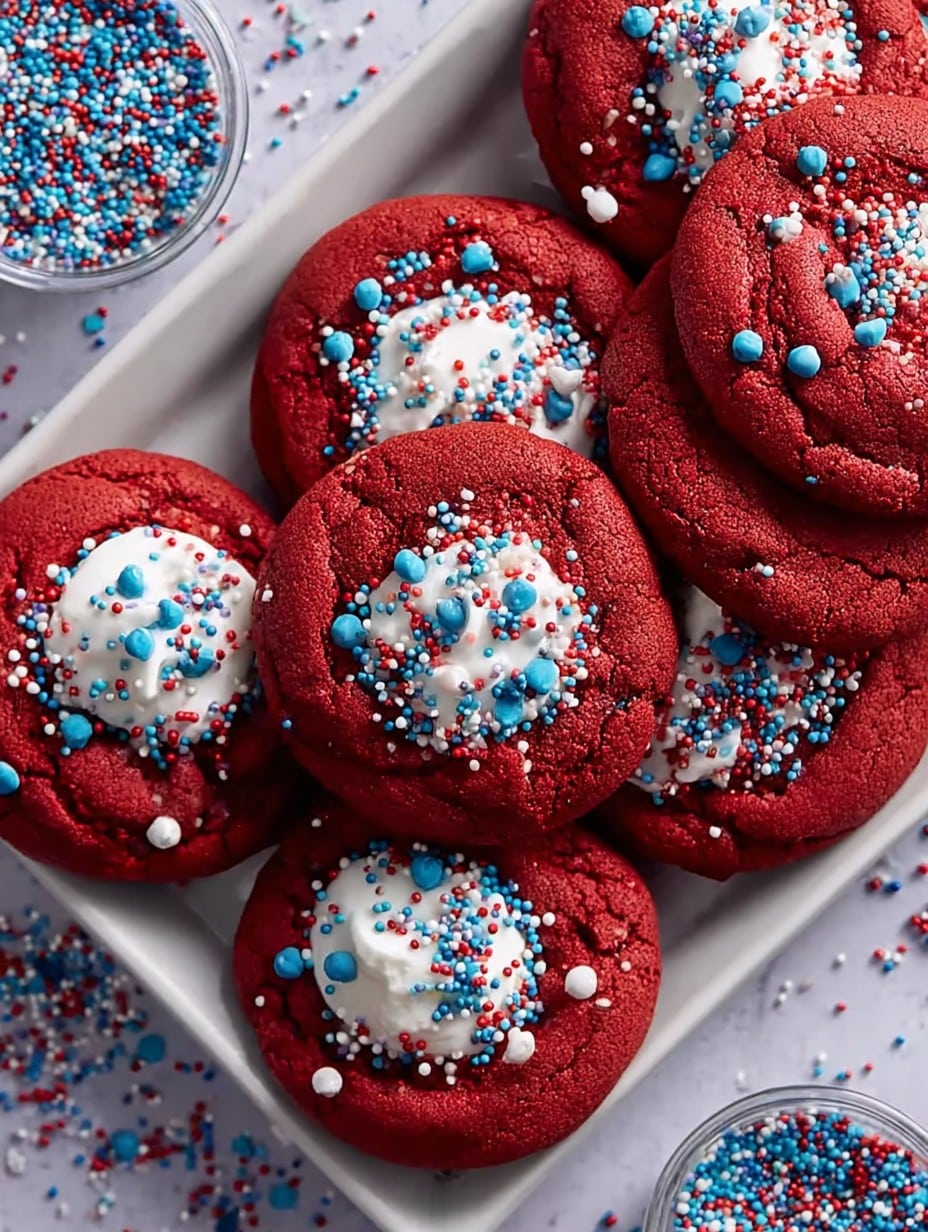
Why You’ll Love This Recipe (Or at least, I really do)
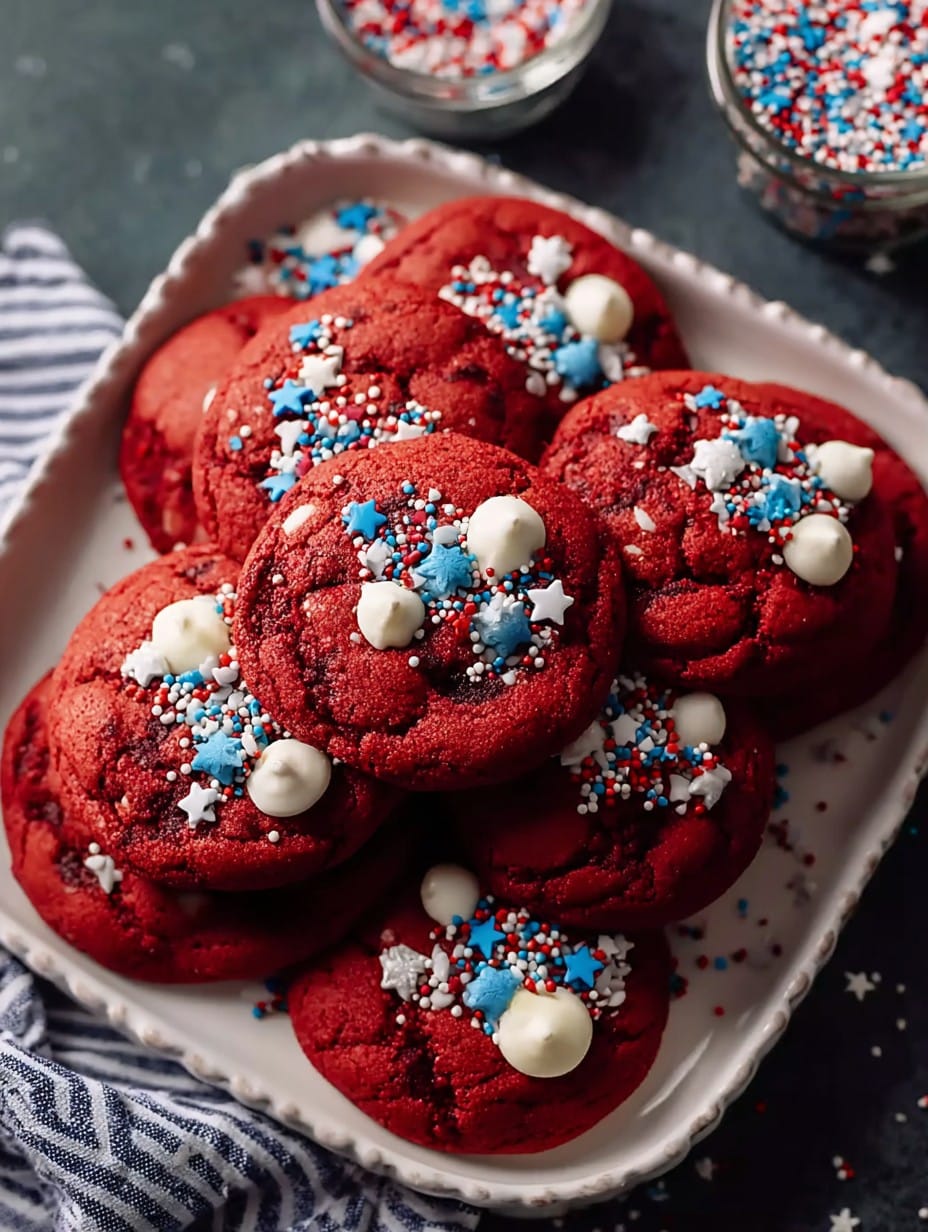
I make these when I want that “Oh wow, what bakery did you get these from?” reaction, but with about 30 minutes and one mixing bowl. My family goes nuts for the gooey white chocolate chips, and honestly, that vibrant red color makes them scream summer picnic.
They also hide recipe mishaps pretty well (once subbed yogurt for sour cream—didn’t realize till I bit in, but nobody else noticed). And they stay soft even when you forget about them for, uh, a while.
Gather These Ingredients (Substitutions Totally Welcome)
- 1 1/2 cups all-purpose flour (sometimes I sneak in a bit of whole wheat, but don’t tell the kids)
- 1/4 cup unsweetened cocoa powder (Dutch process if you fancy it, but standard is fine—my grandma swears by Hershey’s and she might haunt me if I disagree)
- 1/2 teaspoon baking soda
- 1/4 teaspoon salt (eyeball it, but don’t skip it!)
- 1/2 cup unsalted butter, softened (I’ve cheated with margarine in a rush—works, but go butter if you can)
- 3/4 cup granulated sugar
- 1/4 cup packed light brown sugar
- 1 large egg
- 1 tablespoon milk (any—from oat milk to 2%—I’ve done both)
- 2 teaspoons vanilla extract
- 1 teaspoon white vinegar (yes, seriously—it makes the color pop and helps the texture out too)
- 1 tablespoon red food coloring (gels are best but honestly, the liquid stuff from the bargain aisle works in a pinch)
- 1 cup white chocolate chips (half milk chocolate, half white is actually pretty fun too!)
Let’s Bake! Step-By-Step (More Or Less)
- First off, preheat your oven to 350 F (180 C, for my friends across the pond), and park two baking sheets with parchment so nothing sticks.
- In a bowl (the big one with no chips in it), whisk together flour, cocoa powder, baking soda, and salt. I just use a fork most days—whatever’s handy.
- Cream butter, both sugars, and beat them until fluffy. Can be done with a sturdy wooden spoon if you missed arm day at the gym. (But a mixer makes it easy peasy.)
- Add your egg, milk, vanilla, vinegar, and food coloring. This is where your dough will start to resemble a magic trick gone awry—don’t panic, it’s normal. Stir till combined.
- Gradually add those dry ingredients to your red gooey mixture. Go slow, unless you like wearing flour. Mix just until there’s no obvious streaks—overmixing is the villain here.
- Fold in white chocolate chips, or whatever chocolate you’re feeling. Sneak a chip for quality control (I always do).
- Drop heaping tablespoonfuls onto your baking sheets. Make them thick-ish; they spread a bit (but not much, so don’t panic if they stay pretty tall).
- Bake for about 10–12 minutes. The edges should be just set—the centers might look a little soft, but that’s perfect. Nobody likes a dry cookie.
- Cool on the sheet for 5 minutes before moving them to a wire rack. Or, let them cool completely if you want less mess. But honestly, they’re best still a tiny bit warm.
Notes & Honest Observations
- If you forget the vinegar, the cookies still work, but they’re just a bit less vibrant and maybe (just maybe) a touch flatter—I learned this the hard way.
- If you opt for Dutch process cocoa, the flavor deepens, but don’t expect the classic ‘red velvet look’ to stay as bright. I kinda prefer the taste, though.
- If your dough looks a little dry after mixing, add another splash of milk. Or if it’s super sticky, let it chill for 15 minutes (or longer, if you get distracted watching TV).
- One time, I used beet powder instead of food coloring—looked beautiful, tasted a tad… earthy, for lack of a better word. I wouldn’t, honestly.
Cookie Variations (Some Success, Some Not So Much)
- Tried tossing in a handful of chopped pecans once—it was pretty good, though the kids gave me the stink eye.
- Made them into cookie sandwiches with cream cheese frosting. That nearly started a family feud at lunchtime—so good.
- Left out the chocolate chips and added mini marshmallows. Not again—the marshmallows mostly vanished (and left odd holes… oops).
About the Equipment (And What To Do If You Don’t Have It)
- A stand mixer or hand mixer speeds things up, but you can totally mix everything old-school with a big spoon. I do, especially when I can’t find the mixer beaters (which is all the time).
- Parchment paper keeps the bottoms perfect. No parchment? Grease the sheet real well, or try a silicone baking mat if you’re feeling fancy.
- Wire rack is nice for cooling—if you don’t have one, just move the cookies to a cold plate after a few minutes. Or straight to your mouth (no judgment).
How To Store ‘Em (If You Have Leftovers!)
These keep in an airtight container for up to 3 days, but let’s be honest: in my house, they’re lucky to see sunrise the next morning. If you somehow end up with more than you can handle, you can freeze the baked cookies (layered with parchment between them), and thaw as needed for late night TV snacks.
Serving Ideas (What We Actually Do)
We put these out on the picnic table with an oversized American flag napkin underneath. My cousin dips hers in cold milk—says it brings out the chocolate; I just stuff mine with a scoop of vanilla ice cream if nobody’s looking. Perfect for after the fireworks, while everyone tells stories that get taller every year.
Pro Tips I Learned The Hard Way
- Don’t rush the baking time or crank the oven up “just a little”—I once did that, thinking I could beat the cookie rush. Ended up with crispy (not in a good way) edges and raw middles. Let them bake until just set, then cool on the sheet.
- If you try to mix in all the flour at once, you’ll curse yourself later as your dough grows muscles and refuses to combine. Actually, it’s way easier adding it in a few batches.
- It’s tempting to skip sifting the cocoa, but if you do, be prepared for surprise bitter bites. Lesson learned.
Questions I Actually Get (Believe It Or Not)
- Can I use natural cocoa powder instead of Dutch process?
Yep, and actually that’s what I usually do. Flavor will be lighter, but it’s still great. Use whatever’s in your cupboard. - What if I only have salted butter?
No biggie—just leave out most or all of the extra salt from the recipe. Or, if you forget, you’ll probabaly survive—it isn’t going to ruin the cookies. - Do I really need the vinegar?
It helps the color and the texture, but in a pinch, you can leave it out. The cookies will still taste good. But I’d add it if you can. - Can I make these ahead?
Absolutely! Actually, I think they taste even better the day after baking. Let them cool, then tuck them in a container. Just try to hide them from the snack monsters. - Is there any way to make these gluten-free?
Yeah; swap with a good 1:1 gluten free flour blend. I’ve tried it, and though the dough is a bit softer and the cookies spread more, it works out pretty well. - My cookies turned out pale—what gives?
Check your food coloring (sometimes the bargain stuff is a bit weak), or use more next time. Don’t worry, they’ll still vanish at the bbq.
And, side note: I once tried baking these while catching up on a phone call and measuring things more by “feel” than science. The cookies turned out great, if a tad wonky-shaped. That’s sort of the beauty, right? Anyway, happy 4th—make extra, just to be safe!
Ingredients
- 1 1/2 cups all-purpose flour (sometimes I sneak in a bit of whole wheat, but don’t tell the kids)
- 1/4 cup unsweetened cocoa powder (Dutch process if you fancy it, but standard is fine—my grandma swears by Hershey’s and she might haunt me if I disagree)
- 1/2 teaspoon baking soda
- 1/4 teaspoon salt (eyeball it, but don’t skip it!)
- 1/2 cup unsalted butter, softened (I’ve cheated with margarine in a rush—works, but go butter if you can)
- 3/4 cup granulated sugar
- 1/4 cup packed light brown sugar
- 1 large egg
- 1 tablespoon milk (any—from oat milk to 2%—I’ve done both)
- 2 teaspoons vanilla extract
- 1 teaspoon white vinegar (yes, seriously—it makes the color pop and helps the texture out too)
- 1 tablespoon red food coloring (gels are best but honestly, the liquid stuff from the bargain aisle works in a pinch)
- 1 cup white chocolate chips (half milk chocolate, half white is actually pretty fun too!)
Instructions
-
1First off, preheat your oven to 350 F (180 C, for my friends across the pond), and park two baking sheets with parchment so nothing sticks.
-
2In a bowl (the big one with no chips in it), whisk together flour, cocoa powder, baking soda, and salt. I just use a fork most days—whatever’s handy.
-
3Cream butter, both sugars, and beat them until fluffy. Can be done with a sturdy wooden spoon if you missed arm day at the gym. (But a mixer makes it easy peasy.)
-
4Add your egg, milk, vanilla, vinegar, and food coloring. This is where your dough will start to resemble a magic trick gone awry—don’t panic, it’s normal. Stir till combined.
-
5Gradually add those dry ingredients to your red gooey mixture. Go slow, unless you like wearing flour. Mix just until there’s no obvious streaks—overmixing is the villain here.
-
6Fold in white chocolate chips, or whatever chocolate you’re feeling. Sneak a chip for quality control (I always do).
-
7Drop heaping tablespoonfuls onto your baking sheets. Make them thick-ish; they spread a bit (but not much, so don’t panic if they stay pretty tall).
-
8Bake for about 10–12 minutes. The edges should be just set—the centers might look a little soft, but that’s perfect. Nobody likes a dry cookie.
-
9Cool on the sheet for 5 minutes before moving them to a wire rack. Or, let them cool completely if you want less mess. But honestly, they’re best still a tiny bit warm.
Approximate Information for One Serving
Nutrition Disclaimers
Number of total servings shown is approximate. Actual number of servings will depend on your preferred portion sizes.
Nutritional values shown are general guidelines and reflect information for 1 serving using the ingredients listed, not including any optional ingredients. Actual macros may vary slightly depending on specific brands and types of ingredients used.
To determine the weight of one serving, prepare the recipe as instructed. Weigh the finished recipe, then divide the weight of the finished recipe (not including the weight of the container the food is in) by the desired number of servings. Result will be the weight of one serving.
Did you make this recipe?
Please consider Pinning it!




