If you showed up at my door with a cup of coffee, I would absolutely hand you a warm plate of these Classic Peanut Butter Cookies and make you stay for a chat. I have baked them on rainy Tuesdays and on the kind of sunny Saturday where the dog is waiting under the counter for a crumb like a tiny furry vacuum. The first time I made them, I forgot the salt and still ate three because the edges were crisp and the middles were tender and it just reminded me of the little fork crisscross cookies my neighbor used to bring when I was a kid. Also, full disclosure, I still sneak a taste of the dough while the oven preheats, purely for quality control.
Why I keep making these again and again
I make this when I need a no drama bake that tastes like home. My family goes a bit wild for these because they are slightly salty, a smidge sweet, and you can dunk them in milk without them falling apart. And when I am short on time, the dough chills fast so I can be scooping in like twenty minutes. I used to struggle with cookies spreading too much, but this recipe plays nice, even on a warm day. The crosshatch is also half the fun, though my kid once pressed so hard they turned into tiny pancakes. Still good.
What you will need, plus some swaps
- 113 g unsalted butter, softened, about half a cup. If all you have is salted, reduce the added salt a bit.
- 130 g creamy peanut butter, about half a cup. I like the classic shelf stable kind. Natural works if you stir it really well.
- 100 g granulated sugar, about half a cup.
- 110 g packed light brown sugar, about half a cup.
- 1 large egg, room temp if you remember.
- 1 teaspoon vanilla extract.
- 156 g all purpose flour, about 1 and 1 fourth cups.
- Three fourths teaspoon baking soda.
- Half teaspoon baking powder.
- Quarter teaspoon fine salt.
- Optional, a handful of chopped peanuts for crunch, or a few tablespoons of mini chocolate chips. My grandmother always insisted on a name brand, but honestly any version works fine.
Swaps I actually use
- Vegan nudge, plant butter and a flax egg will work, the edges get a little more crisp but still tasty.
- Gluten free, a one to one baking blend at the same grams works nicely. I sometimes use oat flour for a cozy vibe, it is a bit more tender.
- If I am in a hurry, I use crunchy peanut butter so I can skip chopping peanuts.
- No brown sugar, use all white sugar and add a teaspoon of molasses if you have it. Or just roll with it.
How I make them on a cozy afternoon
- Heat the oven to 175 C, 350 F. Line two baking sheets with parchment. If you are out of parchment, a light buttering is fine, or check this quick primer on lining pans from The Kitchn here.
- In a mixing bowl, beat the softened butter, peanut butter, granulated sugar and brown sugar for two to three minutes until creamy and a bit fluffy. This is where I usually sneak a taste. If you are whisking by hand, go for a full three minutes, your arm will thank you later.
- Add the egg and vanilla. Beat until smooth. If it looks slightly separated, do not panic, it comes together with the flour.
- In another bowl, whisk the flour, baking soda, baking powder, and salt. I used to skip this and dump it all in, but whisking does help prevent salty pockets.
- Tip the dry ingredients into the wet and mix on low until just combined. It should look soft, not sticky like cake batter. If it seems greasy, give it a one minute rest, then fold again, it evens out.
- Chill the bowl in the fridge for about 20 minutes while you tidy the counter. You can bake right away, but chilling gives you thicker cookies.
- Scoop tablespoon size portions, about 25 g each. Roll into balls. If you like a little sparkle, roll them in a spoonful of sugar.
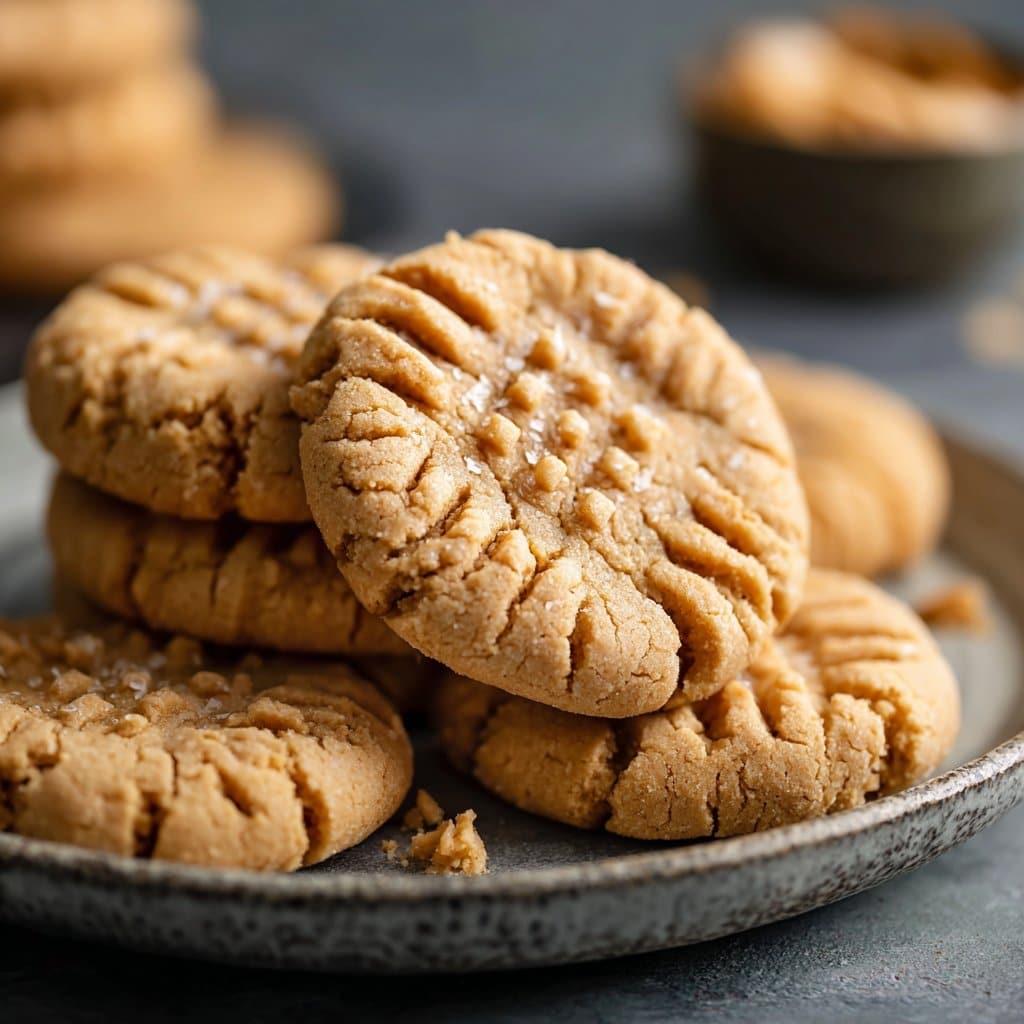
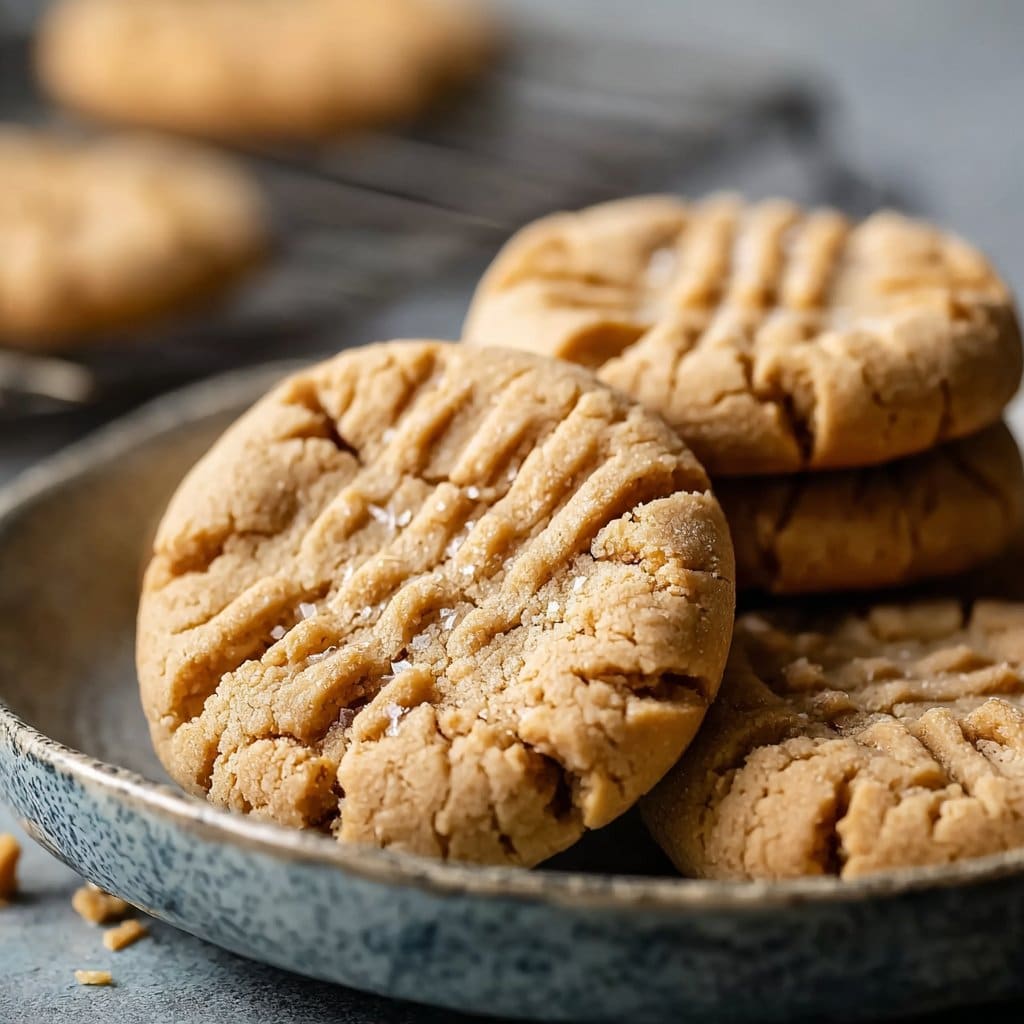
- Arrange on the sheet with space, about two finger widths around each ball. Press each gently with a fork in a crisscross pattern until about 1 cm thick. Do not worry if the edges crack a bit, that is their charm.
- Bake 9 to 11 minutes, until the edges look set and the tops are just starting to turn matte. Pull them while the centers still look a touch soft, they finish on the pan.
- Cool 5 minutes on the sheet, then move to a rack. Try one warm, then another when fully cool, it is wild how different they taste.
Little notes I wrote to myself
- Measuring flour matters more than I wanted to admit. If you tend to scoop heavy, check this quick guide from King Arthur Baking measuring flour. Or weigh it, which I resisted for years and now love.
- Natural peanut butter can be great, but stir it really well to reincorporate the oil. If it is too runny, chill the dough longer.
- For extra tender middles, pull them at the first sign of browning at the edge. I think this tastes better the next day, though my house rarely lets that happen.
- If your kitchen is hot, pop the scooped dough back into the fridge between batches so it keeps its shape. I learned that the melty way.
Variations I have actually tried
- Chocolate dip, cool cookies and dip half in melted dark chocolate, sprinkle with a pinch of flaky salt. Looks fancy, not hard.
- PB and J thumbprints, skip the fork pattern, press a little well and add a tiny spoon of raspberry jam, bake as usual. Messy, so good.
- Espresso whisper, add half a teaspoon of instant espresso to the sugars, the coffee note is subtle and kind of wow.
- Oat crunch, fold in a handful of rolled oats. A bit chewier, in a good way.
- What did not work, coconut flour swap at the same amount made them dry and crumbly, like sand at the beach. On second thought, a partial swap might be okay, but full swap was a no for me.
Gear I use and what to do if you dont have it
- Electric mixer, nice to have for creaming, though a sturdy whisk and a wooden spoon do the job if you give it a little extra time.
- Cookie scoop, I call it essential for even baking, and yet, a tablespoon measure plus your hands works fine when I cannot find mine.
- Rimmed baking sheet and parchment. No parchment, lightly grease the pan. If cookies brown too fast on the bottom, double up the pan.
- Cooling rack, or use the grates on your stovetop in a pinch. I do that more than I admit.
Storing them for later, maybe
Keep cookies in an airtight container at room temp for 3 to 4 days with a little slice of bread to keep them soft. Freeze baked cookies up to 2 months, thaw at room temp. Or freeze scooped dough balls, then bake form frozen, add a minute. Though honestly, in my house it never lasts more than a day.
Serving them the way we like
- With a cold glass of milk, classic, or a cup of strong tea if that is your jam.
- Ice cream sandwich night, two cookies with a scoop of vanilla, roll the edges in chopped peanuts.
- Crumbled over yogurt for breakfast, I am not saying it is health food, I am saying it is delightful.
- With a little honey drizzle when warm, my uncle swears by this.
Hard won pro tips
- I once tried rushing the creaming step and regretted it because the cookies baked up dense. Two full minutes of creaming makes a difference.
- I skipped chilling on a hot day and the cookies spread too much. Now I give the dough a short nap in the fridge if the kitchen feels toasty.
- I tried using oil separated peanut butter without stirring and the texture went odd. Actually, I find it works better if you stir, then chill.
- Too much flour made them dry. Weighing flour stopped the guesswork, and yes, I fought the scale for ages.
Questions I get a lot
Can I use natural peanut butter Yes, just stir it very well and maybe chill the dough longer so it holds shape.
Do I have to do the fork crisscross No, but it helps them bake evenly and gives that classic look. Press gently so the cookies do not get too thin.
Why did my cookies spread too much Warm dough, hot kitchen, or a very oily peanut butter can cause that. Chill the dough and use parchment. A cool pan between batches helps too.
Can I reduce the sugar You can cut about two tablespoons without trouble. Any more and the texture changes. They will be a bit less chewy.
How many cookies does this make About 24 small to medium cookies, depending on scoop size. If you go bigger, add a minute in the oven.
Can I make them gluten free Yes, a one to one baking blend at the same grams works. The edges may be a touch more crisp, still lovely.
Salted or unsalted butter Unsalted gives you control. If using salted, reduce the added salt to a pinch. It is not fussy, promise.
Any reading on cookie science If you like nerding out, I enjoy this Serious Eats take on peanut butter cookies right here. It helped me understand why underbaking a touch keeps the centers soft.
One last tiny detour, I swear this matters, the smell that hits when you open the oven door will make you think of every bake sale and lunchbox note you ever wrote. It is not just a cookie, it is a little bell that says, you did great today. And tomorrow, you can do it again.
Ingredients
- 1 cup creamy peanut butter
- 1 cup granulated sugar
- 1/2 cup unsalted butter, softened
- 1 large egg
- 1 1/4 cups all-purpose flour
- 1 teaspoon baking soda
- 1/2 teaspoon baking powder
- 1/4 teaspoon salt
- 1 teaspoon vanilla extract
Instructions
-
1Preheat oven to 350°F (175°C). Line a baking sheet with parchment paper.
-
2In a large mixing bowl, cream together the peanut butter, butter, and sugar until light and fluffy.
-
3Beat in the egg and vanilla extract until well combined.
-
4In another bowl, whisk together the flour, baking soda, baking powder, and salt. Gradually add the dry ingredients to the wet mixture and mix until combined.
-
5Roll tablespoons of dough into balls and place them onto the prepared baking sheet. Flatten each ball with a fork, making a crisscross pattern.
-
6Bake for 10 to 12 minutes, or until the edges are golden. Allow cookies to cool on the baking sheet for 5 minutes before transferring to a wire rack.
Approximate Information for One Serving
Nutrition Disclaimers
Number of total servings shown is approximate. Actual number of servings will depend on your preferred portion sizes.
Nutritional values shown are general guidelines and reflect information for 1 serving using the ingredients listed, not including any optional ingredients. Actual macros may vary slightly depending on specific brands and types of ingredients used.
To determine the weight of one serving, prepare the recipe as instructed. Weigh the finished recipe, then divide the weight of the finished recipe (not including the weight of the container the food is in) by the desired number of servings. Result will be the weight of one serving.
Did you make this recipe?
Please consider Pinning it!!