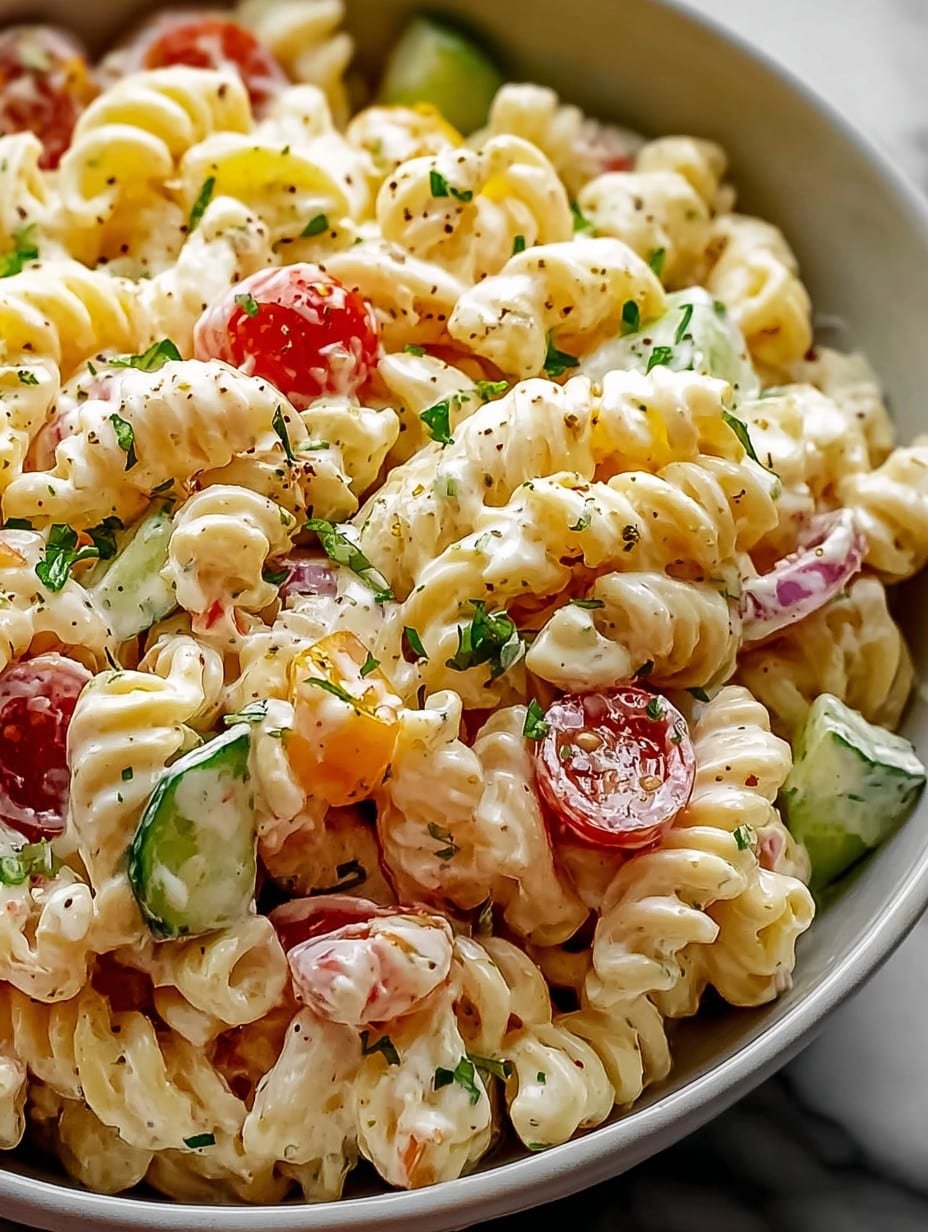
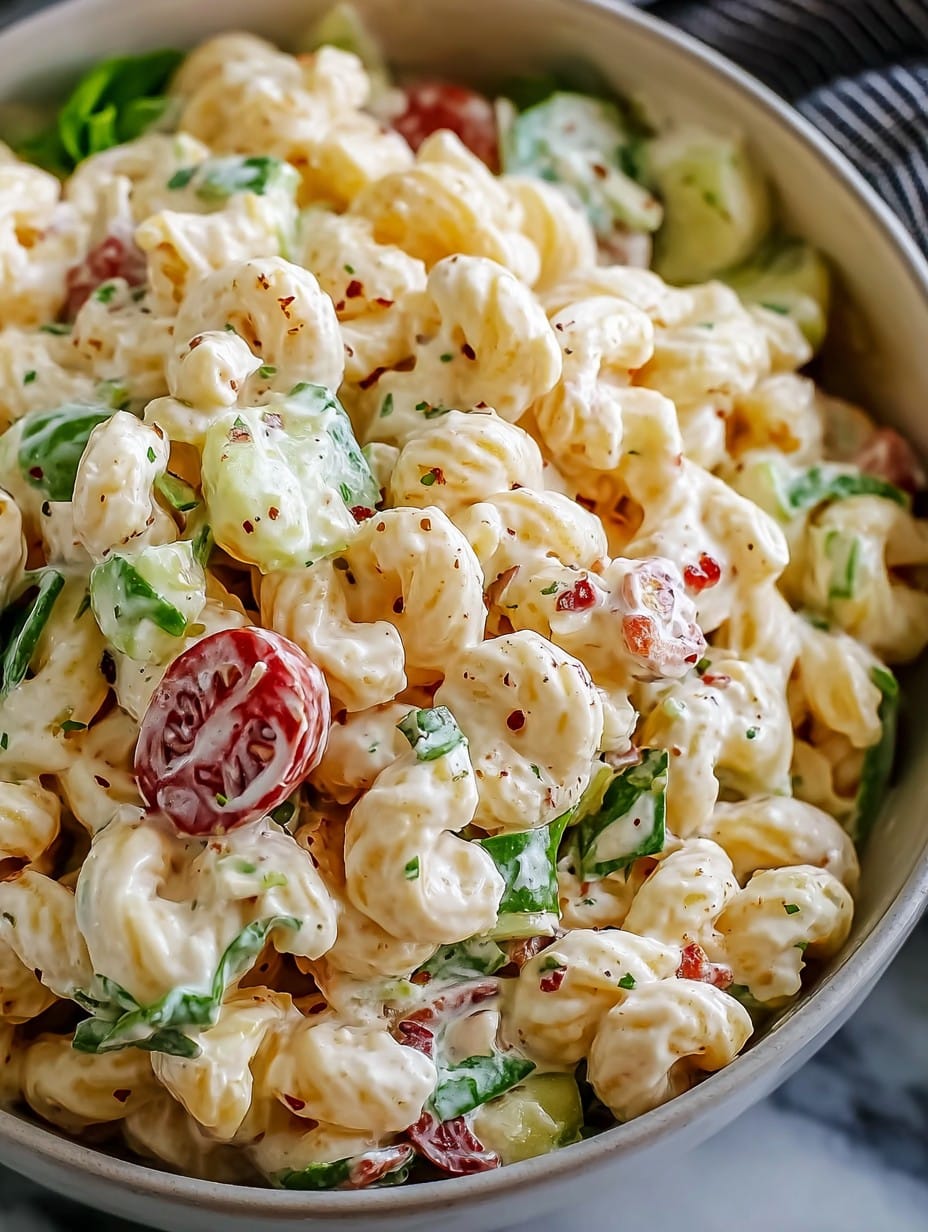
Alright, let’s get one thing straight: pasta salad is the sneaky MVP of every summer gathering. It’s the only thing that brings as many people back for seconds (and hey, sometimes thirds) as the main dish! I remember this one time, I spent ages on the main course—think grilled chicken with some super-fancy rub—only to watch my cousin single-handedly demolish most of this pasta salad before the BBQ smoke even cleared. That’s the power of creamy, tangy, crunchy nostalgia in a bowl. Honestly, I’d eat it straight from the mixing spoon—no shame, right?
Why You’ll Love This (Even if You’re Skeptical)
I make this when I want to trick myself into thinking I’m eating vegetables (hello, guilt-free seconds). My family goes totally bonkers for this because it hits that perfect spot between rich and refreshing. And if you ever think you’ve made too much, you haven’t. Someone’ll always ask for a container “to take home.” The best—or worst—part: it’s one of the rare dishes where the leftovers taste even better. Although, sometimes I open the fridge the next day and…well, no leftovers. Oops.
What You’ll Need (I’m Not Judging Your Substitutions)
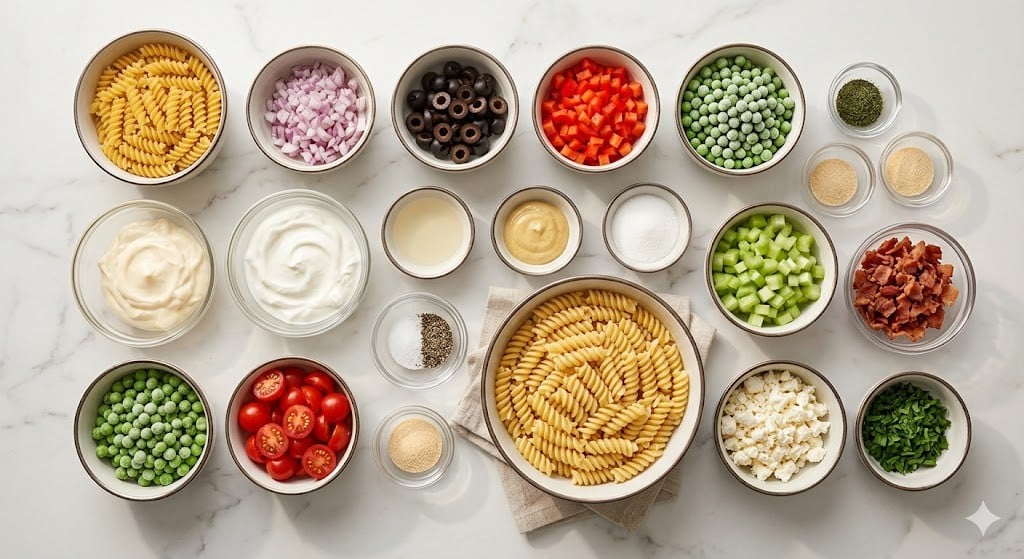
- 300g (about 10 oz) dry rotini pasta (spirals are classic, but penne or shells work—once I used elbow macaroni and nobody complained)
- Heaping 1 cup mayo (I use real-deal stuff but I’ve mixed in a bit of Greek yogurt when I’m feeling healthy-ish)
- 1/4 cup sour cream (or just more mayo if you’re out—trust me, it’ll still work fine!)
- 1.5 tbsp Dijon mustard (yellow works in a pinch but Dijon’s my preference)
- 2 tsp apple cider vinegar (white vinegar is OK—I’ve even tried lemon juice but maybe that’s just me)
- Generous pinch sugar (or honey if you’re feeling fancy)
- 3/4 tsp salt (plus more, just taste as you go)
- 1/2 tsp black pepper (again, taste…every pepper grinder’s a little different, I swear)
- 1 cup cherry tomatoes, quartered (or diced regular tomatoes if you’re using up what’s on hand)
- 1 small red bell pepper, diced (yellow or orange looks happy, too)
- 1/2 cup finely chopped red onion (my kids grumble about raw onion, so sometimes I use green onions instead)
- 2/3 cup diced celery
- 1/2 cup shredded carrot (pre-shredded bag carrots? I won’t tell if you don’t)
- 3/4 cup sharp cheddar cheese, diced (sometimes I go rogue with feta—that got mixed reviews at my place, but it’s fun!)
- Handful fresh parsley, chopped (basil works but makes it taste less like the ‘classic’ thing I grew up eating)
How To Make Creamy Pasta Salad Bliss (Without Losing Your Mind)
- Boil your pasta. Aim for al dente—nobody likes limp noodles—but honestly, if you overcook it a little, just drain well and let it cool. Run it under cold water so it stops cooking. Shake off that excess water–pasta salad doesn’t want to swim!
- Whisk up the dressing. Mix the mayo, sour cream, Dijon, vinegar, sugar, salt, and pepper in a big bowl. I usually take a quick taste—sometimes I regret adding sugar, sometimes not. If it seems too thick, a splash of milk (or pasta water) loosens things up.
- Toss in the veggies and cheese: tomatoes, bell pepper, onion, celery, carrot, and cheddar. Sometimes I throw in extra carrot if I’m feeling wild (which—let’s be real—mainly means I found it at the back of the fridge).
- Add the cooled pasta straight into the bowl. Fold everything together gently, or just go wild if nobody’s watching. This is usually where I sneak a bite, just to ‘check seasoning.’ (It’s totally a thing.)
- Toss in the chopped parsley. Stir again. Taste. More salt? Pepper? Dijon? Sometimes I add a little more of something because, well, why not.
- Cover the bowl and chill for at least an hour. If you’re in a pinch, 30 minutes still makes a world of difference. Pasta needs time to soak up all that creamy goodness.
- Give it a final stir before serving. It might look a little dry after sitting, so just add a big spoonful of mayo or a splash of milk if needed—it perks right up, promise.
Some Notes (Because I’ve Messed This Up For You)
- Pasta shape: Rotini actually holds onto dressing best (all those nooks!), but if you only have penne, the world won’t end.
- Don’t overmix after chilling or you’ll get mush. Actually, I ruined a batch once just by fussing with it too much.
- Let your pasta really cool before tossing with dressing—learned that the messy way. Hot pasta = dressing slippage.
Variations I’ve Tried (or, My Kitchen Experiments)
- Add cooked bacon or diced ham for a bit of salty oomph. Once I tried leftover grilled zucchini—actually worked better than expected.
- A spoonful of pickled jalapeño if you like a kick (my brother claims it’s not proper, but who’s making the salad?)
- Don’t use blue cheese. Trust me. I love it but it does not play nice here…everybody said so.
Equipment (Or What I Use When My Kitchen’s Not a Disaster)
- One big mixing bowl (if you don’t have one, use a pot—I’ve done it more than once)
- Pasta pot, fine mesh strainer or colander—it’s all the same in the end
- Whisk or even a fork (whisks are fancier but a fork totally gets the job done)
- Sturdy spoon or spatula for the mixing; if you use your hands, maybe don’t admit it outside your own kitchen
Storage: Leftovers…If You’re Lucky
Seal it up in an airtight container and pop it in the fridge. It’ll taste fantastic up to 3 days—but honestly, in my house it never lasts more than a day! And if the dressing soaks in and salad looks a little dry, more mayo saves the day. Ever notice how cold pasta salad magically disappears overnight? It’s a mystery.
How I Like to Serve It
Sure, it goes with anything off the grill (that’s the classic), but I also love sneaking a bowl for lunch—sometimes I just pile on extra veggies to justify it. At my family parties, someone always puts it next to the potato chips as if we’re going to skip the pasta salad. Not happening! Sometimes, I sprinkle extra cheese on top to make it look fancy. Works like a charm.
Pro Tips (AKA – My “How Not to Ruin It” List)
- Don’t rush chilling! I once served it straight off the mixing spoon and it tasted, well, kind of odd. Flavors really do need time to mingle.
- If you forget to salt your pasta water, just add more salt to the dressing. Not ideal but, life happens.
- Actually, rinsing the pasta is essential. Otherwise the heat turns it all gummy and the salad just clumps up—learned that from a migraine and a house full of guests.
FAQs From My Real-Life Texts (Yes, For Real)
- Can I make this ahead? Oh, you bet! Actually, I think this tastes even better the next day. Just check for dryness before serving.
- What if I hate mayo? Try half Greek yogurt, half mayo—no one in my family even notices. All Greek yogurt works, too, but it’s a little tangier.
- Is this gluten free? Just grab a GF-friendly pasta (some are great, some…eh, best to pick one you already like, y’know?)
- How much does it make? Realistically feeds 6 as a side or 3 hungry people as the main event. Unless my cousin’s over, then all bets are off.
- Can I freeze it? Not if you want to actually enjoy it—the texture gets all weird. Better to just eat it fresh!
- Do I have to measure everything? Honestly, probably not. But just don’t skip the cheese (or the mayo). That’s where the magic is.
Oh, and if you get distracted and forget about your pasta while it boils—just set a loud timer. I learned it the hard way; noodle soup isn’t quite the vibe we’re going for here. Happy eating, and may your summer (and pasta salad) be blissfully carefree!
Ingredients
- 300g (about 10 oz) dry rotini pasta (spirals are classic, but penne or shells work—once I used elbow macaroni and nobody complained)
- Heaping 1 cup mayo (I use real-deal stuff but I’ve mixed in a bit of Greek yogurt when I’m feeling healthy-ish)
- 1/4 cup sour cream (or just more mayo if you’re out—trust me, it’ll still work fine!)
- 1.5 tbsp Dijon mustard (yellow works in a pinch but Dijon’s my preference)
- 2 tsp apple cider vinegar (white vinegar is OK—I’ve even tried lemon juice but maybe that’s just me)
- Generous pinch sugar (or honey if you’re feeling fancy)
- 3/4 tsp salt (plus more, just taste as you go)
- 1/2 tsp black pepper (again, taste…every pepper grinder’s a little different, I swear)
- 1 cup cherry tomatoes, quartered (or diced regular tomatoes if you’re using up what’s on hand)
- 1 small red bell pepper, diced (yellow or orange looks happy, too)
- 1/2 cup finely chopped red onion (my kids grumble about raw onion, so sometimes I use green onions instead)
- 2/3 cup diced celery
- 1/2 cup shredded carrot (pre-shredded bag carrots? I won’t tell if you don’t)
- 3/4 cup sharp cheddar cheese, diced (sometimes I go rogue with feta—that got mixed reviews at my place, but it’s fun!)
- Handful fresh parsley, chopped (basil works but makes it taste less like the ‘classic’ thing I grew up eating)
Instructions
-
1Boil your pasta. Aim for al dente—nobody likes limp noodles—but honestly, if you overcook it a little, just drain well and let it cool. Run it under cold water so it stops cooking. Shake off that excess water–pasta salad doesn’t want to swim!
-
2Whisk up the dressing. Mix the mayo, sour cream, Dijon, vinegar, sugar, salt, and pepper in a big bowl. I usually take a quick taste—sometimes I regret adding sugar, sometimes not. If it seems too thick, a splash of milk (or pasta water) loosens things up.
-
3Toss in the veggies and cheese: tomatoes, bell pepper, onion, celery, carrot, and cheddar. Sometimes I throw in extra carrot if I’m feeling wild (which—let’s be real—mainly means I found it at the back of the fridge).
-
4Add the cooled pasta straight into the bowl. Fold everything together gently, or just go wild if nobody’s watching. This is usually where I sneak a bite, just to ‘check seasoning.’ (It’s totally a thing.)
-
5Toss in the chopped parsley. Stir again. Taste. More salt? Pepper? Dijon? Sometimes I add a little more of something because, well, why not.
-
6Cover the bowl and chill for at least an hour. If you’re in a pinch, 30 minutes still makes a world of difference. Pasta needs time to soak up all that creamy goodness.
-
7Give it a final stir before serving. It might look a little dry after sitting, so just add a big spoonful of mayo or a splash of milk if needed—it perks right up, promise.
Approximate Information for One Serving
Nutrition Disclaimers
Number of total servings shown is approximate. Actual number of servings will depend on your preferred portion sizes.
Nutritional values shown are general guidelines and reflect information for 1 serving using the ingredients listed, not including any optional ingredients. Actual macros may vary slightly depending on specific brands and types of ingredients used.
To determine the weight of one serving, prepare the recipe as instructed. Weigh the finished recipe, then divide the weight of the finished recipe (not including the weight of the container the food is in) by the desired number of servings. Result will be the weight of one serving.
Did you make this recipe?
Please consider Pinning it!




