Let Me Tell You About These Onion Ring Chips
So, I can’t be the only person who tries to sneak just the crispy bits off the onion rings before dinner, right? (Sorry, Uncle Mike.) Anyway, Crispy Onion Ring Chips are my halfway decent excuse for making a whole batch of just-the-good-parts. You know, those golden, crunchy, and deliciously salty bites that get left on the baking tray if you make onion rings the regular way? Yeah. Well, one accidental overbake later, and now my family asks for these every other week. Actually, I made them once after a long day at the footie with the kids—they vanished faster than my patience when someone puts forks in the knife drawer.

Why You’ll Love This (Or Why I Keep Making Them)
I make this whenever we want a lazy snack that’s way more fun than breaking open a bag of crisps. My stepdad claims he doesn’t like onions, but he’ll polish off a tray of these before I even get back to the kitchen (so, maybe question his credibility). And, honestly, the first time I tried to make proper onion rings, batter got everywhere and my kitchen was basically a Jackson Pollock painting. These Crispy Onion Ring Chips skip the whole deep-fry mess; you just toss, bake, and feel slightly smug about it.
What You’ll Need (Ingredient Chat)
- 2 large yellow onions (any big onion works, though, red onions are nice if a bit sweeter)
- 1 cup plain breadcrumbs (sometimes I use panko; my grandmother swore by the cheap stuff — I can’t tell the difference, really)
- 1/2 cup all-purpose flour (self-raising works if that’s all you’ve got, but it gets puffier)
- 2 eggs (medium or large—whatever’s in the fridge, to be honest)
- 1/2 tsp garlic powder (optional, but why not, right?)
- 1/2 tsp smoked paprika (or cayenne if you want a bit of a kick)
- 1 tsp salt (plus a bit more for sprinkling at the end)
- 1/2 tsp pepper
- 2 tbsp oil (vegetable, canola, sunflower… olive’s fine too but I find it makes things a little heavier)
How To Pull Off These Onion Ring Chips
- Slice your onions thinly into rings — thinner the better, but don’t stress if some are fat and some skinny; that’s part of the charm. I tend to pop out the middles so I get mostly the big loops.
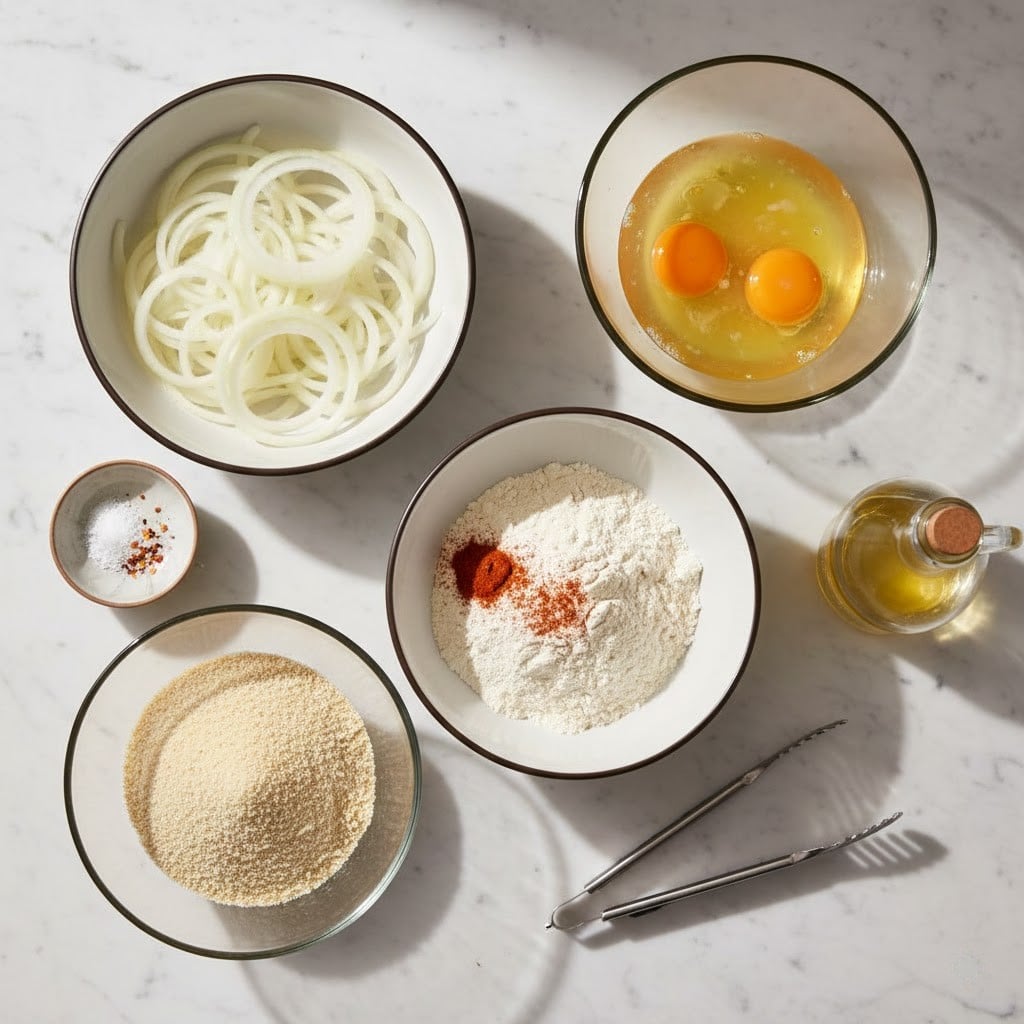
- Set up three bowls: one with flour, one with beaten eggs, and the last with breadcrumbs mixed with garlic powder, paprika, salt, and pepper. This is your basic production line.
- Dip each onion ring first in the flour, shake off excess (don’t skip this! Makes them crispier), then into the egg, then toss it around the breadcrumbs till coated. If your hands get gunky, you’re doing it right. (I once tried doing two at a time—bad idea. Only ended up making onion-glue.)
- Preheat your oven to 220°C (425°F). Line a big baking tray with parchment. Try not to skip the paper, or you’ll be standing there with a spatula cursing your life later.
- Arrange the rings in a single layer. Drizzle (or brush if you want to be a stickler) the oil over the top of the rings. You might need two trays—doesn’t matter if some bits overlap, they separate as they crisp.
- Bake for 12-16 minutes, flipping once about 8 mins in (they’ll get extra golden if you’re generous with oil). Don’t panic if they’re a little uneven—just means more nibbly bits for the cook.
- Let cool a bit before shoveling into your mouth! Hot onion is basically lava. Sprinkle another bit of salt if you’re feeling bold, and serve.
Nota Bene! (My Personal Notes)
- Breadcrumbs: I’ve tried with gluten-free versions—actually, they get a bit crunchier, but sometimes stick together too much. Give them a good shake when coming out of the oven.
- Onion thickness: Don’t stress if your ‘chips’ aren’t super-even. It’s part of the fun. The little crispy shards are the best part anyway.
- If you forget the oil, things can go dry and sad (been there). Drizzling vs spraying: Spraying is neater, but more washing up, so pick your poison.
Variations I’ve Messed Around With
- Parmesan — A sprinkle in the breadcrumb mixture gives a classic pizza-parlor vibe.
- Chili flakes — For spicy fans, but my five-year-old did NOT enjoy this experiment. Oops.
- Cornflake crumbs — Fun, slightly sweeter and crunchier. Better for a movie night vibe than a fancy dinner. Attempted with coconut shreds once — let’s just say… never again.
Gear: What You Really Need (And What You Probably Don’t)
Baking tray (sheet pan, whatever you call it), parchment paper, three bowls, and maybe tongs. If you don’t have parchment, just oil the tray well; a metal spatula will pry the little rascals off. I’ve done this with the back of a spoon in a pinch—works, but not elegant.
Keeping Them Fresh (In Theory…)
Okay, so the official advice: airtight container, cool spot, should keep their crunch for a day or two. Though honestly, in my house, they’re eaten straight off the tray, piping hot—leftovers are a legend, not a reality.
Best Ways To Eat These (Serving Time!)
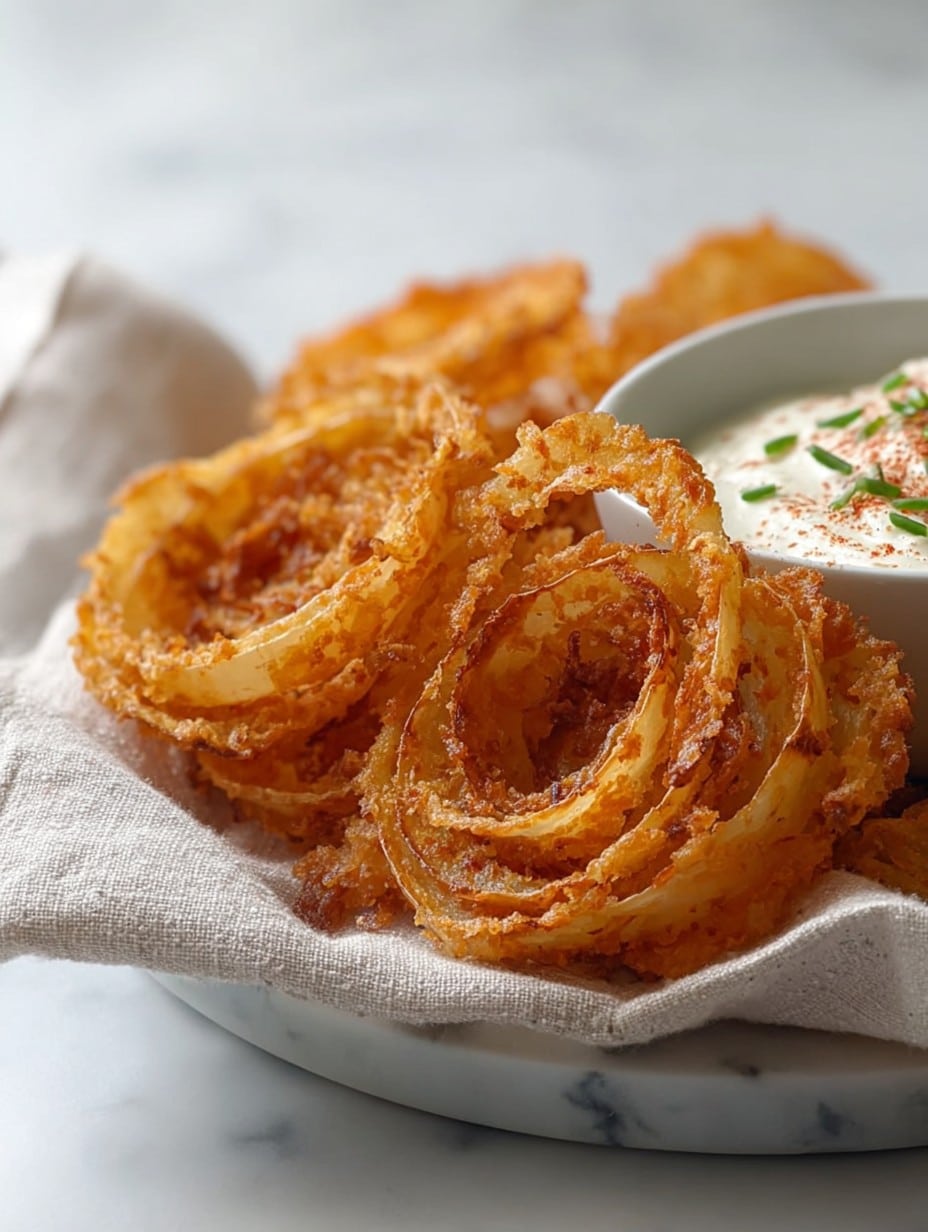
We eat them straight, usually with something dippy. Ketchup is classic, obviously, but I love a little garlicky aioli. My sister dunks them in hot sauce (she’s got tastebuds forged in fire). The kids like stacking them on mini sliders at parties; I think that’s adorable (and messy).
Lessons I’ve Learned (AKA Pro Tips From Past Disasters)
- Don’t rush the oven step. I once tried brazenly cranking the temp to ‘just speed things up’ and wound up with charred onion jerky. Not a hit, surprisingly.
- If your egg wash is running low, just whisk in a splash of milk; works a treat. Actually, now that I think of it, I’ve forgotten the eggs entirely once and… don’t recommend it.
- Store any leftovers with a sheet of paper towel above and below to soak up stray oil, if you beat the odds and have any left.
Some On-the-Fly FAQ (Real People Have Asked This…)
- Q: Can I air fry these?
A: Oh, for sure! Toss them halfway through and check a little early—they brown quick in there. I’ve been known to leave them in too long when I get distracted by the telly, so watch ‘em. - Q: What if my breadcrumbs won’t stick?
A: Double-dip! Flour, egg, back to flour, then crumbs. That’s my hack when things go awry (which is more often than I’d admit). - Q: Can I make these gluten-free?
A: Absolutely! The gluten-free crumbs crisp up nicely, and rice flour works instead of wheat flour. Just check the bake time—sometimes it’s a bit shorter. - Q: Is there any way to make these ahead?
A: Erm, you can slice and dredge the onions earlier, then bake right before eating. But baked and reheated is a bit of a letdown, if I’m honest.
Now, to be honest, I mostly make these when I want to avoid washing a million pans. But, hey, who doesn’t love a kitchen shortcut now and then? Give ‘em a try and let me know if you also think the crunchy bits are the best bit (because they are).
Ingredients
- 2 large yellow onions
- 1 cup plain breadcrumbs
- 1/2 cup all-purpose flour
- 2 eggs
- 1/2 tsp garlic powder
- 1/2 tsp smoked paprika
- 1 tsp salt
- 1/2 tsp pepper
- 2 tbsp oil
Instructions
-
1Slice your onions thinly into rings — thinner the better, but don’t stress if some are fat and some skinny; that’s part of the charm. I tend to pop out the middles so I get mostly the big loops.
-
2Set up three bowls: one with flour, one with beaten eggs, and the last with breadcrumbs mixed with garlic powder, paprika, salt, and pepper. This is your basic production line.
-
3Dip each onion ring first in the flour, shake off excess (don’t skip this! Makes them crispier), then into the egg, then toss it around the breadcrumbs till coated. If your hands get gunky, you’re doing it right. (I once tried doing two at a time—bad idea. Only ended up making onion-glue.)
-
4Preheat your oven to 220°C (425°F). Line a big baking tray with parchment. Try not to skip the paper, or you’ll be standing there with a spatula cursing your life later.
-
5Arrange the rings in a single layer. Drizzle (or brush if you want to be a stickler) the oil over the top of the rings. You might need two trays—doesn’t matter if some bits overlap, they separate as they crisp.
-
6Bake for 12-16 minutes, flipping once about 8 mins in (they’ll get extra golden if you’re generous with oil). Don’t panic if they’re a little uneven—just means more nibbly bits for the cook.
-
7Let cool a bit before shoveling into your mouth! Hot onion is basically lava. Sprinkle another bit of salt if you’re feeling bold, and serve.
Approximate Information for One Serving
Nutrition Disclaimers
Number of total servings shown is approximate. Actual number of servings will depend on your preferred portion sizes.
Nutritional values shown are general guidelines and reflect information for 1 serving using the ingredients listed, not including any optional ingredients. Actual macros may vary slightly depending on specific brands and types of ingredients used.
To determine the weight of one serving, prepare the recipe as instructed. Weigh the finished recipe, then divide the weight of the finished recipe (not including the weight of the container the food is in) by the desired number of servings. Result will be the weight of one serving.
Did you make this recipe?
Please consider Pinning it!