So Let Me Tell You About Crockpot Chile Colorado
Okay, so picture this: it’s one of those gray, drizzly afternoons, you’ve got maybe 15 things on your mind, and zero motivation to hover over the stove. That’s basically how my love affair with Crockpot Chile Colorado started. My uncle used to make the stovetop version, all smoky and spicy — made his kitchen smell amazing, but, honestly, who has three hours to stir and babysit beef? So, I chucked it in my trusty slow cooker instead. Spoiler: it actually turned out better (and nobody yelled at me for burning the sauce, which definitely happened That One Time; we don’t talk about it).
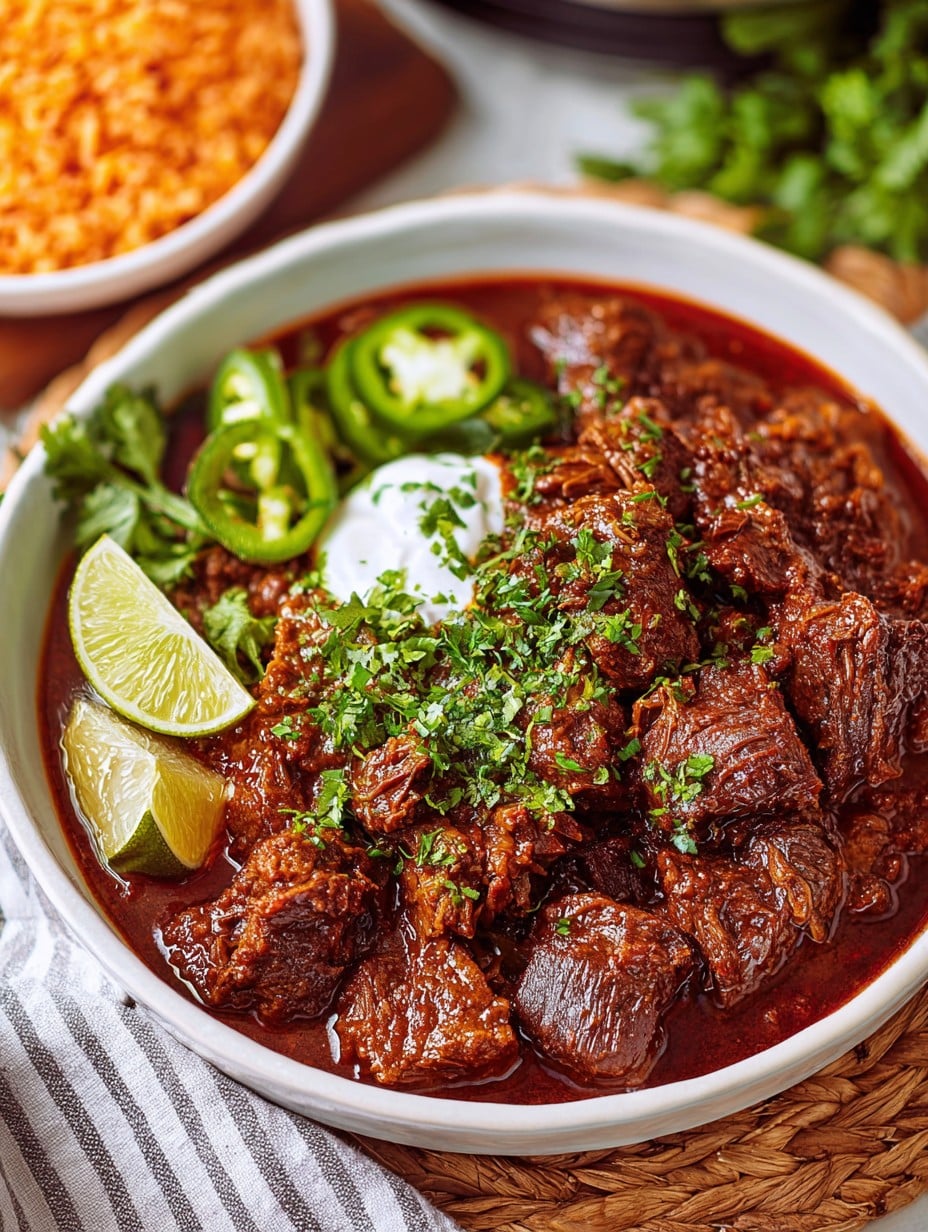
Honestly, I mostly make this when I want Tex-Mex comfort food with just barely any effort. One time my friend Kelly came over and said it smelled so good she threatened to move in. That’s how you know it’s a win.
Why You’ll Love Making This
I make this slow-cooked Chile Colorado when: it’s rainy, chilly, or I just want dinner to cook itself (which, let’s be real, is most Mondays). My family goes crazy for it because the beef just melts — none of that shoe-leather business. And actually, I used to hate messing with dried chiles, but after the second time (and a near blender mishap, yikes) I realized it’s pretty forgiving. Sometimes the sauce comes out darker, sometimes brighter — it all tastes awesome.
If you like the kind of meal that tastes like it took three days but actually let you go fishing/walk the dog/nap, this is it. Plus, pretty sure this recipe has gotten me out of at least two dinner party flops. True story!
What You’ll Need (And What I Mess With)
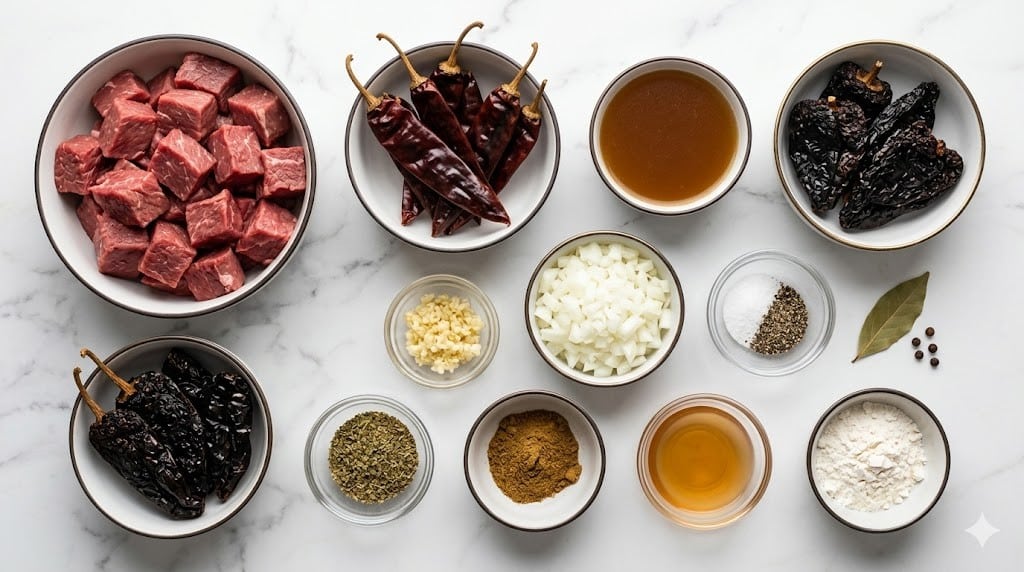
- 3 lbs beef chuck roast, cut into big cubes (Sometimes I use stew meat; it’s a time-saver, but chuck is juicier. Granny swears by fancy butcher cuts, I’m not that fussy.)
- 4 dried guajillo chiles, stems and seeds removed (I once threw in some pasilla chiles instead — different, but still yum.)
- 2 dried ancho chiles, stems and seeds removed
- 1 dried New Mexico chile (Okay, if you can’t track this down, double up the guajillo — works fine, promise.)
- 1 medium yellow onion, peeled and quartered
- 4 cloves garlic, smashed (I’ve been known to use the jarred stuff in a pinch. It’s our little secret.)
- 2 cups beef stock (chicken broth is fine too, but beef is beefier!)
- 1 tsp dried oregano (Mexican if you’ve got it, but regular works. Don’t tell the chile purists.)
- 1/2 tsp ground cumin (Add more if you’re feeling fancy!)
- 1/2 tsp kosher salt, or more to taste
- 1/4 tsp black pepper
- 2 tbsp vegetable oil (Canola works. I used olive oil once by accident and nothing exploded.)
- 1 tbsp apple cider vinegar (White vinegar is also okay. I once ran out and used a splash of lime. Not bad!)
- Optional: pinch of smoked paprika, for a gentle kick
Here’s How I Make This (Usually While Half-Distracted)
- First, grab your dried chiles and cut off the stems. Shake or scrape out most of the seeds unless you like it extra fiery. Toss the chiles in a dry skillet over medium heat; toast them for a minute or two until they smell sort of — well, like chocolate and tobacco, in a good way. Don’t walk away, they burn fast. (Trust me, learned that sooty lesson.)
- Chuck those toasted chiles in a small pot with the quartered onion and garlic. Pour in just enough water to cover. Bring to a gentle simmer for about 8-10 minutes, until everything’s nice and soft. (This is when I’m usually poking around for where I left the cumin.)
- Take that whole mess and scoop it into a blender. Add 1 cup of beef stock, oregano, cumin, and a pinch of salt and pepper. Put on the lid! (One time I forgot. Never again.) Blend until super smooth — no rogue chile bits, if you can help it. It should look like a deep red smoothie (not for drinking, obviously.)
- Okay, now cut your beef into big chunks, about 2 inches wide. Pat them dry with paper towels — this helps with browning, I always skip it and then regret it, so just do it.
- Heat the oil in a big skillet over medium-high and brown your beef chunks all over. You don’t need to cook them through, just get some color. (Sometimes I skip this because I’m in a rush but honestly, you get better flavor if you bother with it.)
- Now, pile your browned beef into the slow cooker crock. Pour that gorgeous chile sauce over the top. Add the remaining cup of beef stock and the vinegar. And if you’re adventurous, a dash of smoked paprika.
- Give everything a little stir (it’ll look kind of odd, that’s normal) and pop on the lid. Cook on low for 7 to 8 hours, or high for 4 to 5 hours. Honestly, low and slow is better; the beef becomes spoon-tender. High works if you’re more impatient or running behind, which is basically me every time.
- Once it’s done, taste and add more salt if it needs it. If you want the sauce thicker, take off the lid and crank it to high for 20-30 minutes and let some of the juice cook off. Or leave it soupy, my husband actually likes it that way (I just roll with it).
- This is when I usually sneak a bite straight from the crock. Hot tip: tastes even better the next day, but our leftovers rarely make it 24 hours.
But Wait, Some Extra Notes:
- If you use pre-cut stew meat, just watch the cook time — it dries out a little faster.
- The sauce texture depends a lot on how long you blend it. Lumps happen. Doesn’t matter one bit — just call it “rustic.”
- I tried skipping the browning step. The flavor is flatter, but no one refused to eat it (so maybe worth it if you need a shortcut!).
How I’ve Changed It Up (For Better or Worse)
- Tried it once with pork shoulder instead of beef. Actually, not half bad, just different.
- I once added canned chipotle. Got too smoky, but maybe that’s just me — try it if you like extra heat.
- Didn’t love using sweet potatoes in it. Turns mushy. Wouldn’t do that again.
No Slow Cooker? No Problem
I know I said the slow cooker is essential, but actually, you can use a Dutch oven in the oven at low heat (like 300°F/150°C) for about 3 hours. Probably not as mindless, but it works. (Don’t forget to check the liquid level every so often.)
How to Store This (If You Have Leftovers at All)
This keeps in the fridge for up to 3 days (truthfully, it’s rarely lasted more than a day in my house). Freezes well too — just zap in the microwave or warm on the stove. Sauce may thicken a little from the fridge, but a splash of water fixes it.
How We Serve Crockpot Chile Colorado Here
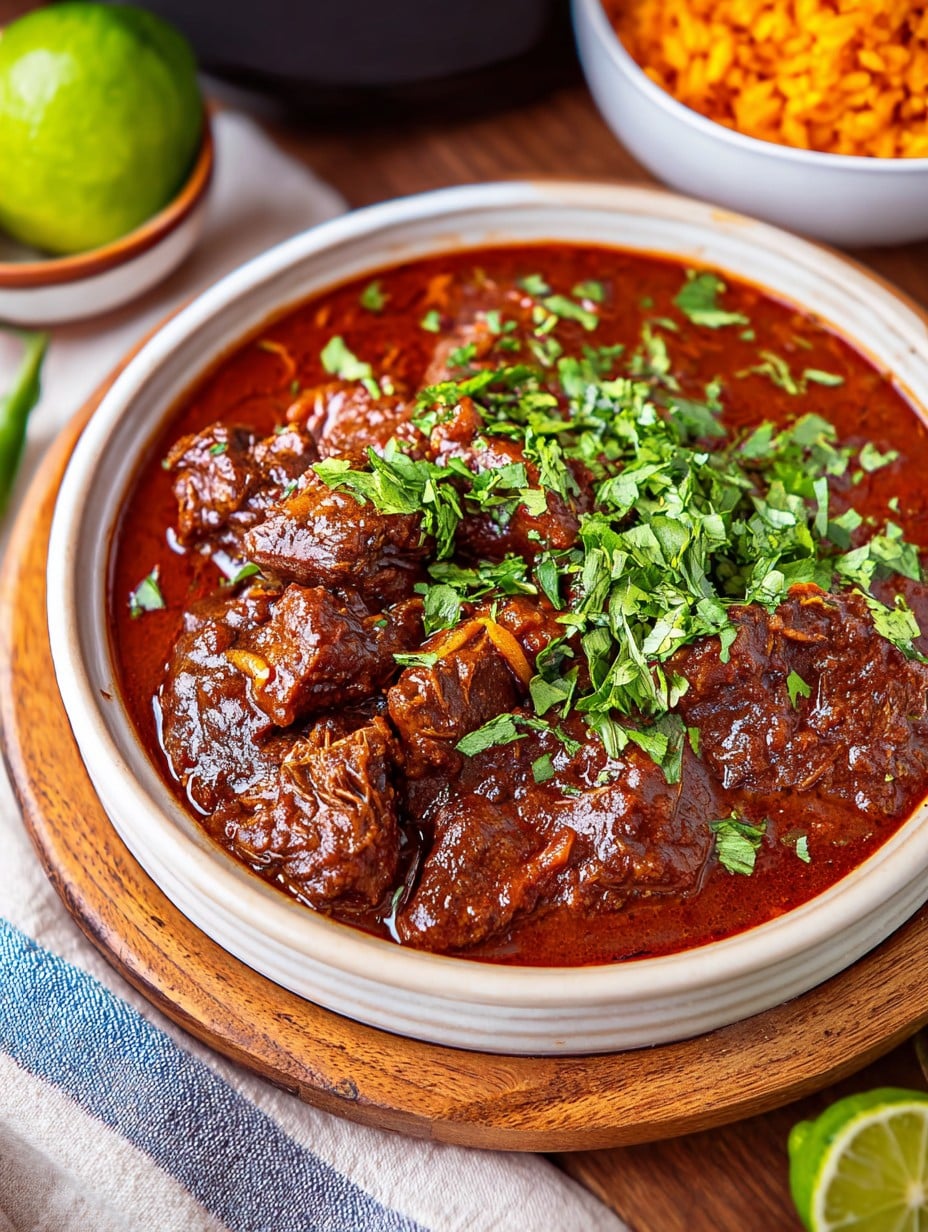
I serve it over Mexican rice or with warm flour tortillas for scooping. My daughter loves it in burrito bowls with avocado and cilantro. Sometimes we pile it onto tortilla chips for a kind of beefy nacho thing (didn’t think that would work but it’s delish!).
What I’ve Learned (So Far)
- I once tried to rush the chile toasting step and ended up with bitter sauce — don’t do it, it’s not worth shaving off 3 minutes!
- Blender not powerful? Actually, strain the sauce for smoothness, but I usually don’t bother unless I’m cooking for picky folk.
Real Questions I’ve Actually Been Asked
- Can you make this with chicken?
Sort of. I did try and while it’s OK, the sauce really shines with beef or pork. Chicken gets a bit lost — I mean, you do you, though! - How spicy is this?
Honestly, not super hot! I remove a lot of seeds and my kids eat it fine. Want heat? Leave some in or add a jalapeno to the blender. - Do I need fancy dried chiles?
Nope. Grocery store bagged ones are fine. Once I got fancy with online ones, but didn’t notice much diff. - Can this be prepped ahead?
Absolutely — I sometimes make double the sauce and freeze a batch. Then I can just dump and go, lazy-style. - Is it freezer friendly?
Oh yes. Freezer bags work wonders. Thaw overnight and reheat gently.
And finally, a quick non-recipe tangent — my neighbor made a batch, forgot the vinegar, and swore it tasted “just like his abuela’s.” So, you do you. Recipes are more like suggestions anyway. Enjoy your Crockpot Chile Colorado, and maybe make extra, because it disappears fast. If yours lasts more than a day, let me know your secret!
Ingredients
- 3 lbs beef chuck roast, cut into big cubes (Sometimes I use stew meat; it’s a time-saver, but chuck is juicier. Granny swears by fancy butcher cuts, I’m not that fussy.)
- 4 dried guajillo chiles, stems and seeds removed (I once threw in some pasilla chiles instead — different, but still yum.)
- 2 dried ancho chiles, stems and seeds removed
- 1 dried New Mexico chile (Okay, if you can’t track this down, double up the guajillo — works fine, promise.)
- 1 medium yellow onion, peeled and quartered
- 4 cloves garlic, smashed (I’ve been known to use the jarred stuff in a pinch. It’s our little secret.)
- 2 cups beef stock (chicken broth is fine too, but beef is beefier!)
- 1 tsp dried oregano (Mexican if you’ve got it, but regular works. Don’t tell the chile purists.)
- 1/2 tsp ground cumin (Add more if you’re feeling fancy!)
- 1/2 tsp kosher salt, or more to taste
- 1/4 tsp black pepper
- 2 tbsp vegetable oil (Canola works. I used olive oil once by accident and nothing exploded.)
- 1 tbsp apple cider vinegar (White vinegar is also okay. I once ran out and used a splash of lime. Not bad!)
- Optional: pinch of smoked paprika, for a gentle kick
Instructions
-
1First, grab your dried chiles and cut off the stems. Shake or scrape out most of the seeds unless you like it extra fiery. Toss the chiles in a dry skillet over medium heat; toast them for a minute or two until they smell sort of — well, like chocolate and tobacco, in a good way. Don’t walk away, they burn fast. (Trust me, learned that sooty lesson.)
-
2Chuck those toasted chiles in a small pot with the quartered onion and garlic. Pour in just enough water to cover. Bring to a gentle simmer for about 8-10 minutes, until everything’s nice and soft. (This is when I’m usually poking around for where I left the cumin.)
-
3Take that whole mess and scoop it into a blender. Add 1 cup of beef stock, oregano, cumin, and a pinch of salt and pepper. Put on the lid! (One time I forgot. Never again.) Blend until super smooth — no rogue chile bits, if you can help it. It should look like a deep red smoothie (not for drinking, obviously.)
-
4Okay, now cut your beef into big chunks, about 2 inches wide. Pat them dry with paper towels — this helps with browning, I always skip it and then regret it, so just do it.
-
5Heat the oil in a big skillet over medium-high and brown your beef chunks all over. You don’t need to cook them through, just get some color. (Sometimes I skip this because I’m in a rush but honestly, you get better flavor if you bother with it.)
-
6Now, pile your browned beef into the slow cooker crock. Pour that gorgeous chile sauce over the top. Add the remaining cup of beef stock and the vinegar. And if you’re adventurous, a dash of smoked paprika.
-
7Give everything a little stir (it’ll look kind of odd, that’s normal) and pop on the lid. Cook on low for 7 to 8 hours, or high for 4 to 5 hours. Honestly, low and slow is better; the beef becomes spoon-tender. High works if you’re more impatient or running behind, which is basically me every time.
-
8Once it’s done, taste and add more salt if it needs it. If you want the sauce thicker, take off the lid and crank it to high for 20-30 minutes and let some of the juice cook off. Or leave it soupy, my husband actually likes it that way (I just roll with it).
-
9This is when I usually sneak a bite straight from the crock. Hot tip: tastes even better the next day, but our leftovers rarely make it 24 hours.
Approximate Information for One Serving
Nutrition Disclaimers
Number of total servings shown is approximate. Actual number of servings will depend on your preferred portion sizes.
Nutritional values shown are general guidelines and reflect information for 1 serving using the ingredients listed, not including any optional ingredients. Actual macros may vary slightly depending on specific brands and types of ingredients used.
To determine the weight of one serving, prepare the recipe as instructed. Weigh the finished recipe, then divide the weight of the finished recipe (not including the weight of the container the food is in) by the desired number of servings. Result will be the weight of one serving.
Did you make this recipe?
Please consider Pinning it!




