So, This Crockpot Green Curry Chicken Has Seen It All
Alright, let me paint the scene: It was one of those “what on earth am I gonna make for dinner” Mondays, schoolbags flung everywhere, cat perched dangerously on the counter—classic chaos. I dumped some chicken into the slow cooker pretty much hoping for a miracle, tossed in some coconut milk, green curry paste I’d nearly forgotten in the fridge (does this happen to anyone else?), and, on a wild hunch, grabbed a giant bunch of fresh basil from the windowsill. Not even going to lie, I was halfway to ordering takeout, but by some lovely kitchen magic, what came out tasted like something form one of those tiny Thai places you always mean to try. Now it’s our low-key weeknight hero for when I’m feeling lazy (which, honestly, is most Tuesdays).
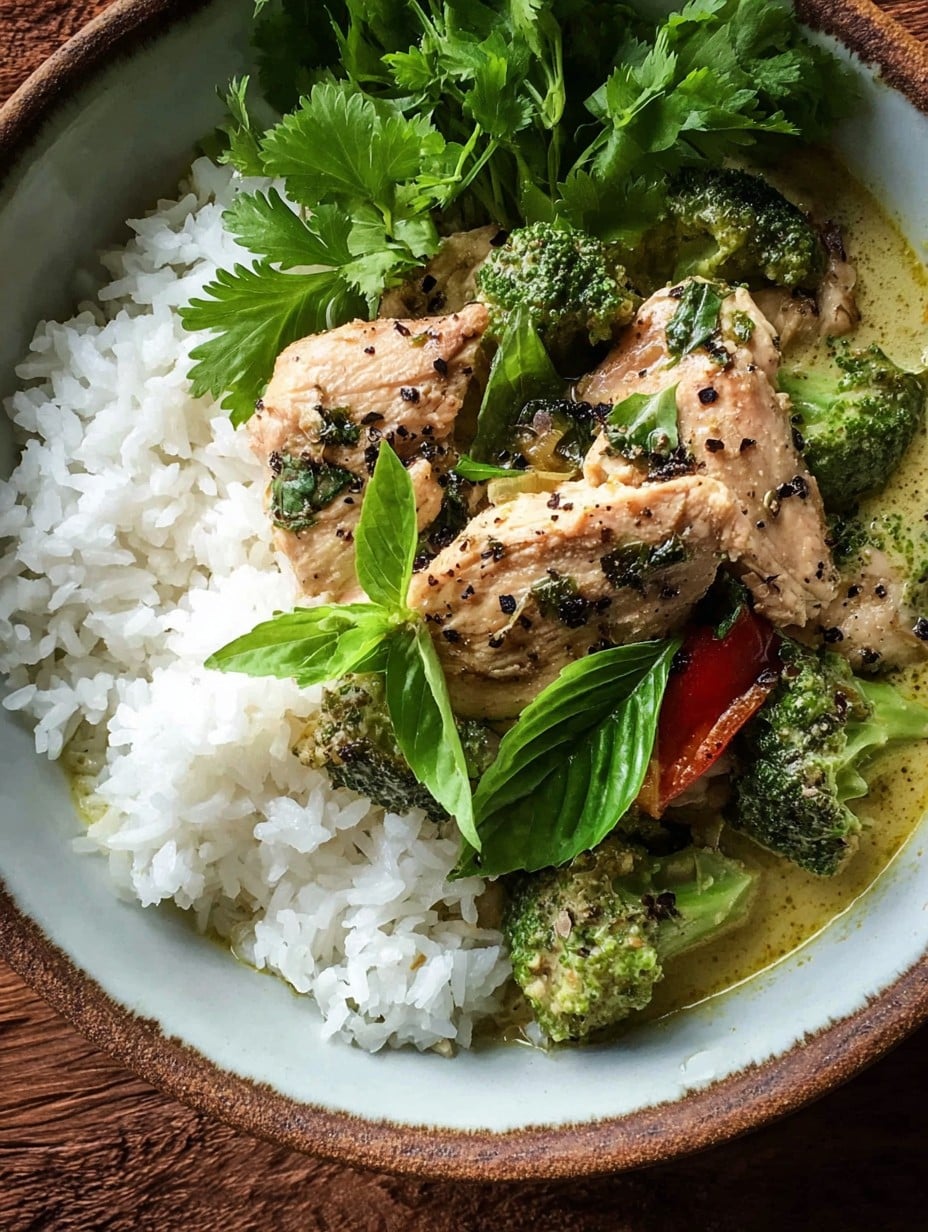
Why You’ll Love This (At Least I Hope You Do!)
I make this when I just can’t bear to open another can of soup or stare at dry chicken in the oven for an hour. My family goes absolutely bonkers for this because it’s creamy, a tiny bit spicy—the good kind that sneaks up on you—and did I mention there’s only, like, five actual steps? Every now and then I’ll get fancy and add bell peppers (usually because they’re about to turn), but the real beauty is you just dump and walk away. Oh! And don’t even talk to me about the cleanup after “fancy” stovetop curry; this is basically one pot, one spoon, maybe two if I lose one.
Here’s What You Need (And a Few Things You Don’t!)
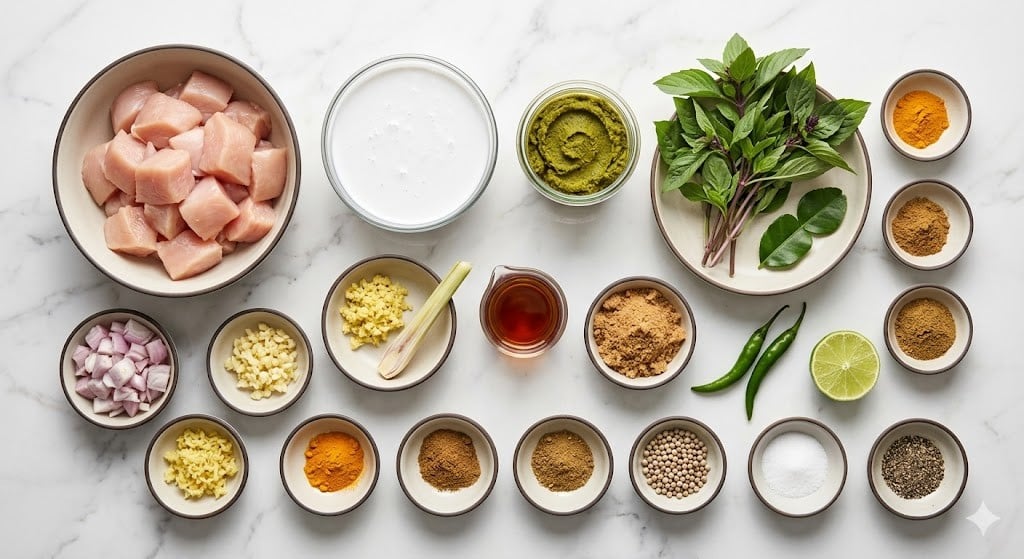
- 2 lbs boneless, skinless chicken thighs (or breasts, if you’re feeling lean or accidentally bought the wrong pack—I have, more than once)
- 1 (13.5 oz) can coconut milk (any brand, although my grandma used to swear by Chaokoh; honestly, the store brand works fine)
- 3 heaping tablespoons green curry paste (Mae Ploy or Thai Kitchen, but use what you’ve got)
- 1 tablespoon brown sugar (sometimes I swap in honey if I’ve run out—it’s a little different, not bad)
- 2 tablespoons fish sauce (soy sauce will do in a pinch, but it’s not the same—just keepin’ it real)
- 1 onion, thinly sliced
- 3 cloves garlic, minced (or a very generous squeeze from that garlic tube)
- 1 red bell pepper, sliced (optional, but if you’ve got it, throw it in)
- 1 cup snow peas (this is totally optional—sometimes I just add a handful of frozen peas at the end)
- 1/2 cup fresh basil leaves, torn (Thai basil if you’re lucky, regular works too—I use whatever’s in my sad herb pot)
- Juice from half a lime (or squirt bottle lime works in a pinch, don’t judge)
- Salt and pepper to taste
>
Let’s Cook: Directions, or How I “Wung” It
- Throw your chicken into the bottom of the crockpot. Yes, just straight in—no need to pre-brown or get all fancy. Trust me, it works out.
- In a bowl (or, honestly, right over the crockpot if you’re not into dirtying another dish) mix together the coconut milk, green curry paste, brown sugar, fish sauce, onion, and garlic. If it looks a bit weird or curdled, don’t panic. Stir it all together and pour that jazz right over the chicken.
- Toss in your bell pepper and snow peas now, or wait and add them in the last hour if you like them more crisp. I usually split the difference because I’m indecisive.
- Pop the lid on. Cook on low for 5-6 hours, or on high for 2.5-3 hours. Somewhere around hour four, this is where I sneak a taste. It’s probably a little soupy at this point, but that’s normal—it thickens as it cools.
- When it’s done, fish out the chicken and shred it up with two forks, then dump it back in. Add your basil and squeeze in the lime juice. Taste and adjust salt and pepper—if it’s too spicy, a dash more coconut milk helps (found this out when the kids got creative with the curry paste tbh).
- Give it a gentle stir and let it sit for a few minutes with the crockpot off so the flavors really cuddle up. Then serve! (And try not to eat it all before anyone else gets to the table.)
Extra Notes (Lessons Learned the Hard-ish Way)
- If you use chicken breasts, don’t cook past 6 hours or you’ll get dry, stringy sadness.
- Stirring halfway through gives you a better sauce, but I’ve definitely forgotten this step and lived to tell the tale.
- Basil goes in at the end—if you add it early, it goes kinda brown and sad (trust me, I’m speaking from experience).
- No slow cooker? A large heavy pot on the lowest stovetop setting sorta works, but you gotta watch the bottom.
- If your sauce is thinner than you like, pop the lid off for the last 30-ish mins so some escapes as steam. Science!
Variations I’ve Actually Tried
- Swapped chicken for tofu—tasty, but fell apart a bit too much for my liking. Maybe extra-press the tofu?
- Added potatoes once; they were okay, but kinda stole the spotlight (and not in a good way… eh, live and learn).
- Mixed in a small can of pineapple chunks. Sweet! But surprisingly, the kids loved it. Probably because it reminded them of pizza.
- Once tried using red curry paste—different vibe, still yummy, so follow your own cravings here.
Stuff You’ll Need (Probably Already In the Cupboard?)
- Crockpot or slow cooker (though, as above, you can MacGyver it on the stovetop if you’re brave)
- Cutting board and knife (or just a not-terrible knife—I won’t tell anyone)
- Mixing spoon, maybe a bowl for sauce, if you’re feeling fancy
How to Store This (If There’s Any Left… Ha!)
Let the curry cool a bit, then shove it into an airtight container and pop it in the fridge. Keeps for up to 3 days, but, honestly, in my house it never lasts more than a day or so. If it thickens up in the cold, add a splash of water or coconut milk when you reheat. Freezing is okay, but the basil gets a bit mushy.
My Favorite Ways to Serve
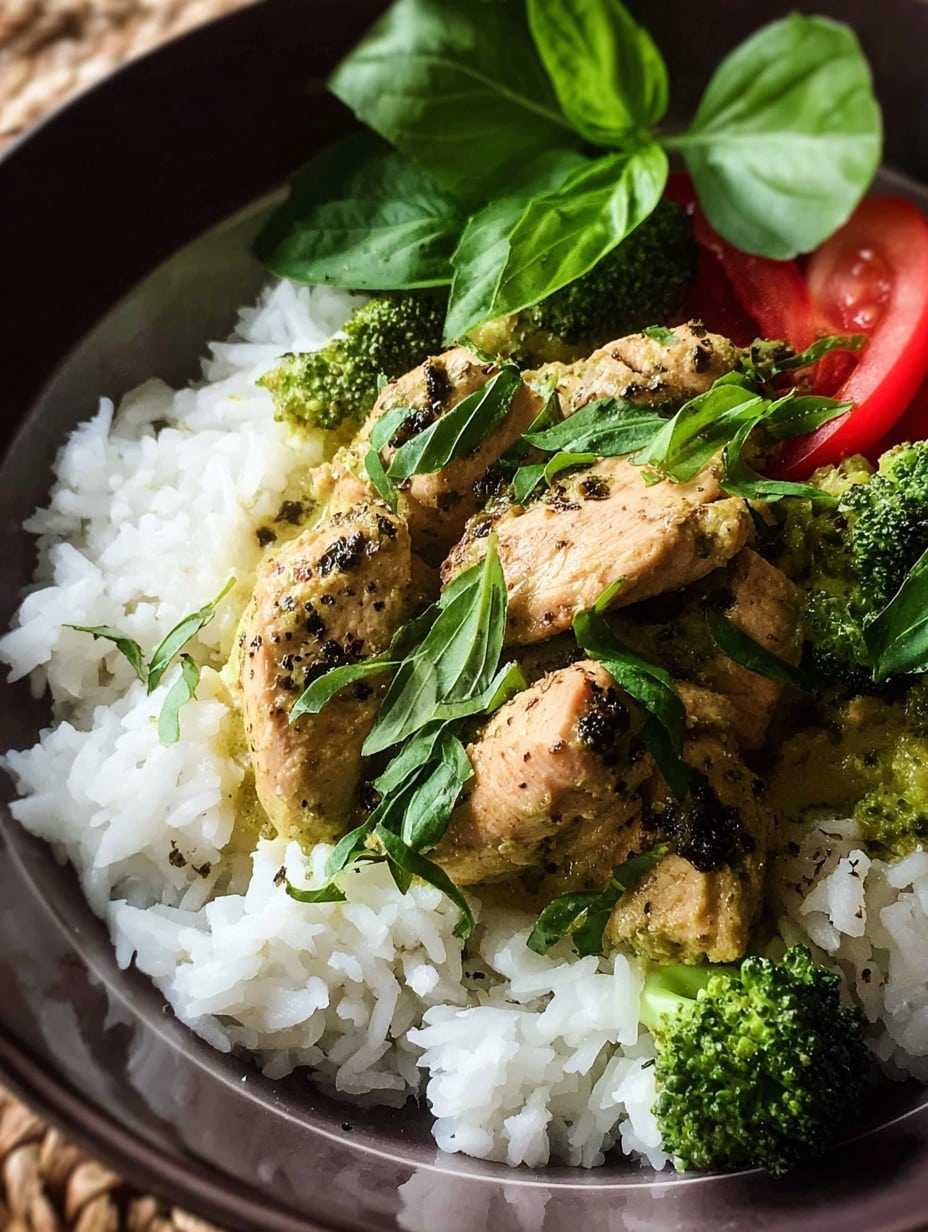
Usually I go classic and serve this curry ladled over a mountain of jasmine rice, with extra lime wedges and fresh basil because it looks “chef-y” (at least to my folks). When I want to jazz it up, naan on the side never hurts. My cousin likes it over rice noodles—honestly, I think she just avoids rice at all costs.
Pro Tips, or “What I Learned by Goofing Up”
- I once tried skipping the brown sugar—nope, don’t do it! It needs that touch of sweetness to balance the curry paste. Actually, honey was okay, just different.
- Don’t rush the final basil-and-lime step. I hurried it once, and it just tasted kind of flat. Let it hang out a minute, trust me.
- No fresh basil? Eh, dried works in a pinch, but go easy; it gets strong quick and a bit musty. Also, don’t use that old jar from the back of the cupboard… you know the one.
FAQ (Because My Family Really Asked These)
Q: Can I use coconut cream instead?
Yeah, you can! It’ll be a richer sauce. You might need to thin it with a bit of water or just use a little less.
Q: Is it super spicy?
I’d call it a friendly medium. If your curry paste is nuclear, start with less—you can always add more at the end. Learned that when my teenager decided to “help.”
Q: Can I make this ahead?
Definitely, in fact I think it tastes better the next day after the flavors hang out (unless you’ve got grazers picking sneaky bites all night, like at my place).
Q: What about leftovers?
Microwave is your friend. Splash of coconut milk, quick stir, and it’s almost as good as fresh (sometimes better, honestly).
Q: Can I toss in random veggies?
You bet! Just check they’ll cook through or add them closer to the end. I once tried broccoli upfront and it turned into grey mush, so… maybe don’t.
Ingredients
- 2 lbs boneless, skinless chicken thighs (or breasts, if you’re feeling lean or accidentally bought the wrong pack—I have, more than once)
- 1 (13.5 oz) can coconut milk (any brand, although my grandma used to swear by Chaokoh; honestly, the store brand works fine)
- 3 heaping tablespoons green curry paste (Mae Ploy or Thai Kitchen, but use what you’ve got)
- 1 tablespoon brown sugar (sometimes I swap in honey if I’ve run out—it’s a little different, not bad)
- 2 tablespoons fish sauce (soy sauce will do in a pinch, but it’s not the same—just keepin’ it real)
- 1 onion, thinly sliced
- 3 cloves garlic, minced (or a very generous squeeze from that garlic tube)
- 1 red bell pepper, sliced (optional, but if you’ve got it, throw it in)
- 1 cup snow peas (this is totally optional—sometimes I just add a handful of frozen peas at the end)
- 1/2 cup fresh basil leaves, torn (Thai basil if you’re lucky, regular works too—I use whatever’s in my sad herb pot)
- Juice from half a lime (or squirt bottle lime works in a pinch, don’t judge)
- Salt and pepper to taste
Instructions
-
1Throw your chicken into the bottom of the crockpot. Yes, just straight in—no need to pre-brown or get all fancy. Trust me, it works out.
-
2In a bowl (or, honestly, right over the crockpot if you’re not into dirtying another dish) mix together the coconut milk, green curry paste, brown sugar, fish sauce, onion, and garlic. If it looks a bit weird or curdled, don’t panic. Stir it all together and pour that jazz right over the chicken.
-
3Toss in your bell pepper and snow peas now, or wait and add them in the last hour if you like them more crisp. I usually split the difference because I’m indecisive.
-
4Pop the lid on. Cook on low for 5-6 hours, or on high for 2.5-3 hours. Somewhere around hour four, this is where I sneak a taste. It’s probably a little soupy at this point, but that’s normal—it thickens as it cools.
-
5When it’s done, fish out the chicken and shred it up with two forks, then dump it back in. Add your basil and squeeze in the lime juice. Taste and adjust salt and pepper—if it’s too spicy, a dash more coconut milk helps (found this out when the kids got creative with the curry paste tbh).
-
6Give it a gentle stir and let it sit for a few minutes with the crockpot off so the flavors really cuddle up. Then serve! (And try not to eat it all before anyone else gets to the table.)
Approximate Information for One Serving
Nutrition Disclaimers
Number of total servings shown is approximate. Actual number of servings will depend on your preferred portion sizes.
Nutritional values shown are general guidelines and reflect information for 1 serving using the ingredients listed, not including any optional ingredients. Actual macros may vary slightly depending on specific brands and types of ingredients used.
To determine the weight of one serving, prepare the recipe as instructed. Weigh the finished recipe, then divide the weight of the finished recipe (not including the weight of the container the food is in) by the desired number of servings. Result will be the weight of one serving.
Did you make this recipe?
Please consider Pinning it!




