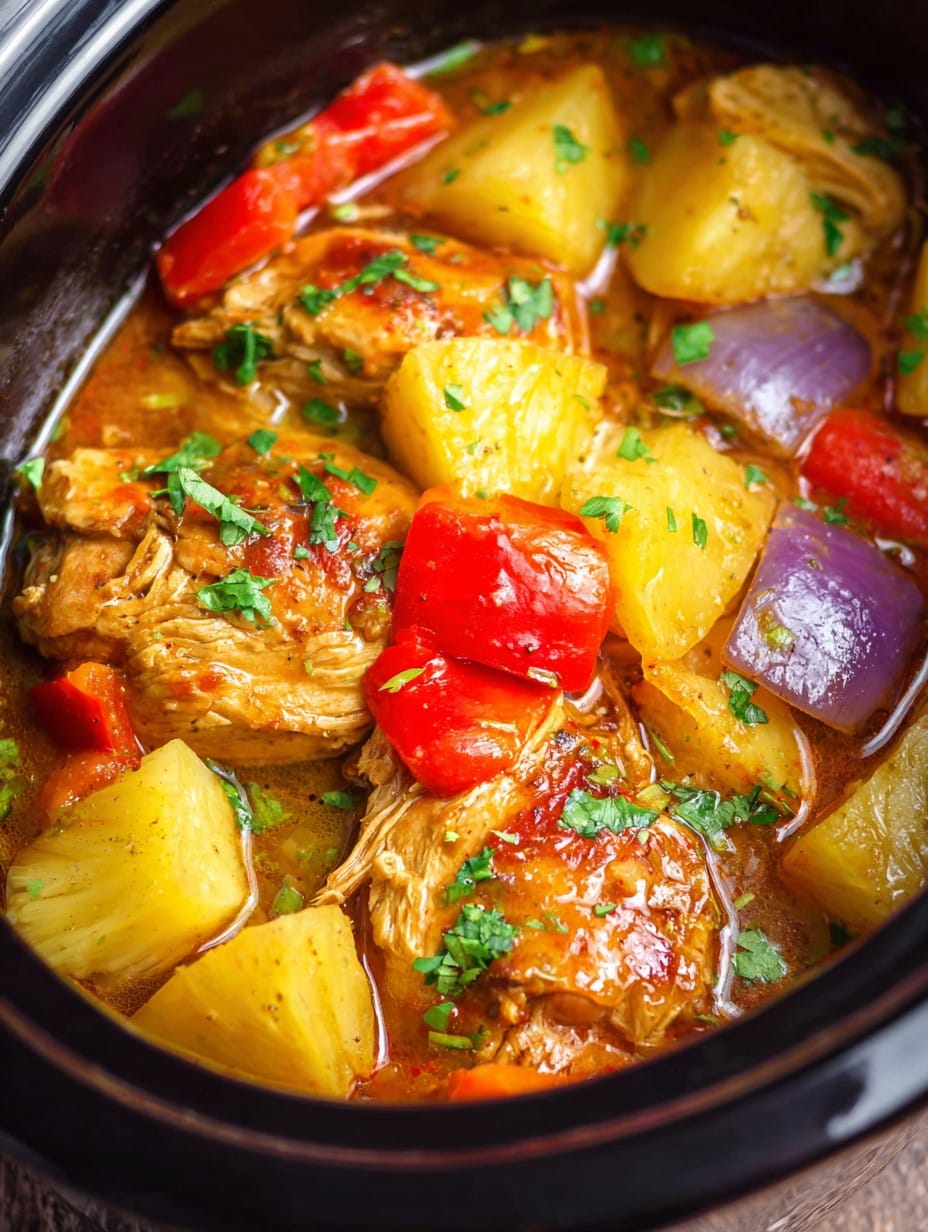
Pull up a chair, my friend—the first time I tossed together this crockpot pineapple chicken, I was wearing fuzzy socks and probably should have been paying more attention to the weather than the chicken, since a summer thunderstorm knocked out the power for half an hour. And yet (or maybe because of), this recipe still turned out totally delicious. Something about the combo of sweet pineapple and savory chicken just makes everyone happy—plus, who doesn’t love a dinner that basically cooks itself while you go about your afternoon, maybe folding endless laundry or, if you’re luckier than me, something far more glamorous.
Why I Always Come Back to This Pineapple Chicken
I make this when my brain cannot handle anything fancy (didn’t we all promise ourselves we’d meal plan this week?). My family goes crazy for this because the sauce is sort of sweet and sticky but not heavy—I mean, my youngest literally licked his plate the first time I made it. Also, on those weirdly busy days, I love that you can just dump the stuff in the slow cooker, give it a half-hearted stir, and forget all about it. Admittedly, I used to stress about chicken breasts drying out, but with this recipe? Nope. Plus, you don’t end up with a sink full of pans, either—which is actually my favorite part.
Here’s What You’ll Need (Swaps Included)
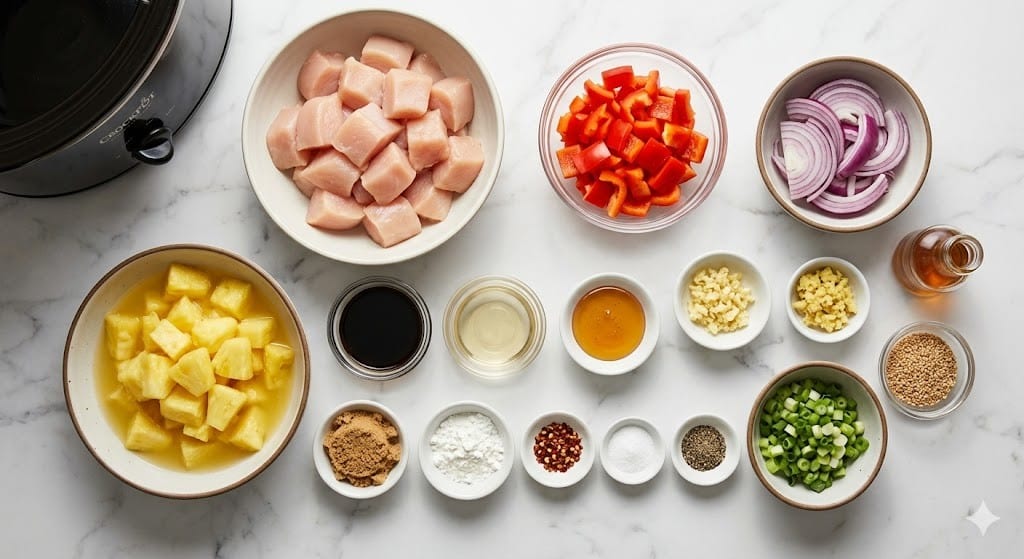
- 2 pounds boneless, skinless chicken breasts (or thighs—I swap them in when I want juicier bits; truth be told, even frozen worked that one time I forgot to defrost)
- 1 20-ounce can pineapple chunks (juice and all; I mean, if you’re fresh pineapple royalty, go for it, but the can’s just fine)
- 1/2 cup low-sodium soy sauce (Coconut aminos also did the trick once when the soy bottle was echoing)
- 1/3 cup brown sugar (light or dark, doesn’t matter—I use whichever is in reach, though I swear Grandma would only use dark)
- 3 cloves garlic, minced (jarred garlic? Yep, I used that in a pinch and lived to tell the tale)
- 1 tablespoon grated fresh ginger (powdered ginger technically works, use half as much—but hey, don’t quote me on that every time)
- 1 red bell pepper, roughly chopped (or green, if that’s what’s lurking in the fridge)
- 1 medium onion, sliced (skip if onions cause family drama, won’t change the world)
- 2 tablespoons cornstarch mixed with 2 tablespoons cold water (for that lovely thick sauce at the end—skip if you’re okay with a thinner sauce… I won’t judge)
- 1/2 teaspoon black pepper (I toss it in, but sometimes forget and honestly, no one notices)
How I Actually Make This Crockpot Pineapple Chicken
- Place the chicken breasts (or thighs, whatever you grabbed), pineapple chunks with all their juice, soy sauce, brown sugar, garlic, ginger, bell pepper, and onion straight into your slow cooker. Toss in that black pepper if you remembered it.
- Give it a bit of a stir—no need for military precision, just make sure the sugar isn’t sitting in one sad pile. Slap on the lid.
- Set the slow cooker on LOW for about 5–6 hours or HIGH for 2.5–3 hours. (Don’t try to rush it by turning it up too early—ask me how I know…)
- Once the chicken is cooked through (should shred easily), take the chicken out onto a plate. Now mix your cornstarch and water until smooth and stir it into the sauce.
- Shred the chicken with two forks (or your hands if you’re feeling wild—just let it cool a minute!), then pop it back into the sauce in the slow cooker.
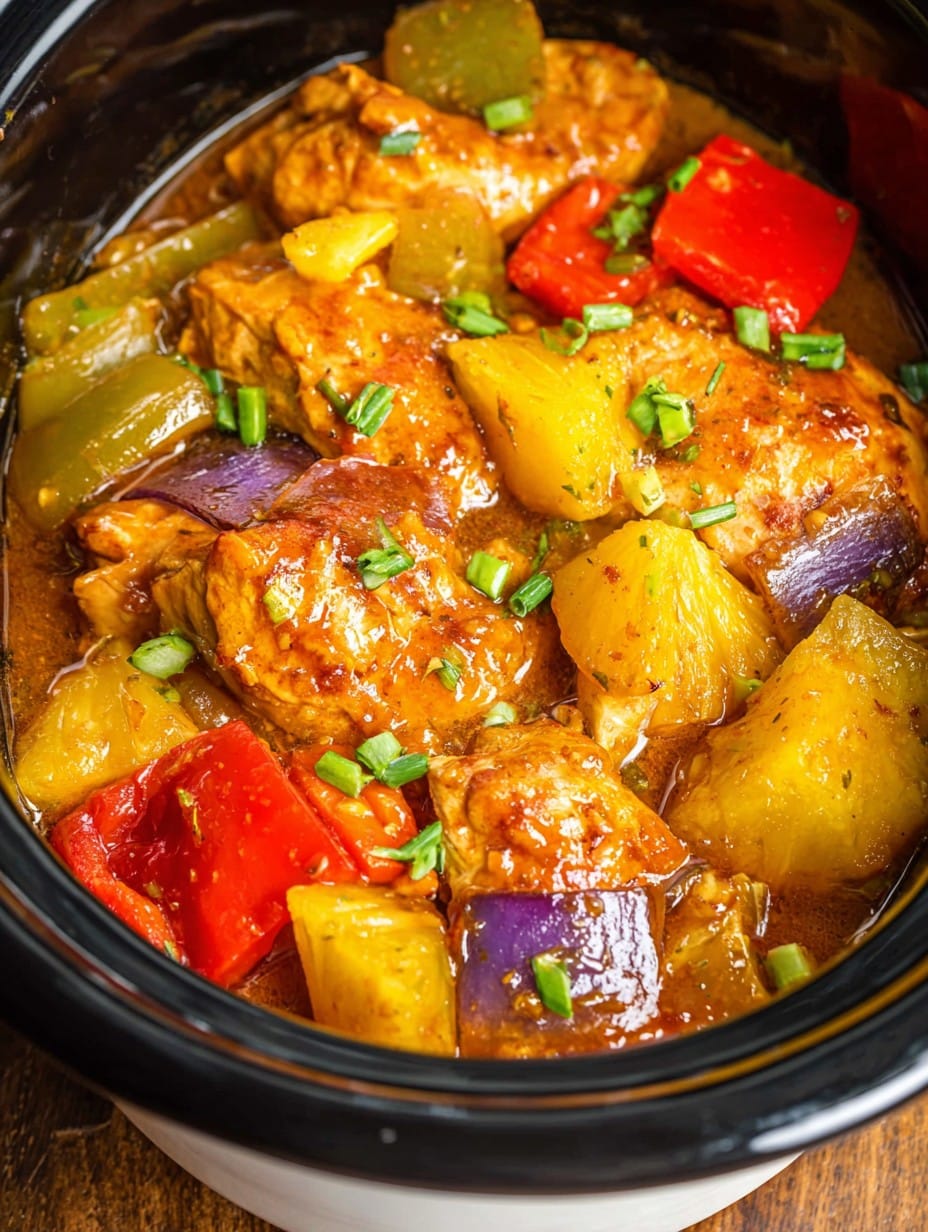
- Let it go for another 20–30 minutes with the lid off so the sauce thickens up a bit. This is where I usually sneak a taste (just for quality control—wink). Don’t worry if it looks a bit weird before the cornstarch works its magic—it always comes together, promise.
Things I’ve Learned (Hard Way & Otherwise…)
- Sometimes my sauce ends up thinner than I hoped. Actually, I just crank the lid off a bit longer, or sometimes, I add an extra tiny pinch of cornstarch (mix it with cool water first!) and it works out.
- If I accidentally use pineapple tidbits instead of chunks, it’s fine. The chicken doesn’t care.
- Watch that sugar—it can stick to the bottom. I scrape the edges down halfway through if I remember.
- I think it tastes even better the next day, but that’s just me; the flavors seem to mingle more if they get a sleepover in the fridge.
Ways I’ve Switched It Up (Some Winners, Some Not)
- One time I tossed in chopped broccoli towards the end—tasted good, not pretty (turned an odd color, but the taste was solid).
- I swapped the soy sauce for teriyaki sauce once—sweeter, but not bad if you’re in a mood.
- Once tried adding sriracha: my youngest was not amused, but spice lovers would totally dig it.
- I don’t recommend using sliced carrots early on—they turn mushy fast. Learned that the hard way.
Gear You’ll Probably Need (But Not Always)
- Crockpot/slow cooker (Obviously, but a Dutch oven in a low oven can work. Just peek more often.)
- Cutting board & knife
- Mixing spoon (or whatever you’ve got handy—once used a wooden spatula and it was fine)
- Some forks for shredding
Keeping Leftovers (But Good Luck!)
Seal leftovers up in an airtight container and stick in the fridge—they’ll last up to 4 days, but honestly, in my house this never lasts more than a day! Reheat gently, maybe splash in some water if the sauce is super thick; microwave works, or a quick pan reheat works too if that’s your jam.
How We Eat It (And That Odd Cousin’s Tradition)
Spoon over fluffy white rice (my usual move), but my neighbor swears by noodles. Sometimes for a party, I’ll serve it as sliders on little buns—kids go wild for those. And weirdly, my cousin insists on a scattering of toasted coconut over the top… it’s divisive. But honestly, I just stick with extra green onions or a handful of sesame seeds and call it good.
Real-Life “Don’t Skip This” Tips
- Don’t skip the shredding step—one rushed night, I just chopped the chicken and regretted it; it’s much saucier and better shredded, trust me.
- Don’t panic if it looks super watery after cooking—just let it go a bit longer with the lid off. It thickens up.
- On second thought, always taste the sauce before serving—a splash more soy can sometimes save an over-sweet batch. Taste as you go is what I’ve learned.
You Asked! (And Here’s What I Actually Say)
- Can I use frozen chicken?
- You totally can—just add a little extra time, maybe 30 mins to an hour, because nobody likes biting into a pink center. I’ve done it when I forgot to defrost, and no one was the wiser.
- Can I double this recipe?
- I mean, if you’ve got a big ol’ crockpot, go for it. The more the merrier (plus, leftovers for lunch are a win).
- What if I don’t have cornstarch?
- Flour in a pinch, but honestly, the sauce will be cloudier and a bit less shiny. Not the end of the world, just different.
- How spicy is this?
- Not spicy at all. But toss in red pepper flakes or hot sauce if you want some zing. My household is divided; I just pass the bottle at the table.
- Can I cook this overnight?
- Wouldn’t recommend overnight—unless you want pineapple chicken for breakfast! Honestly, the texture is best when you eat it the day you make it.
Last thing—did I mention this works fabulously for potlucks? I once carted my whole crockpot across the street and plugged it in at my neighbor’s, and it still tasted great even hours later. That’s a keeper, right?
Ingredients
- 2 pounds boneless, skinless chicken breasts (or thighs—I swap them in when I want juicier bits; truth be told, even frozen worked that one time I forgot to defrost)
- 1 20-ounce can pineapple chunks (juice and all; I mean, if you’re fresh pineapple royalty, go for it, but the can’s just fine)
- 1/2 cup low-sodium soy sauce (Coconut aminos also did the trick once when the soy bottle was echoing)
- 1/3 cup brown sugar (light or dark, doesn’t matter—I use whichever is in reach, though I swear Grandma would only use dark)
- 3 cloves garlic, minced (jarred garlic? Yep, I used that in a pinch and lived to tell the tale)
- 1 tablespoon grated fresh ginger (powdered ginger technically works, use half as much—but hey, don’t quote me on that every time)
- 1 red bell pepper, roughly chopped (or green, if that’s what’s lurking in the fridge)
- 1 medium onion, sliced (skip if onions cause family drama, won’t change the world)
- 2 tablespoons cornstarch mixed with 2 tablespoons cold water (for that lovely thick sauce at the end—skip if you’re okay with a thinner sauce… I won’t judge)
- 1/2 teaspoon black pepper (I toss it in, but sometimes forget and honestly, no one notices)
Instructions
-
1Place the chicken breasts (or thighs, whatever you grabbed), pineapple chunks with all their juice, soy sauce, brown sugar, garlic, ginger, bell pepper, and onion straight into your slow cooker. Toss in that black pepper if you remembered it.
-
2Give it a bit of a stir—no need for military precision, just make sure the sugar isn’t sitting in one sad pile. Slap on the lid.
-
3Set the slow cooker on LOW for about 5–6 hours or HIGH for 2.5–3 hours. (Don’t try to rush it by turning it up too early—ask me how I know…)
-
4Once the chicken is cooked through (should shred easily), take the chicken out onto a plate. Now mix your cornstarch and water until smooth and stir it into the sauce.
-
5Shred the chicken with two forks (or your hands if you’re feeling wild—just let it cool a minute!), then pop it back into the sauce in the slow cooker.
-
6Let it go for another 20–30 minutes with the lid off so the sauce thickens up a bit. This is where I usually sneak a taste (just for quality control—wink). Don’t worry if it looks a bit weird before the cornstarch works its magic—it always comes together, promise.
Approximate Information for One Serving
Nutrition Disclaimers
Number of total servings shown is approximate. Actual number of servings will depend on your preferred portion sizes.
Nutritional values shown are general guidelines and reflect information for 1 serving using the ingredients listed, not including any optional ingredients. Actual macros may vary slightly depending on specific brands and types of ingredients used.
To determine the weight of one serving, prepare the recipe as instructed. Weigh the finished recipe, then divide the weight of the finished recipe (not including the weight of the container the food is in) by the desired number of servings. Result will be the weight of one serving.
Did you make this recipe?
Please consider Pinning it!




