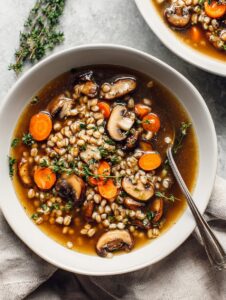
You Know That Soup You Keep Coming Back To?
Alright, so here’s the deal: I’ve probably made this Easy Make-Ahead Mushroom Barley Soup more times than I can count—usually after a killer long walk in the fall, when the air gets that extra bite and I want something warm (but I’m also not about to make a roast dinner on a Wednesday night). This recipe is like slipping on your softest old hoodie. I once tried serving it with fancy croutons for a dinner party, but honestly, people just wanted seconds—no garnish needed. Oh, and there was that one time I froze three batches before vacation and it was honestly the best thing to come home to. But I’m getting ahead of myself!

Why You’ll Love This One
I make this soup when I’m short on time, but still crave something a little nostalgic (think late-night diner vibes, minus all the sodium). My family actually goes crazy for it, and, weirdly, my picky kid calls it “magic brown soup,” which is sort of adorable? It’s hearty but not heavy—thank you, barley! Plus, it’s a life-saver to have a stash in the freezer for those nights when I can’t be bothered to chop one more onion. Not gonna lie though—some days I skip the fresh herbs and don’t regret it.
What You’re Gonna Need (With My Rambling Notes)
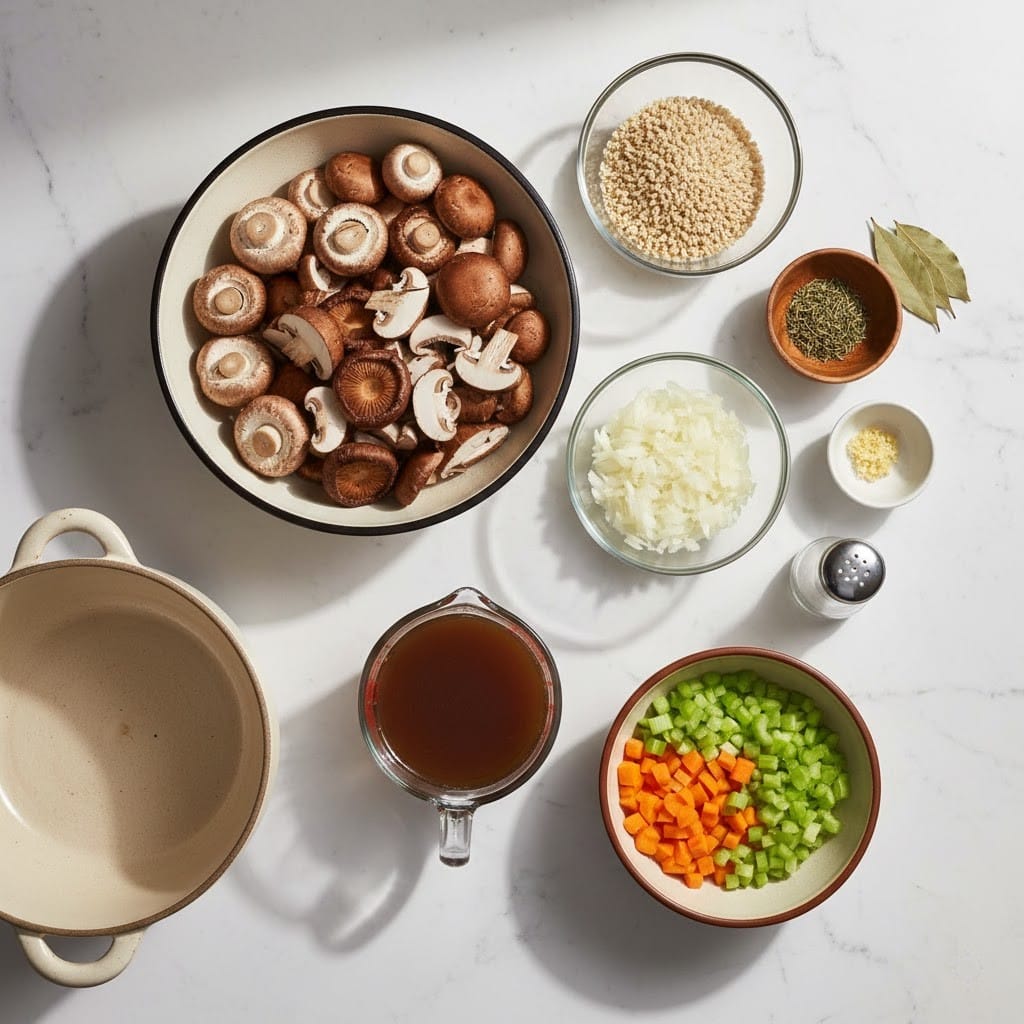
- 1 tbsp olive oil (any neutral oil works—I once used sunflower oil and lived to tell the tale)
- 1 large yellow onion, diced (red onion if that’s what you’ve got—no one will know)
- 3 cloves garlic, minced (sometimes I just use the jarred stuff when I’m feeling lazy, shh)
- 3 medium carrots, sliced into coins (or chopped, whatever’s quicker)
- 2 celery stalks, chopped (skip it if you’re out, but it adds a nice base flavor)
- 450g (about 1 lb) mushrooms, sliced (I use cremini or button—my grandmother swore by portobello, but honestly… anything works)
- 2 tsp dried thyme (fresh thyme is nice, but I usually forget to buy it)
- 1 bay leaf (optional, but I always toss one in if I can find it)
- 1 cup pearl barley, rinsed (don’t use instant barley; it gets mushy—been there, regretted that)
- 7 cups vegetable broth (I’ve mixed in chicken broth before for non-veg folks—totally works)
- Salt and black pepper, to taste (I start light and adjust at the end—sometimes with a heavy hand)
- 2 tbsp chopped fresh parsley, for serving (optional, but it looks fancy)
How I Actually Make It (With Side Comments)
- Heat a large soup pot over medium heat and drizzle in the olive oil. Toss in the diced onion, and cook, stirring now and then, until soft but not browned (about 5 minutes). If you’re feeling rebellious, just pile in the whole lot of veggies now—it all works in the end.
- Add the garlic, carrots, and celery, and let them soften for another 3-4 minutes. Things will start smelling amazing around now; this is when I usually sneak a taste of the carrots (even if they’re still basically raw).
- Chuck in the sliced mushrooms and cook until they’ve browned a little and shrunk down—about 8-10 minutes. Don’t worry if it looks like a big soggy mess at first—mushrooms always lose a ton of water and look weird at this stage.
- Sprinkle in the dried thyme and add your bay leaf. Stir everything together so the flavors get cozy.
- Pour in the barley, then the vegetable broth. Give it a real good stir, scraping up any bits stuck to the pan—the flavor is hiding down there.
- Bring the soup to a boil. Reduce to a simmer, cover halfway (that means the lid’s a little askew—I never remember why but my mom always did it) and let it bubble gently for 40-45 minutes. Stir occasionally so nothing sticks, especially if you’ve got an ornery old pot.
- Remove the bay leaf, taste, and add salt and plenty of pepper—it’s usually where I get a bit carried away with seasoning. If the soup’s too thick for your liking, stir in another cup of water or broth. If it’s too thin… just simmer it a bit longer with the lid off.
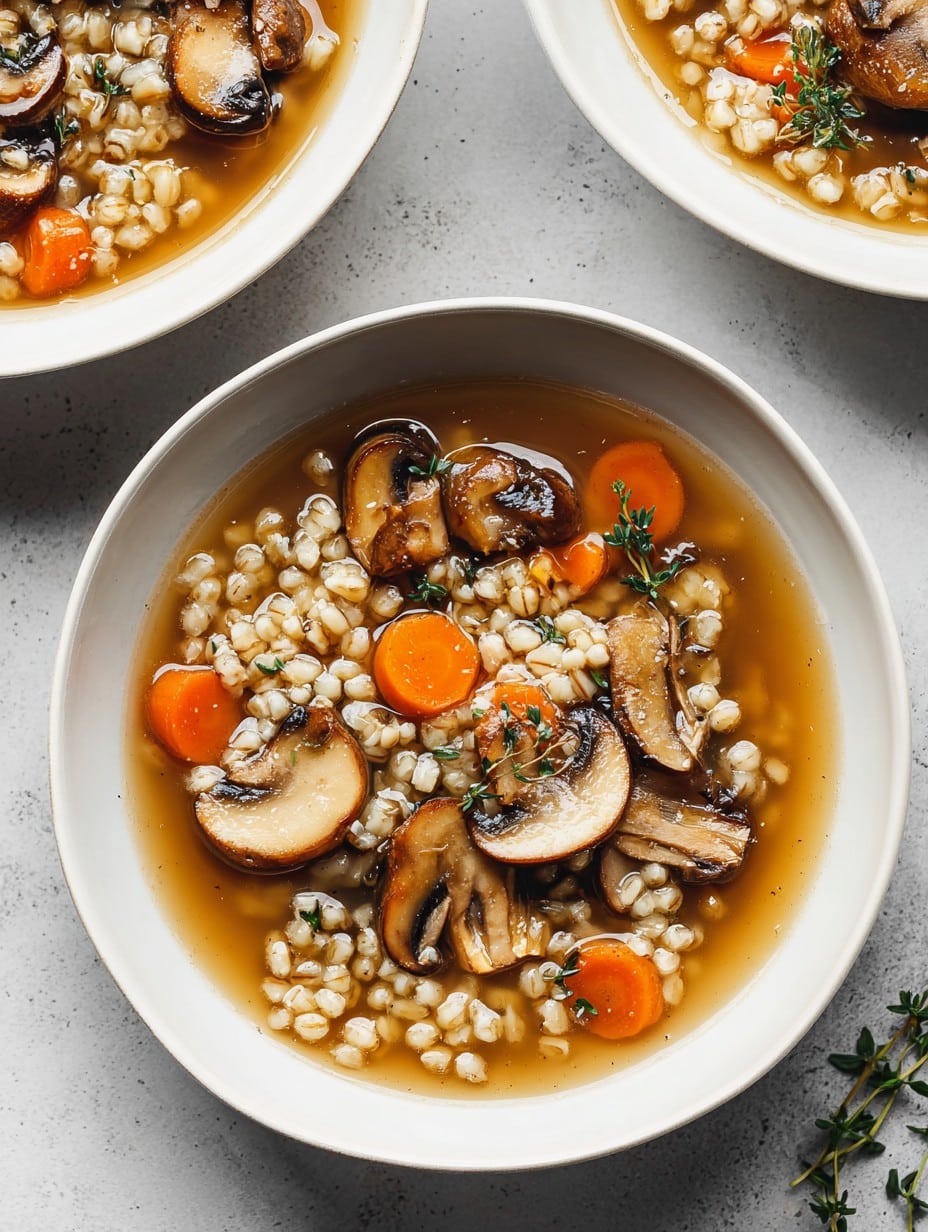
- Ladle into bowls and (if you’re feeling extra) top with parsley. Serve with crusty bread—or just with a spoon and a good attitude.
Notes (Because I’ve Messed Up Enough To Know)
- If you overcook the barley, it’ll get really soft—not the end of the world, but I actually prefer it a little chewy. Rookie mistake: I once left it simmering while chatting on the phone for an hour. The soup was… chunkier than planned.
- The soup thickens as it cools. Sometimes I even add a splash more broth right before reheating (or a little boiling water if I’m out).
- If you’re freezing this, let it cool completely first—I learned this the sticky way, when a still-warm batch cracked my container. Oops.
Variations I’ve Actually Tried (Some Worked, Some… Not So Much)
- Add a handful of chopped kale or spinach in the last 5 minutes—my teenager pretends not to notice the greens if I chop them fine.
- Switch out barley for farro; worked great! I tried brown rice once, though, and, yeah… not my finest hour. It got a bit mushy.
- Try tossing in a splash of soy sauce or a dash of smoked paprika for a little extra depth. Sometimes I just use what I have left in the fridge—one desperate evening, a splash of red wine gave it some extra oomph.
My (Mostly) Essential Equipment
- Large soup pot with a lid (a Dutch oven is great, but any big pot will do—in college, I used a battered stockpot I found in the basement, and it worked just fine)
- Sharp knife and cutting board (or just whatever isn’t in the dishwasher)
- Ladle (though pouring right from the pot sometimes happens when I’m lazy. Just, uh, go slow)
- Freezer-safe containers or zip bags for freezing (I’ve used old yogurt tubs; they work but can crack if you’re not careful—don’t ask how I know)
Soup Storage (Not That It Lasts Long Around Here)
Let the soup cool before stashing it in the fridge (it’ll keep there for about 4 days, but honestly, in my house it never lasts more than a day). For freezing—I portion into single servings in containers (I tried freezing a whole batch once, but then had to chisel it out), label with the date (which I usually forget), and freeze for up to 3 months. To reheat, just thaw overnight, then warm gently in a pot or the microwave. Add a splash of broth if it looks a bit thick.
How I Like To Serve It (And Why My Family Argues About Bread)
This soup is basically crying out for a bit of crusty bread—I love a hunk of sourdough or even just a toasted English muffin with a knob of butter on the side (my childhood staple). My partner swears it’s better with a grilled cheese. Sometimes, we just sprinkle a little grated parmesan or swirl in a spoonful of Greek yogurt for some creaminess. Honestly—use whatever’s hiding in your bread basket.
Mistakes I’ve Made (AKA Pro Tips From a Soup-Lover)
- Don’t rush browning the mushrooms. I once tried to cut corners and dumped in the broth early—they just sort of steamed and the flavor fell flat.
- Try to taste as you go; seasoning at the end is key, but don’t go overboard early. I once salted too much, got distracted, and had to fix it with potato chunks (which, hey, actually was kind of tasty).
- Always check your barley packet for cooking times; not all barley is the same. And if you use quick barley… don’t simmer for 45 minutes—I learned that the hard way.
Real-Life FAQ (People Actually Ask Me These)
- Can I make this gluten-free? Oh, for sure, just swap the barley for short-grain brown rice or maybe even quinoa (though the texture is, well, not quite the same, but if it’s for a friend, they’ll just be happy you made soup).
- Do I have to use mushrooms? Technically, no—but then it’s not mushroom barley soup! I’ve subbed in chopped zucchini plus a splash of soy sauce and it was… edible, I’ll say that.
- What if my soup thickens too much after freezing? Just add more broth or even water when reheating. I’ve made the mistake of microwaving it without extra liquid and, yeah, not my finest bowl.
- Can I double this recipe? You bet! Just use your biggest pot and maybe give yourself a bit more time for the simmering bit. I’ve overflowed my pot trying to push my luck—don’t be me.
- Do I have to freeze it? Nope! It’s great fresh. But, I’m telling you, pulling a tub out of the freezer on a Monday night when you forgot about dinner? Feels like a little win.
And there you have it. Probably more than you wanted to know about my favorite make-ahead mushroom barley soup, but at least you’ll have a cozy bowl at the end—small victories, friend.
Ingredients
- 1 tbsp olive oil (any neutral oil works—I once used sunflower oil and lived to tell the tale)
- 1 large yellow onion, diced (red onion if that’s what you’ve got—no one will know)
- 3 cloves garlic, minced (sometimes I just use the jarred stuff when I’m feeling lazy, shh)
- 3 medium carrots, sliced into coins (or chopped, whatever’s quicker)
- 2 celery stalks, chopped (skip it if you’re out, but it adds a nice base flavor)
- 450g (about 1 lb) mushrooms, sliced (I use cremini or button—my grandmother swore by portobello, but honestly… anything works)
- 2 tsp dried thyme (fresh thyme is nice, but I usually forget to buy it)
- 1 bay leaf (optional, but I always toss one in if I can find it)
- 1 cup pearl barley, rinsed (don’t use instant barley; it gets mushy—been there, regretted that)
- 7 cups vegetable broth (I’ve mixed in chicken broth before for non-veg folks—totally works)
- Salt and black pepper, to taste (I start light and adjust at the end—sometimes with a heavy hand)
- 2 tbsp chopped fresh parsley, for serving (optional, but it looks fancy)
Instructions
-
1Heat a large soup pot over medium heat and drizzle in the olive oil. Toss in the diced onion, and cook, stirring now and then, until soft but not browned (about 5 minutes). If you’re feeling rebellious, just pile in the whole lot of veggies now—it all works in the end.
-
2Add the garlic, carrots, and celery, and let them soften for another 3-4 minutes. Things will start smelling amazing around now; this is when I usually sneak a taste of the carrots (even if they’re still basically raw).
-
3Chuck in the sliced mushrooms and cook until they’ve browned a little and shrunk down—about 8-10 minutes. Don’t worry if it looks like a big soggy mess at first—mushrooms always lose a ton of water and look weird at this stage.
-
4Sprinkle in the dried thyme and add your bay leaf. Stir everything together so the flavors get cozy.
-
5Pour in the barley, then the vegetable broth. Give it a real good stir, scraping up any bits stuck to the pan—the flavor is hiding down there.
-
6Bring the soup to a boil. Reduce to a simmer, cover halfway (that means the lid’s a little askew—I never remember why but my mom always did it) and let it bubble gently for 40-45 minutes. Stir occasionally so nothing sticks, especially if you’ve got an ornery old pot.
-
7Remove the bay leaf, taste, and add salt and plenty of pepper—it’s usually where I get a bit carried away with seasoning. If the soup’s too thick for your liking, stir in another cup of water or broth. If it’s too thin… just simmer it a bit longer with the lid off.
-
8Ladle into bowls and (if you’re feeling extra) top with parsley. Serve with crusty bread—or just with a spoon and a good attitude.
Approximate Information for One Serving
Nutrition Disclaimers
Number of total servings shown is approximate. Actual number of servings will depend on your preferred portion sizes.
Nutritional values shown are general guidelines and reflect information for 1 serving using the ingredients listed, not including any optional ingredients. Actual macros may vary slightly depending on specific brands and types of ingredients used.
To determine the weight of one serving, prepare the recipe as instructed. Weigh the finished recipe, then divide the weight of the finished recipe (not including the weight of the container the food is in) by the desired number of servings. Result will be the weight of one serving.
Did you make this recipe?
Please consider Pinning it!