Let’s Talk Strawberry Kiss Cookies—Storytime First
So, you want to know about Easy Strawberry Kiss Cookies? Buckle up. Here’s the thing—I made these last spring for my cousin Mollie’s birthday because she has this thing (honestly, it borders on obsession) for strawberry anything. Picture this: me, racing around the kitchen in slippers, flour on my elbow, with a bag of those shiny chocolate kisses jingling in my purse because I always, always forget and have to run out to the shop last minute. If you’ve ever stood in your kitchen with your mixing bowl, realizing you’re one egg short and raiding your neighbour’s fridge in your socks (not recommended), then you’ll fit right in here. Humor me, but these Cookies feel like a cross between a hug and a homecoming, pink and cheerful and just enough chocolate to make you grin.

Why I Keep Making These (Even When Life’s Too Busy)
I make this when my kiddo’s had a tough day and needs some pink cookie magic. Or honestly, when I want to whip something up that looks like it took hours but actually I was half-watching telly and humming along absentmindedly. My family goes crazy for them (they disappear faster than I can say “where’s my batch?”). Shortcuts don’t hurt the flavor—some days I use a boxed cake mix (shhh, don’t tell my aunt, she’s a purist), and nobody complains. Once, the dough turned oddly sticky (still no idea why), but I baked them anyway, and they turned out even fluffier. So, embrace the mess.
Here’s What You’ll Need (Swaps Welcome!)
- 1 box strawberry cake mix (about 15oz); or if you’re feeling fancy, make it from scratch, but honestly, the box is fine
- 1/3 cup neutral oil (canola, vegetable, whatever’s in the cupboard; I used melted coconut oil once in a pinch—nice, but a bit coconutty)
- 2 large eggs (sometimes I’ve used one egg + 2 tablespoons of milk when I run out)
- 40-ish chocolate kisses, unwrapped (classic milk chocolate is great, but white chocolate is fun; Grandma swears by the name brand, but off-brand works too)
- A handful of sprinkles, optional (rainbow if you like chaos, pink for the ‘gram)
How I Actually Make Them (Winging It Counts)
- Preheat your oven. Go with 350°F (about 175°C). Sometimes I forget and have to wait, so if you’re in a hurry, just pop the cookies in a little sooner—the bottoms might brown a bit quicker though.
- Mix it up. Dump the cake mix, oil, and eggs in a bowl. Grab a spoon, or, if your hand mixer doesn’t make that clattering sound (mine does—drives me barmy), use that. Stir until it comes together and looks like pink Play-Doh. This is where I usually sneak a bit off the spoon—living on the edge with raw eggs, I know.
- Shape the cookies. Scoop out about a tablespoon (or a slightly heaping one if you’re feeling wild). Roll it into a ball with your palms—I don’t bother with exact sizes, so some are chubby, some are tiny. Just line them up on a baking tray. Parchment paper? Lovely if you have it, but straight on the tray works.
- Bake. Bake for 8-10 minutes. Don’t let them brown! They should look juuust set and still a bit soft in the middle. If your oven runs hot, keep an eye on the bottoms (ask me about my burnt-cookie sob story sometime).
- Unwrap the kisses. While they bake, and try not to eat half of them. Read a text, listen to a song, or call your mum who only wants to talk about local gossip.
- Smoosh the kisses. As soon as the cookies come out (seriously, don’t wait—it’s key), press a chocolate kiss gently into the centre of each. Don’t fret if the cookie cracks a bit at the edges, gives it charm.
- Cool—but please not on the tray for ages. Move cookies to a rack after about 5 minutes. Otherwise, the bottoms get soggy (ask me how I know).
- Decorate with sprinkles (if you want) while the chocolate’s still soft. Stand back and admire! Or eat three before anyone else notices…
Notes from Someone Who’s Definitely Overbaked These Once
- If you pull them out too soon, they’re a bit gooey but honestly, with ice cream, it’s a win.
- I tried refrigerating the dough once; it did make it easier to roll, but no difference in taste (at least to me).
- Flattening the dough balls slightly helps the kisses stay put, but if you skip this, they just tip over a bit—no biggie.
Versions I’ve Tried—Some Good, Some…Interesting
- Once I swapped in lemon cake mix for strawberry. Did not love it, but my friend Sam devoured the lot anyway.
- White chocolate kisses—very sweet, but pink and white looks fun at a baby shower.
- Tried stuffing the dough with jam. Wouldn’t recommend; too sticky, too much fuss.
You’ll Need—Or Improvise If You Don’t
- A baking tray (sheet pan). If you don’t have parchment, just spray the tray with oil.
- A mixing bowl. Bowl big enough for an enthusiastic stir, anyway.
- Hand mixer or wooden spoon works. No electric mixer? Fine by me, more arm workout!
- Wire rack for cooling. Or, just a cutting board—done that plenty.
Storing ‘Em (But Good Luck Hiding Them)
Keep these in an airtight tin or container for up to 3 days, though honestly, in my house it never lasts more than a day! If you stack them, put a bit of parchment (or even wax paper from a cereal box—no judgement) between layers to keep the kisses tidy.
How We Eat Them (Sometimes for Breakfast—Don’t Judge)
Mostly, we eat these straight out of the tin, but they’re cute on a dessert tray with coffee. My favourite? Dipping them into a glass of cold milk, late at night, when the kitchen’s dark and no-one’s counting (calories or cookies).
Pro Tips From a Recovering Rusher
- I once tried to put the kisses on when the cookies were cold—no melt. Not as fun, trust me.
- Don’t skip the cooling time or you’ll end up with a trail of melted chocolate smudges everywhere; learned this the messy way.
- Bake a test cookie! Ovens lie. If it spreads too much, refrigerate the dough for 30 minutes next time.
FAQ—Real Questions I’ve Actually Gotten
- “Can I use a different cake mix flavor?”
For sure! Chocolate is next-level, honestly. On second thought, funfetti isn’t quite my jam but the kids go nuts. - “Do these freeze?”
Yeah, I think so. I froze a batch for two weeks, and they were decent after thawing, but the kiss gets weird if you don’t wrap it up first. - “Help! My dough’s SO sticky!”
Don’t worry, it always looks weird at first. Pop it in the fridge for 20 minutes, it’ll firm right up—or just roll with it and live dangerously. - “Egg allergy subs?”
Try flax egg or just 2 tbsp yogurt per egg. Probably won’t notice a thing. - “Can I skip the chocolate kiss?”
Sure but then, is it really a Kiss Cookie? But no judgment—it’s your kitchen. - “Do these always turn out pink?”
Mine usually do, but cake mixes vary. Add a drop of food coloring if you want that extra rosy glow.
Oh, and before I forget—the best part is licking the dough off the spoon when no one’s watching. If you’re not doing that, you’re missing half the fun, I reckon.
Ingredients
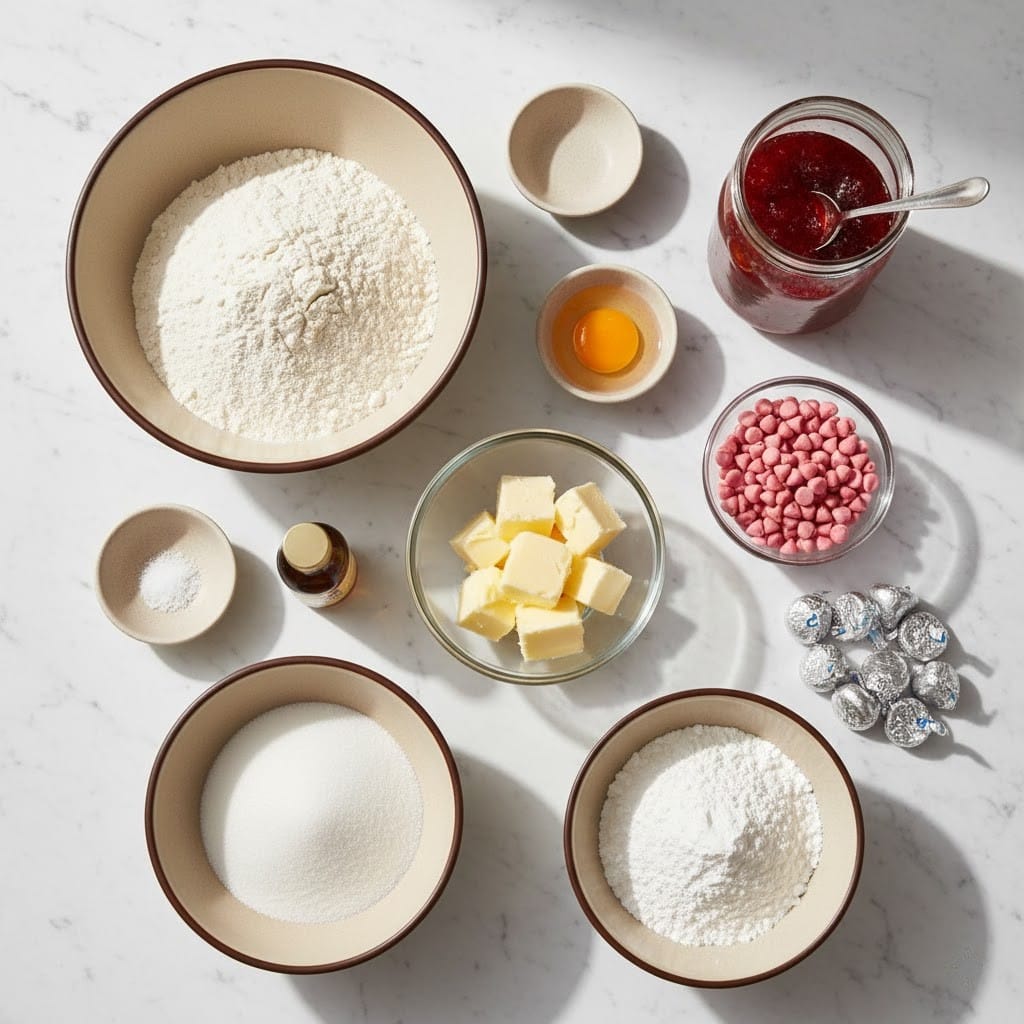
- 1 box (15.25 oz) strawberry cake mix
- 1/3 cup vegetable oil
- 2 large eggs
- 1 teaspoon vanilla extract
- 1/2 cup powdered sugar (for rolling)
- 24 Hershey’s Kisses, unwrapped
- 1/2 cup white chocolate chips (optional)
- Pinch of salt
Instructions
-
1Preheat the oven to 350°F (175°C) and line two baking sheets with parchment paper.
-
2In a large bowl, mix together the strawberry cake mix, vegetable oil, eggs, vanilla extract, and a pinch of salt until a soft dough forms.
-
3Scoop tablespoon-sized amounts of dough and roll each into a ball. Roll each ball in powdered sugar to coat.
-
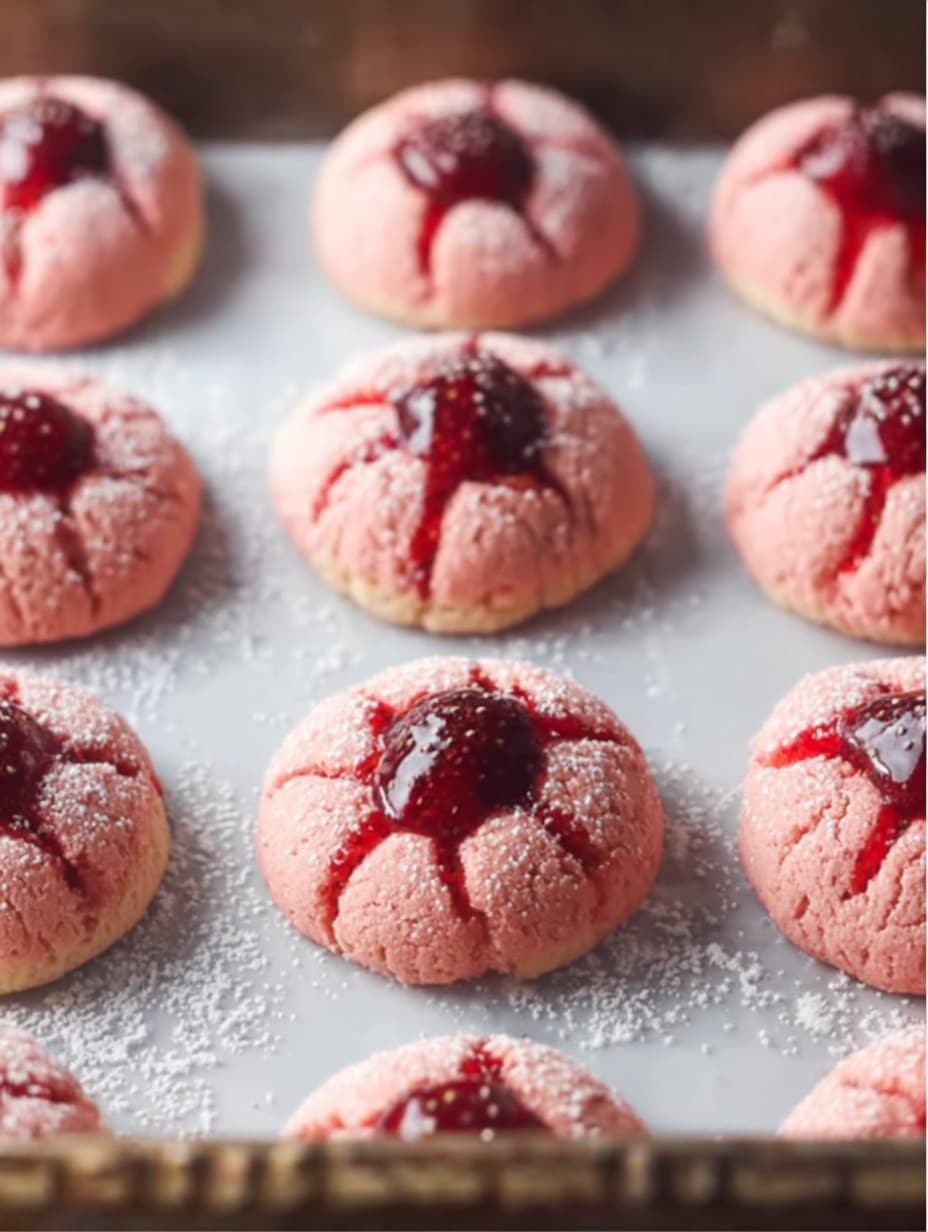
4Place cookie dough balls 2 inches apart on prepared baking sheets. Bake for 9–11 minutes or until set and crackly on top.
-
5Remove from oven and immediately press a Hershey’s Kiss into the center of each cookie. Allow cookies to cool on the baking sheet for 2–3 minutes before transferring to a wire rack.
-
6Melt white chocolate chips (if using) and drizzle over cooled cookies for extra decoration.
Approximate Information for One Serving
Nutrition Disclaimers
Number of total servings shown is approximate. Actual number of servings will depend on your preferred portion sizes.
Nutritional values shown are general guidelines and reflect information for 1 serving using the ingredients listed, not including any optional ingredients. Actual macros may vary slightly depending on specific brands and types of ingredients used.
To determine the weight of one serving, prepare the recipe as instructed. Weigh the finished recipe, then divide the weight of the finished recipe (not including the weight of the container the food is in) by the desired number of servings. Result will be the weight of one serving.
Did you make this recipe?
Please consider Pinning it!!




