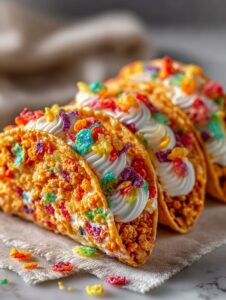
These Fruity Pebbles Cheesecake Tacos Are a Whole Vibe
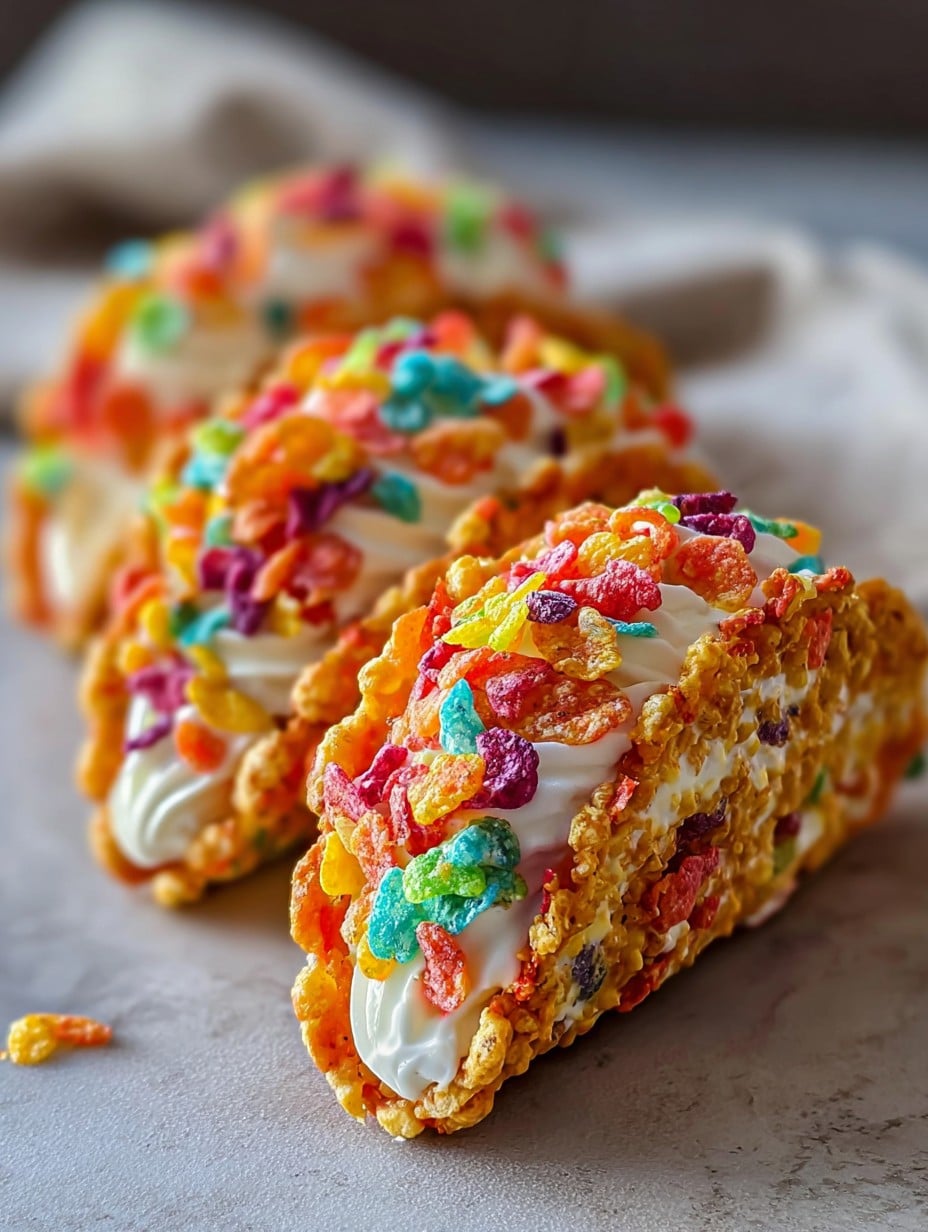
Okay, so I’ll be honest—when I first made Fruity Pebbles Cheesecake Tacos, my kitchen looked like a box of crayons exploded. The kids cackled with glee, my husband walked in asking if I’d gone mad, and, well, we all sort of lost our minds for this bright, crunchy, ridiculous dessert. If you find yourself running short on patience, let me just say: yes, your counters will be covered in rainbow crumbs, and yes, it’s worth it. These are pure nostalgia crammed into a taco shell. I still remember the first time I saw a version of this at a food truck festival and thought, ‘Tacos—but make it dessert?’ Why not. I once ate cereal for dinner, so this tracks.

Why You’ll Love This (Or At Least Crack a Smile)
I make this when I need a little pick-me-up or just want the kids to see something new (I mean, my son once tried eating two at once… not recommended unless you want a meltdown). My family goes crazy for this because it’s not just food, it’s like a party on a plate. Plus, it’s a wild combo of textures—chewy cheesecake, crunchy cereal, creamy filling. All that said, I tried to shortcut the taco shells one time with those bendy tortillas, and let’s just say they did not hold up—lesson learned. So yeah, colorful, delicious, and maybe slightly chaotic (in a good way).
What You’ll Need (Substitutions Welcome)
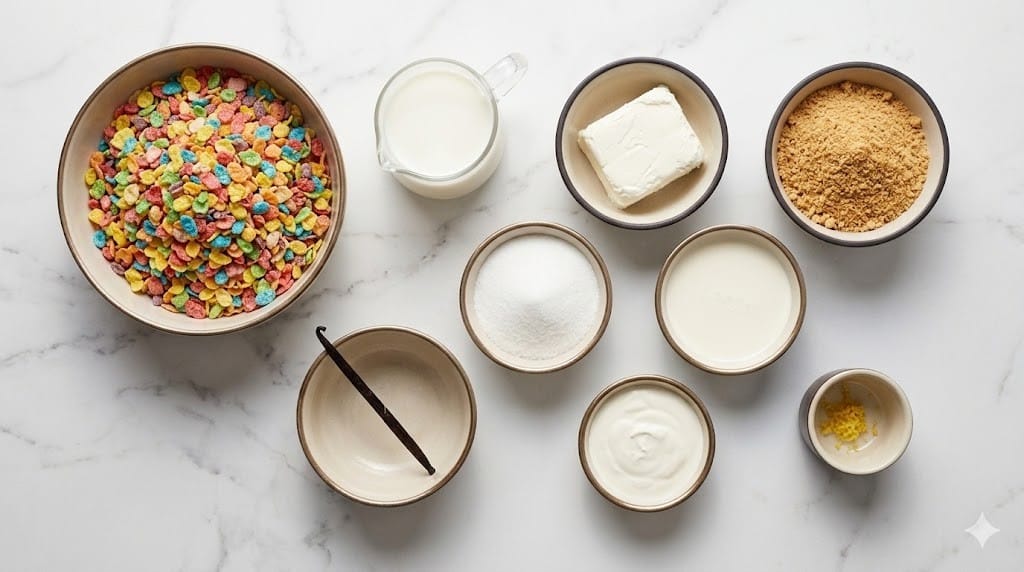
- 2 cups Fruity Pebbles cereal (honestly, I’ve used the off-brand—no one noticed)
- 6 small flour tortillas (about 5–6 inches; corn is okay but gets crispier, almost too much)
- 3 tablespoons unsalted butter, melted (my grandma swears by salted, but use what you’ve got)
- 8 oz cream cheese, softened (full-fat, or swap for Neufchâtel in a pinch)
- 1/2 cup powdered sugar (sometimes I do a little less if I’m feeling virtuous; doesn’t happen often)
- 1 teaspoon vanilla extract (honestly, the cheap stuff works)
- 1 cup heavy whipping cream (whipping by hand is a mini workout, but store-bought whipped topping’s fine too)
- Extra Fruity Pebbles for sprinkling (always… trust me)
How to Make Fruity Pebbles Cheesecake Tacos, More or Less
- Preheat your oven to 350°F (yep, that’s Fahrenheit, not Celsius—don’t ask how I know). You can also try the air fryer, actually, but my shells always got weirdly uneven.
- Flatten your tortillas with a rolling pin or a heavy mug—whatever’s not hiding in that drawer you never organize. Brush both sides with the melted butter. Then coat those babies with Fruity Pebbles on both sides. They won’t stick perfectly, which is kind of the point; messy is good here.
- Drape each tortilla over two bars of a baking rack, so it hangs like a taco. Or, if you don’t have a rack, sort of “prop” them up with balls of foil on a baking sheet. This is when my dog usually stands nearby hoping for a falling cereal bit.
- Bake 8–10 minutes until they’re crisp and holding their shape. Don’t wander off at this stage. They go from just right to overdone fast—I may have burnt a batch or two, oops.
- Let them cool completely. (Harder than it sounds. Every time, I think, “Are they done yet?”)
- While shells cool, beat the cream cheese, powdered sugar, and vanilla together in a bowl until smooth and creamy. This is where I usually sneak a taste—quality control, right?
- Whip the heavy cream until stiff peaks form, then fold it (gently!) into the cream cheese mix. Don’t go wild or you’ll have soup. If you use whipped topping, just stir it in until it looks blended.
- Spoon or pipe the cheesecake mixture into each cooled shell. They look fancy if you use a piping bag, but disclaimer: a zip-top bag with the corner snipped is totally fine—the kids never notice either way.
- Sprinkle a little more Fruity Pebbles (or a heap, whatever floats your boat) right before serving. For extra flair, I sometimes drizzle on a little white chocolate, but that’s really just showing off.
Some Notes (a.k.a. Stuff I’ve Learned the Hard Way)
- If the shells fall apart when you fill them, they probably weren’t cool enough. Patience is not my strong suit either.
- Quite honestly, these do get a tiny bit soggy if they sit too long. Assembly right before eating is key.
- If you want them sweeter, add extra powdered sugar—you’re in charge here.
Variations I’ve Tried (the Good, the Bad, and the Silly)
- Chocolate Pebbles work too, but, uh, my kids looked at me like I’d ruined their day—so maybe try it and decide for yourself.
- Swapping in cinnamon sugar instead of Fruity Pebbles was surprisingly decent. Like a churro, but… not.
- Crumbled Oreos instead of cereal? I thought it was genius, but it made the shells too crumbly. Oh well, live and learn!
Equipment: Use What Ya Got
Baking rack is ideal for the taco shell shape. But if you don’t have one (story of my first try), foil balls on a baking sheet totally work; just keep the tortillas propped over them, and check halfway through so you don’t end up with a wonky taco.
How to Store Them (If Leftovers Even Exist)
You can store assembled tacos covered in the fridge for about a day. Beyond that, shells start to go soft. Honestly, in my house they never last more than a day—someone always sneaks the last one by midnight.
Serving Suggestions: My Favorite Bit
I love to pile these on a big platter and let everyone garnish their own (extra cereal, a drizzle of fake honey, or even sprinkles if my younger niece is around). My friend tried serving with strawberries and said it tasted like summer, so maybe give that a whirl?
Pro Tips (a Few ‘Oops’ Moments to Avoid)
- I once tried rushing the shell cooling and filled them while they were still warm. Bad idea! The cream cheese filling kind of ran everywhere like it had somewhere else to be.
- Don’t skip the butter step with the tortillas. Makes the Fruity Pebbles stick and helps them crisp up—otherwise, they’re kinda sad and floppy.
FAQ (Real Questions, Real Answers—from My Messy Kitchen)
- Can I make these ahead? Sort of. Make the shells and filling separately and assemble when ready. If you try to store them assembled, they get soft. Trust me, not as fun.
- My shells split! What happened? Usually means they baked a smidge too long or you tried to fill them while hot. I’ve done both (oops).
- Is there a non-dairy version? Actually, yes! I used vegan cream cheese and coconut whip once for my cousin—nobody even noticed, except for the slightly coconutty taste.
- Help, the cereal falls off my tortillas! That’s normal (and kinda part of the charm). Press the cereal in lightly and accept a little mess. Sweep the floor after—it’s worth it.
P.S. You will get Fruity Pebbles stuck to your socks if you make these barefoot. Don’t say I didn’t warn you.
Ingredients
- 2 cups Fruity Pebbles cereal (honestly, I’ve used the off-brand—no one noticed)
- 6 small flour tortillas (about 5–6 inches; corn is okay but gets crispier, almost too much)
- 3 tablespoons unsalted butter, melted (my grandma swears by salted, but use what you’ve got)
- 8 oz cream cheese, softened (full-fat, or swap for Neufchâtel in a pinch)
- 1/2 cup powdered sugar (sometimes I do a little less if I’m feeling virtuous; doesn’t happen often)
- 1 teaspoon vanilla extract (honestly, the cheap stuff works)
- 1 cup heavy whipping cream (whipping by hand is a mini workout, but store-bought whipped topping’s fine too)
- Extra Fruity Pebbles for sprinkling (always… trust me)
Instructions
-
1Preheat your oven to 350°F (yep, that’s Fahrenheit, not Celsius—don’t ask how I know). You can also try the air fryer, actually, but my shells always got weirdly uneven.
-
2Flatten your tortillas with a rolling pin or a heavy mug—whatever’s not hiding in that drawer you never organize. Brush both sides with the melted butter. Then coat those babies with Fruity Pebbles on both sides. They won’t stick perfectly, which is kind of the point; messy is good here.
-
3Drape each tortilla over two bars of a baking rack, so it hangs like a taco. Or, if you don’t have a rack, sort of “prop” them up with balls of foil on a baking sheet. This is when my dog usually stands nearby hoping for a falling cereal bit.
-
4Bake 8–10 minutes until they’re crisp and holding their shape. Don’t wander off at this stage. They go from just right to overdone fast—I may have burnt a batch or two, oops.
-
5Let them cool completely. (Harder than it sounds. Every time, I think, “Are they done yet?”)
-
6While shells cool, beat the cream cheese, powdered sugar, and vanilla together in a bowl until smooth and creamy. This is where I usually sneak a taste—quality control, right?
-
7Whip the heavy cream until stiff peaks form, then fold it (gently!) into the cream cheese mix. Don’t go wild or you’ll have soup. If you use whipped topping, just stir it in until it looks blended.
-
8Spoon or pipe the cheesecake mixture into each cooled shell. They look fancy if you use a piping bag, but disclaimer: a zip-top bag with the corner snipped is totally fine—the kids never notice either way.
-
9Sprinkle a little more Fruity Pebbles (or a heap, whatever floats your boat) right before serving. For extra flair, I sometimes drizzle on a little white chocolate, but that’s really just showing off.
Approximate Information for One Serving
Nutrition Disclaimers
Number of total servings shown is approximate. Actual number of servings will depend on your preferred portion sizes.
Nutritional values shown are general guidelines and reflect information for 1 serving using the ingredients listed, not including any optional ingredients. Actual macros may vary slightly depending on specific brands and types of ingredients used.
To determine the weight of one serving, prepare the recipe as instructed. Weigh the finished recipe, then divide the weight of the finished recipe (not including the weight of the container the food is in) by the desired number of servings. Result will be the weight of one serving.
Did you make this recipe?
Please consider Pinning it!