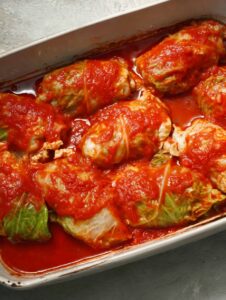
Let’s Talk Golumpki—A Taste of Family, Flaws and All
Pull up a chair, my friend, because you’re about to get the straight-from-my-messy-kitchen scoop on Grandma’s Golumpki (that’s Polish cabbage rolls if you’re new to this game). I still remember the first time I tried to help my grandma with these—I thought cabbage rolling was something everyone just knew how to do, but nope. My first batch looked a little like oddly wrapped burritos… I mean, cabbage doesn’t always want to cooperate, you know? She laughed so hard she dropped her spoon, and I’ve pretty much been chasing her version ever since. Also, I’ve learned the hard way that tomato sauce stains never really come out. Anyway, let’s get into it before I start rambling about her old watermelon tablecloth or something.

Why You’ll Love Grandma’s Golumpki (Or at Least I Hope So)
I make these whenever the weather turns a little gloomy or someone in the family drops not-so-subtle hints about “comfort food.” My family goes absolutely bananas for this—especially my brother, who claims he can “spot the smell of baking golumpki from two blocks away.” I’m not saying he has superpowers, but I’d believe it. There’s just something cozy about them. Sometimes, though, I griped about boiling cabbage leaves (seriously, that step took me a minute to get right—don’t let anyone tell you it isn’t fiddly). But eating them at the end, oh, it’s all worthwhile.
Gather Your Ingredients (Substitutions, because who really plans ahead?)
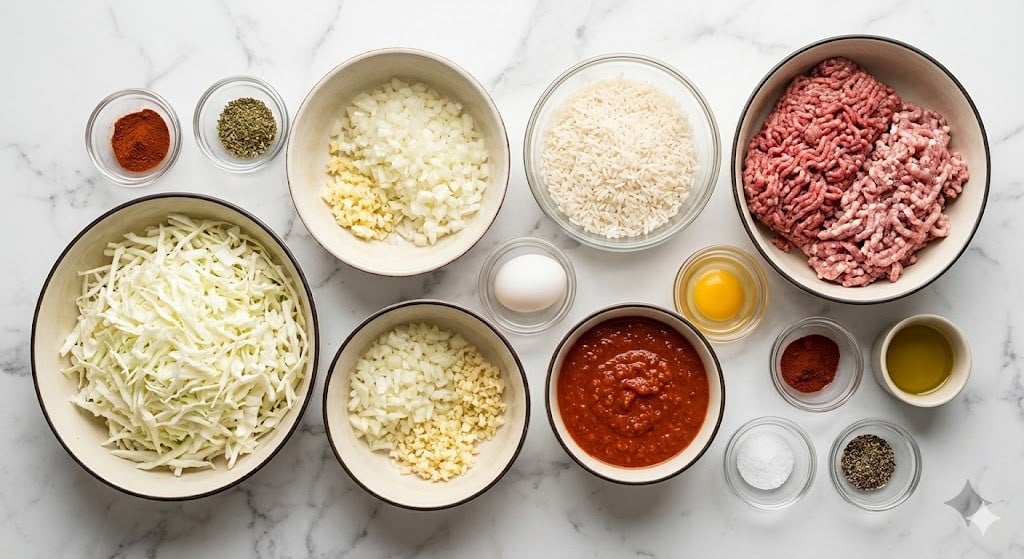
- 1 large head of green cabbage (sometimes I use two small ones when the supermarket’s picked over)
- 1.5 lbs ground beef (I’ve swapped in ground turkey before—Grandma probably wouldn’t approve, but it works)
- 1 cup cooked white rice (sometimes I just use whatever leftover rice I find in the fridge, honestly)
- 1 medium onion, finely chopped
- 2 cloves garlic, minced (I cheat with garlic powder if I’m tired)
- 1 egg
- Salt and pepper to taste (Grandma just said “a good pinch”—so use your gut)
- 2 cups tomato sauce (my grandmother insisted on using Hunt’s, but any tomato sauce is fine—promise)
- 1 can (14 oz) diced tomatoes (optional, but I like the chunkiness)
- 1 tablespoon Worcestershire sauce (totally optional, but I think it gives a little oomph)
- 1 teaspoon sugar (just a little to balance the sauce; sometimes I forget and nobody notices)
How to Make It: Grandma’s Golumpki, Step by Step
- First up: Boil a big pot of water. Then, carefully peel off the outer leaves of the cabbage—sometimes it helps to cut the core out first (watch your fingers!). Once the water’s boiling, toss in the whole cabbage head for a few minutes, then peel off softened leaves as they get tender. I do a few at a time, then pop it back in. Don’t stress if some tear (mine always do).
- Let the leaves cool—lay them out on a clean towel. Meanwhile, in a big bowl, mix together your ground beef, cooked rice, onion, garlic, egg, salt, and pepper. This is where I get my hands in there and squish it all together. Trust me, it’s oddly satisfying.
- Take each cabbage leaf, shave off the thickest part of the stem on the back with a sharp knife, and plop a handful (about 1/3 cup) of filling in the center. Fold over the stem side, tuck in the sides, and roll up—like a little burrito or, let’s be real, whatever shape you can manage. Perfection’s overrated.
- Arrange each roll, seam side down, in a big baking dish. If you have leftover leaves (I always do), line the bottom of the dish for a bit of protection against burnt bits—learned form experience!
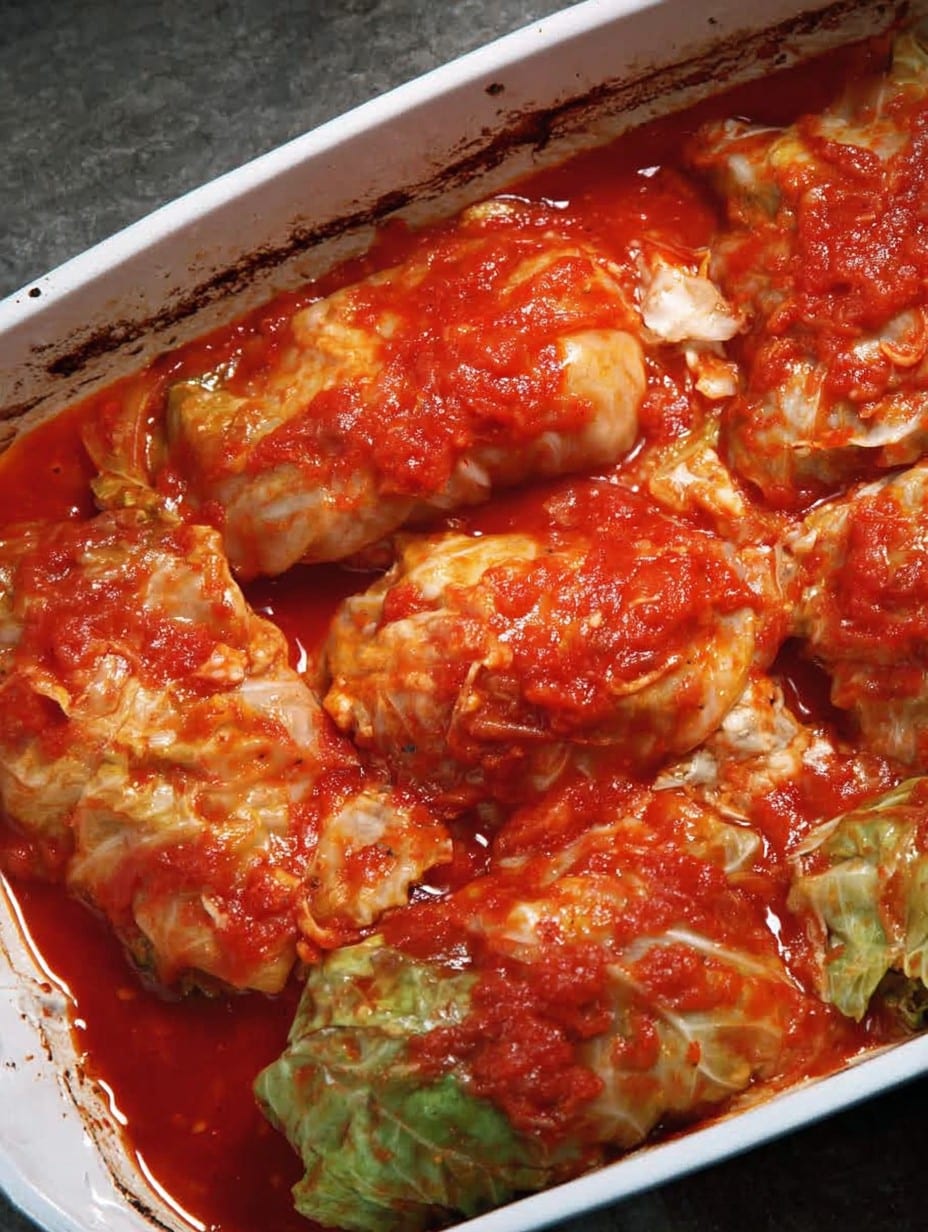
- Stir together your tomato sauce, diced tomatoes, Worcestershire sauce, and sugar in a bowl. Pour it all over the rolls. I like to sneak a little taste here (one time I added too much sugar and, well, not my finest moment, so taste as you go).
- Cover tightly with foil and bake in a 350°F (180°C) oven for about 1 hour and 15 minutes. Sometimes I check after an hour and give it another 10–15 minutes if I want the tops extra soft.
- Remove the foil for the last 15 minutes if you want them slightly browned (admittedly, I often forget and it’s totally fine).
- Let them sit for about 15 minutes before serving. Or just dig in right away if you’re impatient—just don’t burn your mouth (I’ve done it, more than once).
Some Notes I Jotted Down (or Mumbled While Cleaning Up)
- Don’t panic if your cabbage leaves look wonky. Once they bake, no one can tell. Seriously.
- If your filling’s too loose, add more rice or even a few breadcrumbs. I learned this after accidentally making “golumpki soup” one year.
- The sauce thickens up as it cools, so don’t worry if it looks thin coming out of the oven.
My “Tried It So You Don’t Have To” Variations
- Once, I subbed in quinoa for the rice. Interesting—maybe too earthy for my taste, but not bad!
- Turkey works instead of beef if you want to feel, I don’t know, extra virtuous?
- Tried cheddar cheese inside one time. Not my best idea. Too gooey.
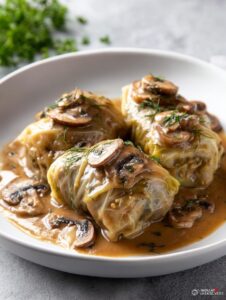
- Red sauce can be swapped for mushroom soup—but I much prefer the tomato, if I’m honest.
Equipment: What You Actually Need (And What to Do If You Don’t Have It)
- Big pot for boiling cabbage—no pot big enough? Do a half head at a time, or even microwave a few leaves between damp towels. Not glamorous, but it’ll do.
- Baking dish (9×13-inch is my go-to, but I’ve squeezed them into two smaller pans before and it worked)
- A sharp knife for trimming cabbage stems—blunt knives make this job pretty miserable, so borrow one if you need to!
How to Store Golumpki (Not That Mine Last Long)
Technically, you can keep leftovers in the fridge, covered, for up to 3 days. I think they taste even better the next day, but honestly, in my house these rarely see day two. Freezes fine, too—just pop cooled rolls into a sealed container (or zip bag) and freeze for up to 3 months. Defrost in the fridge and reheat in the oven or microwave (I do it covered, so they stay moist).
Serving Ideas – Family Style, Of Course
I usually heap these onto a platter, spoon extra sauce over the top, and scatter some fresh parsley if I remembered to buy it. My grandpa insisted this had to be served with crusty rye bread and pickles—sometimes I listen, sometimes I just go for buttered potatoes. To each their own.
If I Had to Call These “Pro Tips”
- I once tried to microwave the cabbage head because I was in a rush. Ended up undercooked and rubbery, so take your time with the boiling (sorry, but patience really helps here).
- Don’t over-pack the rolls; they need some wiggle room as they cook. I packed them in once and it all merged into one big cabbage casserole (not what I was aiming for, but surprisingly tasty).
- Sneak a taste of the sauce before dumping it on—seriously, sauce can make or break it.
Straight-From-the-Kitchen FAQs
- Can I make these ahead?
Absolutely! I’ve prepped them the night before and baked the next day. Actually, I find it works better if you give the flavors some time to hang out in the fridge. - What’s the best way to reheat leftovers?
I just pop ’em back in the oven, covered with foil. Maybe splash a little extra tomato sauce (or water) if they look dry. Microwave works, too, but the oven’s less, um, soggy? - Do I have to use beef?
Nope—I’ve mentioned turkey, but you could try pork, or even a mix. Vegetarian versions exist but, on second thought, I’ve never managed to truly love one. - Can I use jarred pasta sauce?
Sure can! When I’m really not in the mood to fuss, I just use whatever’s in the pantry. - Help! My rolls fell apart. What did I do?
This happens. Too much filling? Not rolled tight enough? Overcooked leaves? Next batch, try rolling tighter (I struggle with this every so often myself).
So, that’s my not-so-perfect guide to Grandma’s Golumpki—cabbage rolls with a side of nostalgia and a pinch of “close enough is good enough.” If you make them, let me know if your sauce stains ever came out—it’s a running joke at our house!
Ingredients
- 1 large head of green cabbage (sometimes I use two small ones when the supermarket’s picked over)
- 1.5 lbs ground beef (I’ve swapped in ground turkey before—Grandma probably wouldn’t approve, but it works)
- 1 cup cooked white rice (sometimes I just use whatever leftover rice I find in the fridge, honestly)
- 1 medium onion, finely chopped
- 2 cloves garlic, minced (I cheat with garlic powder if I’m tired)
- 1 egg
- Salt and pepper to taste (Grandma just said “a good pinch”—so use your gut)
- 2 cups tomato sauce (my grandmother insisted on using Hunt’s, but any tomato sauce is fine—promise)
- 1 can (14 oz) diced tomatoes (optional, but I like the chunkiness)
- 1 tablespoon Worcestershire sauce (totally optional, but I think it gives a little oomph)
- 1 teaspoon sugar (just a little to balance the sauce; sometimes I forget and nobody notices)
Instructions
-
1First up: Boil a big pot of water. Then, carefully peel off the outer leaves of the cabbage—sometimes it helps to cut the core out first (watch your fingers!). Once the water’s boiling, toss in the whole cabbage head for a few minutes, then peel off softened leaves as they get tender. I do a few at a time, then pop it back in. Don’t stress if some tear (mine always do).
-
2Let the leaves cool—lay them out on a clean towel. Meanwhile, in a big bowl, mix together your ground beef, cooked rice, onion, garlic, egg, salt, and pepper. This is where I get my hands in there and squish it all together. Trust me, it’s oddly satisfying.
-
3Take each cabbage leaf, shave off the thickest part of the stem on the back with a sharp knife, and plop a handful (about 1/3 cup) of filling in the center. Fold over the stem side, tuck in the sides, and roll up—like a little burrito or, let’s be real, whatever shape you can manage. Perfection’s overrated.
-
4Arrange each roll, seam side down, in a big baking dish. If you have leftover leaves (I always do), line the bottom of the dish for a bit of protection against burnt bits—learned form experience!
-
5Stir together your tomato sauce, diced tomatoes, Worcestershire sauce, and sugar in a bowl. Pour it all over the rolls. I like to sneak a little taste here (one time I added too much sugar and, well, not my finest moment, so taste as you go).
-
6Cover tightly with foil and bake in a 350°F (180°C) oven for about 1 hour and 15 minutes. Sometimes I check after an hour and give it another 10–15 minutes if I want the tops extra soft.
-
7Remove the foil for the last 15 minutes if you want them slightly browned (admittedly, I often forget and it’s totally fine).
-
8Let them sit for about 15 minutes before serving. Or just dig in right away if you’re impatient—just don’t burn your mouth (I’ve done it, more than once).
Approximate Information for One Serving
Nutrition Disclaimers
Number of total servings shown is approximate. Actual number of servings will depend on your preferred portion sizes.
Nutritional values shown are general guidelines and reflect information for 1 serving using the ingredients listed, not including any optional ingredients. Actual macros may vary slightly depending on specific brands and types of ingredients used.
To determine the weight of one serving, prepare the recipe as instructed. Weigh the finished recipe, then divide the weight of the finished recipe (not including the weight of the container the food is in) by the desired number of servings. Result will be the weight of one serving.
Did you make this recipe?
Please consider Pinning it!