If You Love Rolling Up Your Sleeves, You’re My People
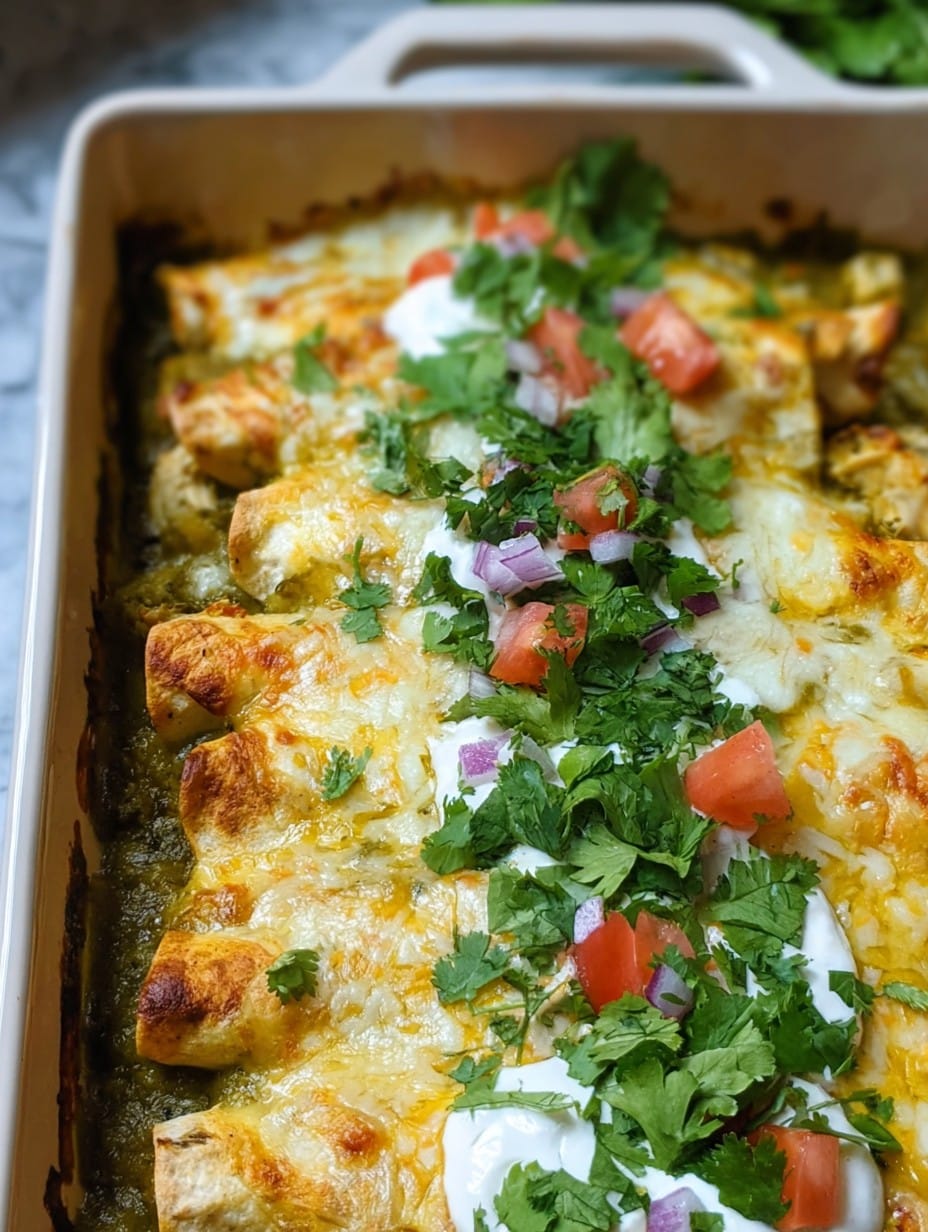
Okay, so here’s the thing: Green Chicken Enchiladas are basically my edible love letter to lazy weekends and, let’s be totally honest, using up whatever leftover chicken I didn’t finish the night before. The first time I made these, I was trying (and failing) to impress my college roommate with homemade Mexican food, but I didn’t have a clue. The enchiladas were almost falling apart, but the sauce—oh man, the sauce!—saved the whole situation. I’ve been making tweaks ever since. Also, fun fact: I once tried to swap out the tortillas at the last minute with potato slices. That was a disaster (don’t do it).
Why You’ll Love This
I make this recipe when I’ve got random chicken waiting to be rescued from the fridge (you know the type: it’s on the edge, but not quite there yet). My family actually gets a little too competitive for the last enchilada—there’s always someone hiding one behind the milk, thinking they’re being sly. These are also perfect for when you want something cozy but not super heavy, thanks to all that bright, green sauce. Admittedly, the first time I made my own salsa verde, I had to Google like six things, so no shame if you use a store-bought version. I do it probably half the time now. Also, if you accidentally overfill your tortillas and the whole thing bursts open (been there), it’s still tasty. Promise.
What Goes In ‘Em (and What I’ve Swapped In a Pinch)
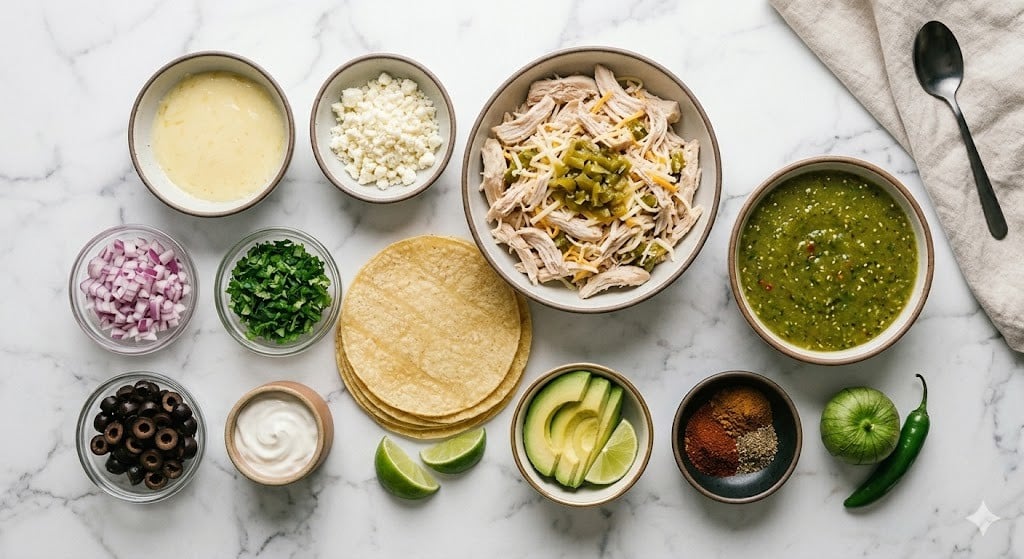
- 2 cups cooked chicken, shredded (rotisserie chicken is the best shortcut, or honestly any leftover grilled chicken—I’ve even used Thanksgiving turkey in a pinch)
- 2 cups green salsa (homemade if you’re feeling fancy, store-bought if it’s Tuesday)
- 1 cup sour cream (Greek yogurt works if that’s what’s in your fridge; my aunt swears by crema, but I never remember to buy it)
- 2 cups shredded cheese (Monterey Jack is classic, but cheddar totally works—once I mixed in pepper jack, wow)
- 8-10 small corn tortillas (flour tortillas make it less traditional but they’re easier to roll; your call)
- 1 small onion, diced (skip it if onions aren’t your jam or don’t have one—no biggie)
- 1/2 cup chopped cilantro (optional, but I love the color; parsley works in a last-ditch scenario, but it’s not the same)
- 1 tbsp olive oil (or whatever oil you grab first, really)
- Salt and pepper, to taste
How I Throw These Together (with Notes from My Kitchen Chaos)
- Preheat your oven to 375°F (190°C). Not gonna lie, I’ve totally forgotten to do this until halfway through—the world didn’t end.
- Warm the olive oil in a skillet over medium. Toss in the diced onion and cook until it’s soft; don’t let it brown too much. If you skip onions, you can literally move to the next step and the taste police won’t arrest you.
- Add the shredded chicken to the pan and stir around just to heat it up. Sprinkle a little salt and pepper. This is where I sometimes sneak a taste—quality control, right?
- Stir in about half the salsa verde plus half the cilantro. It’ll look like soup but just go with it—it thickens up in the oven.
- Microwave the tortillas for 15-20 seconds wrapped in a damp towel, so they don’t tear when you roll them up. If a few break anyway, just patch them up in the dish. Not worth stressing over.
- Mix the sour cream and the rest of the salsa verde in a bowl. I’ve tried just dumping one over the other but trust me, mixing first gives you a silkier texture. (Or maybe it just feels fancier. Either way, I like it.)
- Spoon some chicken mixture into each tortilla, add a pinch of cheese (okay, a handful if you’re living boldly), and roll them up. Place seam-side down in a greased baking dish. They’ll squeeze in tighter than you expect—just keep shoving them in.
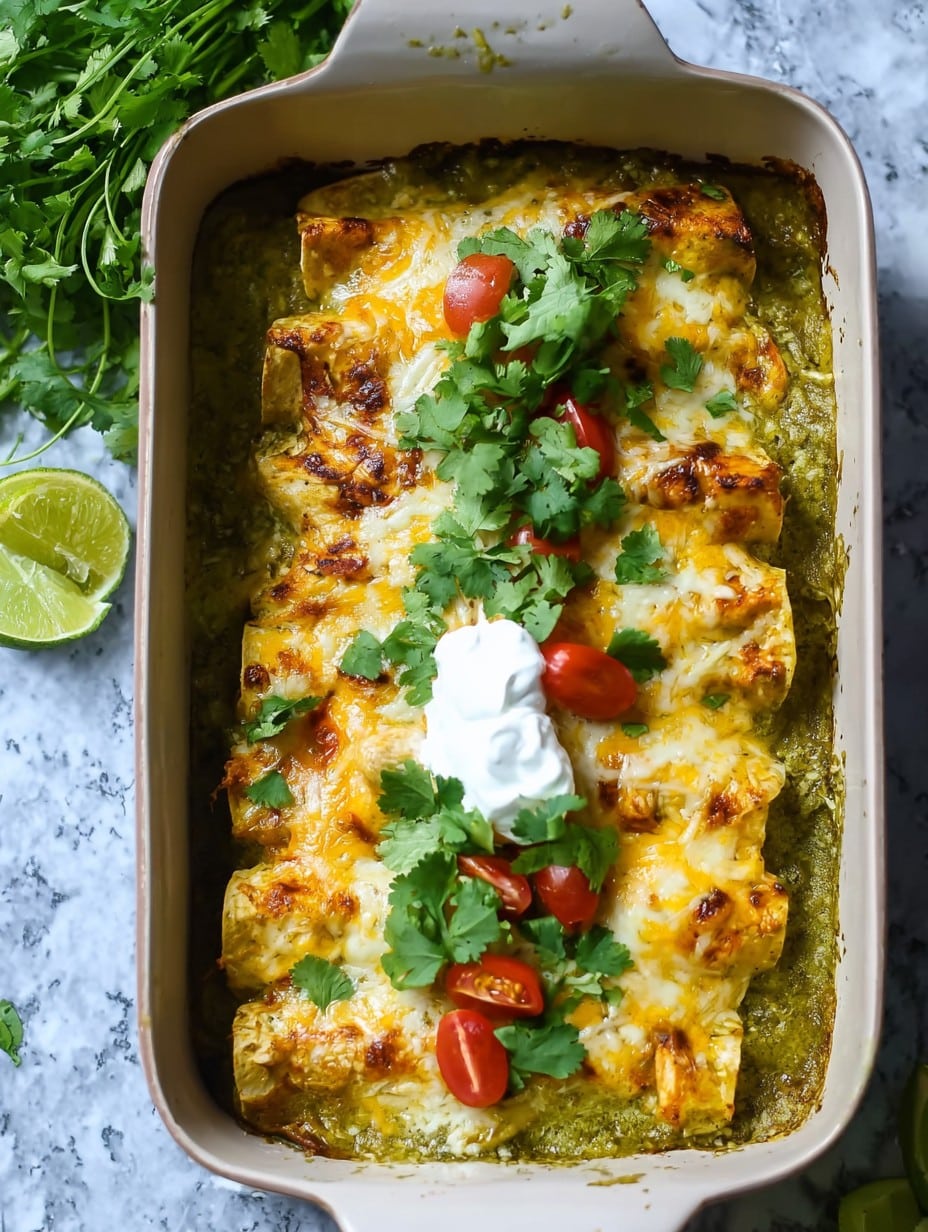
- Pour the sour cream + salsa verde sauce over the enchiladas. Top with the rest of the cheese. Scatter with any reserved cilantro if you remembered not to use it all in step 4 (I forget, like, half the time!).
- Bake about 25 minutes, uncovered, until bubbly and the cheese is starting to get those golden spots. Your kitchen will smell awesome. Let them sit a few minutes before diving in—I once scalded my mouth, not recommended.
Notes: Things I’ve Learned the Hard Way
- If you use flour tortillas, they stay softer and tend to soak up more sauce—almost too much. On second thought, I prefer corn, but my kids always ask for flour.
- Don’t overstuff: if your enchiladas start bursting open, you probably got a bit too enthusiastic. Just patch it together, cheese fixes everything.
- If your salsa is really spicy, add an extra dollop of sour cream; tames the heat like magic.
Variations I’ve Dared to Try (Plus One I Regret)
- Black Bean Spinach: I once subbed half the chicken for canned black beans and a handful of spinach (good for my vegetarian friends). Even my brother-in-law didn’t notice.
- Poblano Lovers: Roasted poblanos are amazing in the filling. Honestly, a bit of effort but worth it.
- That potato-slice tortilla experiment I mentioned: Yeah, skip it. Potatoes just get sad and soggy. Not the magic I was hoping for.
The Stuff You’ll Need (and What to Do If You Don’t Have It)
- Baking dish (I use a 9×13-inch, but I’ve totally made this in a couple of loaf pans. Somehow more rustic.)
- Skillet
- Mixing bowls
- Microwave or stovetop to warm tortillas (If you don’t have either, just wrap them in foil and toss in the oven for a few)
Keeping & Reheating / How Long Do These Last?
Cover leftovers and keep them in the fridge—should be good for 2-3 days. I think these taste even better the next day (all that sauce gets a chance to soak in), but honestly, in my house it never lasts more than a day. To reheat, microwave with a loose cover or toss the whole pan back in the oven at 325°F until warmed through. Try not to eat them cold straight form the fridge unless you’re a wild one (sometimes I am…)
Ways I Like to Serve ‘Em
We usually pile on extra cilantro and a squeeze of lime. If I’ve got avocado, that’s going on top, too. My cousin always insists on a side of rice, but I think a little crisp salad does the trick. Or sometimes just beer and napkins. Up to you.
Pro Tips (aka How Not to Mess This Up Like I Have)
- Don’t rush the sauce step. I once went straight from the jar to the pan without mixing with sour cream and it came out sad and runny.
- Let them cool a bit before serving. It’s tempting right out of the oven, I know, but you’ll regret it when you can’t taste anything for a week.
Questions I Get All the Time (or Just in My Head)
- Can I use red salsa instead?
- Of course! It’s just not green chicken enchiladas anymore—but who’s watching?
- What’s the best cheese?
- I’m partial to Monterey Jack, but whatever melty cheese you have lying around does the trick. Even mozzarella works. Once tried smoked gouda—wouldn’t repeat it, though.
- Can I freeze enchiladas?
- Yup! Assemble them but wait to add the final sauce and cheese. Then thaw, sauce, and bake when you’re ready. But honestly, I never have left over to freeze.
That’s my run-down—now, if you’ll excuse me, I need to hide the last enchilada before my family beats me to it.
Ingredients
- 2 cups cooked chicken, shredded (rotisserie chicken is the best shortcut, or honestly any leftover grilled chicken—I’ve even used Thanksgiving turkey in a pinch)
- 2 cups green salsa (homemade if you’re feeling fancy, store-bought if it’s Tuesday)
- 1 cup sour cream (Greek yogurt works if that’s what’s in your fridge; my aunt swears by crema, but I never remember to buy it)
- 2 cups shredded cheese (Monterey Jack is classic, but cheddar totally works—once I mixed in pepper jack, wow)
- 8-10 small corn tortillas (flour tortillas make it less traditional but they’re easier to roll; your call)
- 1 small onion, diced (skip it if onions aren’t your jam or don’t have one—no biggie)
- 1/2 cup chopped cilantro (optional, but I love the color; parsley works in a last-ditch scenario, but it’s not the same)
- 1 tbsp olive oil (or whatever oil you grab first, really)
- Salt and pepper, to taste
Instructions
-
1Preheat your oven to 375°F (190°C). Not gonna lie, I’ve totally forgotten to do this until halfway through—the world didn’t end.
-
2Warm the olive oil in a skillet over medium. Toss in the diced onion and cook until it’s soft; don’t let it brown too much. If you skip onions, you can literally move to the next step and the taste police won’t arrest you.
-
3Add the shredded chicken to the pan and stir around just to heat it up. Sprinkle a little salt and pepper. This is where I sometimes sneak a taste—quality control, right?
-
4Stir in about half the salsa verde plus half the cilantro. It’ll look like soup but just go with it—it thickens up in the oven.
-
5Microwave the tortillas for 15-20 seconds wrapped in a damp towel, so they don’t tear when you roll them up. If a few break anyway, just patch them up in the dish. Not worth stressing over.
-
6Mix the sour cream and the rest of the salsa verde in a bowl. I’ve tried just dumping one over the other but trust me, mixing first gives you a silkier texture. (Or maybe it just feels fancier. Either way, I like it.)
-
7Spoon some chicken mixture into each tortilla, add a pinch of cheese (okay, a handful if you’re living boldly), and roll them up. Place seam-side down in a greased baking dish. They’ll squeeze in tighter than you expect—just keep shoving them in.
-
8Pour the sour cream + salsa verde sauce over the enchiladas. Top with the rest of the cheese. Scatter with any reserved cilantro if you remembered not to use it all in step 4 (I forget, like, half the time!).
-
9Bake about 25 minutes, uncovered, until bubbly and the cheese is starting to get those golden spots. Your kitchen will smell awesome. Let them sit a few minutes before diving in—I once scalded my mouth, not recommended.
Approximate Information for One Serving
Nutrition Disclaimers
Number of total servings shown is approximate. Actual number of servings will depend on your preferred portion sizes.
Nutritional values shown are general guidelines and reflect information for 1 serving using the ingredients listed, not including any optional ingredients. Actual macros may vary slightly depending on specific brands and types of ingredients used.
To determine the weight of one serving, prepare the recipe as instructed. Weigh the finished recipe, then divide the weight of the finished recipe (not including the weight of the container the food is in) by the desired number of servings. Result will be the weight of one serving.
Did you make this recipe?
Please consider Pinning it!




