Chilling Out: My Greek Frozen Yogurt Adventure
Alright, picture this: It’s midsummer, I’m melting into my kitchen chair and kind of regretting turning on the oven earlier for absolutely no good reason. You know when you’re craving something cold and fresh but not just a boring bowl of straight-up ice cream? That’s exactly how my homemade Greek frozen yogurt habit started—by accident, a bit of laziness, and a craving for something less guilt-inducing but still treat-y. Actually, the first time I made this, I forgot to strain the yogurt, so it turned out more icy than creamy… but more on that later. Point is, it’s easy. And way more delicious than the overly sweet pints you snag at the shop! (Plus, you’ll feel sort of accomplished with barely any effort—win.)
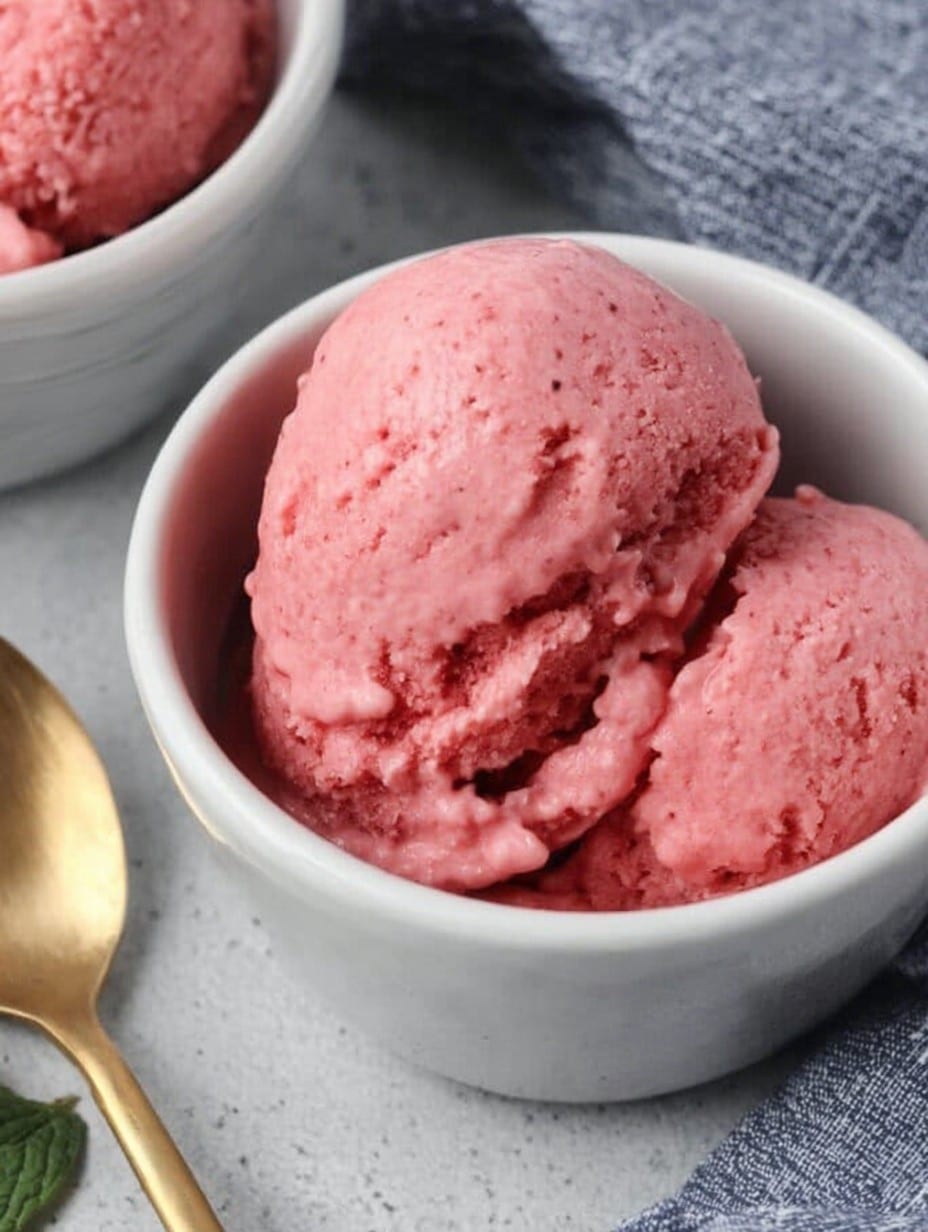
Why You’ll Love This Frozen Yogurt
I whip up a batch of this Greek frozen yogurt every time we’re low on proper dessert and nobody feels like going to the store. My family goes a bit bonkers for it, mostly because it’s actually tangy like real yogurt, not super sweet (you know the kind that gives you a sugar crash?)—and I can totally control how much honey or whatever else goes in. My mum claims it’s “summer in a bowl”—which sounds cheesy, but honestly she’s right. Plus, if you’re a midnight snacker like me, this is the one chilly treat I don’t feel bad about fishing straight form the tub.
What You’ll Need (And Some Quick Swaps)
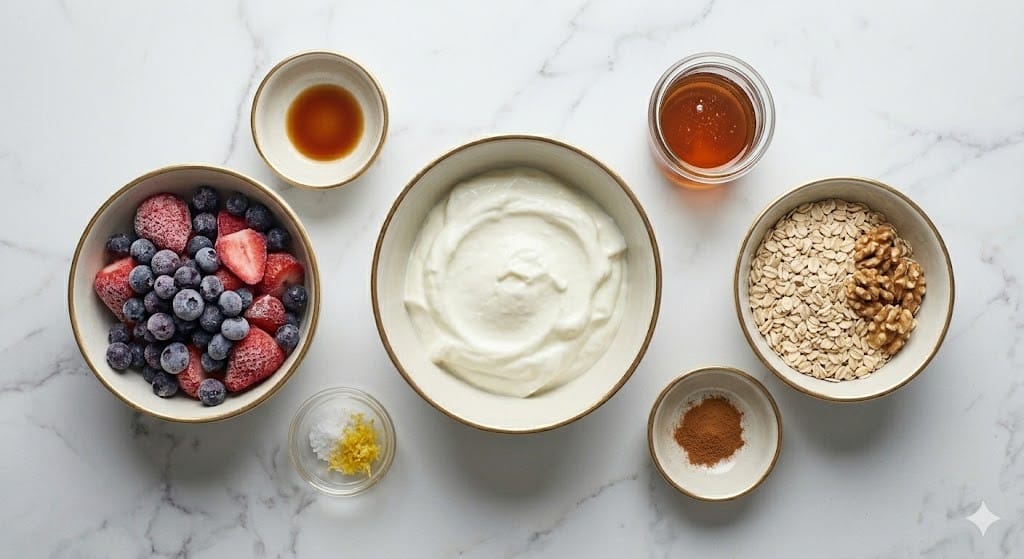
- 2 cups thick Greek yogurt (full-fat for creaminess, but nonfat works if you’re feeling virtuous—I sometimes do half-and-half)
- 1/4 cup honey (or maple syrup if you want it vegan—my friend Sarah swears by agave instead, but I can’t taste the difference. My grandmother always insisted on local wildflower honey, but honestly any version works fine)
- 1 teaspoon pure vanilla extract (or scrape in some vanilla bean if you’re feelin’ fancy)
- A small pinch of salt (seems weird, but it really makes the flavors pop)
- 1-1.5 cups chopped fresh berries or other fruit (optional, but strawberries and blueberries are my go-tos. I’ve even stirred in a handful of chocolate chips—don’t judge!)
How I Make It—Step-by-Step-ish
- Strain it, or don’t: If your Greek yogurt is even a little watery, strain it through a cheesecloth or coffee filter over a bowl for about 30 mins. (Actually, I find it works better if you leave it in the fridge overnight, but I’m too impatient most of the time.)
- Mix up your base: In a medium bowl, whisk together the yogurt, honey, vanilla, and a pinch of salt. You want it smooth—no sneaky lumps. This is where I always sneak just a little taste—could be more honey? Up to you.
- Fruit time: Fold in berries or whatever else you’re adding, but don’t go wild or it’ll freeze a bit funny.
- Get it chilly: Pour the whole mix into your ice cream maker and let it do its thing for about 20 minutes, maybe a little longer if your kitchen is as warm as mine. You’ll know when it looks like soft serve. (If you don’t have an ice cream maker—no bother! Just stick the bowl in the freezer, stirring hard every 30 minutes for a couple hours. Not perfect, but does the job.)
- Firm it up: Scoop into a freezer-safe tub. Freeze for an hour or two for that scoopable texture (or, you know, eat it straight away if you like it soft and melty—I do sometimes!)
Notes from My Many (Slightly Messy) Attempts
- If your yogurt isn’t thick enough, the end result goes icy. Not terrible, but not the gelato vibe I want. Learned that the hard way. Twice.
- A little extra pinch of salt really does wonders—if you skip it, you’ll notice something’s missing but won’t know what. Trust me.
If You Want to Mix It Up
- I once tried adding lemon zest and a bit of juice for a lemon cheesecake-y spin—it zinged, but everyone else raised their eyebrows. Maybe too much zing.
- Swapping the honey for brown rice syrup almost tasted malty. Not bad, not my favorite.
- Crushed pistachios stirred in near the end? Absolute game-changer.
What If I Don’t Have the Equipment?
You totally don’t have to buy an ice cream maker for this. If you’re going the old-school freezer method, just be sure to break up the crystals really well as it freezes—that’s the key. Also, I’ve used a hand mixer in a pinch to make it lighter before the final freeze. Not essential, just possible.
How to Store It (Not That It’ll Last)
Keep your frozen yogurt in a sealed tub in the freezer, where it should be good for 2 weeks… although, honestly, in my house it never lasts more than a day! If it gets too hard, let it sit out 10 minutes before scooping. Pro tip: Write the flavor on the lid—trust me, it avoids weird mystery scoops later.
Serving It Up—My Way
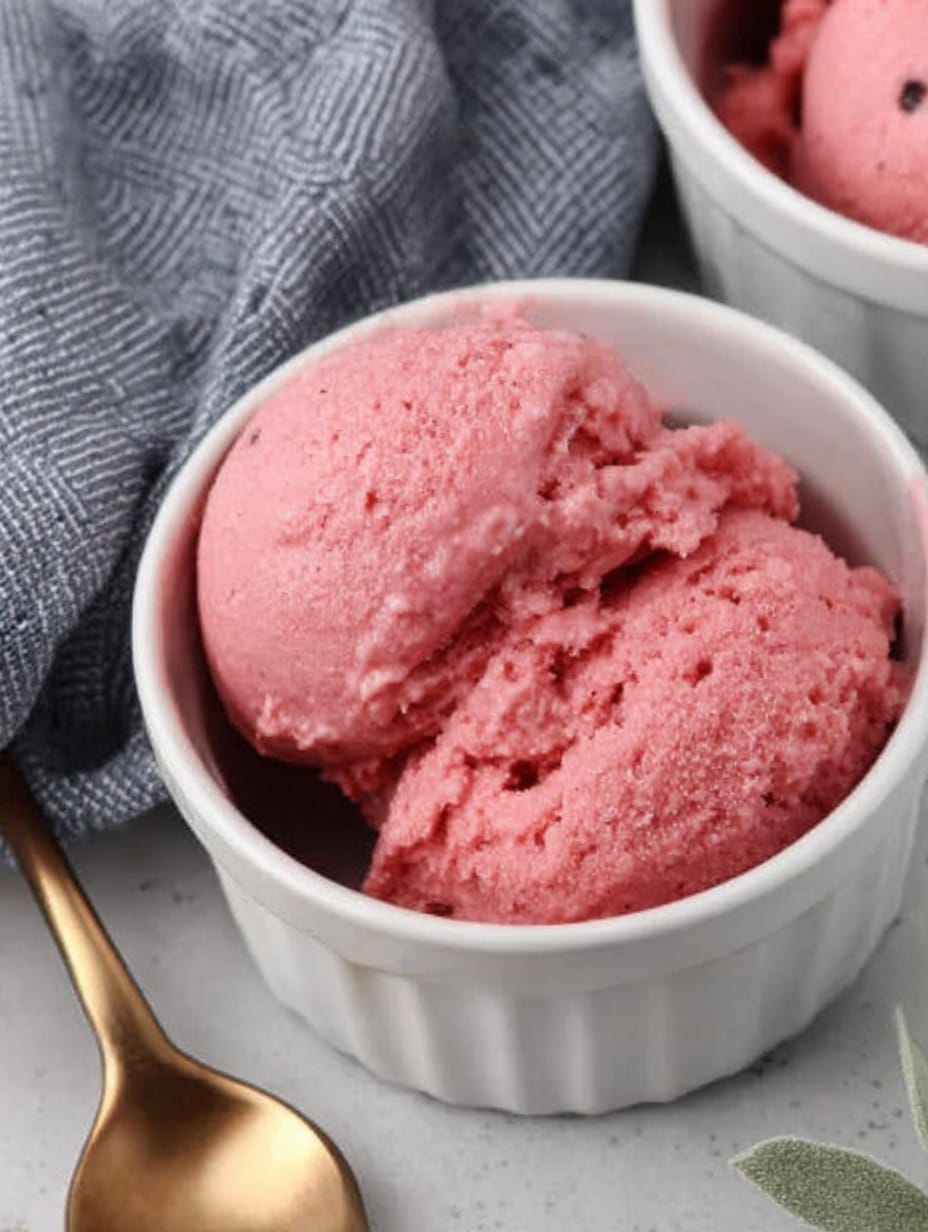
We usually make it a whole to-do, throwing a couple berries on top and maybe, maybe a quick drizzle of extra honey. Once, for a birthday, I piled it between two oatmeal cookies and called it a frozen yogurt sandwich—didn’t see a single complaint at the table.
Things I’ve Learned (or, Pro Tips from My Kitchen Fails)
- I rushed the freezing step once—ended up with a glorified yogurt ice cube. Just wait it out, it’s worth it.
- If you forget the vanilla, the flavor is kind of flat. Go back and add it!
- Avoid using runny low-fat yogurt. Tried it, regretted it.
Your Questions—Actually Asked by Friends
- Does it have to be Greek yogurt?
- You can totally use regular yogurt, just strain it longer. Or make peace with a slightly more icy result—it still tastes good, just not quite as creamy.
- Can I use frozen fruit?
- Sure thing. I usually let it thaw and drain off a bit of liquid or it sometimes gets a little icy. Kind of learned that one the hard way, heh.
- Is this really healthy?
- Look, I’m not a nutritionist, but it’s at least yogurt, fruit, and honey. That’s three food groups, right?
- Can I double the recipe?
- Go for it, but your ice cream maker might complain—mine nearly overflowed once. Might have been user error though!
- How long does it stay scoopable?
- Depends—after longer freezing, it’ll need a few minutes on the counter. Or just eat it soft-serve style. Both work.
Actually, if you’re looking for the TL;DR: homemade Greek frozen yogurt is hands-down the easiest happy accident you’ll ever eat. And hey, make it your own—add what you like, fudge a step or two, and have a laugh. It’s only yogurt, after all.
Ingredients
- 2 cups thick Greek yogurt (full-fat for creaminess, but nonfat works if you’re feeling virtuous—I sometimes do half-and-half)
- 1/4 cup honey (or maple syrup if you want it vegan—my friend Sarah swears by agave instead, but I can’t taste the difference. My grandmother always insisted on local wildflower honey, but honestly any version works fine)
- 1 teaspoon pure vanilla extract (or scrape in some vanilla bean if you’re feelin’ fancy)
- A small pinch of salt (seems weird, but it really makes the flavors pop)
- 1-1.5 cups chopped fresh berries or other fruit (optional, but strawberries and blueberries are my go-tos. I’ve even stirred in a handful of chocolate chips—don’t judge!)
Instructions
-
1Strain it, or don’t: If your Greek yogurt is even a little watery, strain it through a cheesecloth or coffee filter over a bowl for about 30 mins. (Actually, I find it works better if you leave it in the fridge overnight, but I’m too impatient most of the time.)
-
2Mix up your base: In a medium bowl, whisk together the yogurt, honey, vanilla, and a pinch of salt. You want it smooth—no sneaky lumps. This is where I always sneak just a little taste—could be more honey? Up to you.
-
3Fruit time: Fold in berries or whatever else you’re adding, but don’t go wild or it’ll freeze a bit funny.
-
4Get it chilly: Pour the whole mix into your ice cream maker and let it do its thing for about 20 minutes, maybe a little longer if your kitchen is as warm as mine. You’ll know when it looks like soft serve. (If you don’t have an ice cream maker—no bother! Just stick the bowl in the freezer, stirring hard every 30 minutes for a couple hours. Not perfect, but does the job.)
-
5Firm it up: Scoop into a freezer-safe tub. Freeze for an hour or two for that scoopable texture (or, you know, eat it straight away if you like it soft and melty—I do sometimes!)
Approximate Information for One Serving
Nutrition Disclaimers
Number of total servings shown is approximate. Actual number of servings will depend on your preferred portion sizes.
Nutritional values shown are general guidelines and reflect information for 1 serving using the ingredients listed, not including any optional ingredients. Actual macros may vary slightly depending on specific brands and types of ingredients used.
To determine the weight of one serving, prepare the recipe as instructed. Weigh the finished recipe, then divide the weight of the finished recipe (not including the weight of the container the food is in) by the desired number of servings. Result will be the weight of one serving.
Did you make this recipe?
Please consider Pinning it!




