The Story Behind My No-Bake Chocolate Caramel Bars
Alright, so there’s a time every month (sometimes more, if I’m honest) when I just want something fudgy and decadent, but also—y’know—healthy-ish. These Healthy No-Bake Chocolate Caramel Bars are pretty much my solution. First made them on a sweltering summer afternoon when I refused to turn on the oven and had a half-open jar of almond butter staring at me—a true act of desperation that actually turned out brilliantly. My brother calls these “tricky twix bars” because they look sinful but don’t make you feel like you’ve eaten a brick, and I think that’s a pretty fair assessment. Plus, making these is kind of like adult playdough time (in the best way).
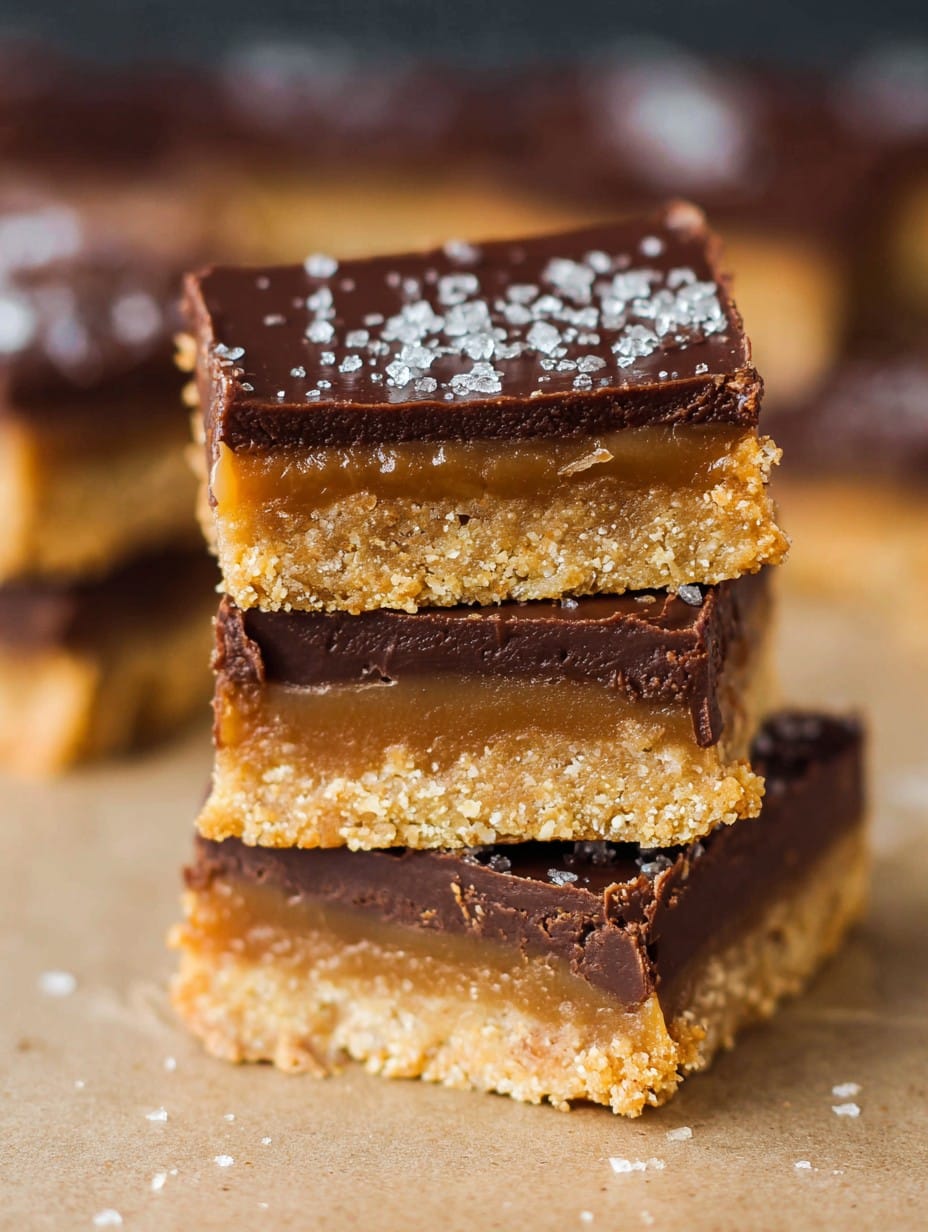
Why I Keep Making These (and Why You Might Too)
I whip these up when I need to take a sweet treat to work but don’t want the post-sugar slump (which, let’s be honest, always hits right after the meeting). My family actually hides them from each other in the fridge—no joke—because everyone wants the last piece. Sometimes I’ll make a double batch and, oops, the first one disappears before it even firms up properly. If I’m feeling fancy I’ll sprinkle sea salt, but most of the time anything goes. Oh, and I used to find the caramel step so fussy before I realized all you need is a food processor and a little patience (or, like, mild distraction while binge-watching episodes of Bake Off).
What You’ll Need (Use What You’ve Got)
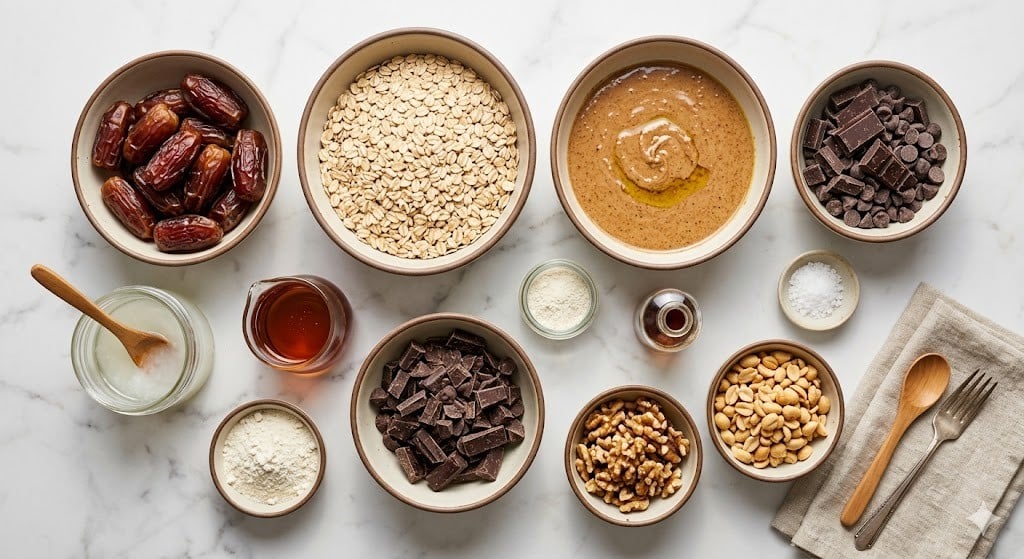
- 1 cup rolled oats (I’ve been known to use quick oats in a pinch—my grandma swore by it.)
- 1/2 cup raw almonds (Or, you can use walnuts or cashews if that’s what’s rolling around your cupboard.)
- 2 tablespoons cocoa powder (Dutch process is great but regular works too.)
- 2 tablespoons melted coconut oil (I once swapped in olive oil—was… okay, not my favorite.)
- 1/4 teaspoon sea salt
- 1.5 cups Medjool dates, pitted (Other dates work, just soak ’em longer.)
- 1/4 cup almond butter (Peanut butter for a more, uh, classic American flair.)
- 1 tablespoon maple syrup (or honey, but then they’re not vegan if you care about that—it’s your call!)
- 1/2 teaspoon vanilla extract (Totally skip if you’re out, I won’t judge.)
- 1/2 cup dark chocolate chips (I’ve used chunks, I’ve used random leftover Easter bunny—don’t overthink it)
- 1 tablespoon extra coconut oil (helps with the chocolate topping, but you could try not using it; I just like the shine.)
- Flaky sea salt (optional, but my favorite thing to finish with!)
How To Make Healthy No-Bake Chocolate Caramel Bars (My Way)
- Toss your oats and raw almonds into the food processor. Blitz until you get rough crumbs—think sand, but, well, tastier. Add cocoa powder, 2 tablespoons coconut oil, and salt. Pulse until it starts to stick together. (At this point, I always pinch a little—gotta check the flavor, right?)
- Press the mixture into a lined 8×8 inch pan. No need to be too fussy; I sometimes use the back of a measuring cup to squash it down. Pop it in the freezer while you move on—10 minutes or so.
- Now, for the caramel: Throw medjool dates, almond butter, maple syrup, and vanilla into the (barely wiped) processor. Blitz until gooey and smooth. If it seizes up, splash in a teaspoon or so of water. Don’t panic if it looks a bit lumpy at first—it sorts itself out.
- Spread caramel over the set base—you might need wet fingers for this, it gets sticky. Don’t lose hope if it tries to stick to your hands more than the base; it’ll work out in the end.
- Get your chocolate chips (or bunny bits, no judgment) and extra coconut oil into a heatproof bowl. Melt in microwave bursts (30 seconds at a time, stirring in between) until smooth. You could also use a saucepan if you like the drama of a double-boiler; either way is fine.
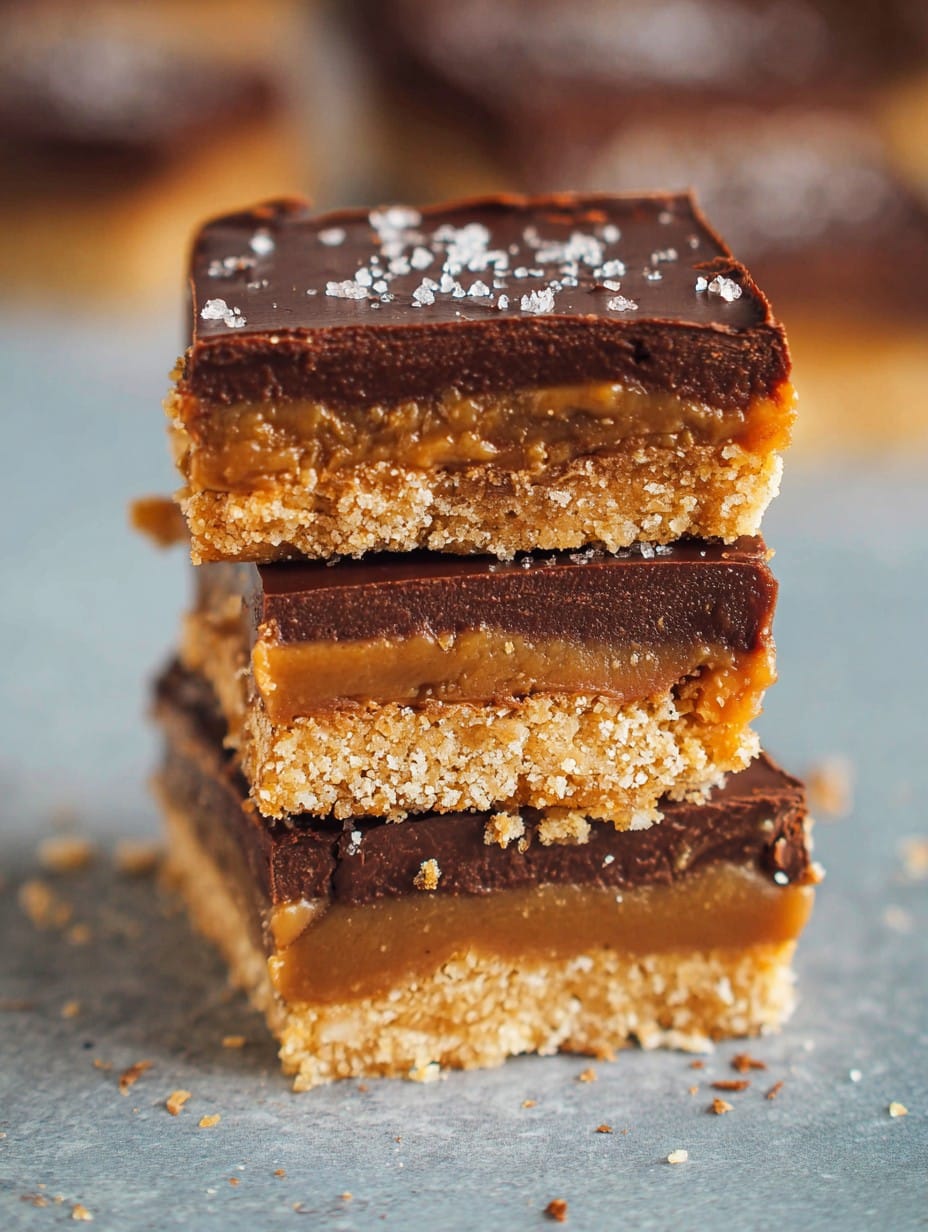
- Pour chocolate over the caramel with a spatula; tip the pan around until everything’s covered. Sprinkle flaky sea salt (please don’t skip if you like a sweet-salty vibe.)
- Chill the whole pan in the fridge for at least 1 hour, or freezer for 30 minutes if you’re impatient (I am). Slice up into bars—or uneven hunks. Eat one straight away (I always do) and marvel at your handiwork.
Notes From My Questionable Kitchen
- I once tried making these with dried figs instead of dates. In theory, it should’ve worked, but it sort of tasted like weird Fig Newtons—not recommended unless you love figs that much.
- If your caramel layer seems too stiff, let the dates soak in hot water for 5-10 minutes first. Actually, come to think of it, it’s often worth doing anyway.
- You don’t technically need parchment paper… until you try getting the bars out, and then wish you had.
Variations I’ve Tried (Some Winners, Some Not)
- Using peanut butter instead of almond—makes them even richer. My nephew says they taste “like healthy Reese’s.”
- I swapped in chopped hazelnuts one time—fancy, but I missed the crunch of plain almonds.
- Once I mixed in a little instant coffee to the chocolate topping. Divisive, but pretty great with cold brew on the side!
- Not gonna lie, I tried a protein powder version; ended up with rubbery bars that tasted like regret—so maybe don’t.
Equipment? Use What Works
I love my food processor for this, but, look—if you don’t have one, a strong blender plus a bit of patience can do the trick. Lining the pan helps so much, but if you forget (I always do at least once a year), just grease and hope for the best.
Storage: Real Talk
So technically these keep in the fridge for up to 6 days, or a month in the freezer—just pop ’em in an airtight container. But honestly, in my house it never lasts more than a day; more like a Friday night, really. They do taste even better on day two if you can manage to hide them behind the kale.
How We Like to Serve Them
If you wanna be all grown up, slice them into tiny squares and serve on a fancy plate with espresso (my mom’s go-to move). Kids in my extended family eat them straight form the pan, no shame. Sometimes, for parties, I cut extra-small pieces and put toothpicks in them. Apparently, everything is fancier with toothpicks (who knew?).
Things I Learned the Hard Way (Pro Tips)
- I once tried to spread the chocolate layer before the caramel was cool and, well—slippery disaster. Just chill the pan properly first, okay?
- Don’t rush the food processor—undermixed base is crumbly and annoying to press in.
- If you cut the bars before they’re fully set, they mush. Waiting is not my strong suit, but it does make for neat slices.
FAQ: Real People, Real Questions
- Can I make these nut free?
- Yep, just use sunflower seeds for the base and sunflower butter in the caramel. I tried this for a school bake sale—worked just fine.
- How about gluten free?
- Just be sure your oats say “gluten free” on the package. Otherwise, nothing else to worry about.
- What if I don’t have a food processor?
- Well, you can try with a tough blender or even a stick blender if that’s all you’ve got, but you’ll need to pause and work in smaller batches. Or, get an arm workout and chop/churn by hand—messier, but it’ll make you appreciate the result.
- Can I freeze them?
- Absolutely. I prefer eating them a bit cold anyway, especially in the summer.
- Are these actually healthy?
- Look, they’re as healthy as any treat full of nuts, dates, and dark chocolate. Don’t expect salad, but your body (and soul) will thank you for the swap.
So there you go—a treat that’s as easy to eat as it is to make (and, okay, possibly to finish before it even hits the fridge). Have fun, and let me know if you try something wild—like swapping in tahini. Actually, no, don’t—unless you’re braver than me!
Ingredients
- 1 cup rolled oats (I’ve been known to use quick oats in a pinch—my grandma swore by it.)
- 1/2 cup raw almonds (Or, you can use walnuts or cashews if that’s what’s rolling around your cupboard.)
- 2 tablespoons cocoa powder (Dutch process is great but regular works too.)
- 2 tablespoons melted coconut oil (I once swapped in olive oil—was… okay, not my favorite.)
- 1/4 teaspoon sea salt
- 1.5 cups Medjool dates, pitted (Other dates work, just soak ’em longer.)
- 1/4 cup almond butter (Peanut butter for a more, uh, classic American flair.)
- 1 tablespoon maple syrup (or honey, but then they’re not vegan if you care about that—it’s your call!)
- 1/2 teaspoon vanilla extract (Totally skip if you’re out, I won’t judge.)
- 1/2 cup dark chocolate chips (I’ve used chunks, I’ve used random leftover Easter bunny—don’t overthink it)
- 1 tablespoon extra coconut oil (helps with the chocolate topping, but you could try not using it; I just like the shine.)
- Flaky sea salt (optional, but my favorite thing to finish with!)
Instructions
-
1Toss your oats and raw almonds into the food processor. Blitz until you get rough crumbs—think sand, but, well, tastier. Add cocoa powder, 2 tablespoons coconut oil, and salt. Pulse until it starts to stick together. (At this point, I always pinch a little—gotta check the flavor, right?)
-
2Press the mixture into a lined 8×8 inch pan. No need to be too fussy; I sometimes use the back of a measuring cup to squash it down. Pop it in the freezer while you move on—10 minutes or so.
-
3Now, for the caramel: Throw medjool dates, almond butter, maple syrup, and vanilla into the (barely wiped) processor. Blitz until gooey and smooth. If it seizes up, splash in a teaspoon or so of water. Don’t panic if it looks a bit lumpy at first—it sorts itself out.
-
4Spread caramel over the set base—you might need wet fingers for this, it gets sticky. Don’t lose hope if it tries to stick to your hands more than the base; it’ll work out in the end.
-
5Get your chocolate chips (or bunny bits, no judgment) and extra coconut oil into a heatproof bowl. Melt in microwave bursts (30 seconds at a time, stirring in between) until smooth. You could also use a saucepan if you like the drama of a double-boiler; either way is fine.
-
6Pour chocolate over the caramel with a spatula; tip the pan around until everything’s covered. Sprinkle flaky sea salt (please don’t skip if you like a sweet-salty vibe.)
-
7Chill the whole pan in the fridge for at least 1 hour, or freezer for 30 minutes if you’re impatient (I am). Slice up into bars—or uneven hunks. Eat one straight away (I always do) and marvel at your handiwork.
Approximate Information for One Serving
Nutrition Disclaimers
Number of total servings shown is approximate. Actual number of servings will depend on your preferred portion sizes.
Nutritional values shown are general guidelines and reflect information for 1 serving using the ingredients listed, not including any optional ingredients. Actual macros may vary slightly depending on specific brands and types of ingredients used.
To determine the weight of one serving, prepare the recipe as instructed. Weigh the finished recipe, then divide the weight of the finished recipe (not including the weight of the container the food is in) by the desired number of servings. Result will be the weight of one serving.
Did you make this recipe?
Please consider Pinning it!




