My Lazy (but Genius) Tiramisu Oats Mornings
Alright. So, you know those mornings where you wake up craving dessert, but you also tell yourself you should be eating “something with protein”? That’s basically my whole personality before 8am. One morning last winter, with only three hours of sleep and milk dangerously close to its expiry date, I stumbled into making these high protein tiramisu overnight oats. No joke, I’m convinced this recipe has saved me from a handful of sad vending machine breakfasts. It’s creamy, coffee-ish, just a bit chocolatey, and—if you don’t mention it’s oats—sort of tastes like dessert you should maybe eat with a tiny fork. (But real talk: a spoon is the way to go.)
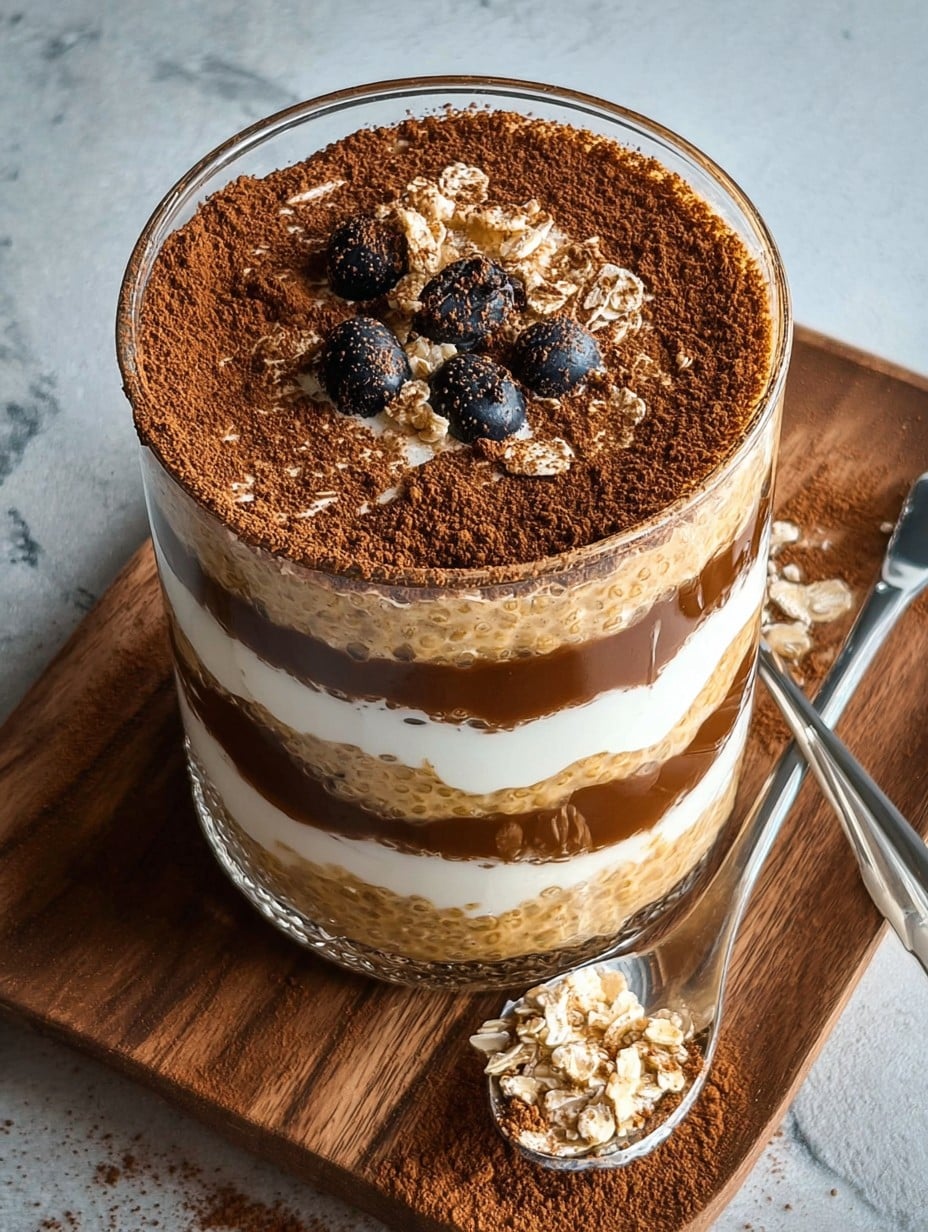
Why You’ll Want This Oats Situation in Your Life
I make this when I just want to blitz my breakfast, sleep another 10 minutes, and still get something that feels like a treat. My best mate keeps asking for the “secret trick” (it’s honestly just a lot of Greek yogurt, but let him believe it’s alchemy). Also? My teenager, who side-eyes anything healthy, polishes off their jar first. It’s the combo of creamy layers and that espresso “kick”—plus you get those little cocoa swirls that always make it seem like I tried much harder than I did. Oh, and I used to hate overnight oats. So if you’ve been burned by gummy oats in the past (been there), this one’s less porridge, more trifle-in-disguise.
What You’ll Need (But Also, What You Can Swap)
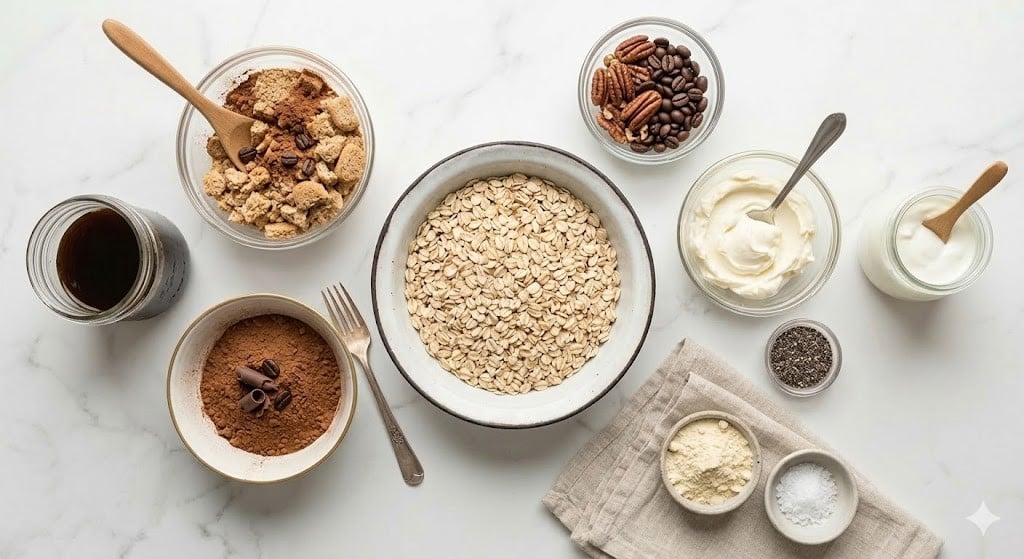
- 2/3 cup rolled oats (old-fashioned are best, but I’ve used quick oats; steel-cut doesn’t work great unless you’re very patient)
- 1 cup milk (I use oat or skim milk—my granny swears by full-fat, but you do you)
- 1/2 cup thick Greek yogurt (any plain yogurt works; I tried coconut yogurt once… was less than thrilling)
- 1 scoop (about 30g) vanilla protein powder (sometimes I skip it, but it does help hit the “high protein” boast)
- 1-2 teaspoons instant espresso powder (or strong brewed coffee; instant’s just lazier and, actually, makes the flavor pop)
- 1 tablespoon maple syrup (honey, agave, or honestly, a bit of brown sugar in a pinch)
- 1/2 teaspoon vanilla extract (I’ve left this out, and it’s fine, but it does add a bakery smell)
- Pinch of salt
- 1 tablespoon cocoa powder (for layering and dusting)
- Optional: a handful of mini chocolate chips or cacao nibs, for crunch—sometimes I skip this and just throw on berries
How the Magic (Mess?) Happens
- In a mixing bowl, toss in your oats, protein powder, espresso powder, and a good pinch of salt. Give it a swirl so it’s all friendly.
- Add in the milk, half the yogurt, maple syrup, and vanilla. Stir until you don’t see dry lumps. (This is when I usually sneak a little spoonful—quality control!)
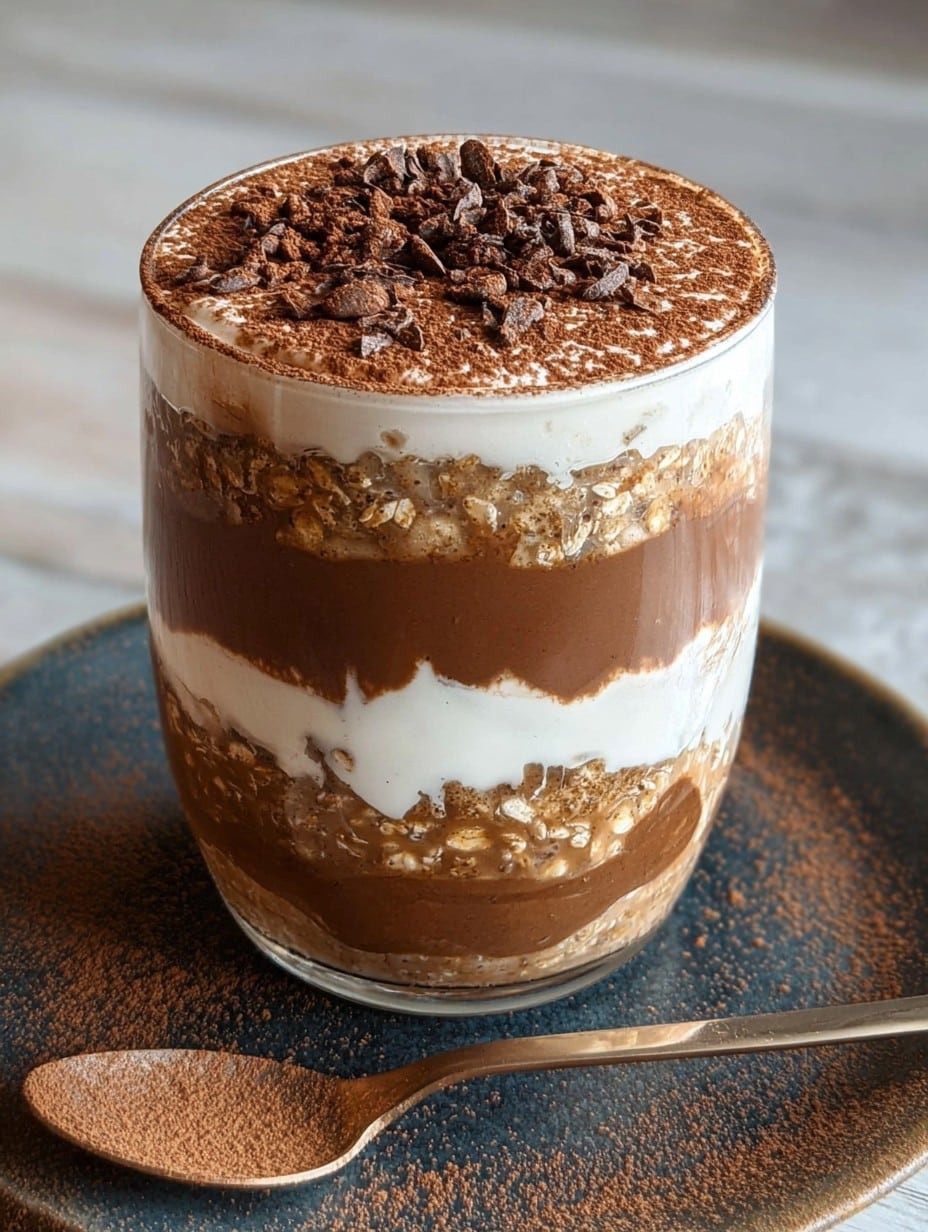
- Take a small jar or glass (no fancy trifle dish needed). Layer half of your oat-yogurt mush, then scoop on half of the leftover yogurt and dust over a bit of cocoa powder.
- Repeat the layers: remaining oats, then the rest of the yogurt, some more cocoa. Don’t sweat it if your swirls aren’t Instagram-ready. They never are.
- Top with a hit of chocolate chips, or just dust extra cocoa and call it done. Then cover and pop the whole thing in the fridge overnight (or at least 5 hours if you can’t wait).
Some Notes I Learned the Hard Way
- If you’re in a rush and skip the overnight soak, I mean—it technically works, but the oats are a bit chewy. I’ve tried to shortcut it in the freezer, but the texture gets a little…not right. So, patience pays off here.
- You will always spill a little cocoa on the counter. It’s a rule.
- I prefer it the next day when the flavors settle, but if you’re hangry, it’ll still taste good after 3-4 hours.
Variations On My Tiramisu Theme (Experiments Good & Bad)
- I’ve swapped in coffee-flavored protein powder instead of vanilla—it’s… fine, but not magical.
- Chocolate milk instead of plain milk? Yes and yes again.
- Skipped the cocoa layering and just added cinnamon: pretty solid, just not tiramisu anymore.
- Once tried mascarpone instead of yogurt. (Expensive and honestly, weirdly rich.)
Gear You’ll Probably Want
- A mixing bowl (any old cereal bowl works, if it’s not too tiny)
- A jar or a glass (I used a mug once! It did the job, just wasn’t as cute)
- Spoon for layering and mixing. Or fork—there are no oat police in my kitchen.
How Long Does It Keep?
Technically, you could keep it for 2-3 days in the fridge—flavors just get deeper. Though honestly, in my house it never lasts more than a day! Somebody always “checks” if it’s ready. (It never returns…)
Serving: My Favorite Ways To Eat This
I love dusting extra cocoa on right before eating (my kid steals my cocoa shaker all the time, so sometimes it’s cinnamon instead). If it’s a weekend, I’ll sometimes add berries, or even a spoonful of ricotta for extra creaminess. But really, a hot cup of proper coffee on the side is my real tradition.
If I Could Go Back: Pro Tips I Wish I’d Known
- I once stirred everything together instead of layering, thinking I’d save time. It was, how do I put it… beige and sad. Not bad tasting, but don’t do this unless you don’t care about looks.
- Don’t use steel-cut oats unless you want to eat something resembling gravel. Trust me.
- Let it sit at least 5 hours. Rushed it once, instantly regretted it—oats were chewy and not in a nice way.
The Questions I Actually Get
- Can I make this dairy-free? Yep, use any plant milk and coconut yogurt (if you’re into the tropical thing, I’m sort of not, but it works).
- Does it taste exactly like tiramisu? Honestly? Not quite, but it’s got the spirit (think: breakfast, not full-on cake).
- Can I double the recipe? Oh, definitely. I sometimes prep two or three jars and just line them up for those howlingly busy workdays.
- What protein powder should I use? Whichever you’ll actually use up. The vanilla ones seem to play nicer here, but chocolate didn’t taste bad either.
- My jar looks ugly. Is that normal? Yup, mate, it always looks a bit rough around the edges. That’s the charm, right?
And if you forget it in the fridge for a day or two, it’ll probably be even creamier—just don’t forget it completely. (Done that. Molded oats are…not the vibe.) Anyway, if you try it, let me know if you think it beats instant porridge or not. Or just tell me your favorite oat disaster story. Kitchen solidarity!
Ingredients
- 2/3 cup rolled oats (old-fashioned are best, but I’ve used quick oats; steel-cut doesn’t work great unless you’re very patient)
- 1 cup milk (I use oat or skim milk—my granny swears by full-fat, but you do you)
- 1/2 cup thick Greek yogurt (any plain yogurt works; I tried coconut yogurt once… was less than thrilling)
- 1 scoop (about 30g) vanilla protein powder (sometimes I skip it, but it does help hit the “high protein” boast)
- 1-2 teaspoons instant espresso powder (or strong brewed coffee; instant’s just lazier and, actually, makes the flavor pop)
- 1 tablespoon maple syrup (honey, agave, or honestly, a bit of brown sugar in a pinch)
- 1/2 teaspoon vanilla extract (I’ve left this out, and it’s fine, but it does add a bakery smell)
- Pinch of salt
- 1 tablespoon cocoa powder (for layering and dusting)
- Optional: a handful of mini chocolate chips or cacao nibs, for crunch—sometimes I skip this and just throw on berries
Instructions
-
1In a mixing bowl, toss in your oats, protein powder, espresso powder, and a good pinch of salt. Give it a swirl so it’s all friendly.
-
2Add in the milk, half the yogurt, maple syrup, and vanilla. Stir until you don’t see dry lumps. (This is when I usually sneak a little spoonful—quality control!)
-
3Take a small jar or glass (no fancy trifle dish needed). Layer half of your oat-yogurt mush, then scoop on half of the leftover yogurt and dust over a bit of cocoa powder.
-
4Repeat the layers: remaining oats, then the rest of the yogurt, some more cocoa. Don’t sweat it if your swirls aren’t Instagram-ready. They never are.
-
5Top with a hit of chocolate chips, or just dust extra cocoa and call it done. Then cover and pop the whole thing in the fridge overnight (or at least 5 hours if you can’t wait).
Approximate Information for One Serving
Nutrition Disclaimers
Number of total servings shown is approximate. Actual number of servings will depend on your preferred portion sizes.
Nutritional values shown are general guidelines and reflect information for 1 serving using the ingredients listed, not including any optional ingredients. Actual macros may vary slightly depending on specific brands and types of ingredients used.
To determine the weight of one serving, prepare the recipe as instructed. Weigh the finished recipe, then divide the weight of the finished recipe (not including the weight of the container the food is in) by the desired number of servings. Result will be the weight of one serving.
Did you make this recipe?
Please consider Pinning it!




