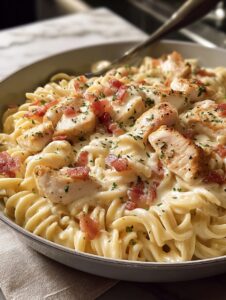
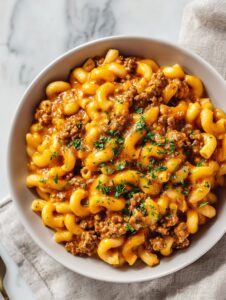
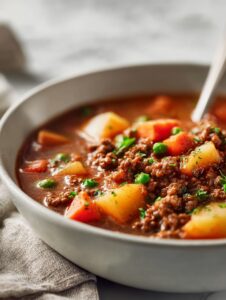
Let Me Tell You About This Hamburger Helper (And The Time I Burnt The Noodles…)
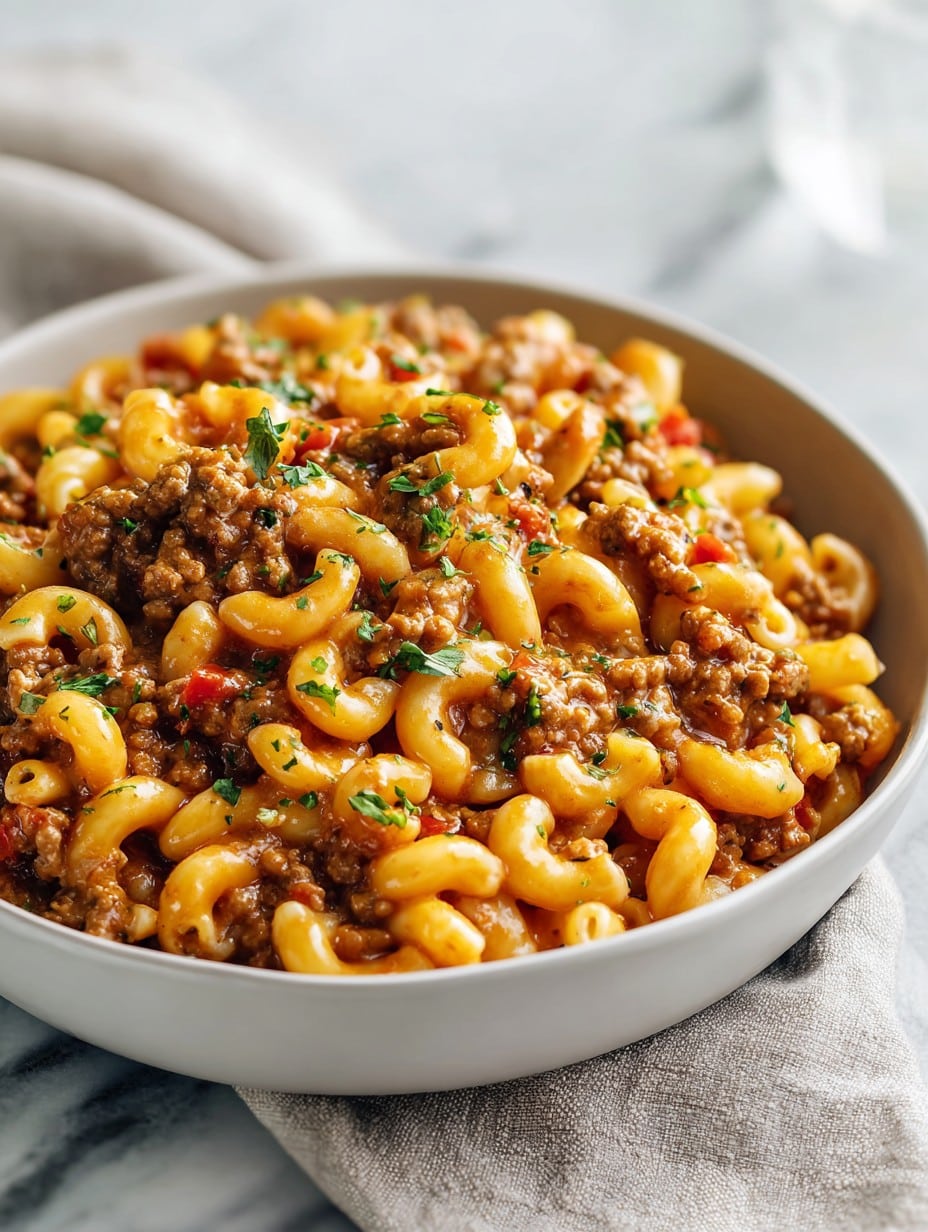
Look, I’ll just admit it: Hamburger Helper was one of those weeknight staples at my house growing up, but the box version always tasted kinda…well, like something outta a dorm. Flash forward to my twenties, trying to impress people (and frankly, myself) with my cooking, and I started tinkering around with making my own. I once scorched the noodles so badly, the smoke alarm had a real field day—my neighbors probably still talk about the smell. But honestly, that’s half the fun, right? These days, this homemade Hamburger Helper is a no-brainer savior for when I want full-on comfort, but no patience for fiddly cooking. And my kiddo thinks it’s the greatest thing I make next to pancakes, which is saying a lot.

Why You’ll Love This Homemade Helper
I make this when I’ve had one of “those” days (you know the kind—when socks go missing, and you step in a puddle with both feet). My family just loses their minds for it because, well, it’s cheesy, beefy, and feels like a really big hug in a bowl. If you ever tried those boxed versions and thought “ugh, not again!” but also just…wanted it anyway, this is for you. Also, it’s all one pot, so fewer dishes because who honestly likes washing up? (Not me. Never me.) Oh! And if you ever hated how box mixes turn neon orange, this one’s a pretty normal color. Thank the cheese gods.
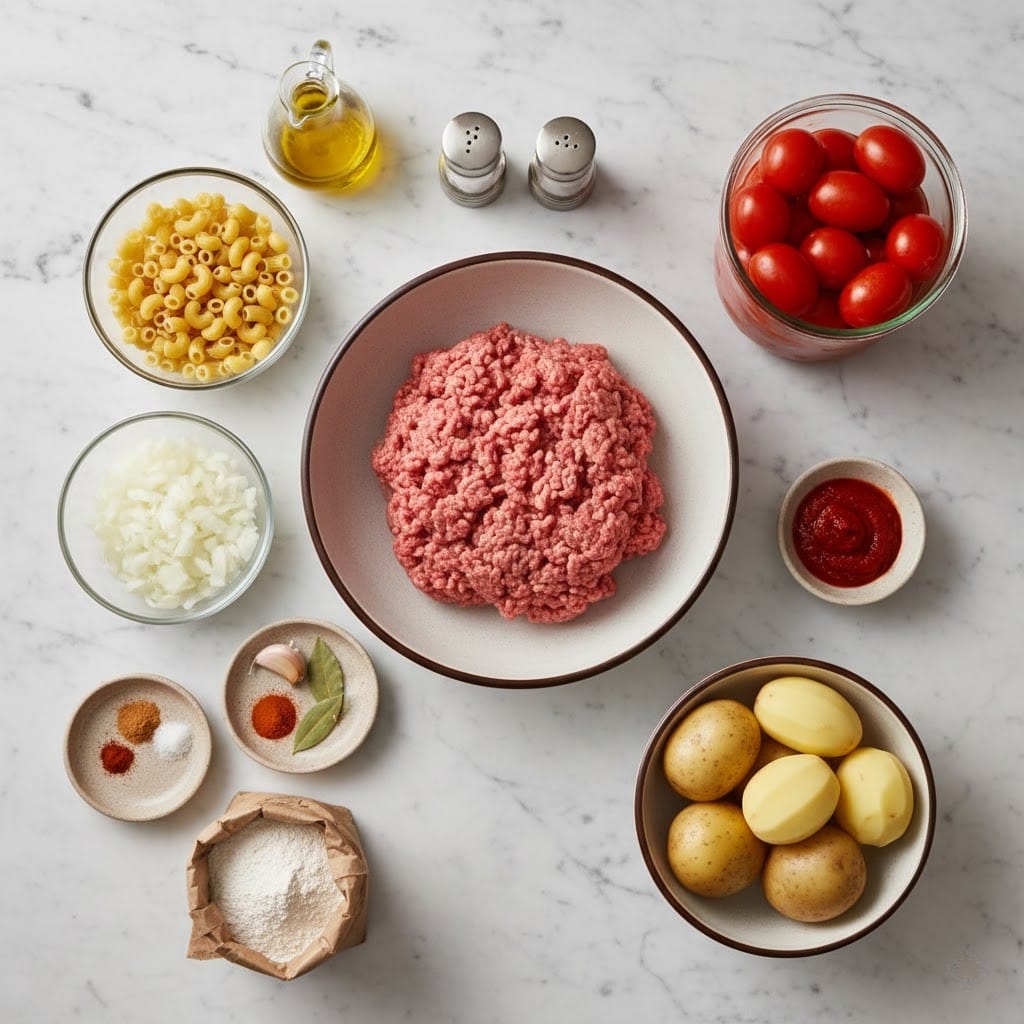
What You’ll Need (Plus My Mad Substitute Skills)
- 1 pound (about 450g) ground beef – I sometimes swap in ground turkey if I’ve defrosted the wrong package. Both work.
- 1 small onion, diced – My gran used yellow onions every time, but I grab red onions if that’s all I’ve got.
- 2 garlic cloves, minced (Or just use a hefty spoonful of the jarred stuff. No one will know.)
- 2 cups (about 200g) elbow macaroni – Any short pasta works. Once made it with shells. Kinda cute, actually.
- 2 cups beef broth (or chicken broth or, if desperate, water with a bouillon cube)
- 1 can (14.5 oz or 410g) diced tomatoes (don’t drain them – that liquid is gold!)
- 2 tablespoons tomato paste (Ketchup in a pinch…I won’t judge. Or judge, but not loudly.)
- 1 cup (about 100g) shredded cheddar cheese – Pre-shredded, block, orange, white…whatever’s in the fridge. Monterey Jack is good too.
- 1/2 cup milk (I use whole milk, but honestly any milk or even half-and-half if you’re feeling wild)
- 1 teaspoon paprika (I like smoked best, but use whatever’s in the cupboard)
- 1/2 teaspoon dried oregano
- 1/2 teaspoon salt (Add more to taste after!)
- 1/4 teaspoon pepper, or lots more if you like a fuss
- Pinch of cayenne – Optional, but I love a whisper of heat
Okay, Let’s Make It (No Fancy Moves Required)
- Heat a big ol’ skillet or Dutch oven over medium heat. Toss in the ground beef and cook until it’s brown, crumbly, and leaving little crispy bits (the best part, honestly). If there’s loads of grease, drain a bit off—but save a smidge for flavor.
- Add your chopped onion right into the beef. Cook 3-4 minutes, until things are soft and you’re realizing kitchen onions are basically aromatherapy. Stir in the minced garlic, and let it cook for 30 seconds, just until it smells amazing and not burnt.
- Dump in the uncooked macaroni, beef broth, diced tomatoes (juice and all), and tomato paste. Sprinkle in paprika, oregano, salt, and pepper. Give it all a good stir so the pasta isn’t stuck together like an awkward first date.
- Let it come to a gentle simmer. Pop a lid on, drop the heat to medium-low, and cook—stirring every now and again so nothing welds to the bottom—for about 12 minutes, or until the pasta’s just cooked but not like soggy pool noodles. (This is where I sneak a bite and burn my tongue almost every time.)
- Remove the lid. Stir in the milk, then the cheese, and a pinch of cayenne if you feel like living. Let it cook for 2-3 minutes, uncovered, until it’s all hot and melty. It’ll look a bit soupy at first, but thickens as it cools. Don’t panic!
- Taste and add more salt/pepper (honestly, the world won’t end if you oversalt one time), then serve right away. I like to top mine with a little extra cheese, or hot sauce, or, on one weird night, crunched up potato chips. Your call.
Notes from a Slightly Distracted Cook
- If you walk away and forget to stir, you might get a crispy bottom layer. It tastes kinda toasty, but maybe don’t serve those bits to your in-laws.
- Actually, I find it works better if you wait a few minutes before serving – it thickens and tastes even noodlier.
- Sometimes my cheese melts in weird clumps. Shredding your own helps, but the bagged stuff is usually just fine (no drama here).
So, What Else Can You Throw In? Variations!
- I’ve subbed in ground pork, and it’s super savory. Chicken’s a bit meh. Lamb? Didn’t love it, tasted like I was trying too hard.
- Extra veggies like chopped bell peppers, mushrooms, or sneaky spinach (kids rarely notice)
- A dash of Worcestershire sauce gives a “how did you make this taste so rich?!” vibe, but just a dash.
- Sometimes I try all cheddar, other times I go half mozz for a stretchier cheese pull—either way, it’s a winner.
Gear You’ll Need…Or Not
All you really need is a big pan or Dutch oven. Don’t stress if you don’t have a classic Dutch oven – any deep saucepan will do. I did once try it in a wok, and things got a little splashy, but it worked in a pinch! Oh, and a sturdy spoon for stirring, though I’ve been known to use a (clean) spatula when all my spoons are in the sink.
How To Store (Though… Leftovers?)
It’ll keep in a sealed container in the fridge for about 3 days—in theory. In my house, it’s usually gone by lunch the next day. If it dries out a little, a splash of milk or broth when reheating works wonders. Freezing? You can—but the pasta gets a tad mushy. Still edible, though.
How I Serve This (Besides Just Eating Over The Sink…)
I love to serve this with a simple side salad—makes me feel healthy even when I pile on extra cheese. My brother dunks big hunks of garlic bread right in; it’s a bit messy but holy wow, it’s good. Sometimes, I’ll add green onions on top, mostly for color (I pretend like it’s gourmet then).
Stuff I Learned The Hard Way (Pro Tips-ish)
- Don’t rush the simmer. I tried cranking up the heat to “get it done quicker” and got crunchy pasta in tomato soup. Not my finest hour.
- It really does taste better if you stir regularly. My laziness has proved it more than once, though I keep trying to disprove this.
- And yes, you can totally double this for a crowd (if you have a big enough pot…I once overflowed mine and spent an hour scrubbing the stove after).
FAQs—Real-Life Hamburger Helper Drama
- Can I make it ahead of time?
Yup, and honestly, I think the flavor gets even better after a night in the fridge. Just add a little broth when reheating—it thickens up as it sits. - Any way to make it gluten-free?
Absolutely. Just use your favorite GF pasta (those chickpea ones work too, but watch the cook time—they turn to mush fast if you’re not careful). I’ve done it for a potluck and no one even noticed. - Can I use ground chicken?
You can, but, on second thought, it’s a bit bland. Works better with turkey or beef in my book, but if chicken’s all you’ve got, toss in a little extra seasoning and cheese. - Is it really only one pot?
I promise! Unless you use too small a pan…then things get messy. But still, generally, yes—just one, as long as you chose the right pot. (If you use two, I won’t tell.) - Does my dog need a taste?
Buddy, that’s between you, your vet, and your standards. Mine just gets to sniff the air and look longingly.
If you read all this, you probably love cheesy nostalgia as much as I do. Or maybe you’re just hungry. Either way, thanks for letting me ramble on—now go make some Hamburger Helper, homemade style!
Ingredients
- 1 pound (about 450g) ground beef
- 1 small onion, diced
- 2 garlic cloves, minced
- 2 cups (about 200g) elbow macaroni
- 2 cups beef broth
- 1 can (14.5 oz or 410g) diced tomatoes
- 2 tablespoons tomato paste
- 1 cup (about 100g) shredded cheddar cheese
- 1/2 cup milk
- 1 teaspoon paprika
- 1/2 teaspoon dried oregano
- 1/2 teaspoon salt
- 1/4 teaspoon pepper
- Pinch of cayenne
Instructions
-
1Heat a big ol’ skillet or Dutch oven over medium heat. Toss in the ground beef and cook until it’s brown, crumbly, and leaving little crispy bits (the best part, honestly). If there’s loads of grease, drain a bit off—but save a smidge for flavor.
-
2Add your chopped onion right into the beef. Cook 3-4 minutes, until things are soft and you’re realizing kitchen onions are basically aromatherapy. Stir in the minced garlic, and let it cook for 30 seconds, just until it smells amazing and not burnt.
-
3Dump in the uncooked macaroni, beef broth, diced tomatoes (juice and all), and tomato paste. Sprinkle in paprika, oregano, salt, and pepper. Give it all a good stir so the pasta isn’t stuck together like an awkward first date.
-
4Let it come to a gentle simmer. Pop a lid on, drop the heat to medium-low, and cook—stirring every now and again so nothing welds to the bottom—for about 12 minutes, or until the pasta’s just cooked but not like soggy pool noodles. (This is where I sneak a bite and burn my tongue almost every time.)
-
5Remove the lid. Stir in the milk, then the cheese, and a pinch of cayenne if you feel like living. Let it cook for 2-3 minutes, uncovered, until it’s all hot and melty. It’ll look a bit soupy at first, but thickens as it cools. Don’t panic!
-
6Taste and add more salt/pepper (honestly, the world won’t end if you oversalt one time), then serve right away. I like to top mine with a little extra cheese, or hot sauce, or, on one weird night, crunched up potato chips. Your call.
Approximate Information for One Serving
Nutrition Disclaimers
Number of total servings shown is approximate. Actual number of servings will depend on your preferred portion sizes.
Nutritional values shown are general guidelines and reflect information for 1 serving using the ingredients listed, not including any optional ingredients. Actual macros may vary slightly depending on specific brands and types of ingredients used.
To determine the weight of one serving, prepare the recipe as instructed. Weigh the finished recipe, then divide the weight of the finished recipe (not including the weight of the container the food is in) by the desired number of servings. Result will be the weight of one serving.
Did you make this recipe?
Please consider Pinning it!