That Time I Fell For a Sandwich…
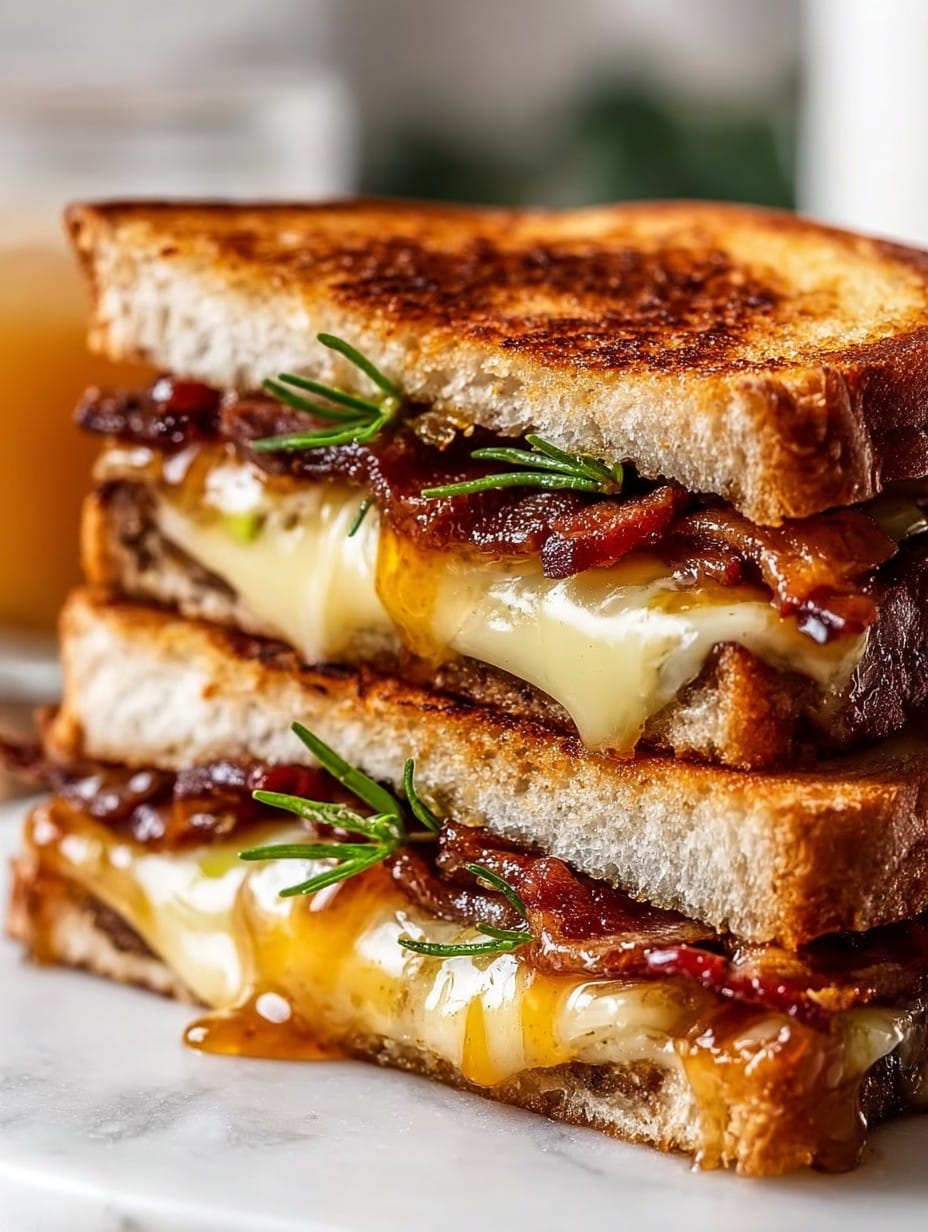
Alright, if you know me, you know it only takes two things—a ridiculous combination of melty cheese and a touch of something sweet—to get me out of bed on a lazy Saturday. True story: the first time I made this Hot Honey Apple Cheddar Beef Bacon Grilled Cheese, my smoke alarm went off not because I burned it, but because I got sooo distracted watching the cheese bubbling I forgot the window was closed. (Hey, it happens, right?) Anyway, this sandwich nails that weird but perfect balance of sweet, salty, and kinda fancy but still messy. And also: why don’t we put apples in more things…?
Why You’ll Love This
I make this when I’m craving something cozy but can’t stand another basic grilled cheese. My family goes absolutely bananas for it (even though my youngest picks the apples out—can’t win ’em all). It’s got that warm, gooey cheese thing going for it, plus the salty-smoky thing from beef bacon. I only started adding hot honey on a whim, but now it’s basically the reason my husband brags about sandwich night. Pro tip: make two, because you’ll never get to eat the whole first one by yourself. Oh, and grating cheddar? Not worth the extra effort, just use slices unless you live for arm workouts.
So, What Do You Actually Need?
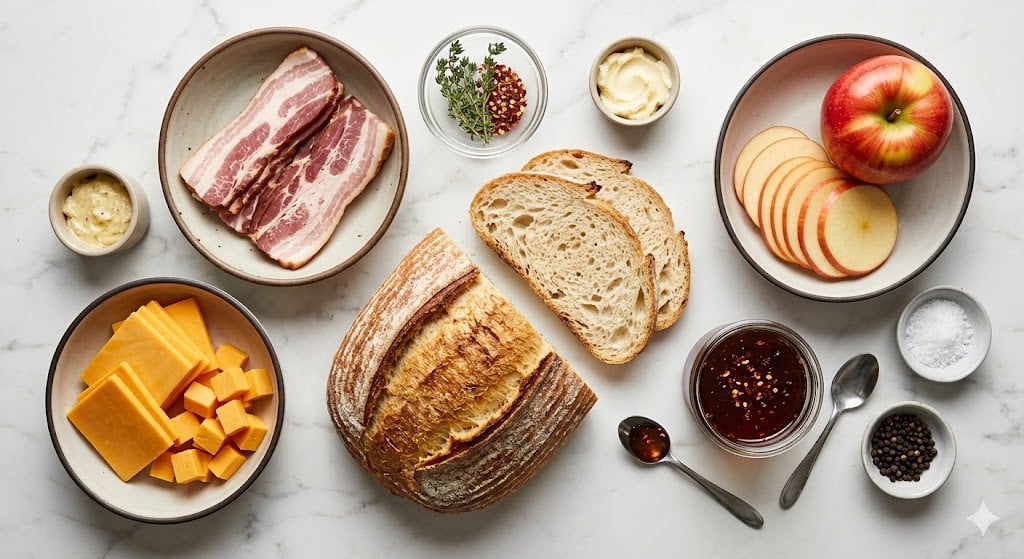
- 4 slices of sturdy sourdough bread (I sometimes buy whatever’s on sale, but Pepperidge Farm is pretty solid too)
- 2 tablespoons unsalted butter, room temp usually but let’s be honest—sometimes I nuke it quick and spread anyway
- 4 slices sharp cheddar cheese (white or orange—either works fine)
- 1 small apple, thinly sliced (Granny Smith for tartness; Gala or Fuji if I’m feeling lazy and don’t want to peel)
- 4 slices beef bacon (my grandma insisted on Wellshire, but honestly store-brand does the job)
- 2 to 3 teaspoons hot honey (Mike’s is everywhere now, but homemade is good too—or just regular honey with chili flakes!)
- Freshly ground black pepper, just a pinch
Let’s Make This Thing
- First, fry up your beef bacon over medium heat till it’s nice and crisp (we’re talking somewhere between crunchy and just shy of burnt—though that last bit might just be me). Drain the slices on a paper towel. Try not to eat them yet… I rarely succeed.
- While that’s happening, butter one side of each bread slice. Don’t worry if you miss a spot, just smear a little more on with a finger. Actually, I find it works better if the butter’s soft, but you do you.
- Lay two bread slices, butter-side-down, on a plate or cutting board. Top with a slice of cheddar, then a single layer of apple (don’t overthink the pattern—just lay them flat-ish). Add a couple of bacon slices per sandwich, then a second slice of cheddar. Quick twist of black pepper? Why not.
- Spoon—or drizzle, or glop—the hot honey over everything. Don’t stress about even coverage.
- Top with remaining bread, butter-side-up. At this point, it might look like it’s about to fall apart. That’s okay, just wrangle it gently into the pan.
- Now heat a large skillet (nonstick or cast iron, whatever you’ve got. I once made these in my old sandwich press—worked a treat) over medium-low. Drop the sandwich in carefully. Cook 3–4 minutes per side, pressing down slightly with a spatula (not too hard or all the insides go squishing out). If it’s browning too fast, turn your heat down. Seriously—patience here. I once tried rushing this and ended up with raw cheese and burnt bread. Bleh.
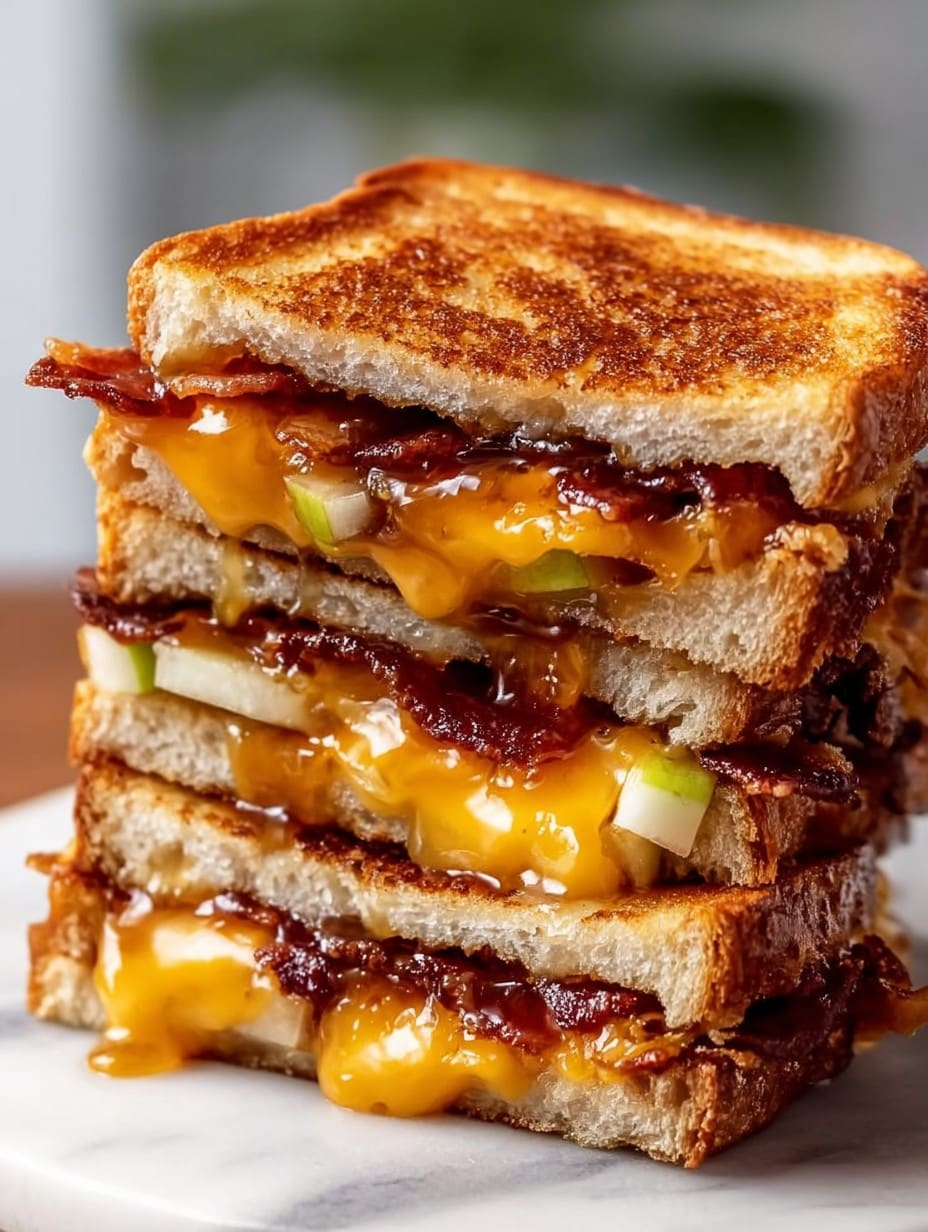
- Once both sides are golden and the cheese is lava-like, I usually let it sit a minute before slicing (burnt tongue = story of my life). Then cut, stare at it lovingly, and eat. Maybe with chips, or not, I dunno. It’s your lunch.
A Few Notes (AKA Things I Learned)
- If you accidentally use too much honey, it just gets even messier. Grab extra napkins.
- Sourdough holds up best, but I’ve made this with regular white sandwich bread—it’s fine but a bit squishy (still tasty though, like, who’s picky?)
- Actually, I think this sandwich is maybe even better the next day, cold, when the flavors mingle together… or maybe that’s just hunger talking.
Variants I’ve (Mostly) Tried
- Tried swapping the beef bacon for turkey bacon—less smoky, but still great.
- One time I used brie instead of cheddar…it sort of became a gooey disaster, like cheese lava, but not in a good way. Wouldn’t recommend.
- Added thin red onion once—pretty good if you like that bite, but my kids noticed immediately and called me out.
What If I Don’t Have…?
- No nonstick skillet? I’ve managed with stainless steel before, just use more butter and don’t skimp on watching it like a hawk.
- If you don’t have a spatula, I’ve definitely used a wooden spoon to flip. Not elegant but hey, works in a pinch.
How to Store It (Not That You’ll Need To…)
Tbh, in my house it never lasts more than a day! But if you do have leftovers, wrap them in foil and stick them in the fridge. The bread will get a little soft, but I’ve thrown these in the toaster oven the next morning and they come back to life. Or just eat it cold straight from the fridge—no judgment.
How We Serve It (Or, I Do Anyway…)
I like mine cut in halves with a tiny bowl of extra hot honey on the side for dunking (messy but fun). My partner, being a true Brit, dunks it in tomato soup, which I still think is odd, but hey—to each their own! Toss a few kettle chips on the plate and you’ve basically got the best lunch going.
What I Wish I’d Known (so you don’t mess it up)
- I once tried cooking this too hot and everything just blackened; slow is better here.
- Layer the apples pretty flat or you’ll get weird pockets where the cheese and bacon can’t quite reach. Rookie mistake—learn from me.
People Actually Ask Me…
- Can I use regular bacon instead of beef bacon? For sure, I just like beef bacon’s hearty flavor—but whatever’s in your fridge works.
- What’s hot honey, anyway? It’s just honey with chili pepper in it. If you’re feeling extra, mix honey and a pinch of red pepper flakes. Fancy.
- Can I eat this cold? Absolutely. Actually, I think it tastes even more interesting the next day when the flavors settle together—though it’s softer, obviously.
- Does this freeze well? Eh, not really. Bread can get weird, and the apples go mushy. Just eat it fresh if you can.
Also, does anyone else start making sandwiches and end up halfway through a deep clean of the fridge? Happens every time I reach for the cheese drawer… Anyway, happy cooking!
Ingredients
- 4 slices of sturdy sourdough bread (I sometimes buy whatever’s on sale, but Pepperidge Farm is pretty solid too)
- 2 tablespoons unsalted butter, room temp usually but let’s be honest—sometimes I nuke it quick and spread anyway
- 4 slices sharp cheddar cheese (white or orange—either works fine)
- 1 small apple, thinly sliced (Granny Smith for tartness; Gala or Fuji if I’m feeling lazy and don’t want to peel)
- 4 slices beef bacon (my grandma insisted on Wellshire, but honestly store-brand does the job)
- 2 to 3 teaspoons hot honey (Mike’s is everywhere now, but homemade is good too—or just regular honey with chili flakes!)
- Freshly ground black pepper, just a pinch
Instructions
-
1First, fry up your beef bacon over medium heat till it’s nice and crisp (we’re talking somewhere between crunchy and just shy of burnt—though that last bit might just be me). Drain the slices on a paper towel. Try not to eat them yet… I rarely succeed.
-
2While that’s happening, butter one side of each bread slice. Don’t worry if you miss a spot, just smear a little more on with a finger. Actually, I find it works better if the butter’s soft, but you do you.
-
3Lay two bread slices, butter-side-down, on a plate or cutting board. Top with a slice of cheddar, then a single layer of apple (don’t overthink the pattern—just lay them flat-ish). Add a couple of bacon slices per sandwich, then a second slice of cheddar. Quick twist of black pepper? Why not.
-
4Spoon—or drizzle, or glop—the hot honey over everything. Don’t stress about even coverage.
-
5Top with remaining bread, butter-side-up. At this point, it might look like it’s about to fall apart. That’s okay, just wrangle it gently into the pan.
-
6Now heat a large skillet (nonstick or cast iron, whatever you’ve got. I once made these in my old sandwich press—worked a treat) over medium-low. Drop the sandwich in carefully. Cook 3–4 minutes per side, pressing down slightly with a spatula (not too hard or all the insides go squishing out). If it’s browning too fast, turn your heat down. Seriously—patience here. I once tried rushing this and ended up with raw cheese and burnt bread. Bleh.
-
7Once both sides are golden and the cheese is lava-like, I usually let it sit a minute before slicing (burnt tongue = story of my life). Then cut, stare at it lovingly, and eat. Maybe with chips, or not, I dunno. It’s your lunch.
Approximate Information for One Serving
Nutrition Disclaimers
Number of total servings shown is approximate. Actual number of servings will depend on your preferred portion sizes.
Nutritional values shown are general guidelines and reflect information for 1 serving using the ingredients listed, not including any optional ingredients. Actual macros may vary slightly depending on specific brands and types of ingredients used.
To determine the weight of one serving, prepare the recipe as instructed. Weigh the finished recipe, then divide the weight of the finished recipe (not including the weight of the container the food is in) by the desired number of servings. Result will be the weight of one serving.
Did you make this recipe?
Please consider Pinning it!