Let Me Tell You About This Bowl (And That One Time)
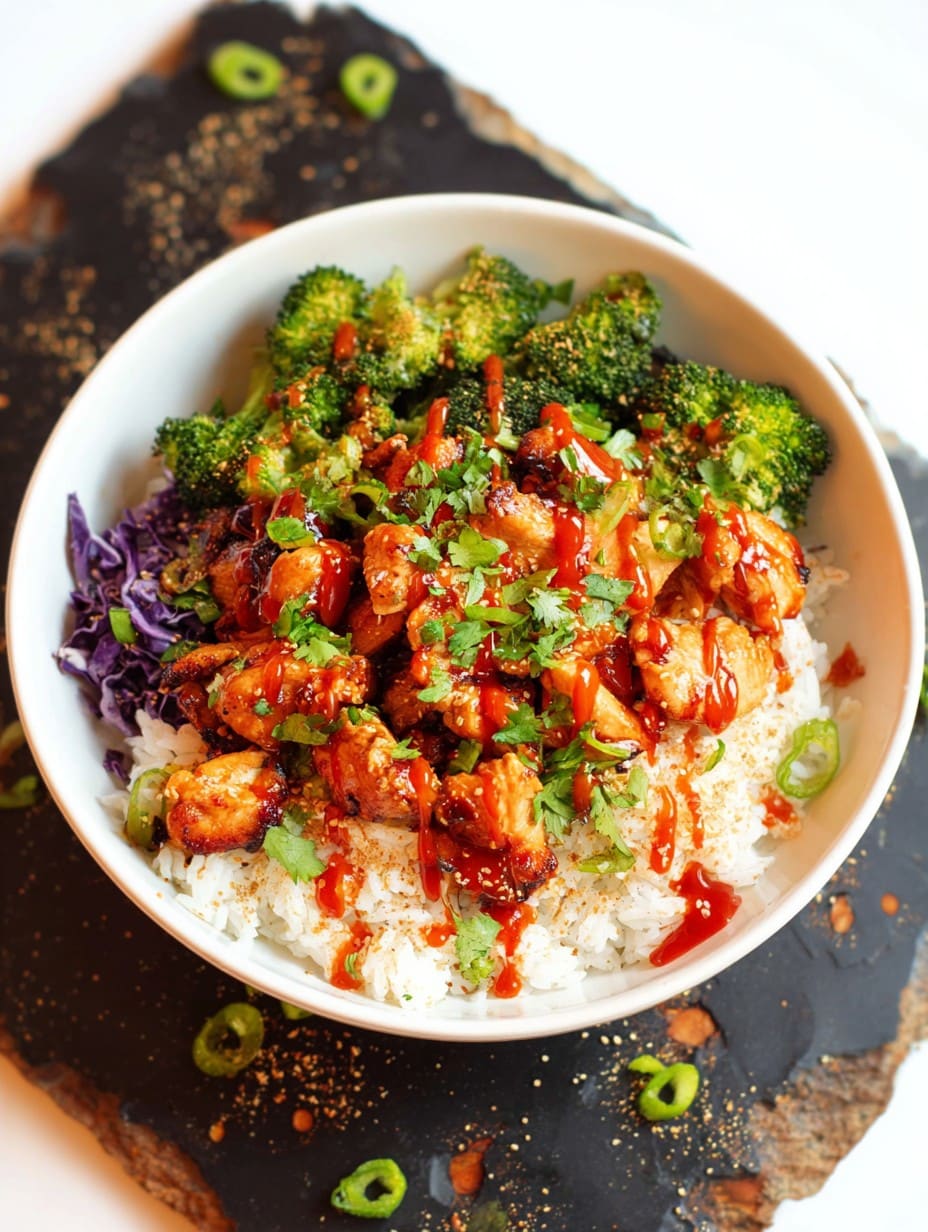
Alright, before I get into the nitty-gritty, confession time: I first cobbled together this Hot Honey Chicken & Rice Bowl after a long day when my brain felt like scrambled eggs and all I wanted was something warming, filling, not fussy—and secretly, anything my kids would actually eat without bribery. (Which is rare). I think the true magic happened when I accidentally poured a bit too much hot honey on the chicken… and nobody complained! In fact, it’s now the most-requested dinner in my house. Go figure. If you love meals that land somewhere between wow-that’s-flavorful and ahh-that’s-easy, you’re in the right place.
Why You’ll Love This (or At Least Why I Do)
I make this on those days when I need comfort, but also want leftovers that actually survive until next lunchtime—though that rarely happens. My family goes wild for that sticky, spicy honey glaze. If you’re like me and crave a hint of sweet heat, you’ll be spooning extra sauce over everything. And let’s be honest, there are days when I totally cheat and use rotisserie chicken because actually, it still tastes brill. In a pinch, I grab microwave rice too. Zero judgment—I do it all the time when I can’t be faffed with dirtying another pot.
Right, Here’s What You’ll Need (With Some Swaps)
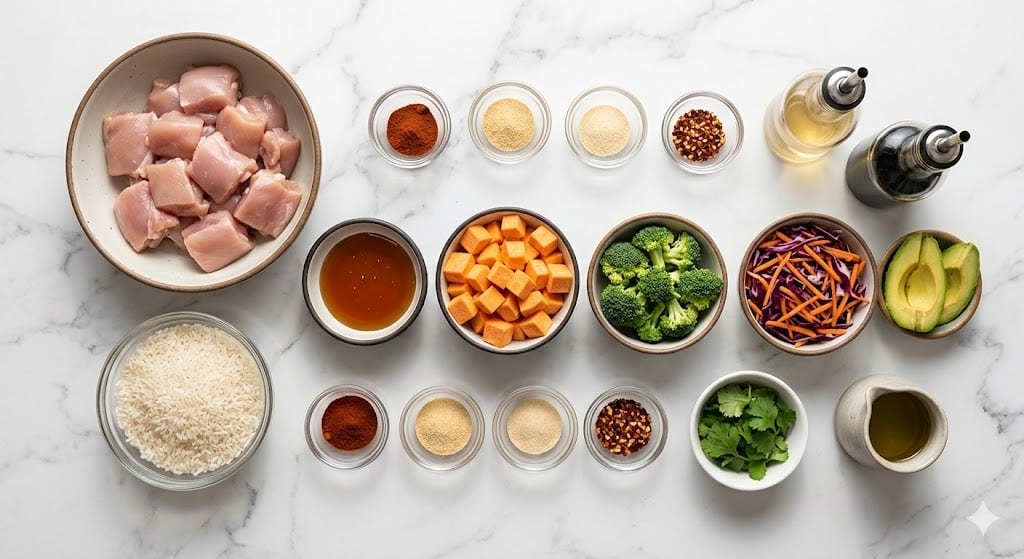
- 3 boneless, skinless chicken breasts (about 600g) – thighs are richer, but the breasts cook faster
- 1.5 cups cooked jasmine rice (or basmati – or leftover takeaway rice, if you’re as resourceful as me)
- 1/3 cup hot honey (I use Mike’s sometimes, but even regular honey + sriracha does the trick)
- 2 tablespoons soy sauce (the salty kind—my gran used Kikkoman, but supermarket versions work just fine)
- 1 tablespoon rice vinegar (white wine vinegar in a pinch)
- 1 tablespoon olive oil (or that random cooking oil you keep in the cupboard)
- 1/2 teaspoon smoked paprika (sometimes I leave this out if I can’t find it, still good)
- 1/2 teaspoon garlic powder (or 2 cloves fresh, smashed—up to you, mate)
- Salt and black pepper, to taste
- A handful of green onions, sliced (or chives if your garden’s overgrown)
- 1 small cucumber, sliced thin (optional, but I like the crunch)
- 1/4 cup pickled red onions (skip ’em if you must, but they’re proper zingy)
- Sesame seeds to sprinkle (white, black, who cares?)
- Fresh cilantro or parsley, chopped (if you don’t hate cilantro like my mate Dave)
How to Actually Make This (A Little Chaos Is Fine)
- Chop the Chicken. Cut your chicken breasts (or thighs) into bite-sized chunks. Not too tiny or they’ll shrivel—roughly an inch each is plenty.
- Marinate (Sort Of). Throw the chicken into a bowl with olive oil, smoked paprika, garlic powder, salt, and black pepper. Mix up with your hands if you don’t mind a bit of mess. Let it chill for about 15 minutes if you’ve got the time, or just carry on if you’re in a hurry. (This is usually when I tidy up my kitchen island, or start the rice if I’ve forgotten again.)
- Cook That Chicken. Heat a big skillet (nonstick or not—either is grand) over medium-high. Once hot, add chicken. Don’t crowd the pan or you’ll steam it. Let it go until golden on the edges and cooked through—about 6 or 7 minutes. Flip once or twice, but don’t fuss too much. This is where I sneak a tester piece. Toss in extra oil if it starts sticking.
- Sauce Time. Lower the heat to medium. Pour in hot honey, soy sauce, and rice vinegar. Stir everything. Don’t worry if the sauce bubbles up wildly for a sec—happens every time. Simmer 2-3 minutes until it thickens and clings to the chicken.
- Deal with the Rice. If making fresh, cook rice by your favorite method (I use the absorption method… or the microwave in emergencies). Alternatively, zap leftovers ‘til hot. Spoon into bowls.
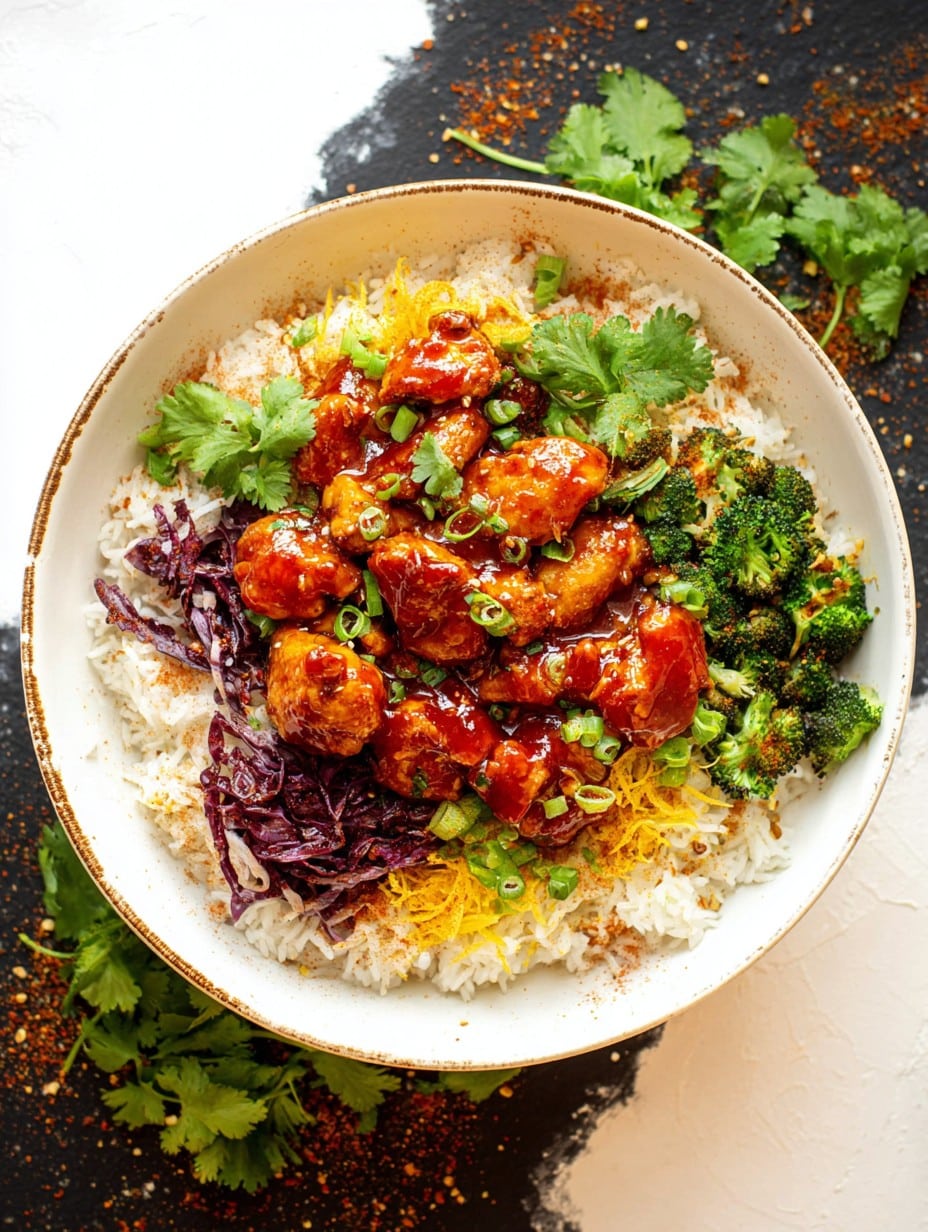
- Build Your Bowl. Top rice with sweet-spicy chicken and drizzle any sauce left in the pan right on top. Scatter over green onions, cucumber slices, and pickled onions. Sprinkle with sesame seeds and cilantro or parsley (if using).
- The Finishing Touch. Grab a fork (or chopsticks if you fancy) and go to town! Oddly, tastes best if you let it sit for a couple of minutes so the flavors get cosy.
Things I Found Out The Hard Way
- Don’t skip the hot honey, even if you’re spice-shy. When I tried regular honey, it was a bit too sweet for my liking. But hey, if you love sweet, go for it.
- Leftovers are dreamy—but stickier. I think this tastes even better the next day, cold out the fridge.
- If you pile fresh veg on top, it stays crunchy— but if you want a warmer bowl, add them under the chicken so the warmth softens them a touch.
If You Want to Mix It Up (Some Experiments Worked…Some Didn’t)
- Swapped out chicken for crispy tofu once! Really good if you want veggie. But when I tried salmon, the flavor didn’t quite work (not awful, just not great with the hot honey in my opinion).
- Added a spoonful of kimchi on top one time for extra zip. Fun! (Though my kids were horrified.)
- If you’ve no jasmine or basmati, short-grain rice works but turns the bowl a bit stodgy unless you fluff it well. Learned that one the sticky way.
What You Need (But Don’t Stress If You Don’t Have Everything)
- Large nonstick skillet (If you don’t have one, cast iron or even a heavy saucepan works. I used a battered frying pan for months.)
- Mixing bowl
- Chopping board
- Knife sharp enough for cucumbers
- Rice cooker, saucepan, or microwave (it all counts)
How to Store It, if You Actually Have Leftovers
Pop any remains in an airtight box in the fridge; keeps nice for 2 days. The rice soaks up the sauce and the flavors mingle more—though, to be honest, it never lasts more than a day here. Reheat gently in the microwave with a splash of water if it looks dry.
What to Serve With (My Take)
I usually just eat it as is, but if I’m feeling fancy (rare), I’ll do some quick-steamed broccoli or edamame on the side. My sister likes adding a fried egg on top, and now my kids act like it was their idea all along.
Lessons from Various Goofs (Pro-ish Tips)
- I once dumped all the sauce ingredients right at the start – big mistake, chicken got weird and mushy. Don’t be me: sauce goes in after the chicken browns.
- Don’t rush the simmer at the end. I did, and the sauce was watery. Give it a couple of minutes; you’ll thank me.
- Cut the chicken evenly, or else some bits are dry while others aren’t done. Not tragic, just a bit of an adventure mid-bite.
Questions I’ve Actually Gotten (Or Imagined!)
- “Is it mega spicy?” – Not really, but add less hot honey if spicy is not your jam. Or toss in extra, you wild thing.
- “Can I use brown rice instead?” – Sure, I’ve done it, though it needs more sauce for flavor. Give it a try!
- “Do you really need the pickled onions?” – Nah, but they give it zing and look snazzy. Totally up to you.
- “Help! My sauce is runny.” – Let it cook a minute or two more (leave the pan on, stir often). Or actually, add a smidge more honey to tighten it up. Works every time.
- “What if I don’t have hot honey?” – Use regular honey and a dash of sriracha or chili flakes. Improvising is half the fun.
So, there you go. If you try it, let me know if you tweak it—I’m always curious. Happy cooking, mate!
Ingredients
- 3 boneless, skinless chicken breasts (about 600g) – thighs are richer, but the breasts cook faster
- 1.5 cups cooked jasmine rice (or basmati – or leftover takeaway rice, if you’re as resourceful as me)
- 1/3 cup hot honey (I use Mike’s sometimes, but even regular honey + sriracha does the trick)
- 2 tablespoons soy sauce (the salty kind—my gran used Kikkoman, but supermarket versions work just fine)
- 1 tablespoon rice vinegar (white wine vinegar in a pinch)
- 1 tablespoon olive oil (or that random cooking oil you keep in the cupboard)
- 1/2 teaspoon smoked paprika (sometimes I leave this out if I can’t find it, still good)
- 1/2 teaspoon garlic powder (or 2 cloves fresh, smashed—up to you, mate)
- Salt and black pepper, to taste
- A handful of green onions, sliced (or chives if your garden’s overgrown)
- 1 small cucumber, sliced thin (optional, but I like the crunch)
- 1/4 cup pickled red onions (skip ’em if you must, but they’re proper zingy)
- Sesame seeds to sprinkle (white, black, who cares?)
- Fresh cilantro or parsley, chopped (if you don’t hate cilantro like my mate Dave)
Instructions
-
1Chop the Chicken. Cut your chicken breasts (or thighs) into bite-sized chunks. Not too tiny or they’ll shrivel—roughly an inch each is plenty.
-
2Marinate (Sort Of). Throw the chicken into a bowl with olive oil, smoked paprika, garlic powder, salt, and black pepper. Mix up with your hands if you don’t mind a bit of mess. Let it chill for about 15 minutes if you’ve got the time, or just carry on if you’re in a hurry. (This is usually when I tidy up my kitchen island, or start the rice if I’ve forgotten again.)
-
3Cook That Chicken. Heat a big skillet (nonstick or not—either is grand) over medium-high. Once hot, add chicken. Don’t crowd the pan or you’ll steam it. Let it go until golden on the edges and cooked through—about 6 or 7 minutes. Flip once or twice, but don’t fuss too much. This is where I sneak a tester piece. Toss in extra oil if it starts sticking.
-
4Sauce Time. Lower the heat to medium. Pour in hot honey, soy sauce, and rice vinegar. Stir everything. Don’t worry if the sauce bubbles up wildly for a sec—happens every time. Simmer 2-3 minutes until it thickens and clings to the chicken.
-
5Deal with the Rice. If making fresh, cook rice by your favorite method (I use the absorption method… or the microwave in emergencies). Alternatively, zap leftovers ‘til hot. Spoon into bowls.
-
6Build Your Bowl. Top rice with sweet-spicy chicken and drizzle any sauce left in the pan right on top. Scatter over green onions, cucumber slices, and pickled onions. Sprinkle with sesame seeds and cilantro or parsley (if using).
-
7The Finishing Touch. Grab a fork (or chopsticks if you fancy) and go to town! Oddly, tastes best if you let it sit for a couple of minutes so the flavors get cosy.
Approximate Information for One Serving
Nutrition Disclaimers
Number of total servings shown is approximate. Actual number of servings will depend on your preferred portion sizes.
Nutritional values shown are general guidelines and reflect information for 1 serving using the ingredients listed, not including any optional ingredients. Actual macros may vary slightly depending on specific brands and types of ingredients used.
To determine the weight of one serving, prepare the recipe as instructed. Weigh the finished recipe, then divide the weight of the finished recipe (not including the weight of the container the food is in) by the desired number of servings. Result will be the weight of one serving.
Did you make this recipe?
Please consider Pinning it!




