Pops of Summer: My Unlikely Obsession With Kiwi Watermelon Popsicles
Alright, imagine this — mid-August, it’s almost too hot to move, and all I want is something icy and fruity. I stand there, staring into my freezer, slightly disappointed (okay, a bit grumpy) at yet another box of not-very-fruity popsicles. And then, I remembered that time last summer when my nephew helped me make these homemade kiwi watermelon fruit popsicles and, well, splattered watermelon pretty much everywhere. But honestly, those pops came out so fresh and vibrant; I’ve never looked back. Plus, cleaning watermelon juice off the ceiling builds character, right?
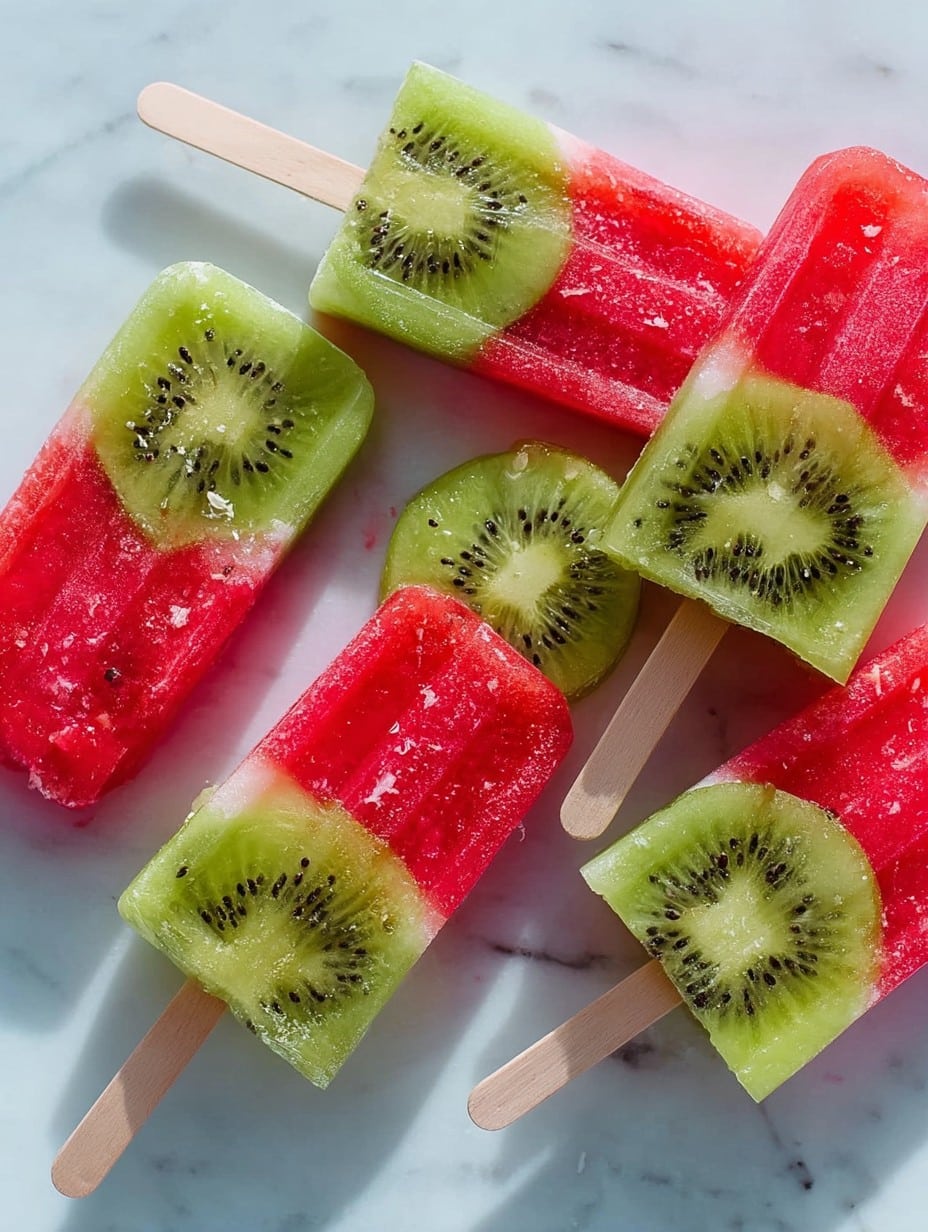
Why You’ll Want to Make These (Trust Me, It’s Worth It)
I whip up these fruit pops like clockwork when my little cousin comes over; she’s always convinced she can eat five in one sitting (she usually taps out at three — not bad though). My family basically demolishes a batch the same day I make them. There was this one time I tried adding too much honey, and the whole batch became impossible to get out of the molds without breaking… but hey, live and learn! So if you’re craving something refreshing and not painfully sweet (and you want to avoid the suspicious neon pops in the grocery freezer), you’ll love these. Plus, they look fancy, even if you totally wing it.
Here’s What You’ll Need (Plus My Go-To Substitutes!)
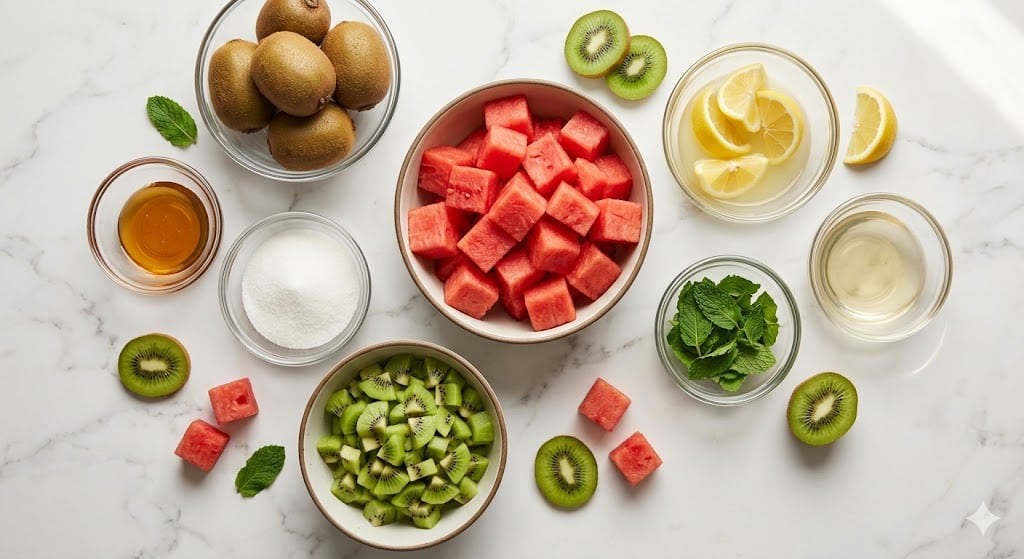
- 2 cups fresh watermelon, seedless & chopped (I’ve used pre-cut from the store and honestly, it’s faster…)
- 2 kiwis, peeled & sliced (I sometimes keep the seeds in for fun speckles)
- 1-2 tablespoons honey, or agave (Sometimes maple syrup when I’m out — it’s a little earthier)
- 2 teaspoons fresh lime juice (Lemon in a pinch if the limes look sad in the fridge)
- 1-2 tablespoons water, if needed (like, if your blender seems tired)
How to Make ‘Em (Details & Some Chaos Included)
- Blend the Watermelon: Chuck the watermelon pieces into your blender. Add 1 tablespoon honey (you can always add more later), and blitz until it looks smooth; almost like a slushy. If it’s too thick, splash in a bit of water. This is where I usually sneak a taste — sometimes I get carried away; judge me not.
- Kiwi Time: Now, in a separate bowl (or the same one, if you’re not feeling fancy), mash or blend your kiwi slices with lime juice. Note: Blended kiwi gets a teeny bit frothy — don’t panic. If you have stubborn bits, just mash ’em with a fork. I find a spoon works almost the same in a pinch.
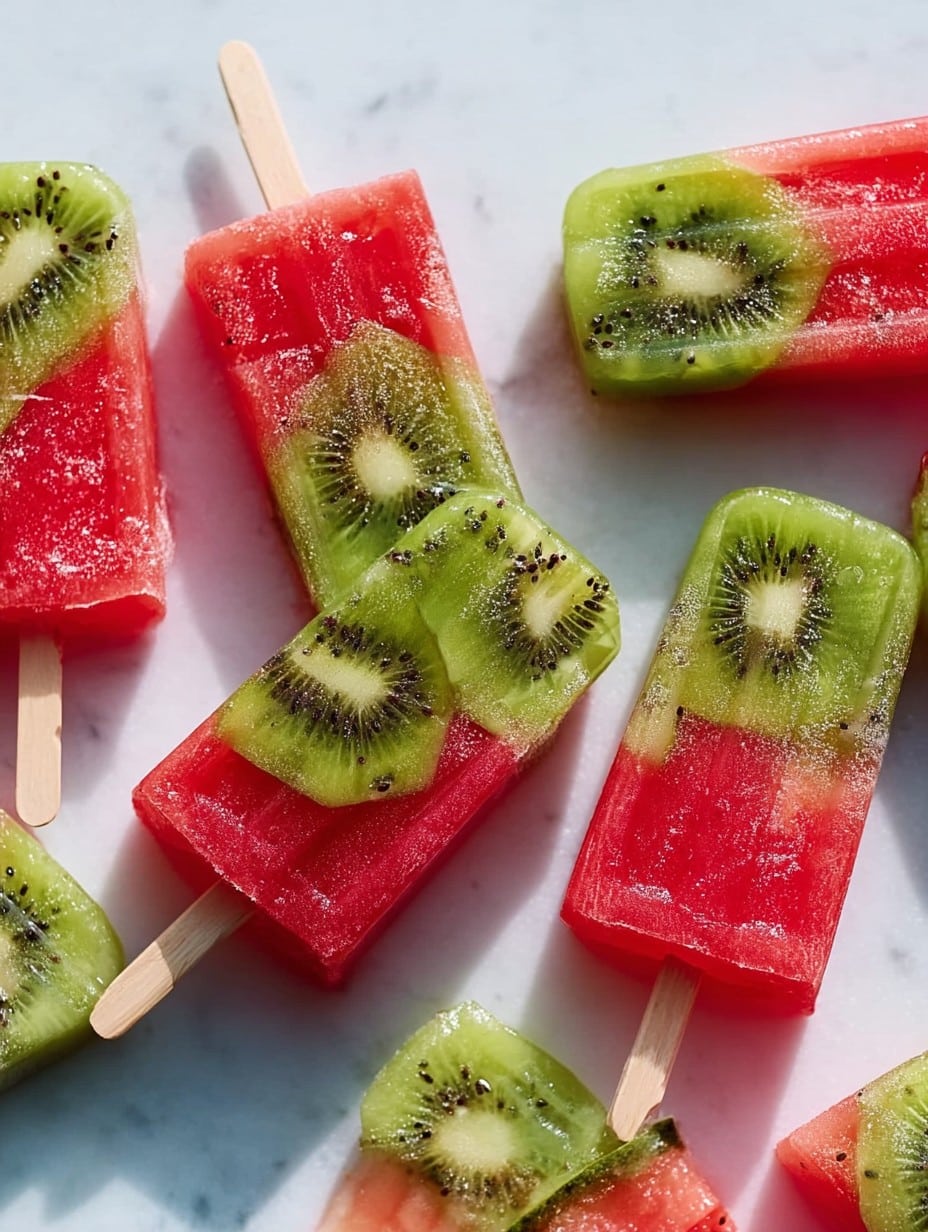
- Layer It Up: Grab your popsicle molds. Pour in a bit of watermelon puree, then a layer of kiwi, alternating till you run out (or lose patience; I never make them perfectly the same size). Pro tip: Tap the mold gently on the counter so you don’t get weird air bubbles, but don’t whack it or you’ll be cleaning up.
- Stick in the Sticks: Pop in your popsicle sticks. If you don’t have the fancy kind, just use small spoons — I’ve totally done that. Freeze for at least 4 hours. I know it’s tempting, but don’t try to unmold them early or you’ll just get fruity mush and regret.
- Unmold & Enjoy: To get them out, I usually run the bottom of the mold under warm water for about 10 seconds — just don’t use hot water unless you want popsicle soup. Enjoy right away, or stash them back in the freezer (if you think they’ll last, which in my house never happens).
Notes From My Popsicle Experiments
- If your watermelon isn’t sweet, just up the honey a bit. I once tried using overripe melon, and uh, not the best idea. It ended up kind of weirdly mushy, just so you know.
- I’ve occasionally left chunks of fruit in for texture — not everyone in my family agreed on that, but I liked it.
Make It Yours: My Variations (and Oopses)
- Once I swapped out the kiwi for strawberries — honestly, not bad, but the colors weren’t as poppin’.
- I thought about throwing in some mint leaves, which looked gorgeous but tasted, well, like mouthwash; maybe skip that unless you’re wild about mint.
- Adding blueberries didn’t really work — they just sank and looked a bit sad at the bottom.
About the Gear (No-Fuss Kitchen)
- Popsicle molds — if you haven’t got those, little paper cups with foil over the top and poked-in sticks work great. Actually, maybe even ice cube trays for mini-popsicles if you’re feeling cheeky.
- Any blender or even a stick blender — or, in a pinch, just mash with a fork. It’s more rustic that way.
Storing Your Pops (Like They’ll Even Last)
You can keep these in the freezer, in their molds, for maybe up to a week… though honestly, mine have never made it past the first 24 hours. If they do, wrap them in baking paper and store in a zip-top bag so they don’t get that weird freezer taste.
Serving Suggestions (A Little Extra Never Hurt)
I sometimes dip the tip of each popsicle in a bit of sugar (fancy, huh?) or even press some chopped mint leaves into the side if I’m serving these to adults. My cousin likes hers with a big bowl of popcorn — don’t ask me why, but that’s her vibe.
Lessons Learned: Popsicle Pro Moves
- I once tried rushing the freezing step and wasted a whole batch when I yanked the pops too early; patience is a virtue, apparently.
- Adding too much water makes ‘em more like snow cones and less like popsicles. Actually, I find a little goes a long way.
Real Questions I Actually Get About This Recipe
- Can I use frozen fruit? Yep, I’ve done it in a pinch. It ends up a little icier, but nothing wrong with that — just thaw a bit so your blender doesn’t complain.
- Is all that honey necessary? Nah, if your fruit is sweet, you can skip most or all of it. Or toss in a few extra grapes for natural sweetness (again, totally optional; one time I tried and the flavor disappeared anyway!).
- How do you keep the layers from mixing? Well, they kind of always blend together a little. That’s half the charm — or maybe I’m just easily amused.
- What if I don’t like kiwi? Try strawberries or mango. Or just double up the watermelon, but it’ll taste less tangy, just so you know.
- Got advice for getting the pops out? Really, run ‘em under warm (not hot!) water and twist gently. I cracked the mold once because I got impatient, and, yeah, that was a bad moment.
Anyway, let me know how your pops come out — or what weird ingredients you end up tossing in! Summer’s for experimenting, right?
Ingredients
- 2 cups fresh watermelon, seedless & chopped
- 2 kiwis, peeled & sliced
- 1-2 tablespoons honey, or agave
- 2 teaspoons fresh lime juice
- 1-2 tablespoons water, if needed
Instructions
-
1Blend the Watermelon: Chuck the watermelon pieces into your blender. Add 1 tablespoon honey (you can always add more later), and blitz until it looks smooth; almost like a slushy. If it’s too thick, splash in a bit of water. This is where I usually sneak a taste — sometimes I get carried away; judge me not.
-
2Kiwi Time: Now, in a separate bowl (or the same one, if you’re not feeling fancy), mash or blend your kiwi slices with lime juice. Note: Blended kiwi gets a teeny bit frothy — don’t panic. If you have stubborn bits, just mash ’em with a fork. I find a spoon works almost the same in a pinch.
-
3Layer It Up: Grab your popsicle molds. Pour in a bit of watermelon puree, then a layer of kiwi, alternating till you run out (or lose patience; I never make them perfectly the same size). Pro tip: Tap the mold gently on the counter so you don’t get weird air bubbles, but don’t whack it or you’ll be cleaning up.
-
4Stick in the Sticks: Pop in your popsicle sticks. If you don’t have the fancy kind, just use small spoons — I’ve totally done that. Freeze for at least 4 hours. I know it’s tempting, but don’t try to unmold them early or you’ll just get fruity mush and regret.
-
5Unmold & Enjoy: To get them out, I usually run the bottom of the mold under warm water for about 10 seconds — just don’t use hot water unless you want popsicle soup. Enjoy right away, or stash them back in the freezer (if you think they’ll last, which in my house never happens).
Approximate Information for One Serving
Nutrition Disclaimers
Number of total servings shown is approximate. Actual number of servings will depend on your preferred portion sizes.
Nutritional values shown are general guidelines and reflect information for 1 serving using the ingredients listed, not including any optional ingredients. Actual macros may vary slightly depending on specific brands and types of ingredients used.
To determine the weight of one serving, prepare the recipe as instructed. Weigh the finished recipe, then divide the weight of the finished recipe (not including the weight of the container the food is in) by the desired number of servings. Result will be the weight of one serving.
Did you make this recipe?
Please consider Pinning it!




