Let Me Tell You About This Mexican Rice
This Mexican Rice has shown up on many birthdays, midweek get-togethers, and, honestly, the occasional last-minute dinner when I realized (yet again) that I forgot to defrost anything. My first attempt making it involved burning the rice so thoroughly that even my dog (dear old Max) tried to bury it. But over the years, it’s become my trusty sidekick. My mom swears by her extra tomatoey version, but I’ve found my happy place somewhere in between. And if you’ve got kids, just wait for the “When’s the rice done?” chorus—it’s a classic.
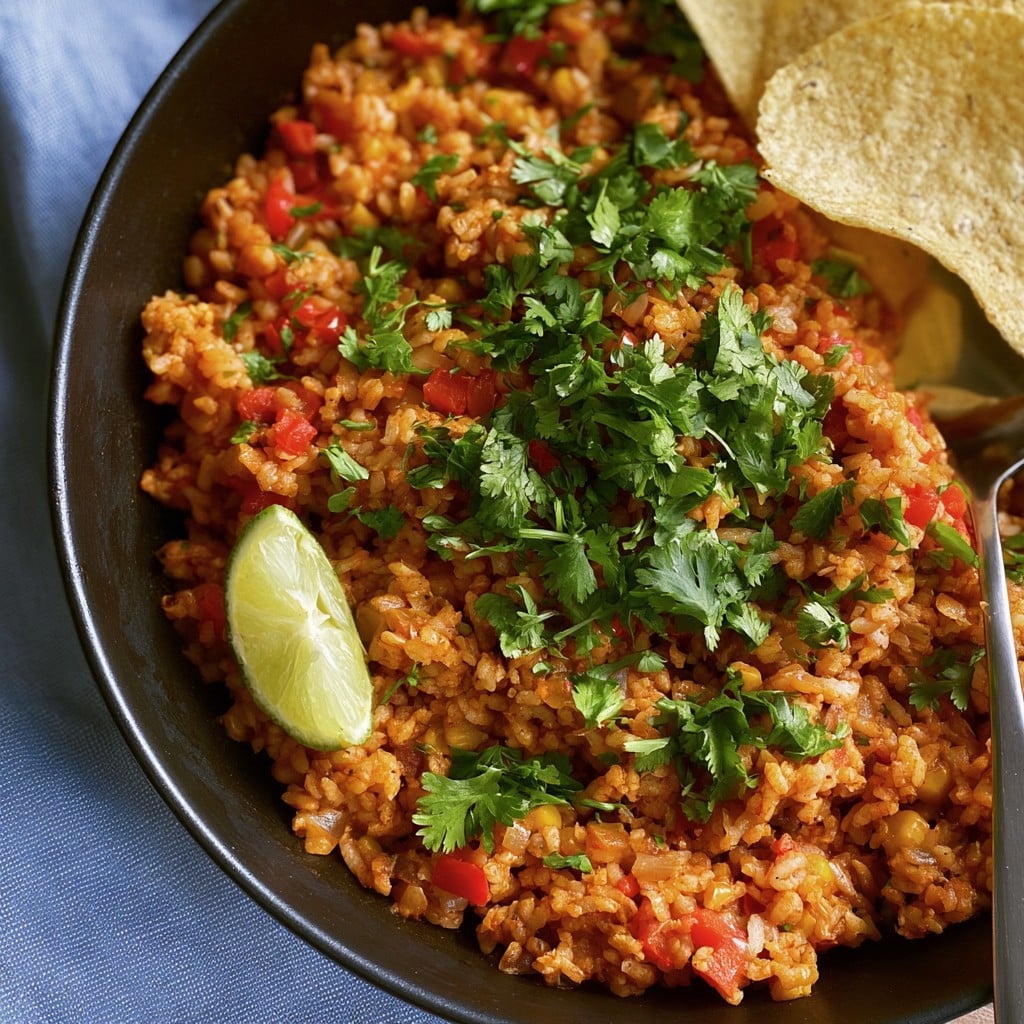
Why You’ll Love This (Or at Least Find It Handy)
I whip this up when we’re having tacos (like every other Thursday). My family goes a bit wild for it because it’s fluffy but not bland—plus, you can sneak in extra veggies and no one will notice. Also, it’s one of those dishes that makes the house smell like you actually know what you’re doing. The only downside is if you get overly ambitious and burn the bottom (speaking from experience, not that it stopped anyone from scraping it out anyway).
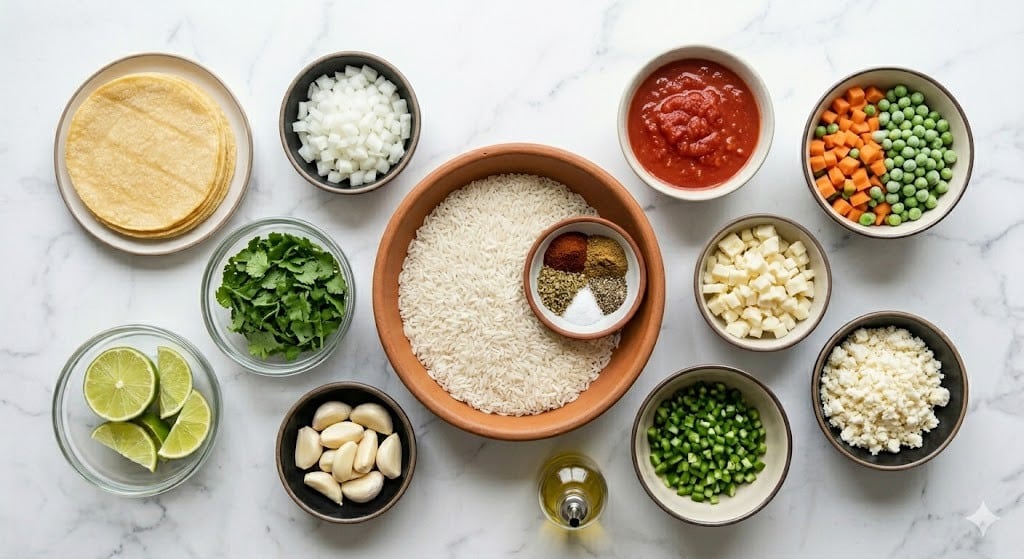
The Ingredients (And My Swaps—Hey, We’re Busy)
- 1 cup long-grain white rice (honestly, I’ve used jasmine in a pinch, but my grandma would side-eye me)
- 2 tbsp oil (canola, vegetable, or whatever’s near—olive oil works fine too, though not “authentic” I suppose)
- 1/2 medium onion, chopped (sometimes I grab frozen pre-chopped onions if I’m feeling lazy)
- 2 cloves garlic, minced (jarred minced garlic if you’re short on time—no shame)
- 1 small tomato, diced, or 1/2 cup canned diced tomatoes (either/or, let’s not be precious)
- 2 cups chicken broth (I use low sodium, but veggie broth totally works for a meatless version)
- 1/2 tsp cumin (if you only have taco seasoning, that works, but go easy—too much and it’ll taste like a seasoning packet)
- 1/4 tsp chili powder (or paprika if you’re a spice wimp, which I sometimes am on Mondays)
- Salt and pepper, to taste
- Optional: 1/4 cup frozen peas and/or carrots (secret way to feel morally superior about dinner)
How I Make This Rice (A Little Different Every Time)
- Start by heating the oil in a medium saucepan over medium heat. Once it’s shimmering, toss in the rice. Stir it around so it gets toasty and slightly golden (don’t walk away, or you’ll end up with burnt bits—and nobody wants that).
- Add the chopped onion and cook for a minute or two, till it goes soft. At this point, I usually inhale the smell and think about vacation for a second.
- Now throw in the minced garlic and stir until it smells delicious, about 30 seconds. If your garlic goes brown, don’t panic—just move on!
- Add the diced tomato (or canned, juice and all). Stir, and the rice will look a bit weird at this stage, but trust me.
- Pour in the chicken broth, then add cumin, chili powder, salt, and pepper. Give it a good stir so nothing sticks to the bottom (I learned the hard way).
- If you’re adding peas or carrots, this is the time! Otherwise, skip.
- Turn heat to low, cover, and let it simmer for about 17–20 minutes, until the liquid is gone and the rice is tender. Don’t keep peeking under the lid—just let it do its thing.
- Once it’s done, fluff the rice with a fork. (This is where I sneak a bite before bringing it to the table. Quality control, right?)
Stuff I’ve Figured Out (Probably the Hard Way)
- If your rice comes out sticky, you might have stirred too much after adding liquid. I still eat it though.
- Forgot the lid? Cover with a baking tray. I’ve literally done this at least twice.
- Don’t stress if the color is pale; sometimes tomatoes aren’t as red. Once, I squeezed in a touch of tomato paste and, you know what, it worked.
Things I’ve Tried (Some Worked, Some… Not So Much)
- Once swapped in brown rice. Cooked it for over 40 minutes and it still fought back. Maybe don’t do that unless you’ve got patience—and stronger teeth.
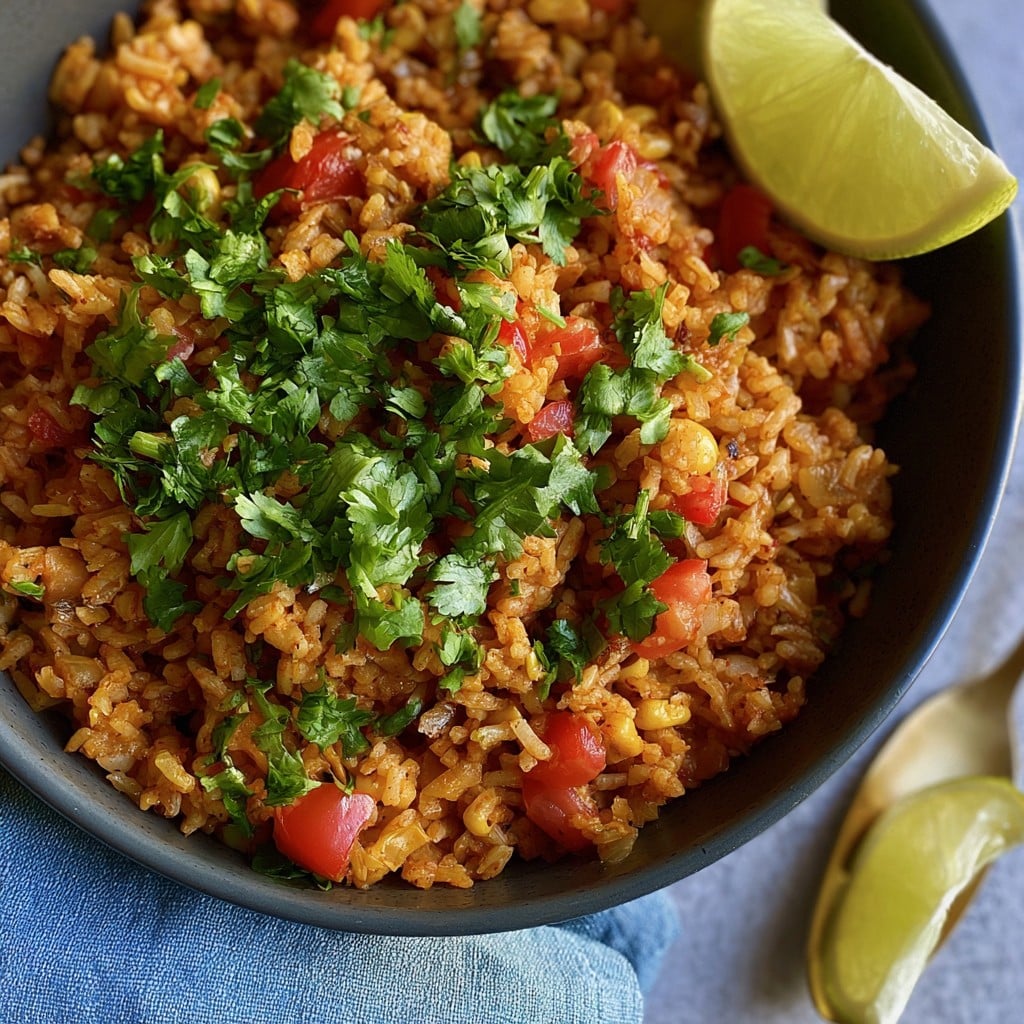
- I’ve stirred in fresh cilantro at the end, or a squeeze of lime. Both are lovely, especially if you want it to look restaurant-fancy.
- Added corn kernels once—kids were happy. Husband? Not so much.
What If I Don’t Have the Usual Tools?
You really just need a saucepan with a lid—though, like I said, a baking tray’ll do in a jam. I once used a deep frying pan and just tented it with foil. Worked like a charm, but don’t tell the purists.
How to Keep Leftovers (but, Honestly…)
If by some miracle you have leftovers, pop them in an airtight container in the fridge. Should be good for up to three days. Though, honestly, in my house it never lasts more than a day! Sometimes it’s even better cold, straight out of the fridge, don’t judge me.
How I Like to Serve Mexican Rice
I love this rice as a side with enchiladas, tacos, or thrown into a big burrito bowl. My cousin always used to put a fried egg on top (looks so good on Instagram, if you’re into that sort of thing). Also, pretty tasty as a midnight snack—I won’t tell if you don’t.
My Big Lessons (aka, Pro Tips From the School of Hard Rice)
- Don’t rush to add the broth—the rice needs to get a little color or else it tastes kind of flat. I once skipped the toasting and regretted it because the rice wound up mushy and bland. Never again.
- If your pot is too hot when you add the broth, everything will bubble up and make a mess. Actually, I find it works better if you turn down the heat right before adding liquid.
A Few Questions I Actually Get (Or Ask Myself)
- Can I make this ahead? Yes—sometimes I think it tastes better the next day, maybe because the flavors get time to get cozy.
- Does this freeze okay? You bet, though the texture gets slightly mushier. Still totally edible.
- What if I don’t have chicken broth? I’ve used water (with a bouillon cube, sometimes even just salted water). Not as rich, but hey, you work with what you have.
- How spicy is this? As spicy as you want—dial up the chili powder or toss in a chopped jalapeño if you’re feeling brave. Or, if you’re cooking for spice-sensitive folks (my nephew), just use paprika.
- Can I double this recipe? Yeah, just use a bigger pot—learned this the hard way when rice ran all over my stovetop. Whoops!
Oh, and if you end up with a crispy bottom crust? In some parts of the world, that’s the cook’s treat — don’t be afraid to enjoy the ‘oops’ moments!
Ingredients
- 1 cup long-grain white rice
- 2 tbsp oil (canola, vegetable, or olive oil)
- 1/2 medium onion, chopped
- 2 cloves garlic, minced
- 1 small tomato, diced, or 1/2 cup canned diced tomatoes
- 2 cups chicken broth (or veggie broth)
- 1/2 tsp cumin
- 1/4 tsp chili powder or paprika
- Salt and pepper, to taste
- Optional: 1/4 cup frozen peas and/or carrots
Instructions
-
1Start by heating the oil in a medium saucepan over medium heat. Once it’s shimmering, toss in the rice. Stir it around so it gets toasty and slightly golden (don’t walk away, or you’ll end up with burnt bits—and nobody wants that).
-
2Add the chopped onion and cook for a minute or two, till it goes soft. At this point, I usually inhale the smell and think about vacation for a second.
-
3Now throw in the minced garlic and stir until it smells delicious, about 30 seconds. If your garlic goes brown, don’t panic—just move on!
-
4Add the diced tomato (or canned, juice and all). Stir, and the rice will look a bit weird at this stage, but trust me.
-
5Pour in the chicken broth, then add cumin, chili powder, salt, and pepper. Give it a good stir so nothing sticks to the bottom (I learned the hard way).
-
6If you’re adding peas or carrots, this is the time! Otherwise, skip.
-
7Turn heat to low, cover, and let it simmer for about 17–20 minutes, until the liquid is gone and the rice is tender. Don’t keep peeking under the lid—just let it do its thing.
-
8Once it’s done, fluff the rice with a fork. (This is where I sneak a bite before bringing it to the table. Quality control, right?)
Approximate Information for One Serving
Nutrition Disclaimers
Number of total servings shown is approximate. Actual number of servings will depend on your preferred portion sizes.
Nutritional values shown are general guidelines and reflect information for 1 serving using the ingredients listed, not including any optional ingredients. Actual macros may vary slightly depending on specific brands and types of ingredients used.
To determine the weight of one serving, prepare the recipe as instructed. Weigh the finished recipe, then divide the weight of the finished recipe (not including the weight of the container the food is in) by the desired number of servings. Result will be the weight of one serving.
Did you make this recipe?
Please consider Pinning it!




