Catching Up Over No Bake Protein Balls
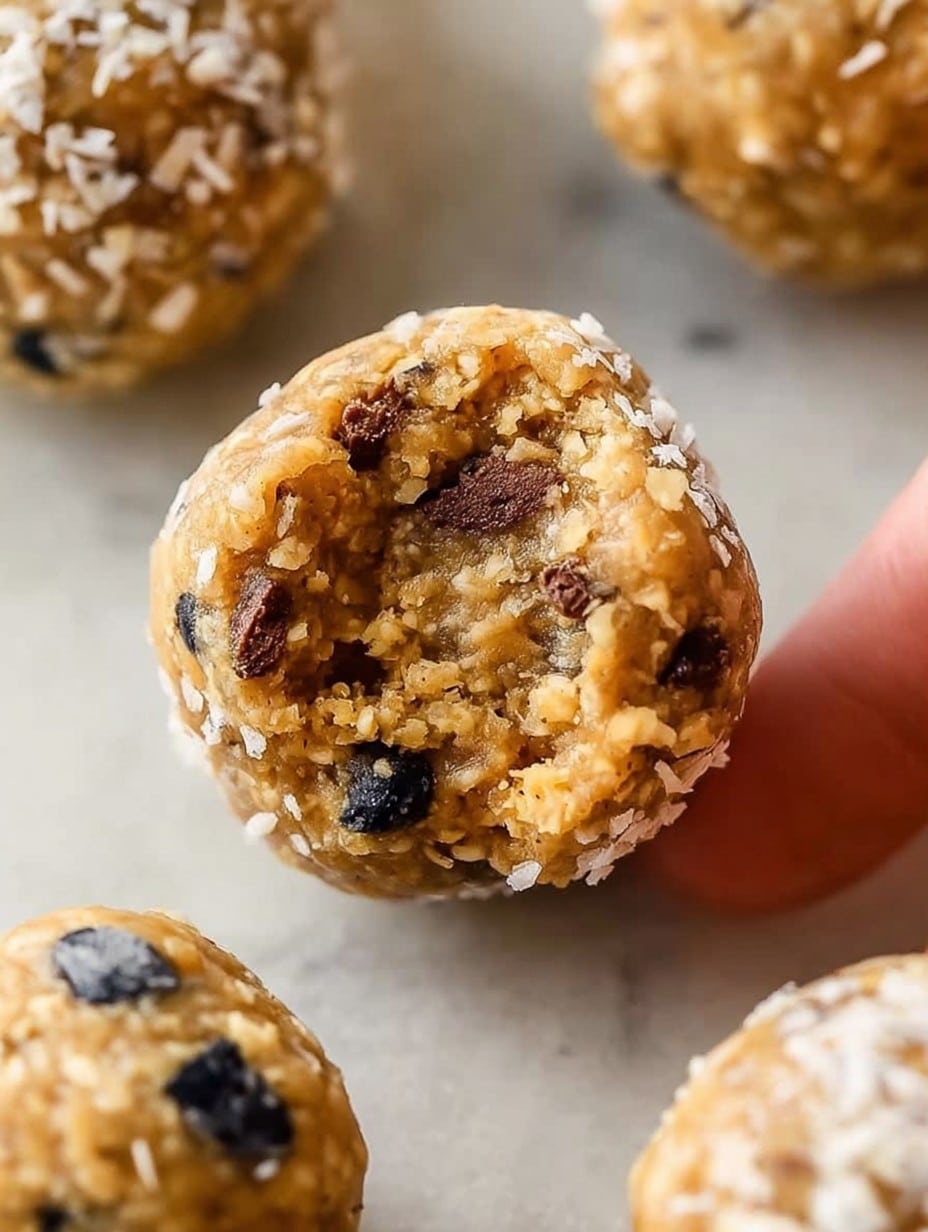
Hey friend! You ever have one of those days where you’re hungry, kinda tired, and the idea of turning on the oven feels as appealing as stepping on a Lego? That’s how I first stumbled into making these No Bake Protein Balls. I was knee-deep in emails and needed fuel. My first batch looked like something the cat dragged in, but hey—they tasted amazing. Now, these are my go-to when I don’t want to get hangry between Zoom meetings or (let’s be honest) when I need an excuse to eat cookie dough and tell myself I’m being “healthy.” My cousin calls them ‘power pucks,’ which is weird, but it made me laugh so it stuck.
Why You’ll Love This Snack (Trust Me!)
I whip these up when my kids are about to stage a snack-related coup, or when I just want something that feels a bit like dessert but is actually kind of good for you. Sometimes, when I’m feeling extra lazy (or just busy), I toss everything into a bowl, and hope for the best—spoiler: it somehow always works out, except for that one time I forgot the honey. Rookie mistake. Plus, if you’ve ever had protein powder clump up into sad little rocks, don’t worry: in these, it blends in. My family fights over these, which is really something, given the stuff they won’t touch (like peas—what did peas ever do to them?).
What You’ll Need (Substitutions Welcome!)
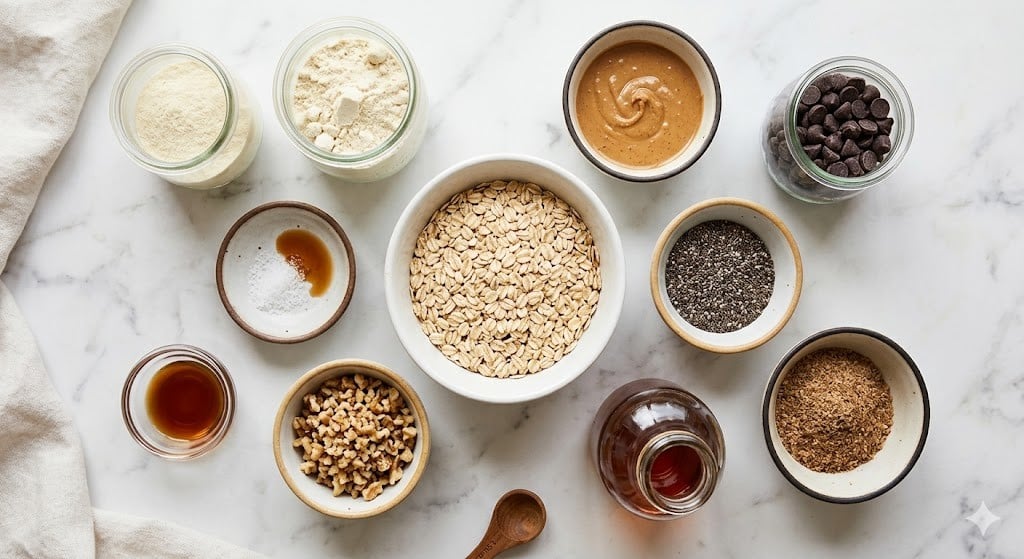
- 1 cup old-fashioned rolled oats (I’ll use quick oats if it’s all I’ve got. Grandma swore by Bob’s Red Mill but any will do honestly)
- 1/2 cup natural peanut butter (or almond butter if you want to be fancy—sometimes I use crunchy for texture, but I’m not precious about it)
- 1/3 cup honey (maple syrup works in a pinch, though it can be a bit runnier)
- 1/2 cup chocolate chips (I sometimes go rogue and throw in butterscotch chips; good times)
- 1/2 cup vanilla protein powder (or chocolate if you’re feeling wild—plant based works, but the balls might be softer)
- 2 tbsp chia seeds (optional, but I pretend it makes me healthier)
- 1 tsp vanilla extract (honestly, sometimes I forget this and no one notices)
- Pinch of salt (makes all the flavors pop, I promise!)
Let’s Do This! (AKA Directions)
- First, grab a big mixing bowl—one with enough room for unapologetic stirring. Dump in the oats, protein powder, chocolate chips, chia seeds, and that all-important pinch of salt.
- In a smaller bowl (or honestly, just a mug if you’re short on clean dishes), mix together the peanut butter, honey, and vanilla. It’ll look a bit like mud at this stage, but stick with me.
- Pour the wet stuff over your dry stuff. Get a spoon (or your hand, I’m not judging—just wash up first!) and mix everything together. It’ll seem crumbly at first and you’ll probably wonder if you messed up, but after a couple of minutes, it’ll come together.
- Here’s where I usually sneak a taste. Quality control, you know?
- Now, grab about a tablespoon of mix and smoosh it into a ball. If it’s too sticky, add a sprinkle more oats. If it’s dry, a dribble of honey does the trick.
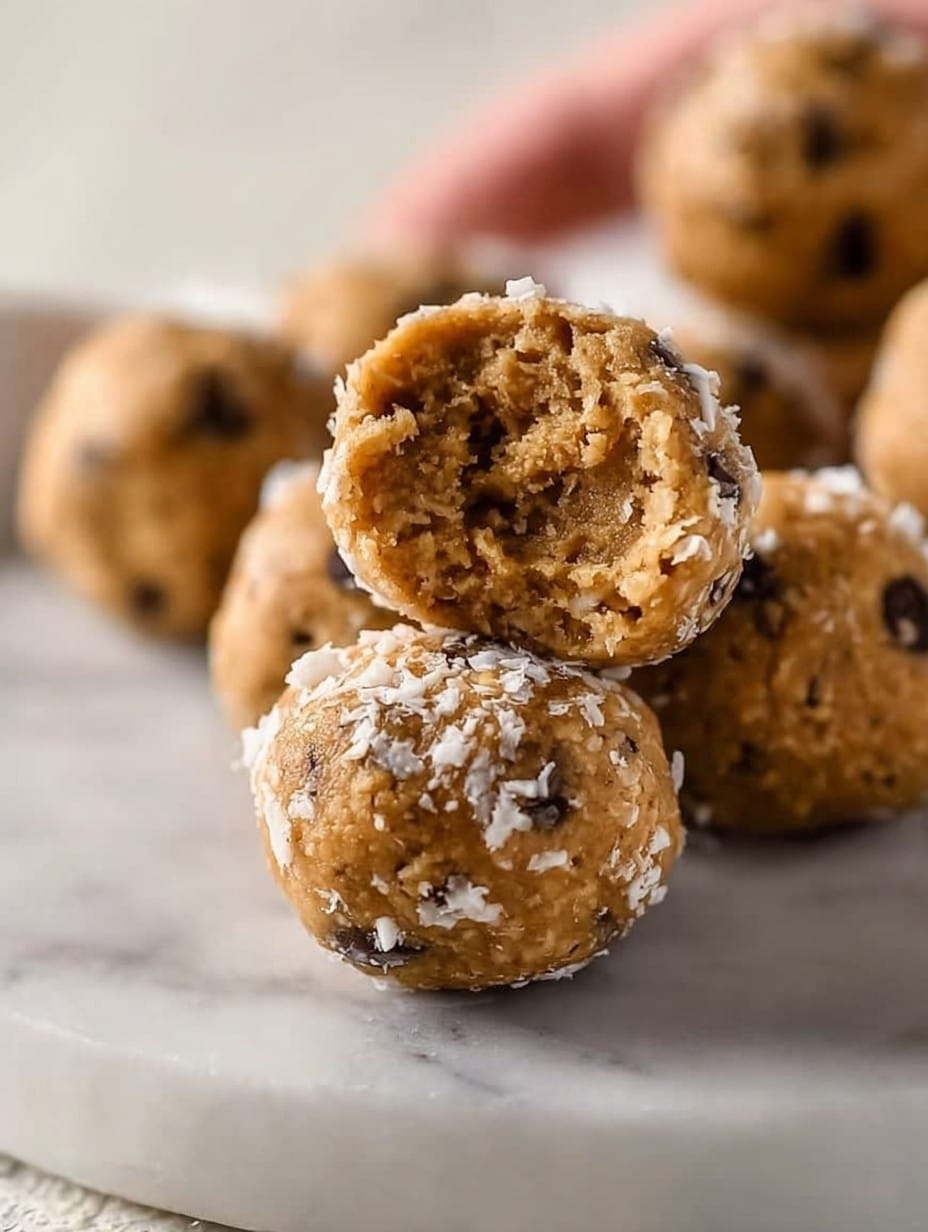
- Line up the little energy balls on a plate or baking tray. Pop them into the fridge for at least 30 minutes. (Waiting is hard, but they taste way better cold. I learned this the hard way—don’t rush it!)
- Finally, eat! Call it breakfast, snack, or dessert. No judgment.
From My Kitchen Trials – Notes
- If your mix is too loose, you probably measured the honey with a heavy hand (guilty). Just adjust with oats until it feels right.
- No chia? No worries. I made these loads of times before I even knew what chia was. Turns out, it’s not a dealbreaker.
- I honestly think these taste better the next day, but who’s got that kind of self-control?
Variations I’ve Tried (Some Winners, Some Eh…)
- I swapped the chocolate chips for dried cranberries once—pretty good, though my nephew said they looked “like mutant raisins.” I kind of agreed.
- Used cashew butter… honestly, a bit bland for my taste, but if you’re into it, go nuts (pun not really intended, but I’ll leave it).
- Added a scoop of espresso powder once for morning energy balls. They tasted fancy, but the kids wouldn’t touch them. Oh well!
Gear You’ll Need, but Don’t Sweat It
- Mixing bowl (confession: in uni, I used a salad spinner bowl and it totally did the job)
- Spoon (if you don’t have a tablespoon, just grab a soup spoon and eyeball it)
- Fridge (technically a freezer works for speed, but don’t forget them or they turn to rocks—ask me how I know)
How to Store These (If They Actually Last)
Stick them in an airtight container in the fridge. They’ll keep for up to a week…but honestly, in my house, I struggle to get them past day two! You can also freeze for a couple of months, but then you might forget about them (been there).
Serving (Aka Snack Time at My Place)
I usually eat them straight from the fridge with my coffee. My kids have them with a glass of milk after soccer, and my partner likes to toss them into yogurt (bit weird, but each to their own). My aunt crumbles them over oatmeal, which is actually pretty good too.
Lessons Learned (So You Don’t Have To)
- Don’t rush the chilling step—otherwise, you’ll end up with sticky hands and lots of crumbs. That’s not tragic, just a bit messy.
- I once tried to blitz everything in the food processor. Don’t. Unless you like paste.
- Sometimes, less chocolate chips is not more. Treat yourself.
Things Folks Have Asked Me (No Judgy Answers)
- Can I use something besides peanut butter?—Yep! Almond, sunflower seed, whatever you’ve got. The flavor changes a bit, but it all works out.
- Is protein powder necessary?—I mean, technically no. But then they’re just regular oat balls. Still tasty! Your call.
- What’s the best way to keep them from sticking?—I sometimes oil my hands a bit (just a dab) when rolling. Or use a cookie scoop if you’ve got one handy.
- I’m allergic to nuts, can I make these?—Sunbutter is good, or even cookie butter if you’re aiming for indulgence, just check your protein powder too.
- Do they travel well?—Yeah! But honestly, if it’s super hot, they might get kinda soft in your bag. Wrap in parchment paper or keep cool.
Hope you give these a go the next time hunger strikes and you can’t be fussed with baking! Oh, by the way—I once dropped a whole tray in the sink while reaching for my tea. Still ate them though. Five-second rule, right?
Ingredients
- 1 cup old-fashioned rolled oats (I’ll use quick oats if it’s all I’ve got. Grandma swore by Bob’s Red Mill but any will do honestly)
- 1/2 cup natural peanut butter (or almond butter if you want to be fancy—sometimes I use crunchy for texture, but I’m not precious about it)
- 1/3 cup honey (maple syrup works in a pinch, though it can be a bit runnier)
- 1/2 cup chocolate chips (I sometimes go rogue and throw in butterscotch chips; good times)
- 1/2 cup vanilla protein powder (or chocolate if you’re feeling wild—plant based works, but the balls might be softer)
- 2 tbsp chia seeds (optional, but I pretend it makes me healthier)
- 1 tsp vanilla extract (honestly, sometimes I forget this and no one notices)
- Pinch of salt (makes all the flavors pop, I promise!)
Instructions
-
1First, grab a big mixing bowl—one with enough room for unapologetic stirring. Dump in the oats, protein powder, chocolate chips, chia seeds, and that all-important pinch of salt.
-
2In a smaller bowl (or honestly, just a mug if you’re short on clean dishes), mix together the peanut butter, honey, and vanilla. It’ll look a bit like mud at this stage, but stick with me.
-
3Pour the wet stuff over your dry stuff. Get a spoon (or your hand, I’m not judging—just wash up first!) and mix everything together. It’ll seem crumbly at first and you’ll probably wonder if you messed up, but after a couple of minutes, it’ll come together.
-
4Here’s where I usually sneak a taste. Quality control, you know?
-
5Now, grab about a tablespoon of mix and smoosh it into a ball. If it’s too sticky, add a sprinkle more oats. If it’s dry, a dribble of honey does the trick.
-
6Line up the little energy balls on a plate or baking tray. Pop them into the fridge for at least 30 minutes. (Waiting is hard, but they taste way better cold. I learned this the hard way—don’t rush it!)
-
7Finally, eat! Call it breakfast, snack, or dessert. No judgment.
Approximate Information for One Serving
Nutrition Disclaimers
Number of total servings shown is approximate. Actual number of servings will depend on your preferred portion sizes.
Nutritional values shown are general guidelines and reflect information for 1 serving using the ingredients listed, not including any optional ingredients. Actual macros may vary slightly depending on specific brands and types of ingredients used.
To determine the weight of one serving, prepare the recipe as instructed. Weigh the finished recipe, then divide the weight of the finished recipe (not including the weight of the container the food is in) by the desired number of servings. Result will be the weight of one serving.
Did you make this recipe?
Please consider Pinning it!




