Let’s Talk (and Snack on) Oatmeal Chocolate Chip Bars
If you ever show up at my place unannounced—first off, brave move—I’ll probably scramble and bake a batch of these oatmeal chocolate chip bars. Remember those rainy Saturday afternoons when you just wanted something warm, gooey, and quick? Yeah, these bars started out as my emergency comfort food for just those moments. Once, my nephew decided to “help” (meaning, eat the chocolate chips out of the bowl) and somehow, we ended up with more chips in our mouths than in the dough. Classic. Anyway, these are like a hug baked in a pan. And you’re in for a treat. Or, several dozen treats.
Why You’ll Want to Bake These, Like, Now
I make this recipe when I need something quick for a last-minute playdate (kids don’t really care about fancy desserts anyway, they just want chocolate). Or when my sweet tooth is being extra demanding, like a toddler at the checkout. My family goes a bit wild for these—nobody ever objects to oats and melted chocolate, right? (Even my cousin who once declared she “wasn’t a dessert person” sneaks seconds. She’s been found out.) Oh, and if you ever run out of patience waiting for cookies to bake in batches, this one’s a lifesaver because you just smush everything into one pan and hop to the end. Only real trouble I’ve had is not eating half the dough before it goes in the oven. Honestly, it’s a battle I lose more often than not.
What You’ll Need (or Whatever You Have Lying Around)
- 1 cup (230g) unsalted butter, melted—I sometimes swap in half coconut oil if I’m feeling tropical. Don’t stress about brands—I’ve used supermarket own and couldn’t tell.
- 1 1/4 cups (250g) brown sugar. My grandmother swore by dark brown, but light works too, honestly.
- 2 large eggs. If you forget to bring them to room temp, it’s fine, just go for it.
- 1 tablespoon vanilla extract (a bit extra if you measure with your heart, like me).
- 2 cups (about 190g) rolled oats—the traditional big flake kind, though I’ve used quick oats in a pinch. It’s… slightly less chewy but still yum.
- 1 3/4 cups (220g) all-purpose flour. Whole wheat works too, if you’re feeling virtuous.
- 1 teaspoon baking soda. Not powder. I’ve made that mistake; it’s, uh, a bit flat but edible.
- 1/2 teaspoon salt (I prefer flaky sea salt for some bite).
- 1 1/2 cups (roughly 250g) chocolate chips—dark, milk, or whatever combo you have. I even threw in half a crumbled Easter bunny once.
- (Optional) 1/2 cup chopped walnuts or pecans. Sometimes I skip ’em, especially if my friend Jo is coming over who’s anti-nuts in dessert (her loss).
Alright, Here’s How You Actually Make Them
- Preheat your oven to 350°F (175°C). Line a 9×13 inch pan with parchment. Or butter the heck out of it if you can’t be bothered to measure paper—either way, it’s fine.
- Mix melted butter and brown sugar together in a big bowl. I do this with a wooden spoon, no electric mixer needed. It’ll look kind of grainy, but that’s normal—don’t panic.
- Crack in the eggs, add vanilla, and stir until it looks glossy. (This is where I usually sneak a taste—it’s just too good.)
- Dump in your oats, flour, baking soda, and salt. Stir until it’s all happy together and looks kind of thick—don’t overmix, though. Nobody likes tough bars.
- Pour in your chocolate chips and nuts, if you’re using them. I give this part an enthusiastic (slightly messy) mix.
- Spread the dough into that prepared pan. Don’t fret if it doesn’t reach the corners perfectly; it’ll spread as it bakes and life will go on.
- Bake for about 22 to 26 minutes. When the edges turn golden and the middle looks set but not dry, you’re there. My oven runs a bit hot, so I start checking at 20. (Don’t bother with the toothpick test unless that’s your thing.)
- Let the whole thing cool in the pan—though sometimes I get impatient and just carve out a corner while it’s warm (best with a spoon, not a knife, but whatever works).
What I’ve Figured Out After Way Too Many Batches
- Cut them with a plastic knife if you want neat edges—or just embrace the chaos, nobody cares. Perfect squares are overrated.
- Actually, I find slightly underbaking them keeps them chewier. If you go too long, they’re still edible, but just less, you know, dreamy.
- I once forgot to add vanilla. Still good, just a bit “hmm, what’s missing?”
Adventures in Variations (and Brave Failures)
- I tried swirling in peanut butter once—delicious. Sunflower butter also works if you’re in a nut-free mood.
- Adding dried cranberries is lovely if you want to pretend you’re having “healthy” bars. Just don’t get carried away; too many and you’re veering into fruitcake territory.
- I once mixed in shredded coconut. Regretted it immediately; it became oddly dry. Lesson learned.
- Mini M&M’s go over well at kids’ parties, in my experience. Will dye your fingers, but that’s half the fun.
The Gear I Usually Use (and What to Do If You Don’t Have It)
- A big mixing bowl. Could use a saucepan if you melt the butter first—yes, I’ve done it in a pinch.
- A 9×13 inch pan. If you’ve only got an 8×8, just bake a little longer, and maybe don’t fill it quite to the rim.
- Wooden spoon or a sturdy rubber spatula—I’ve broken a cheap one on stiff dough before, just saying.
- Parchment paper helps, but if you’re out of it, just butter the pan really well. Bars come out a bit more rustic but taste the same.
How to Store ‘Em (If They Last That Long)
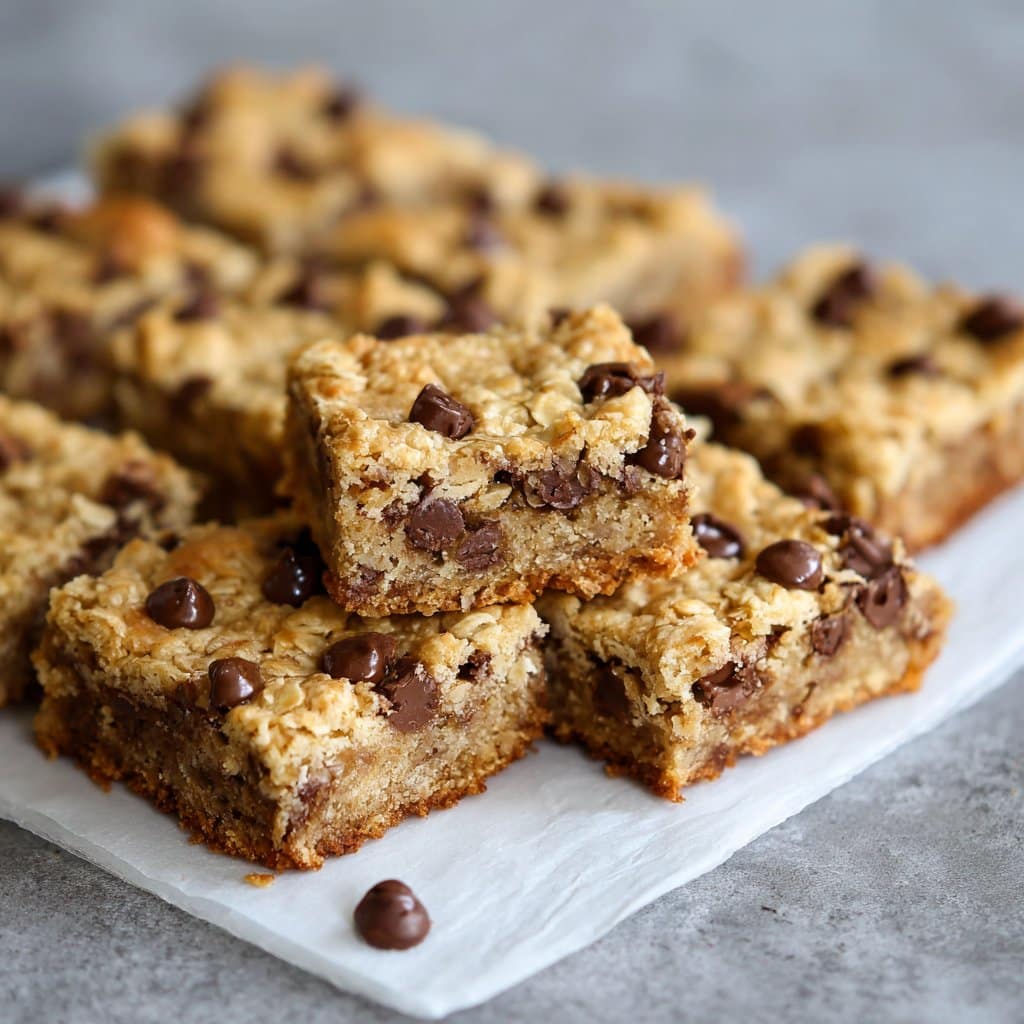
Technically, you can store these bars in an airtight container or zip-top bag at room temp for up to 5 days (ha, as if any have ever survived more than 24 hours in my place). They also freeze surprisingly well—though I tend to forget about the stash until a random Tuesday when I really need a pick-me-up snack. They’re a bit firmer cold, but let’s be honest, sometimes that’s just what you want anyway.
How We Like to Serve Ours
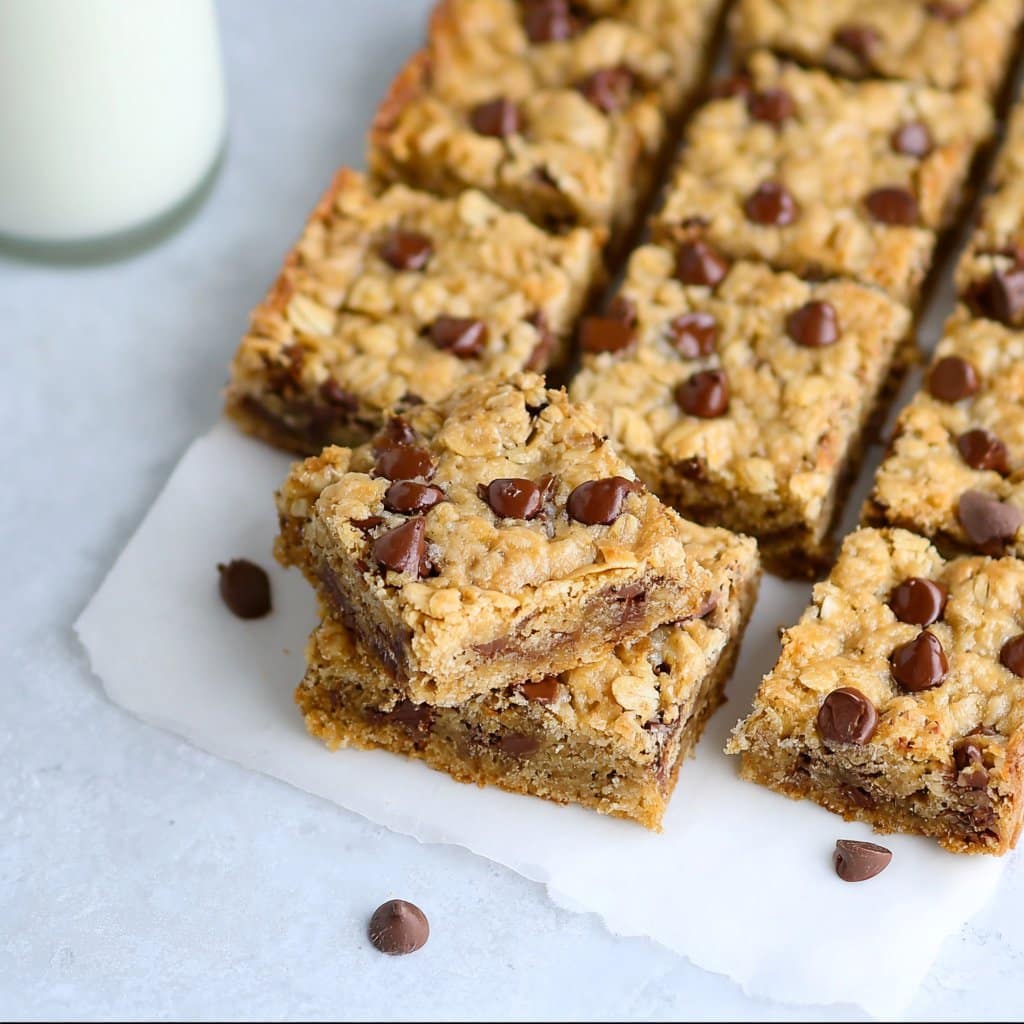
We usually cut ‘em into chunky squares and eat them as-is, often still a little warm when nobody’s looking. Sometimes I’ll top them with a scoop of good vanilla ice cream—especially if I’m trying to impress guests (which definitely includes my mom). My neighbor dips them in her morning coffee (which seems…weird? But kind of genius). Occasionally, I just nibble at the corner of the tray until someone notices and tells me to just take a piece already.
Things I’ve Learned the Hard Way (So You Don’t Have To)
- Don’t try to rush the cooling. I once tried to slice while hot and it turned into a goo-puddle. Delicious, but not great for presentation.
- Letting the butter cool a tiny bit before mixing keeps the eggs from scrambling (learned this one when I got a little impatient).
- Actually, be sure to splurge on decent chocolate chips if you can—makes a difference (I like Ghirardelli, but store-brand works in a bind).
Real Questions People Actually Ask Me
- Can I make these gluten free? Yup! Just sub in your favorite gluten-free flour blend—try this one. And make sure your oats are labeled GF (sometimes they sneak wheat in there).
- Can you double this recipe? Sure can, if you’ve got an enormous pan. Or just bake two pans side by side (or stagger them, just rotate halfway through).
- Why did my bars turn out dry? Ah, probably left ‘em in a bit long, or too much flour. Next time, scoop and level, or give them a bit less oven time. Or maybe your oven runs hot—mine totally does, it’s a cranky old thing.
- Can I use oil instead of butter? Actually, yes—use a milder oil, like canola or light olive, and just know it’ll be a bit different (not worse, just… different). Sometimes I go half and half.
- What if I’m out of chocolate chips? Been there! Chop up any chocolate bar you’ve got. Or check out this DIY chips idea from Sally’s Baking Addiction.
- How do you make them chewier? Underbake slightly, and use rolled oats. Quick oats give a softer texture but I think slightly less chew (some folks actually prefer that, tho).
- Can I halve the recipe? Sure! Use an 8-inch square pan and shave a few minutes off the bake time. But be warned, you may regret not making the full batch.
And oh—if you get sidetracked and end up zesting a lemon into the dough by mistake, just roll with it. Actually, don’t do that; it was weird. But hey, live and learn.
Want more tips or troubleshooting? I often check online with communities like Reddit Baking when I get stuck. Everyone’s got their own little tweaks. Let me know if you come up with anything wild—I genuinely love hearing about other people’s kitchen oddities (well, most of them!).
Ingredients
- 1 1/2 cups rolled oats
- 1 cup all-purpose flour
- 1/2 teaspoon baking soda
- 1/2 teaspoon salt
- 1/2 cup unsalted butter, melted
- 1 cup packed brown sugar
- 1 large egg
- 1 teaspoon vanilla extract
- 1 cup semi-sweet chocolate chips
Instructions
-
1Preheat oven to 350°F (175°C). Grease an 8×8 inch baking pan or line with parchment paper.
-
2In a medium bowl, whisk together the rolled oats, flour, baking soda, and salt.
-
3In a large bowl, combine melted butter and brown sugar, whisk until smooth. Add egg and vanilla extract; mix well.
-
4Gradually stir the dry ingredients into the wet ingredients until just combined. Fold in the chocolate chips.
-
5Spread the batter evenly in the prepared pan. Bake for 22-25 minutes, or until golden brown and a toothpick comes out clean from the center.
-
6Allow bars to cool completely in the pan before cutting into squares and serving.
Approximate Information for One Serving
Nutrition Disclaimers
Number of total servings shown is approximate. Actual number of servings will depend on your preferred portion sizes.
Nutritional values shown are general guidelines and reflect information for 1 serving using the ingredients listed, not including any optional ingredients. Actual macros may vary slightly depending on specific brands and types of ingredients used.
To determine the weight of one serving, prepare the recipe as instructed. Weigh the finished recipe, then divide the weight of the finished recipe (not including the weight of the container the food is in) by the desired number of servings. Result will be the weight of one serving.
Did you make this recipe?
Please consider Pinning it!!