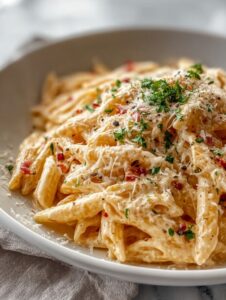
The Tale of a One Pot Pasta Night (with a bit of garlic magic)
You know those nights when you’ve got one eye on your laundry pile and the other on the clock, but everyone at home is already sniffing around the kitchen? That’s exactly how my One Pot Creamy Garlic Pasta kind of sidled its way into my weeknight routine. First time I threw it together, I was out of basically everything but a lonely bulb of garlic, some dodgy-looking cream, and a half-empty box of spaghetti—plus, zero willpower to do more dishes. (Honest confession: I still sometimes make this just so I don’t have to clean up a mountain of pots.)

Anyway, this dish: it’s fast, garlicky, creamy, and kind of like a bear hug in a bowl. Also, don’t ask me to make it without sneaking a bite straight from the pot—I absolutely can’t resist.
Why You’ll Probably End Up Making This All the Time
I cook this when I’m bone-tired, hangry, and the takeout menu’s hiding. My family goes completely bananas for this (except my youngest, who claims garlic is “spicy,” but what can you do?). And the best part: it’s one pot. Just the one! No need to juggle three saucepans, a colander, and your sanity. Plus, the leftovers almost taste better the next day—if they last that long, which, in my case, is rare. Honestly, there’s something about the sauce slightly thickening overnight that makes lunch at my desk unreasonably exciting.
Gather Up These Ingredients (Swaps Included)
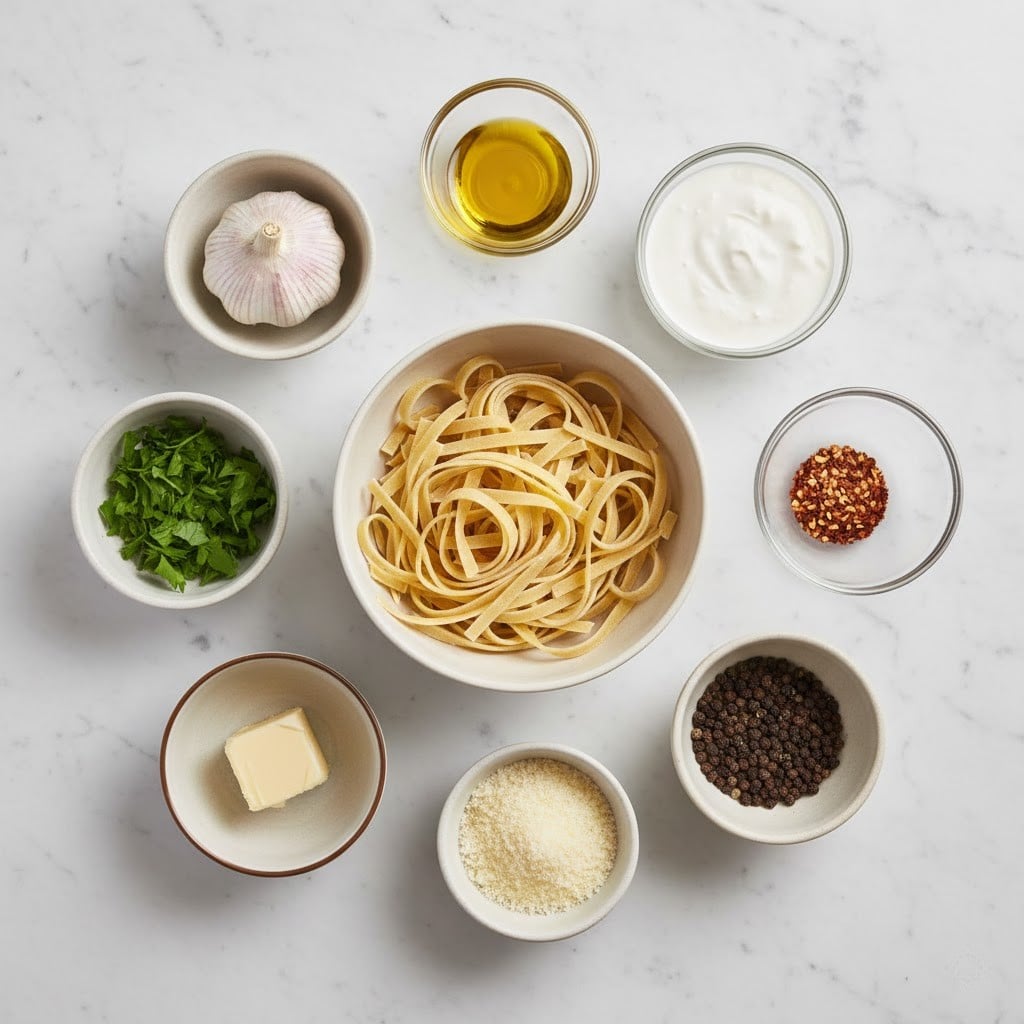
- 250g dried pasta (spaghetti/clasically, but penne works if that’s what you have—let’s not be precious!)
- 4 cups (about 1L) low-sodium vegetable broth (I sometimes cheat and use chicken stock, or even half stock, half plain old water in a pinch)
- 6 cloves garlic, minced (go wild and add more if your heart says so or if vampires are near)
- 1 cup heavy cream (or half-and-half if you like things a smidge lighter; my gran swore by double cream, but I’ve never noticed much difference, honest)
- 1/2 cup grated parmesan cheese (I use the pre-grated stuff when lazy, but I’ve even subbed in a handful of cheddar one desperate night – not bad!)
- 2 tablespoons butter
- 1 teaspoon salt (honestly, taste as you go—some broths are saltier than others)
- 1/2 teaspoon black pepper (or more if you like things lively)
- Fresh parsley, chopped (optional, but it makes you feel fancy – some nights I skip it, to save time and washing up a knife!)
How to Get Your One Pot Creamy Garlic Pasta On
- Grab a nice big pot or deep pan (my old Dutch oven is my go-to, but honestly, a decent soup pot works too). Melt the butter over medium heat. Then toss in all that minced garlic. Give it a good stir for about 30 seconds to a minute – but don’t let it go brown, unless you like your pasta with extra “crunch”… I did that once by accident. Was not great.
- Pour in your vegetable broth and crank up the heat a bit. Bring it up to a boil, and then immediately lower it to a simmer. This is the ‘immersing the pasta’ moment.
- Add your dry pasta straight in. If it’s spaghetti and won’t fit, just snap it in half. Stir things around so no noodles are sticking together (I sometimes have to use tongs here, because they’re slippery little blighters).
- Let the pasta simmer, uncovered, for about 10-12 minutes, stirring every few minutes so nothing snaffles on the bottom. About halfway through, take a peek—don’t stress if there’s still a bit of liquid, it’ll thicken up later.
- Once the pasta’s almost done—it should still have a bit of bite—pour in the cream. Stir, and then add in your parmesan. Keep stirring until it all looks silky and saucy. This is usually where I sneak a taste and probably burn my tongue.
- Season with salt and lots of black pepper. If things look too thick, splash in more broth or water. If too thin, let it bubble a bit longer with the lid off. (Don’t panic if the sauce looks a smidge “split” at first; it comes together with a stir.)
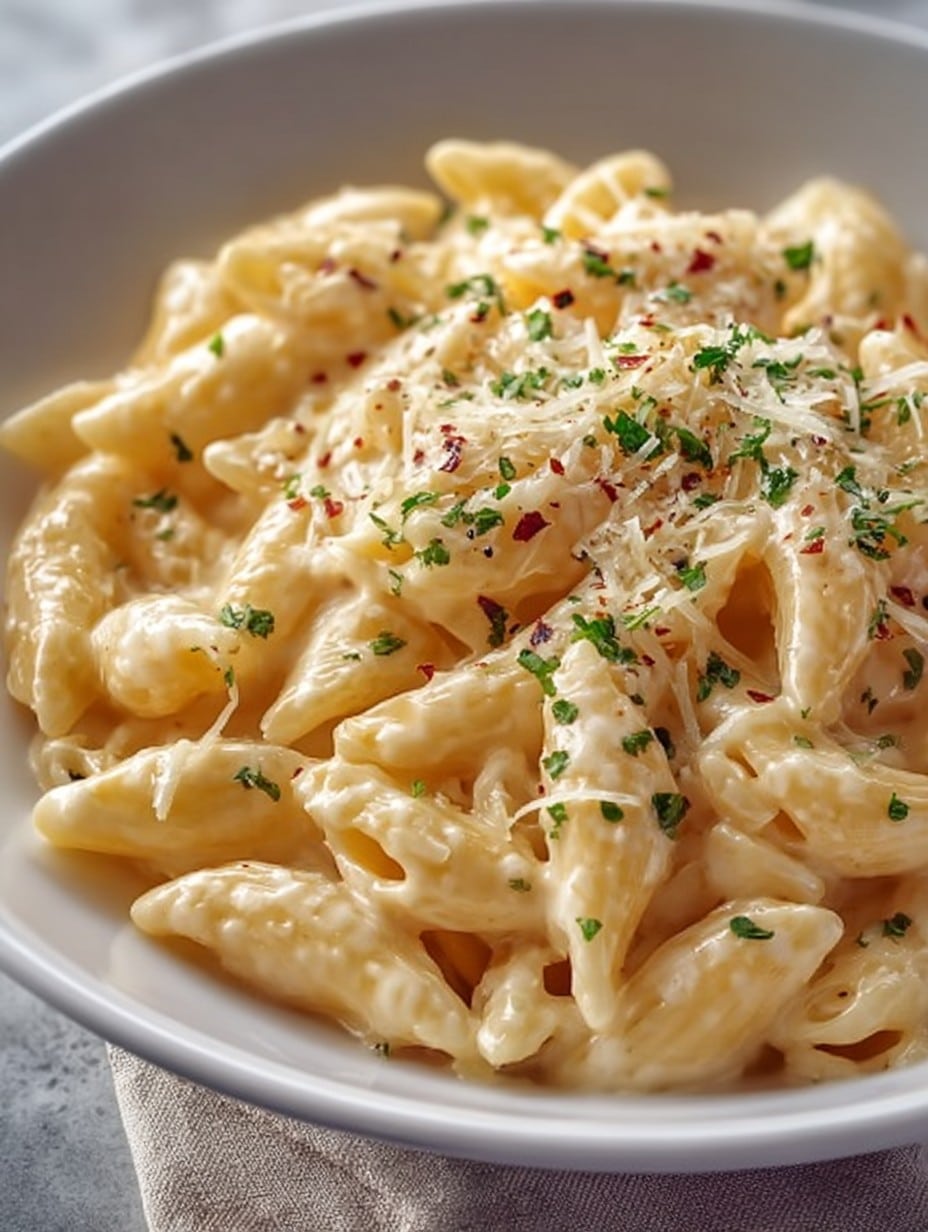
- Spoon into bowls, scatter over chopped parsley if you’re feeling it, and—little secret—sometimes I drizzle over a tiny bit of olive oil for extra shine (not necessary, but looks lush).
Random Notes from My Kitchen Experiments
- If you use gluten-free pasta, it sometimes needs more broth—no idea why, it just drinks it up.
- I once tried adding lemon zest at the end, thinking I was on to something clever. Honestly, not my favorite. But you do you!
- Pasta shapes: short ones like penne/stubby rigatoni sometimes take longer, so keep a beady eye on them.
If You Feel Like Tinkering (Variations I’ve Actually Tried)
- A handful of baby spinach at the end works wonders for color—and, look, you can say there’s veg in there.
- Bacon bits: Oh wow, yes. Fry up before you add the garlic; makes it almost carbonara-ish.
- Chili flakes: For those days that need a little kick. But one time I put in too much and whoo-boy, that was a fiery mistake. Live and learn.
- Mushrooms – sauté slices with the garlic. The sauce gets earthy. Not everyone’s cup of tea, but I’m a fan.
Stuff You’ll Need (and What to Do If You Don’t Have It)
- Big pot or deep pan – but I’ve also used a sturdy high-sided skillet (with occasional spillage, so maybe just go slow when you stir…)
- Wooden spoon or tongs – sometimes I just use whatever’s clean, even a pasta server works in a pinch
Storing leftovers (So Rare, But Let’s Pretend)
Scoop any leftovers into a container and get them straight into the fridge. They’ll keep a couple days, maybe even stretch to three, but in my house they’re usually eaten cold straight from the fridge (I’m not proud, but it’s true). If reheating, a splash of milk loosens things up nicely.
When It’s Time to Eat: Serving Ideas
Honestly, I just plop it in a bowl and dig in. But sometimes I serve it with a crusty slice of sourdough if I’ve got some—my family likes to wipe the bowl clean with the bread. Every now and then, a simple salad alongside if I’m feeling righteous.
What I Wish I’d Known (My Pro Tips)
- Don’t rush adding the cream—one time I did, and the sauce turned weirdly thin (lesson: patience pays off, even if you’re starving).
- If things start sticking, turn the heat down. I got distracted by a phone call once and ended up with a burnt bottom. Not the worst, but I wouldn’t recommend it.
Real-Life FAQ: Your Burning (or Gently Simmering) Questions
- Can I use skim milk instead of cream? – Sort of… it’ll be lighter, but don’t expect dreamy creaminess. Also, it’ll probably be more “soupy.” I’d stick to at least half-and-half if you can.
- Does this freeze well? – Ah, not really, mate. The pasta gets mushy, and the sauce can split. But if you’re desperate, go ahead—I have once or twice, but the reheated version is best with a bit more cheese on top.
- Can I make it vegan? – I’ve swapped cream with coconut cream and used vegan cheese. It’s a bit different, but tasty in its own wild way.
- What if I only have garlic powder? – Not the end of the world! Use about 2 teaspoons and sprinkle it in after the butter melts. Actually, I’ve done this when I ran out of fresh cloves, and it turned out just fine.
- Does this work for a crowd? – Yup, just double everything. But use your biggest pot or borrow one from a neighbour if you can. (Oh, and maybe rinse your tongs between batches—speaking form experience, sticky tongs aren’t fun.)
So that’s it, really. Delicious, lazy, forgiving pasta—my kind of food. Give it a try the next time dinner sneaks up behind you. If you end up eating straight from the pot, trust me, you’re not alone.
Ingredients
- 250g dried pasta (spaghetti/classically, but penne works if that’s what you have—let’s not be precious!)
- 4 cups (about 1L) low-sodium vegetable broth (I sometimes cheat and use chicken stock, or even half stock, half plain old water in a pinch)
- 6 cloves garlic, minced (go wild and add more if your heart says so or if vampires are near)
- 1 cup heavy cream (or half-and-half if you like things a smidge lighter; my gran swore by double cream, but I’ve never noticed much difference, honest)
- 1/2 cup grated parmesan cheese (I use the pre-grated stuff when lazy, but I’ve even subbed in a handful of cheddar one desperate night – not bad!)
- 2 tablespoons butter
- 1 teaspoon salt (honestly, taste as you go—some broths are saltier than others)
- 1/2 teaspoon black pepper (or more if you like things lively)
- Fresh parsley, chopped (optional, but it makes you feel fancy – some nights I skip it, to save time and washing up a knife!)
Instructions
-
1Grab a nice big pot or deep pan (my old Dutch oven is my go-to, but honestly, a decent soup pot works too). Melt the butter over medium heat. Then toss in all that minced garlic. Give it a good stir for about 30 seconds to a minute – but don’t let it go brown, unless you like your pasta with extra “crunch”… I did that once by accident. Was not great.
-
2Pour in your vegetable broth and crank up the heat a bit. Bring it up to a boil, and then immediately lower it to a simmer. This is the ‘immersing the pasta’ moment.
-
3Add your dry pasta straight in. If it’s spaghetti and won’t fit, just snap it in half. Stir things around so no noodles are sticking together (I sometimes have to use tongs here, because they’re slippery little blighters).
-
4Let the pasta simmer, uncovered, for about 10-12 minutes, stirring every few minutes so nothing snaffles on the bottom. About halfway through, take a peek—don’t stress if there’s still a bit of liquid, it’ll thicken up later.
-
5Once the pasta’s almost done—it should still have a bit of bite—pour in the cream. Stir, and then add in your parmesan. Keep stirring until it all looks silky and saucy. This is usually where I sneak a taste and probably burn my tongue.
-
6Season with salt and lots of black pepper. If things look too thick, splash in more broth or water. If too thin, let it bubble a bit longer with the lid off. (Don’t panic if the sauce looks a smidge “split” at first; it comes together with a stir.)
-
7Spoon into bowls, scatter over chopped parsley if you’re feeling it, and—little secret—sometimes I drizzle over a tiny bit of olive oil for extra shine (not necessary, but looks lush).
Approximate Information for One Serving
Nutrition Disclaimers
Number of total servings shown is approximate. Actual number of servings will depend on your preferred portion sizes.
Nutritional values shown are general guidelines and reflect information for 1 serving using the ingredients listed, not including any optional ingredients. Actual macros may vary slightly depending on specific brands and types of ingredients used.
To determine the weight of one serving, prepare the recipe as instructed. Weigh the finished recipe, then divide the weight of the finished recipe (not including the weight of the container the food is in) by the desired number of servings. Result will be the weight of one serving.
Did you make this recipe?
Please consider Pinning it!