Let’s Chat About Raspberry Chia Pudding
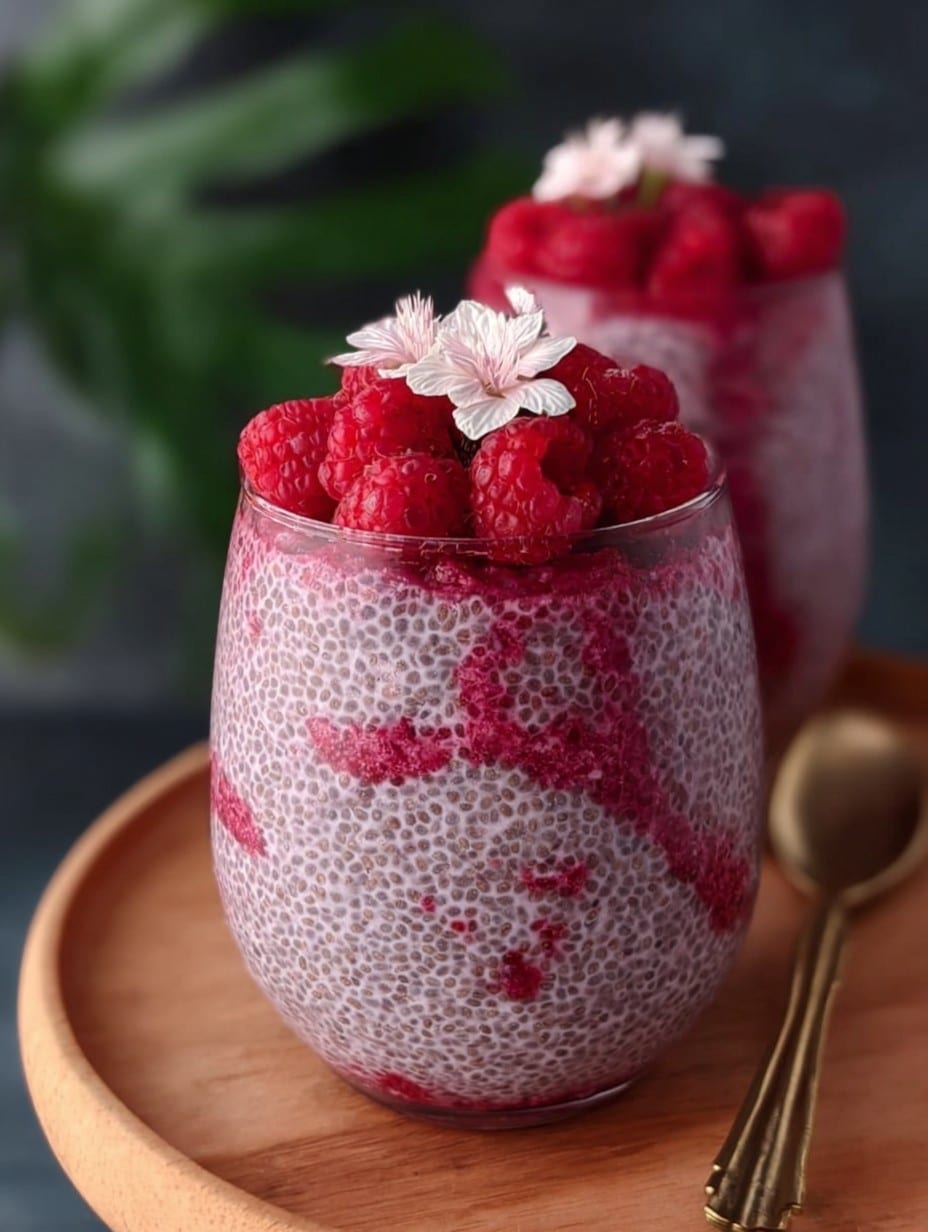
I don’t know about you, but there are days when I really just need something sweet that isn’t going to send me into a proper sugar crash before noon—you know those mornings? That’s how I stumbled onto raspberry chia pudding, one of those “look, I’ve got five minutes and a fridge” kind of desserts or breakfasts (depends when you eat it). Fun fact: the first time I made it, I forgot the sweetener, and my face looked like I’d bitten into a lemon; fortunately, a drizzle of maple syrup at the last minute fixed almost everything. Anyway, now it’s a staple at my place. Plus, my little one calls this “frog jelly,” which… not exactly an appetizing nickname, but it’s stuck, and frankly, it makes me giggle every time.
Why You’ll Love This (I Mean, If It’s Your Thing…)
I make this when I want a snack that’s somewhere between healthy and “hey, I’m treating myself!” My family goes a bit wild for it, especially when they see the toppings—fruit, nuts, chocolate chips if I’m feeling generous. (Not always, because it’s gone in a flash when I do.) I used to get annoyed that chia pudding was so gloopy, but then I realized, that’s sort of the point. Plus! You can make it with almost zero effort, which is great if you’re running around like a headless chicken in the morning.
Ingredients (Feel Free to Wing It… I Often Do)
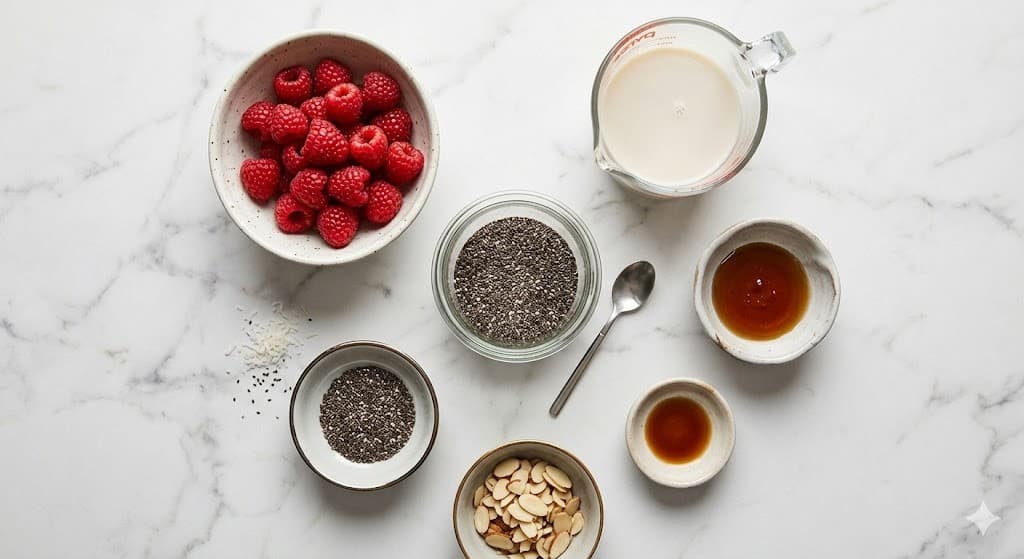
- 2 cups milk (honestly, any kind—almond, oat, cow, even coconut works; sometimes I just use whatever’s open)
- 1/2 cup chia seeds (white or black, no difference really—my gran says white looks fancier; she’s probably right but, eh)
- 1 cup fresh or frozen raspberries (I actually just use frozen most days—they’re always ‘round and usually cheaper)
- 3-4 tablespoons maple syrup (or honey, or agave, or that one time, brown sugar—was still good!)
- 1 teaspoon vanilla extract (optional, but I think it makes everything smell like a bakery)
- A pinch of salt (I resisted this for years, but trust me, just go with it)
How To Make Raspberry Chia Pudding (Not as Fiddly as it Looks)
- Pour the milk into a big-ish bowl or a large jar with a lid—I always spill a bit, so maybe do it near the sink.
- Add the chia seeds, vanilla, maple syrup, and salt. If your raspberries are fresh, toss them in. Frozen? Don’t worry, just add those straight in without thawing. No need to be precious with it.
- Give it a good mix. I usually use a fork for this, but if you’ve got a whisk handy, it makes you feel like you know what you’re doing.
- Let it sit for about 5 minutes then stir again. (This is the bit where I sneak a taste and always think, “wow, that’s gloopy.”) Don’t worry if it looks a bit odd—chia seeds take a while to plump up.
- Cover and pop it in the fridge for at least a couple hours—overnight is best, but if you’re impatient like me, two hours is fine.
- When you’re ready to eat, give it a little stir. Spoon it into bowls or jars, and pile on whatever extras make you happy.
Some Notes Because I’ve Definitely Messed This Up Before
- Don’t panic if it seems runny at first—it thickens up in the fridge (unless you, oops, forgot the chia seeds, which… yeah, that happens).
- If your chia pudding ends up too thick (could practically stand a spoon in it), just splash in a tiny bit more milk and give it a stir.
- Oh, actually, I find it works better if you give it a second quick stir after the first few minutes—seems to prevent the dreaded chia clump.
If You Want to Mix Things Up (I Sometimes Do, Sometimes Wish I Hadn’t)
- Once I tried blending the raspberries with the milk first—makes the pudding a pretty pink color, but stains everything. Learned that the hard way.
- Tried adding cocoa powder for a chocolate-raspberry vibe. Pretty delicious, though it overpowers the fruit a bit—unless you just love chocolate, then by all means, go wild.
- Sliced banana on top is nice; kiwi, not so much (goes a bit mushy, if you ask me).
- I put a swirl of peanut butter or almond butter on mine some days. My neighbor thinks it’s weird. Maybe she’s right?
What You’ll Need (and What to Do If You Don’t Have It)
- A medium bowl or a big jar with a lid—Don’t have a lid? Foil or cling film on top is totally fine. I sometimes use an old yogurt tub. No shame.
- A fork or a little whisk—Truth be told, I just use a fork; it gets the job done, no fancy kit needed.
- Spoons and bowls for serving. Obvious, but—I’ve been caught out and eaten it right out of the mixing bowl a time or two.
Storing Your Chia Pudding (Assuming It Lasts That Long)
Stick any leftovers in the fridge in an airtight container—it’ll hang in there for up to 4 days. Though honestly, in my house, it never lasts more than a day or so. It gets scarfed up for breakfast, then someone (who, me?) sneaks a spoonful as a midnight snack.
How We Eat It (Because This Bit Is Important!)
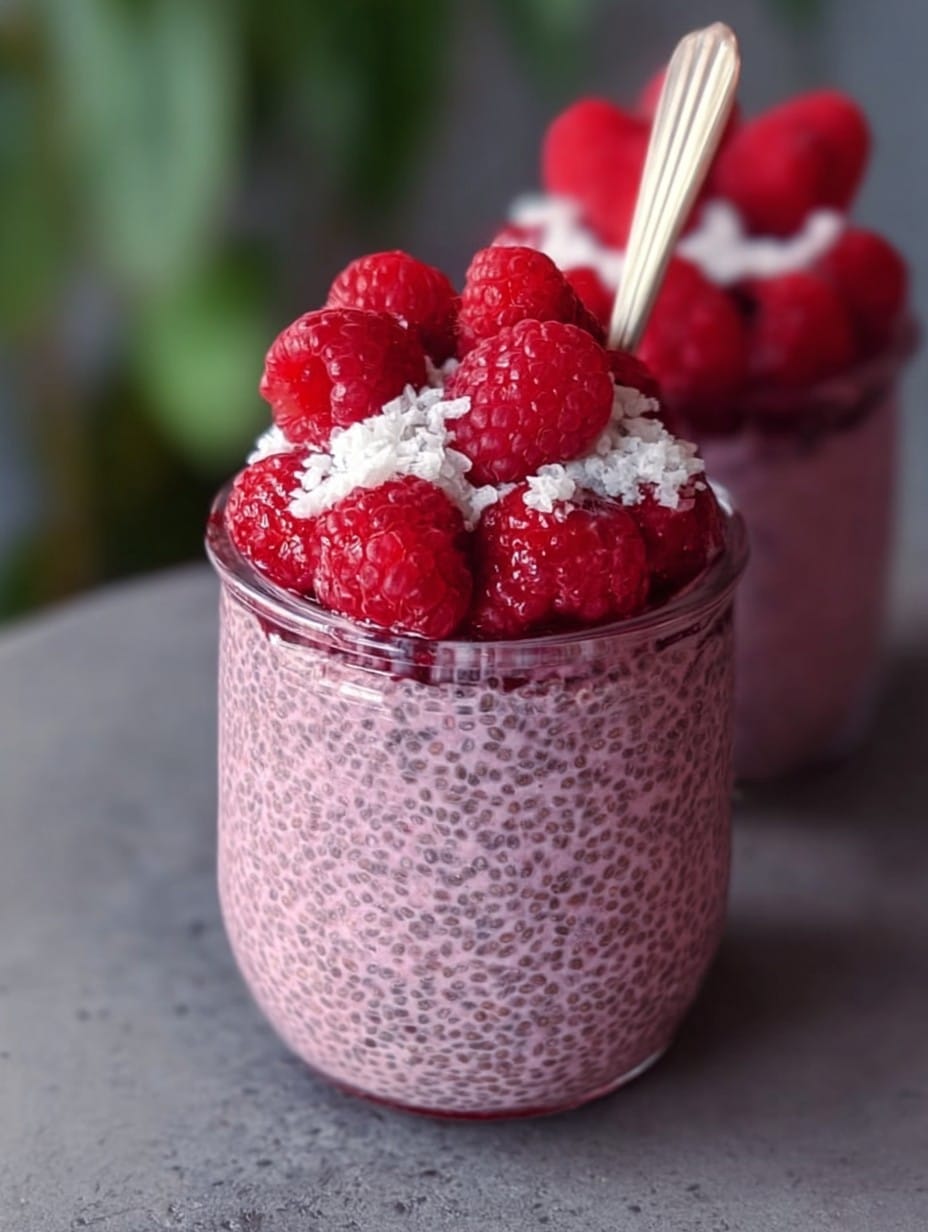
- We’ve got a slight family squabble—my daughter insists on a sprinkle of chopped pistachios and coconut flakes, I like a few extra raspberries, and my husband just dumps granola on top. There’s truly no wrong way; just follow your heart (or your craving).
- Sometimes we do “pudding parfaits” in old jam jars—makes it feel fancier, and you can pretend you bought it at a hip café. (On second thought, it’s probably better at home!)
Things I’ve Learned the Hard Way (So You Don’t Have To)
- Don’t try to speed-chill it in the freezer—chia seeds hate that and you’ll end up with weird icy bits.
- If you think you can skip the second stir, trust me, you get a weird sludge at the bottom. Not fun.
- Also, don’t go overboard with salt. Just a pinch. Learned that from, well, an overzealous salty pudding incident.
Frequently Asked (Or Yelled) Questions
- Does it work with frozen raspberries? Yep! I do it all the time. They thaw as it chills; no biggie. You can even smoosh them a bit to get that pretty swirl.
- Can I use honey instead of maple syrup? Absolutely. Or agave, or really whatever sweet stuff you have. I’ve not tried it with jam… but who knows?
- Is it OK if it’s still runny after a few hours? It might need more time, or—guilty here—maybe I measured the seeds wrong. Just let it sit a bit longer or stir in a little more chia. Fixes most things.
- Do I have to use vanilla? Nope! I only started adding it because I had half a bottle left from baking cookies. Totally optional, but it’s nice.
- Can you warm this up? Huh. Never tried, but I imagine it’d go a bit gloopy. If you like that… go ahead and try? Let me know if it works!
- What if I don’t like raspberries? (I’m shocked, but okay…) Swap in blueberries, mango, or just leave the fruit out. It’s still tasty.
Right, I’ve probably rambled on long enough. That’s how I do raspberry chia pudding—mild chaos, a few laughs, and a bowl of something lovely at the end. Enjoy it however you like; just don’t call it frog jelly unless you want odd looks at brunch.
Ingredients
- 2 cups milk (almond, oat, cow, or coconut milk; any kind works)
- 1/2 cup chia seeds (white or black)
- 1 cup fresh or frozen raspberries
- 3-4 tablespoons maple syrup
- 1 teaspoon vanilla extract (optional)
- A pinch of salt
Instructions
-
1Pour the milk into a big-ish bowl or a large jar with a lid—I always spill a bit, so maybe do it near the sink.
-
2Add the chia seeds, vanilla, maple syrup, and salt. If your raspberries are fresh, toss them in. Frozen? Don’t worry, just add those straight in without thawing. No need to be precious with it.
-
3Give it a good mix. I usually use a fork for this, but if you’ve got a whisk handy, it makes you feel like you know what you’re doing.
-
4Let it sit for about 5 minutes then stir again. (This is the bit where I sneak a taste and always think, “wow, that’s gloopy.”) Don’t worry if it looks a bit odd—chia seeds take a while to plump up.
-
5Cover and pop it in the fridge for at least a couple hours—overnight is best, but if you’re impatient like me, two hours is fine.
-
6When you’re ready to eat, give it a little stir. Spoon it into bowls or jars, and pile on whatever extras make you happy.
Approximate Information for One Serving
Nutrition Disclaimers
Number of total servings shown is approximate. Actual number of servings will depend on your preferred portion sizes.
Nutritional values shown are general guidelines and reflect information for 1 serving using the ingredients listed, not including any optional ingredients. Actual macros may vary slightly depending on specific brands and types of ingredients used.
To determine the weight of one serving, prepare the recipe as instructed. Weigh the finished recipe, then divide the weight of the finished recipe (not including the weight of the container the food is in) by the desired number of servings. Result will be the weight of one serving.
Did you make this recipe?
Please consider Pinning it!




