Pull Up a Chair—Let’s Make Red and Green Chicken Enchiladas (or Attempt To!)
I’ll be honest, I only started making these Red and Green Chicken Enchiladas because I got tired of my favorite local spot closing down their kitchen for a week every summer. The craving, you know? It hits unexpectedly—like a dog barking at the mailman. Anyway, now I’ve got a little ritual: whenever someone’s coming over who actually likes food that isn’t just “safe beige,” I bust out these odes to cheesy, zesty goodness. Plus, my cousin tends to hover nearby, ready to snag any scraps—seriously, you need fast reflexes in this house. Is this an exact science? Heck no. But that’s part of the fun.
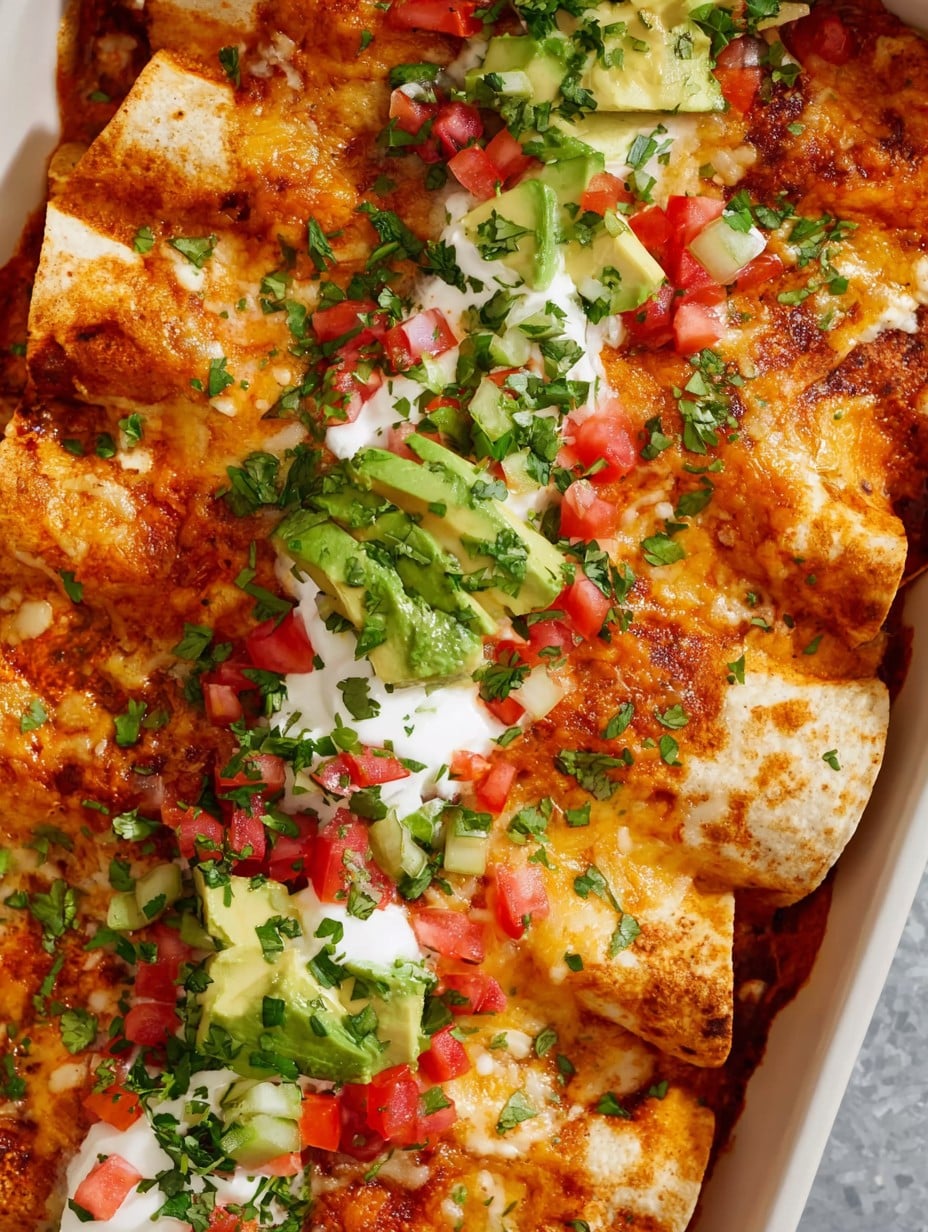
Why You’ll Love This One… Even If It’s a Bit Messy
I make this when I want to impress people without, y’know, actually needing to follow a thousand steps. My family goes wild for this because it’s two sauces in one pan (half of them like red, half like green, and everyone sneaks some of both anyway). Also, there’s just something goofy about ‘Christmas enchiladas’ outside of December. But—and here’s the kicker—the layering means even the messiest batch turns out pretty delicious. I’ve tried shortcuts (store-bought rotisserie, sometimes pre-shredded cheese, don’t tell my abuela) and honestly, it’s all good in the end.
What You’ll Need—A Little of This, a Little of That
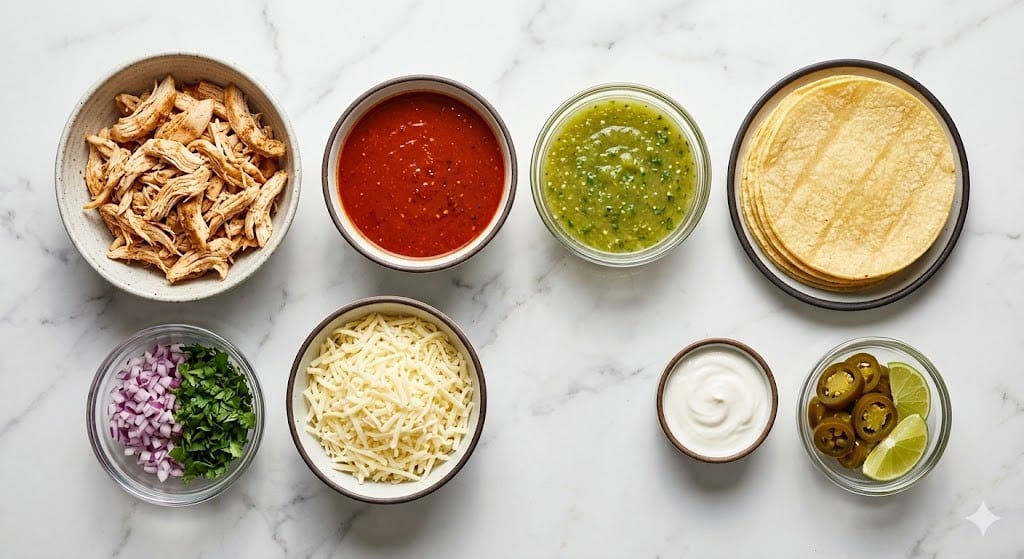
- 2 cups cooked shredded chicken (sometimes I just grab a rotisserie, because who has time?)
- 1 can (10 oz) red enchilada sauce (any brand, but my grandma swore by Las Palmas—use what you’ve got)
- 1 can (10 oz) green enchilada sauce (I’ll even mix tomatillo salsa in if I’m short on sauce)
- 8-10 corn tortillas (I actually like flour tortillas better, but purists would probably roll their eyes)
- 2 cups shredded cheese (Monterey Jack or cheddar or, last week, mozzarella because that’s what I had—still good)
- 1 small white onion, chopped (or skip it if you hate onions)
- 1/2 cup sour cream (or full-fat Greek yogurt in a pinch)
- Fresh cilantro, handful, chopped (I leave this out sometimes if it’s looking wilted)
- 1 tablespoon olive oil or any neutral oil
- Salt and pepper, just a pinch
- Optional extras: jalapeños, diced tomatoes, sliced olives (honestly, add whatever you found in the fridge today)
Makeshift Directions (with a Few SIDETRACKS!)
- Preheat your oven to 375°F (190°C). I’ve forgotten this step before—makes things awkward, so maybe do it now.
- Heat a splash of oil in a skillet, warm the tortillas one by one for about 10 seconds per side. If I skip this, they rip, so… don’t skip (but if you do, just patch ‘em up—nobody dies).
- Mix the chicken with about half of the cheese, most of the onion, and a spoonful of each enchilada sauce in a big bowl. Throw in a pinch of salt and pepper. Sometimes I sneak a bite here, to ‘check seasoning.’
- Spoon a bit of both sauces (red and green) in the bottom of your baking dish. Not too fussy—just enough to cover the bottom.
- Fill each tortilla with a generous spoonful of the chicken-cheese mixture, roll ‘em up (doesn’t need to be tidy), and lay seam-side down in the dish. Repeat till you run out.
- Pour the rest of the red sauce on one half, green on the other. Give it a little swirl in the middle if you’re feeling fancy. Top with the remaining cheese and sprinkle any leftover onion on top.
- Bake uncovered for about 20-25 minutes, until bubbly and the cheese is trying to escape the sides. Sometimes I broil the top for 2 minutes if I want extra crispy cheese, but then you gotta watch it like a hawk.
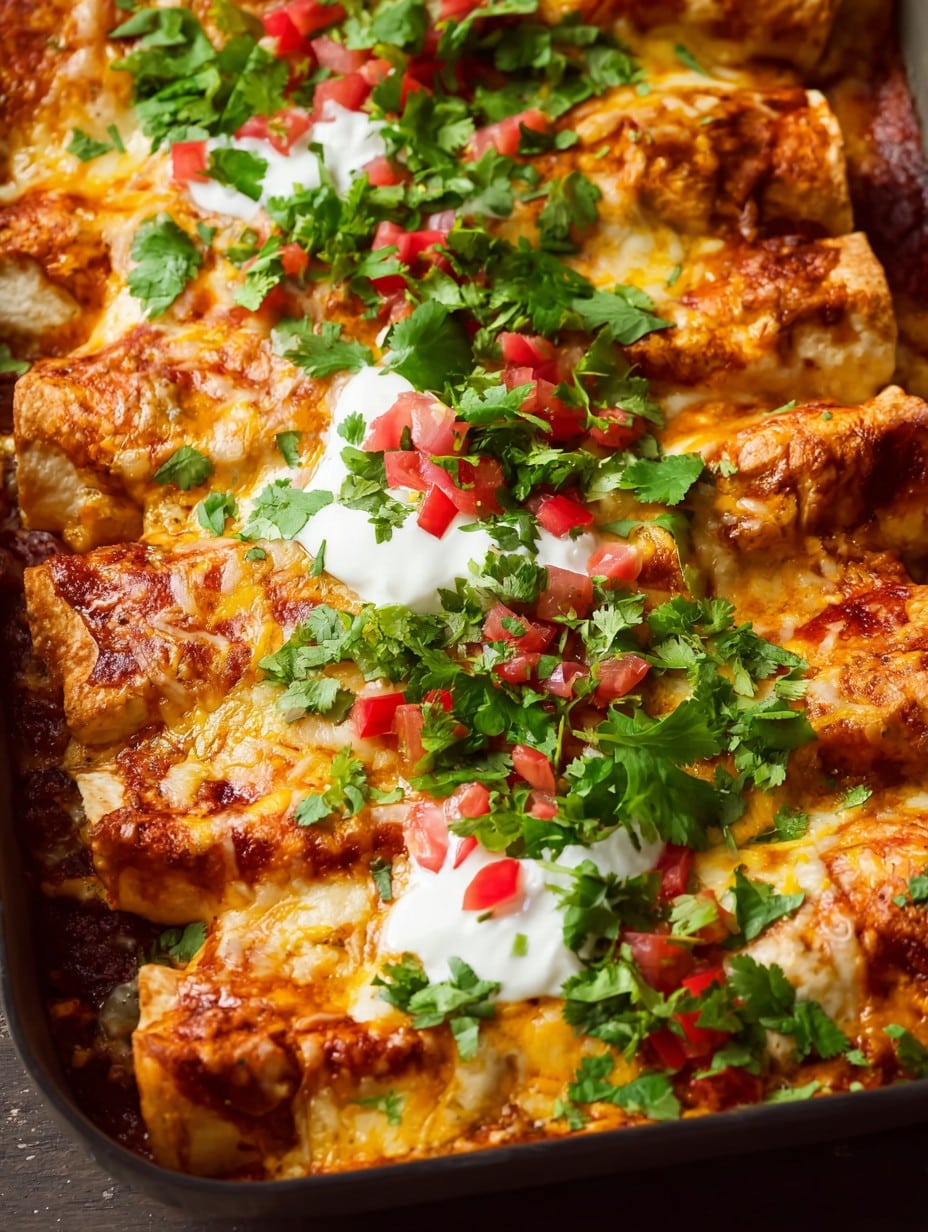
- Let it cool for 5-10 minutes (I always try to sneak a piece too soon and regret it). Dollop with sour cream and a rain of cilantro. Chuck any extras—jalapeños, diced tomatoes—over the top.
- Serve hot, ideally with a side of rice or beans, or just straight out of the dish if no one’s watching.
Real-Life Notes from the Trenches
- If the tortillas are giving you grief and falling apart, try wrapping them in a damp towel and microwaving for 30 seconds before rolling.
- Green sauce always seems runnier than red. You can thicken it a smidge with a bit of sour cream before pouring, but don’t stress—it tastes great anyway.
- Sometimes I assemble everything the day before and bake it fresh—honestly, the flavors deepen. On second thought, leftovers might be the best part?
Variations (Some Winners, One Fail!)
- Once I tried pulled pork instead of chicken (yum).
- Veggie version: black beans, roasted sweet peppers, and corn—nobody missed the meat.
- I tried store-bought crepes for the tortillas once. Wouldn’t recommend that (sad, floppy piles, but hey, gotta try it once!).
Equipment: Grab What You’ve Got
- Baking dish (9×13″ fits perfectly, but I’ve been known to use two smaller ones and just juggle them into the oven)
- Skillet or frying pan (I sometimes use a griddle if I want to feel legit… or just the microwave for the tortillas, truth be told)
- Bowl for tossing the filling
If you don’t have a good spatula for scooping, two big spoons work fine; just don’t burn your knuckles on the dish edge like I seem to every time.
Storage—Just in Case You Have Leftovers (Doubtful!)
Keep leftovers in the fridge, covered, for up to 3 days, though honestly, in my house it never lasts more than a day! Reheat in the oven for best texture, or just zap individual portions in the microwave (midnight snack approved).
How I Like to Serve ‘Em
We do a little DIY toppings bar—sour cream, extra cilantro, even some hot sauce if someone wants to chase the spice. Oh, and honestly, tortilla chips and a pile of guac on the side lend a good crunch contrast. Family vote: these enchiladas taste even better for lunch the next day (if they survive the night).
Lessons I’ve Learned (Sometimes The Hard Way)
- Once I tried stacking the tortillas flat instead of rolling—meh. Not bad, but definitely not the same.
- Rushing the baking just to eat faster means cold filling. Wait the 20-25 minutes; it’s worth it. Trust me, impatience leads to disappointment (I keep telling myself this!).
Some Frequently Asked (and Somewhat Random) Questions
- Can I freeze these? Yup, before or after baking, tightly wrapped. When reheating, add a little extra sauce so they don’t dry out.
- Do I need to use both red and green sauce? Absolutely not. You can go all-in with your favorite (or just what’s left in the pantry). But honestly, the two-tone thing is fun.
- Why are my tortillas ripping? Either too cold or too dry! I used to skip the warming step (lazybones), but now I never do.
- Can I make this spicy? Oh yeah—swap in spicy sauce, throw in jalapeños, dash of hot sauce in the filling, whatever gets your motor running.
- Is there a shortcut? Rotisserie chicken and store-bought sauce save so much time; half the charm is that it’s not fussy.
And hey—don’t get too hung up if it’s a touch lopsided or gooey. That’s half the magic. Good luck (just don’t steal my cousin’s slice—he bites)!
Ingredients
- 2 cups cooked shredded chicken (sometimes I just grab a rotisserie, because who has time?)
- 1 can (10 oz) red enchilada sauce (any brand, but my grandma swore by Las Palmas—use what you’ve got)
- 1 can (10 oz) green enchilada sauce (I’ll even mix tomatillo salsa in if I’m short on sauce)
- 8-10 corn tortillas (I actually like flour tortillas better, but purists would probably roll their eyes)
- 2 cups shredded cheese (Monterey Jack or cheddar or, last week, mozzarella because that’s what I had—still good)
- 1 small white onion, chopped (or skip it if you hate onions)
- 1/2 cup sour cream (or full-fat Greek yogurt in a pinch)
- Fresh cilantro, handful, chopped (I leave this out sometimes if it’s looking wilted)
- 1 tablespoon olive oil or any neutral oil
- Salt and pepper, just a pinch
- Optional extras: jalapeños, diced tomatoes, sliced olives (honestly, add whatever you found in the fridge today)
Instructions
-
1Preheat your oven to 375°F (190°C). I’ve forgotten this step before—makes things awkward, so maybe do it now.
-
2Heat a splash of oil in a skillet, warm the tortillas one by one for about 10 seconds per side. If I skip this, they rip, so… don’t skip (but if you do, just patch ‘em up—nobody dies).
-
3Mix the chicken with about half of the cheese, most of the onion, and a spoonful of each enchilada sauce in a big bowl. Throw in a pinch of salt and pepper. Sometimes I sneak a bite here, to ‘check seasoning.’
-
4Spoon a bit of both sauces (red and green) in the bottom of your baking dish. Not too fussy—just enough to cover the bottom.
-
5Fill each tortilla with a generous spoonful of the chicken-cheese mixture, roll ‘em up (doesn’t need to be tidy), and lay seam-side down in the dish. Repeat till you run out.
-
6Pour the rest of the red sauce on one half, green on the other. Give it a little swirl in the middle if you’re feeling fancy. Top with the remaining cheese and sprinkle any leftover onion on top.
-
7Bake uncovered for about 20-25 minutes, until bubbly and the cheese is trying to escape the sides. Sometimes I broil the top for 2 minutes if I want extra crispy cheese, but then you gotta watch it like a hawk.
-
8Let it cool for 5-10 minutes (I always try to sneak a piece too soon and regret it). Dollop with sour cream and a rain of cilantro. Chuck any extras—jalapeños, diced tomatoes—over the top.
-
9Serve hot, ideally with a side of rice or beans, or just straight out of the dish if no one’s watching.
Approximate Information for One Serving
Nutrition Disclaimers
Number of total servings shown is approximate. Actual number of servings will depend on your preferred portion sizes.
Nutritional values shown are general guidelines and reflect information for 1 serving using the ingredients listed, not including any optional ingredients. Actual macros may vary slightly depending on specific brands and types of ingredients used.
To determine the weight of one serving, prepare the recipe as instructed. Weigh the finished recipe, then divide the weight of the finished recipe (not including the weight of the container the food is in) by the desired number of servings. Result will be the weight of one serving.
Did you make this recipe?
Please consider Pinning it!




