An Old Favorite with Sweet, Gooey Pears
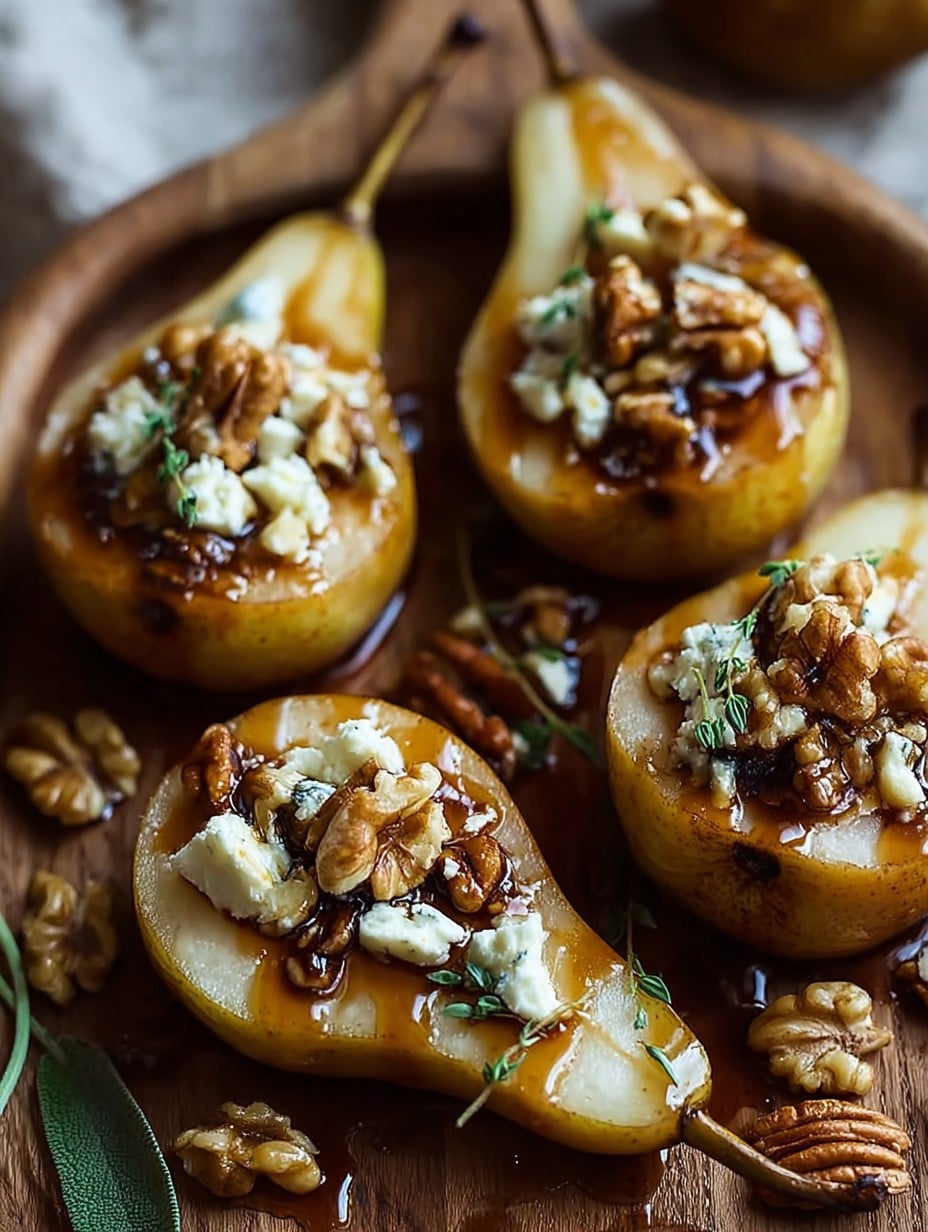
I can’t remember the first time I made these Roasted Pears with Goat Cheese & Maple Walnut Drizzle—I just know they sort of happened one fall, when I had pears slowly shriveling on the counter and my husband mysteriously picked up two logs of goat cheese instead of one (bless him). There’s something about roasted fruit; it’s forgiving and also a little fancy. The first time I made this, I totally forgot about them and only remembered because the house started smelling amazing. Since then? Well, let’s just say these have become the thing I make when I want to look like I tried harder than I actually did. And when someone needs cheering up. Pears are therapy. Don’t ask me how I know.
Why You’ll Love This (Or At Least Find It Useful)
I make this when I can’t be bothered with a proper dessert (or frankly, a proper appetizer), but want something that feels like autumn in a dish. My family goes bonkers for the sweet-salty-creamy action—plus, honestly, pears and cheese are just classy together. If you’ve ever felt goat cheese is a bit much, just wait till it melts and gets tangled up with maple syrup. Only thing—be mindful, rogue walnuts will go flying when you try to chop them quickly (trust me, I’ve been there).
What You’ll Need (Or Could Substitute)
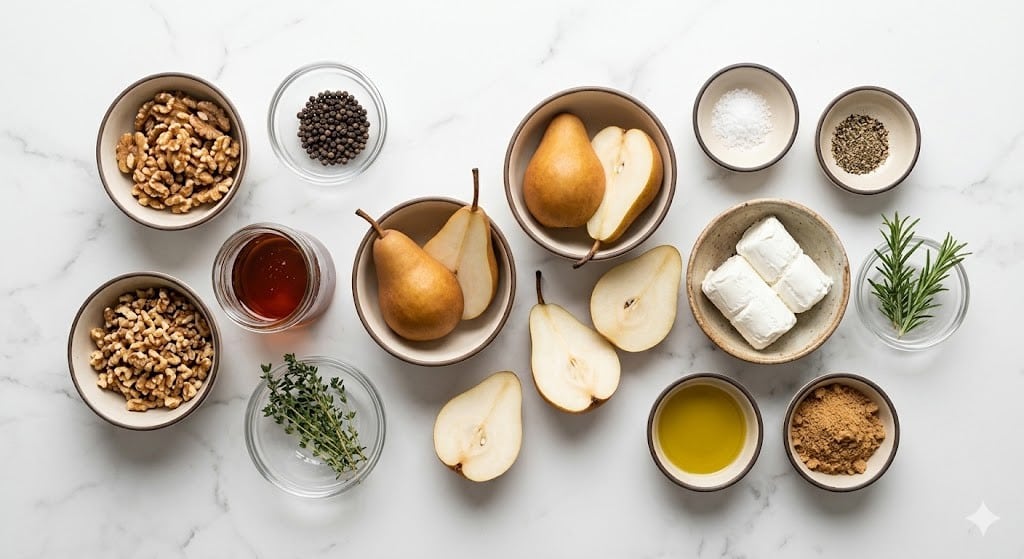
- 3 ripe but firm pears (Bosc or Anjou—though, I’ve grabbed Bartlett in a pinch and it worked. Granny used to swear by Bosc, but bless her, she also wore pearls for breakfast.)
- 100g (about 3.5oz) soft goat cheese (chevre; sometimes I sub a creamy feta when the fridge is bare—goat-y taste, different vibe)
- 1/3 cup walnuts, roughly chopped (pecans work; once used pistachios, it was…strange—not bad, just odd)
- 3 tbsp pure maple syrup (get the real stuff if you can; pancake syrup is fine, just less magic)
- 1 tbsp unsalted butter, melted (skip if you like, but the pears get glossier)
- Pinch of sea salt (or whatever salt is handy—I’m not precious about it)
- Few cracks of black pepper (sounds weird; makes it taste less like baby food, in my opinion)
How To Bring These Pears to Life
- Preheat your oven to 400°F (200°C). No need to be exact—my oven runs hot and I survive. Line a baking dish or tray with parchment if you hate scrubbing.
- Halve your pears and scoop out the core with a spoon or a melon baller (mine has vanished; a regular teaspoon works, just takes patience). Don’t peel—unless you’re feeling extra.
- Lay the pear halves cut-side up in your dish. Brush with melted butter, feeling smug. (Not strictly necessary—it browns them, and I think it looks nice.)
- Plop a spoonful of goat cheese into the well of each pear half. If it smooshes out the sides, just tuck it in—a bit messy is good.
- Sprinkle the chopped walnuts over the pears. Let them land where they may.
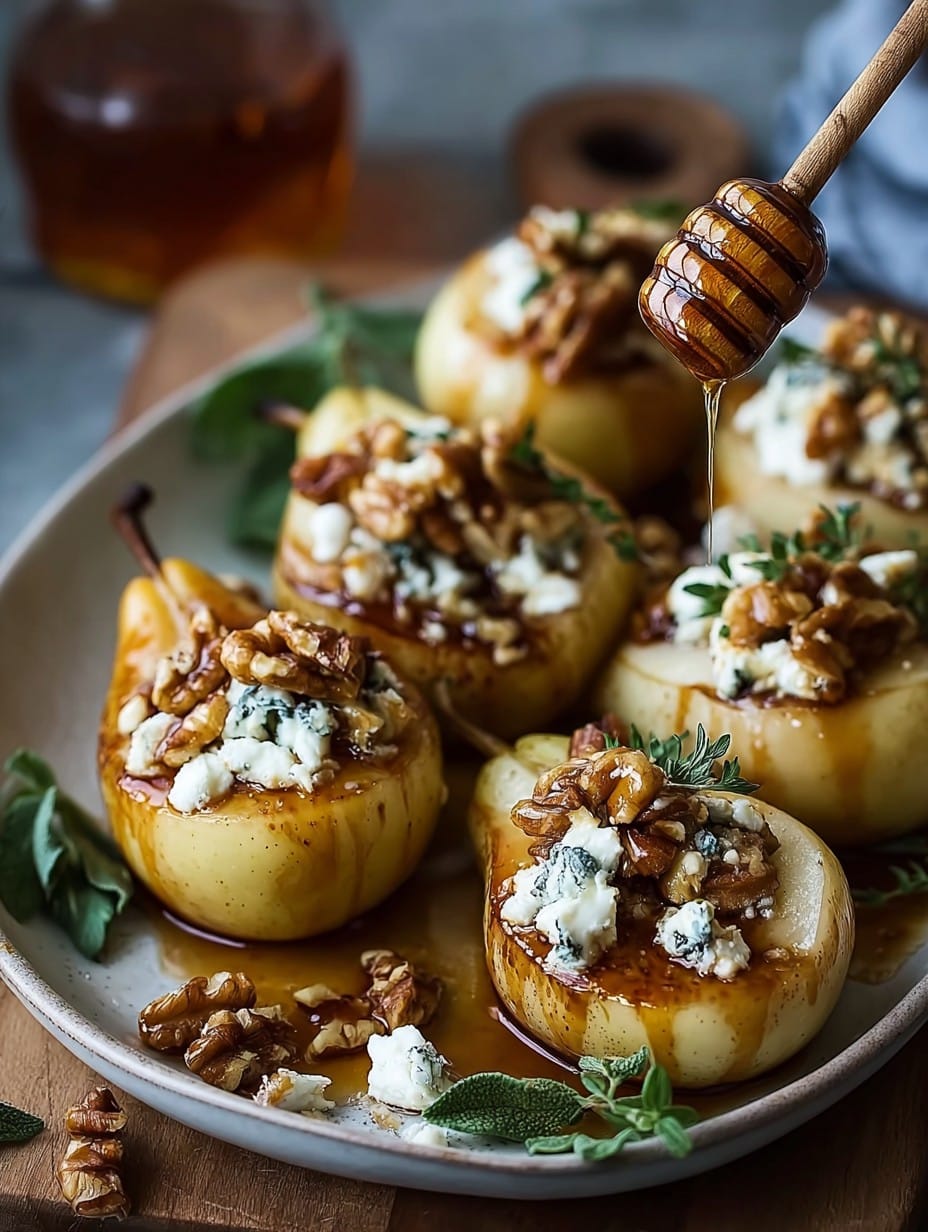
- Drizzle the maple syrup over everything (I sometimes go wild and use honey instead, but then it feels Mediterranean—shrug).
- Finish with a pinch of sea salt and a few turns of pepper. Yes, really; the contrast is key.
- Roast in the oven for 20–25 minutes, until the pears are tender but not totally collapsed, and the cheese is gently golden. If in doubt, prod with a fork—should slide in with a bit of resistance. Sometimes I check early because I’m impatient.
- Let them cool maybe 5 minutes (if you can wait)—the cheese is lava-hot right out of the oven. Grab a plate, spoon over extra syrupy juices, inhale.
Bits Nobody Tells You (AKA Notes)
- I tried slicing the pears thinner once…it turned into pear mush. Keep them halved unless you like “rustic” (aka falling apart).
- Sometimes the cheese oozes out during roasting—it’s fine. Actually, those crispy bits in the pan are gold. Spoon them back on top.
- Getting the walnuts onto the pears, not the tray, is basically impossible. Just accept the mess.
Variations I Have Actually Tried
- Traded goat cheese for blue cheese. It’s assertive (but tasty if you like that barnyard twang).
- Add a handful of dried cranberries before roasting—it turns festive very quickly. My toddler once asked if it was cake. It is not cake.
- Once I drizzled balsamic reduction instead of maple. Sounds fancy—tasted a bit weird with goat cheese, if I’m honest. You might like it though!
Equipment You’ll Need (and Maybe Won’t)
- Baking dish or tray—anything ovenproof works. I’ve used a roasting pan, a glass pie dish, and once, a lopsided brownie tin. Nobody cared.
- A small brush for butter—nice, but you can use your fingers if you’re not afraid of mess. Or skip it (but that’s less fun).
- Melon baller? Eh. Spoon works. Or just hack the core out with a knife. Rustic, right?
How To Store (But, This Never Lasts Long)
Pop any leftovers into a lidded container in the fridge. They’re still good cold or re-warmed in the microwave, though honestly, in my house, it never lasts more than a day. I keep saying I’ll make double next time—never do. (Oh, and before you ask, they don’t freeze well. Texture gets, well, kinda sad.)
Serving It Up (Aka Making It Fancy)
I love to serve two halves per person if this is dessert—gives you that generous grandma energy. For appetizers, one half with a little salad is enough. Sometimes I scatter a few extra walnuts on the plate and pretend I’m a chef on telly (it’s very convincing until the toddler sticks her finger in).
My Top Pro Tips (Learned the Hard Way)
- I once tried rushing the roasting step by cranking the heat. Don’t. The pears look done on the outside, raw on the inside. Not the goal.
- Let them sit a bit before you eat them—burnt my tongue more often than I’d care to admit.
- Actually, I find it works better if you use pears that are just barely ripe—too soft and you get pear puddle, which is not a good look. (Though the syrup at the bottom is still delicious.)
FAQ (Because People Actually Ask Me These Things!)
- Can I use apples instead of pears?
- Yup, though apples aren’t quite as creamy when baked—they stay pretty firm. Still tasty! I think pears are more swoon-worthy here.
- What if I hate goat cheese?
- Try a soft ricotta, or even cream cheese. Or just use the nuts and maple syrup for more of a fruit-nut dessert.
- Is this dessert or a starter?
- Honestly, it swings both ways. Do what makes you happy (I’ve made it for brunch, too!).
- How far in advance can I roast these?
- You can make them a few hours ahead and re-warm gently in the oven. I think they taste as good (maybe better?) the next day, but my kids claim hot is best.
- Do I really need the pepper?
- Nope, but don’t knock it till you try—it cuts the sweet and makes the whole thing pop.
Digression: Did you know pears are related to roses? I learned that at a garden center, of all places, while waiting for my latte. The more you know, right?
Ingredients
- 3 ripe but firm pears (Bosc or Anjou—though, I’ve grabbed Bartlett in a pinch and it worked. Granny used to swear by Bosc, but bless her, she also wore pearls for breakfast.)
- 100g (about 3.5oz) soft goat cheese (chevre; sometimes I sub a creamy feta when the fridge is bare—goat-y taste, different vibe)
- 1/3 cup walnuts, roughly chopped (pecans work; once used pistachios, it was…strange—not bad, just odd)
- 3 tbsp pure maple syrup (get the real stuff if you can; pancake syrup is fine, just less magic)
- 1 tbsp unsalted butter, melted (skip if you like, but the pears get glossier)
- Pinch of sea salt (or whatever salt is handy—I’m not precious about it)
- Few cracks of black pepper (sounds weird; makes it taste less like baby food, in my opinion)
Instructions
-
1Preheat your oven to 400°F (200°C). No need to be exact—my oven runs hot and I survive. Line a baking dish or tray with parchment if you hate scrubbing.
-
2Halve your pears and scoop out the core with a spoon or a melon baller (mine has vanished; a regular teaspoon works, just takes patience). Don’t peel—unless you’re feeling extra.
-
3Lay the pear halves cut-side up in your dish. Brush with melted butter, feeling smug. (Not strictly necessary—it browns them, and I think it looks nice.)
-
4Plop a spoonful of goat cheese into the well of each pear half. If it smooshes out the sides, just tuck it in—a bit messy is good.
-
5Sprinkle the chopped walnuts over the pears. Let them land where they may.
-
6Drizzle the maple syrup over everything (I sometimes go wild and use honey instead, but then it feels Mediterranean—shrug).
-
7Finish with a pinch of sea salt and a few turns of pepper. Yes, really; the contrast is key.
-
8Roast in the oven for 20–25 minutes, until the pears are tender but not totally collapsed, and the cheese is gently golden. If in doubt, prod with a fork—should slide in with a bit of resistance. Sometimes I check early because I’m impatient.
-
9Let them cool maybe 5 minutes (if you can wait)—the cheese is lava-hot right out of the oven. Grab a plate, spoon over extra syrupy juices, inhale.
Approximate Information for One Serving
Nutrition Disclaimers
Number of total servings shown is approximate. Actual number of servings will depend on your preferred portion sizes.
Nutritional values shown are general guidelines and reflect information for 1 serving using the ingredients listed, not including any optional ingredients. Actual macros may vary slightly depending on specific brands and types of ingredients used.
To determine the weight of one serving, prepare the recipe as instructed. Weigh the finished recipe, then divide the weight of the finished recipe (not including the weight of the container the food is in) by the desired number of servings. Result will be the weight of one serving.
Did you make this recipe?
Please consider Pinning it!




