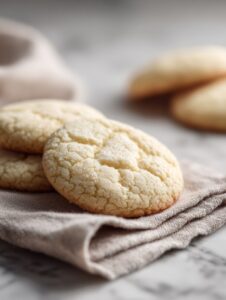
Alright, let me just say: small batch sugar cookies probably save me from myself (and my jeans) more times than I’d like to admit. There’s something a bit dangerous about knowing you could whip up a full tray of cookies any time the mood strikes—and by the third day, those cookies are pretty much whispering my name like some kind of baked good siren.
So, I started making this tiny, cozy little batch instead. Honestly, my first attempt came from a mix of impatient sugar cravings and a desperate hope to avoid cookie fatigue. (Didn’t work entirely, but hey, I tried!) Things went sideways when I dropped the egg shell in the bowl. Anyway, if you need a quick sugar fix or find yourself with half a stick of butter left, friend, this is your recipe. Plus, you won’t have a mountain of cookies haunting your kitchen all week, just the happy kind of haunt.

Why I Always Come Back to This Tiny Batch
I make these when it rains and I just want something sweet without the danger of excess. My family goes a bit nuts for these, especially since they only get a few—there’s a weird satisfaction in fighting over the last cookie. And let’s be real, who has time for complicated royal icing on a Tuesday? (Not me.) There’s also a certain joy in not having to drag out every baking sheet in the garage—just my trusty old one. Bonus points: less washing up afterwards. Sometimes they turn out slightly thicker if I’m not paying attention when shaping, but honestly, I like them a smidge soft in the middle (don’t you?).
What You’ll Need for This Sugar Cookie Mini Adventure
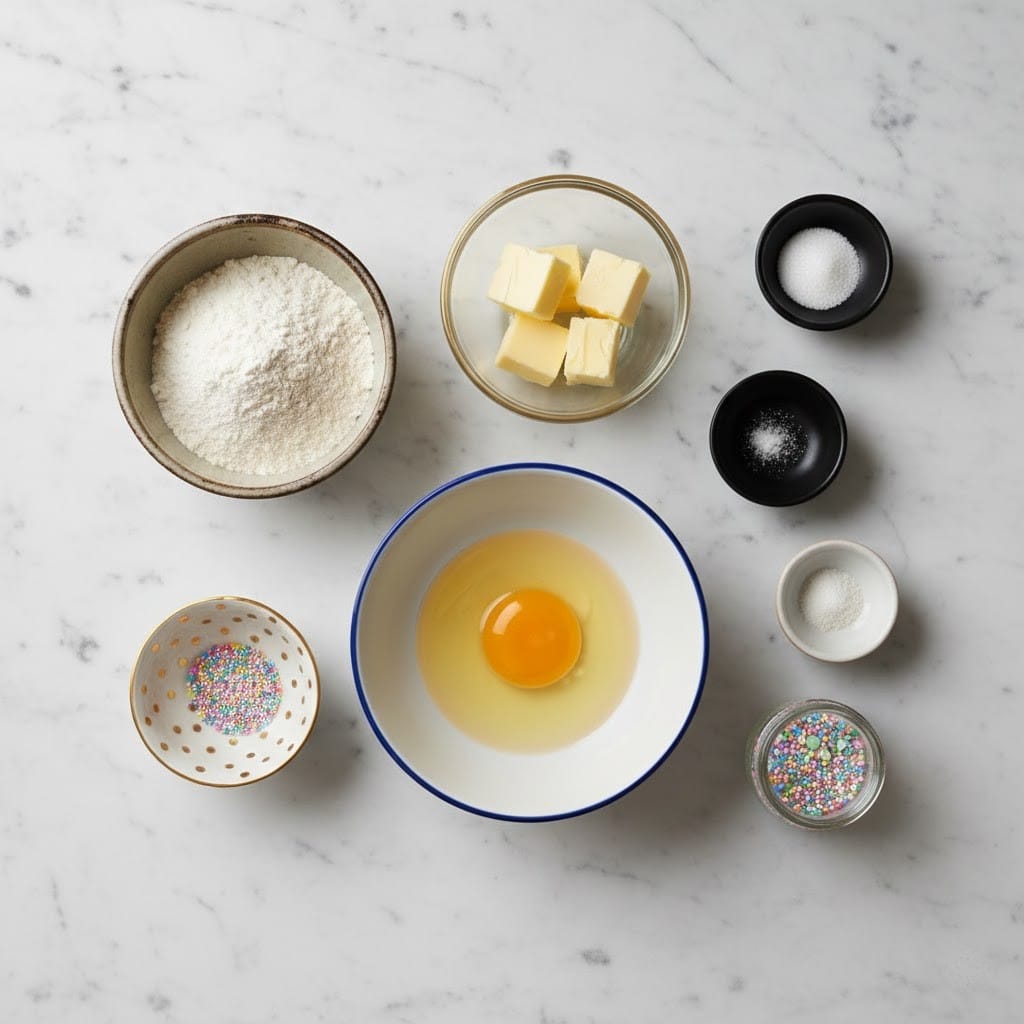
- 1/4 cup unsalted butter, softened (I use salted if that’s all I have, just skip the extra salt)
- 1/3 cup granulated sugar (my granny used caster sugar; it’s a bit finer, but both work a treat)
- 1 small egg yolk (save the white for, I don’t know, a single meringue?)
- 1/2 teaspoon vanilla extract (sometimes I swap in almond, but my kid complains – your call!)
- 1 tablespoon milk (any kind, honestly; even oat milk if you’re in a pinch)
- 2/3 cup all-purpose flour (if it looks dry, toss in another spoonful of milk)
- 1/8 teaspoon baking powder (I eyeball it with a pinch—hasn’t let me down yet)
- Pinch of salt (unless you already used salted butter; see above!)
- Sprinkles or colored sugar (optional—my daughter says it’s not a sugar cookie without them)
How I Pull This Together (Seriously, It’s Easy)
- Cream the butter and sugar together until light and fluffy. (I just use a fork and a bowl; no mixers here—unless you hate arm workouts.)
- Mix in the egg yolk, vanilla, and milk. If the batter looks a bit split, don’t panic—it comes together in the end. I promise.
- Stir in flour, baking powder, and salt until you can barely see any dry patches. This is where I sneak a taste—I know I shouldn’t, but, you know, quality control.
- Shape into about 6 small balls—honestly, just eyeball it. Place them a little way apart on a lined baking sheet. If you want, flatten them gently with your palm (or the bottom of your tea glass if you’re feeling fancy).
- Sprinkle with colored sugar if you’re in the mood for a bit of sparkle. Or leave them bare—I guarantee they’ll still vanish.
- Bake at 350°F (175°C) for about 8–10 minutes. Keep an eye on them. They should look just barely golden around the edges—if you go too far, they’re still tasty, just crunchier (ask me how I know).
- Let them cool for a few minutes on the tray before transferring to a plate. Or just eat one straight off the pan—worst case, you burn your tongue for your troubles. Worth it, though.
Notes Form My Scatterbrain Kitchen
- If the dough feels dry to you, a splash more milk does the trick. Once, I added an extra whole egg instead of just the yolk and ended up with a sticky, pancake-ish project. Oof.
- You can totally use margarine if you want non-dairy. I just can’t vouch for the flavor—my cousin swears it tastes the same, though.
- I think these taste better the next day (but good luck making them last that long). Maybe it’s just me; let me know if you try it.
Stuff I’ve Tried (And Sometimes Regretted)
- Added lemon zest once—was a surprise hit, especially with tea.
- Mixing in mini chocolate chips: my daughter called them “confused cookies” but ate them anyway.
- I tried rolling and cutting fancy shapes, but honestly, the dough’s softer than classic roll-out dough and things got a bit…blobby.
All the Gear (Or, “Will This Work With…?”)
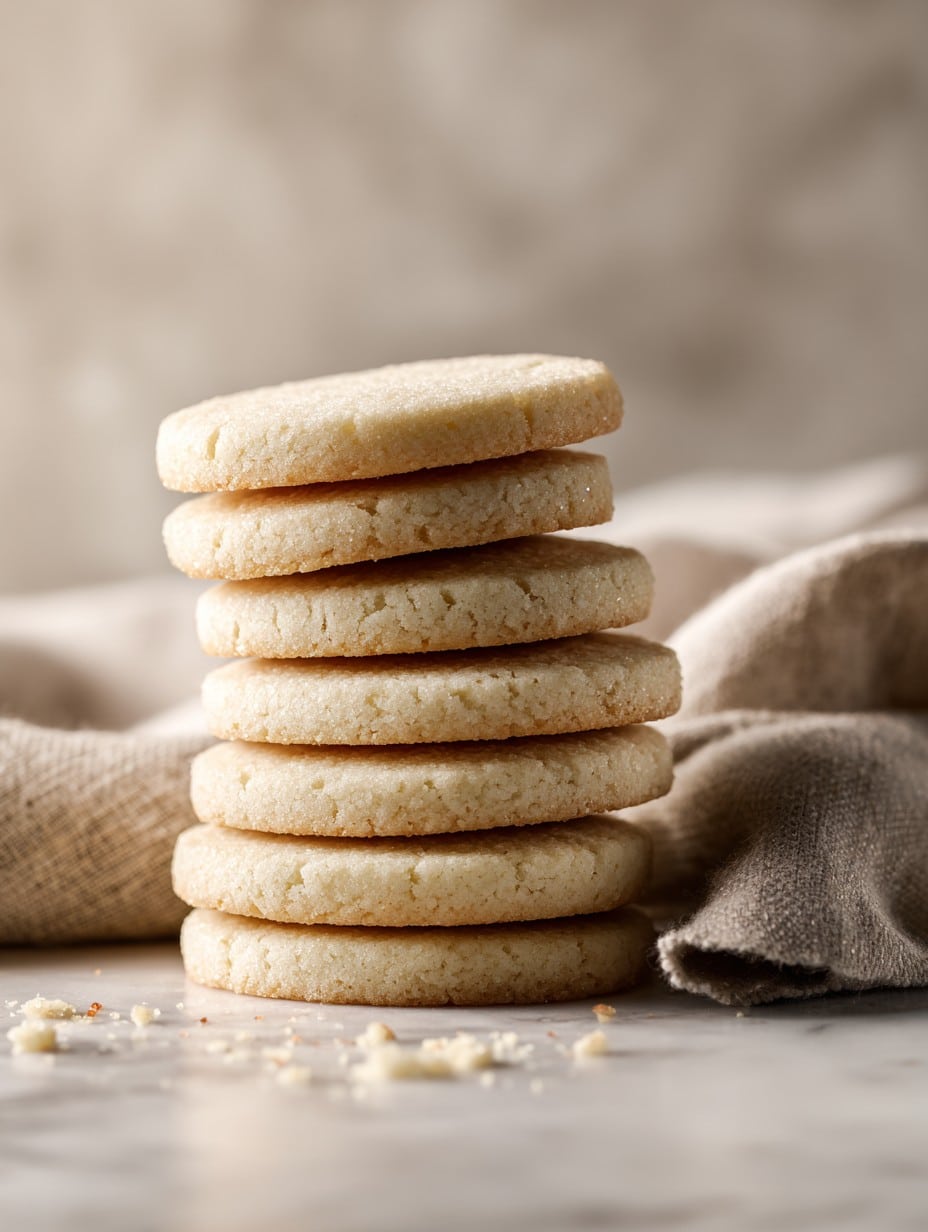
All you need is a bowl, a fork, and a small baking sheet. Don’t have parchment? Butter the tray and hope for the best—honestly, half the time I do. Don’t bother with a stand mixer unless you like showing off.
Keeping ‘Em Fresh (Ha!)
These store fine in an airtight container for 2–3 days but, though honestly, in my house they never last more than a day! I once lost a cookie to the dog after forgetting to hide the plate—lessons learned. If you’re super disciplined (bravo), you can even freeze the dough balls and bake them straight form the freezer, just add an extra minute or two.
How We Eat ‘Em (Sometimes on the Sofa)
We like to eat these still warm, with a mug of tea. Sometimes I sandwich a smear of Nutella between two—behold, the world’s laziest cookie sandwich. My cousin dips his in coffee; I don’t get it, but to each their own!
Learn From My Oopsies (Pro Tips!)
- Don’t skip softening the butter! I once tried microwaving and ended up with half melted, half frozen—whoops.
- Keep an eye on the bake time—I always think they look too pale but if you wait for color, they’ll go rock hard once cooled.
- Actually, I find it works better if you chill the dough for a few minutes before scooping, mostly if your kitchen’s hot. Just a tip.
Your Questions, Answered (Even the Odd Ones)
- Do I really need to use just the yolk?
- Yeah, the yolk gives you that rich and chewy texture in a small batch. The whole egg makes things too cakey for me. But hey, your call!
- Can I double this recipe?
- I mean, yeah, but then you’re back to dozens of cookies and the whole danger zone of cookie overload… which, actually isn’t the worst problem, now that I think about it.
- Why are my cookies spreading too much?
- Probably your butter was super soft (or, er, nearly melted). Try chilling the dough for a few minutes before baking.
- Can I frost these?
- Of course! I sometimes just drizzle with a simple icing sugar glaze if I’m feeling fancy. But mostly, they don’t last that long in the open to decorate.
Oh and—completely unrelated, but if you ever find yourself eating cookies for breakfast, no judgment here. Sometimes breakfast chooses you, right?
Ingredients
- 1/4 cup unsalted butter, softened (I use salted if that’s all I have, just skip the extra salt)
- 1/3 cup granulated sugar (my granny used caster sugar; it’s a bit finer, but both work a treat)
- 1 small egg yolk (save the white for, I don’t know, a single meringue?)
- 1/2 teaspoon vanilla extract (sometimes I swap in almond, but my kid complains – your call!)
- 1 tablespoon milk (any kind, honestly; even oat milk if you’re in a pinch)
- 2/3 cup all-purpose flour (if it looks dry, toss in another spoonful of milk)
- 1/8 teaspoon baking powder (I eyeball it with a pinch—hasn’t let me down yet)
- Pinch of salt (unless you already used salted butter; see above!)
- Sprinkles or colored sugar (optional—my daughter says it’s not a sugar cookie without them)
Instructions
-
1Cream the butter and sugar together until light and fluffy. (I just use a fork and a bowl; no mixers here—unless you hate arm workouts.)
-
2Mix in the egg yolk, vanilla, and milk. If the batter looks a bit split, don’t panic—it comes together in the end. I promise.
-
3Stir in flour, baking powder, and salt until you can barely see any dry patches. This is where I sneak a taste—I know I shouldn’t, but, you know, quality control.
-
4Shape into about 6 small balls—honestly, just eyeball it. Place them a little way apart on a lined baking sheet. If you want, flatten them gently with your palm (or the bottom of your tea glass if you’re feeling fancy).
-
5Sprinkle with colored sugar if you’re in the mood for a bit of sparkle. Or leave them bare—I guarantee they’ll still vanish.
-
6Bake at 350°F (175°C) for about 8–10 minutes. Keep an eye on them. They should look just barely golden around the edges—if you go too far, they’re still tasty, just crunchier (ask me how I know).
-
7Let them cool for a few minutes on the tray before transferring to a plate. Or just eat one straight off the pan—worst case, you burn your tongue for your troubles. Worth it, though.
Approximate Information for One Serving
Nutrition Disclaimers
Number of total servings shown is approximate. Actual number of servings will depend on your preferred portion sizes.
Nutritional values shown are general guidelines and reflect information for 1 serving using the ingredients listed, not including any optional ingredients. Actual macros may vary slightly depending on specific brands and types of ingredients used.
To determine the weight of one serving, prepare the recipe as instructed. Weigh the finished recipe, then divide the weight of the finished recipe (not including the weight of the container the food is in) by the desired number of servings. Result will be the weight of one serving.
Did you make this recipe?
Please consider Pinning it!