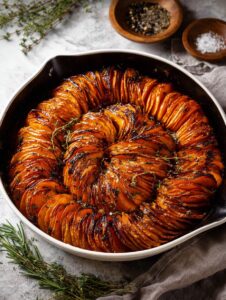
Starting Out: Why Spiral Sweet Potato Bake Always Finds Its Way to My Table
You know that feeling when you want to make something that looks like you spent ages on it, but in reality, you spent more time sneaking nibbles of cheese from the fridge than you did prepping? Yeah, that’s basically why I love this Spiral Sweet Potato Bake. The first time I made this, I totally winged it after spotting a picture on the back of a cookbook—I didn’t even have half the listed ingredients, but, as they say, necessity’s the mother of invention (or, in my case, laziness). Now, every time I make it, someone asks, “Is this as hard as it looks?” And the answer’s easy: nope, it’s mostly just about spiralling and stacking and calling it art.

By the way, do your sweet potatoes ever roll off the counter and try to break your toes? Just me?
Why You’ll Love This One (Honestly, Everyone Does)
I usually whip this up when company’s coming and I want to look faaar fancier than I actually am. My family goes a bit wild for it (especially the crispy edges, which, I mean, isn’t that always the bit people fight over?). It’s got that whole Instagrammable swirl situation, but no big deal if yours comes out wonky—mine always does, and I secretly love that. The only thing that bugged me at first: sweet potatoes get sticky! But I’ve since learned the trick (which I’ll share, cross my heart).
The Bits and Bobs (a.k.a. What You’ll Need and My Two Cents On Substitutions)
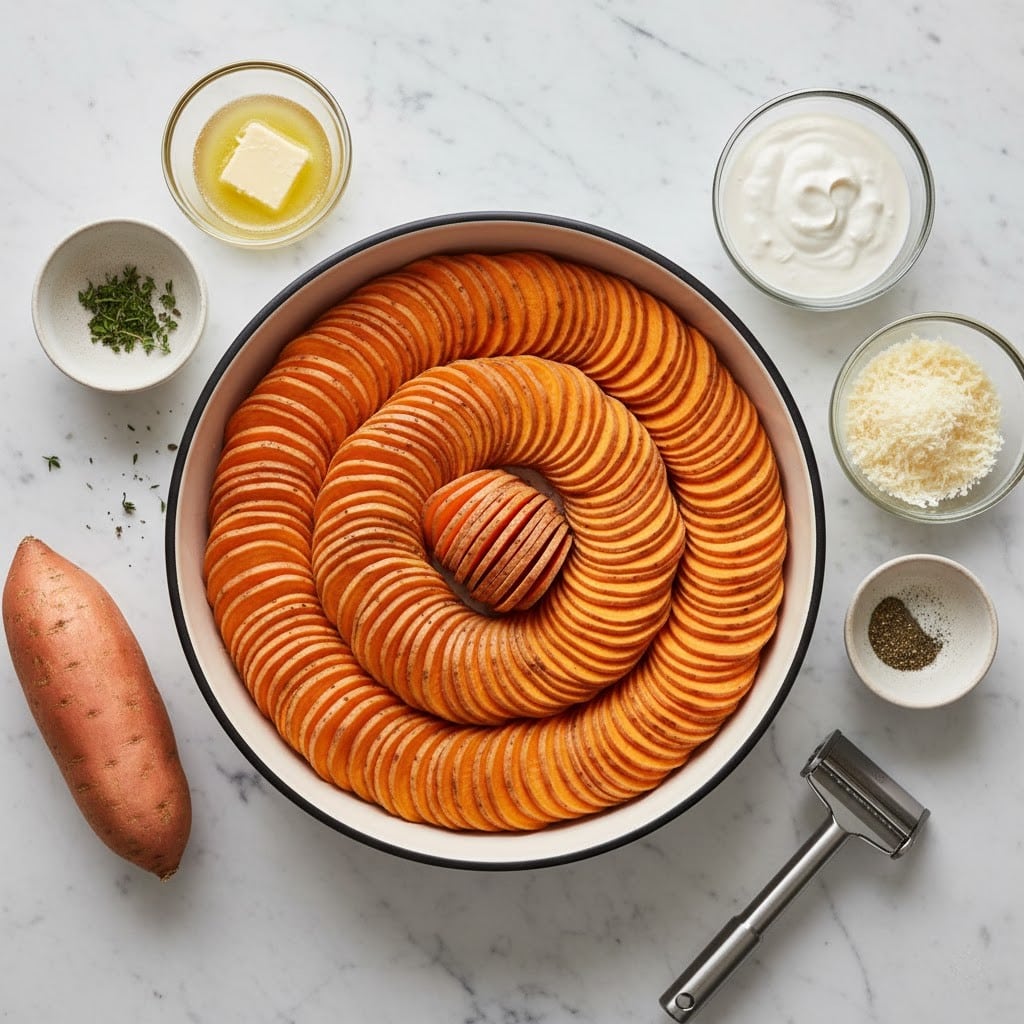
- 3-4 medium sweet potatoes (I’ve used white-fleshed ones in a pinch—kinda pretty, actually)
- 2 tablespoons olive oil (sometimes I do half olive oil, half melted butter if I’m feeling indulgent)
- 1 clove garlic, minced (granulated garlic does the trick if you’re running late or out of fresh)
- 1 teaspoon fresh thyme leaves (dried works, or even rosemary, but it’s a bit bossy flavor-wise)
- Salt and black pepper to taste (I’ve used pink Himalayan, but regular table salt’s just fine)
- 1/4 cup grated Parmesan cheese (my gran was loyal to Kraft shaker cheese but any Parm works, honestly)
- Optional: A handful of torn sage leaves, a sprinkle of red pepper flakes, or, wild idea: a tad of smoked paprika
- Another rogue move: Swap sweet potatoes for carrots and golden potatoes for a sunset swirl—my nephew calls it his “rainbow pie”
How I Actually Throw It Together (With a Few Honest Asides)
- Preheat your oven to 400°F (200°C) while you hunt for the peeler you swore was in the top drawer last time.
- Give the sweet potatoes a good scrub and peel them if the skin’s tough, but sometimes I get lazy and leave it on (up to you).
- Slice the sweet potatoes super thin—like, 1/8 inch thin if you’ve got the patience. Mandoline makes it easy, but I once used a cheese slicer and lived to tell the tale. Don’t stress if it’s uneven; it actually looks more rustic that way (which is my way of saying, don’t sweat it).
- Toss the slices with olive oil, garlic, thyme, salt and pepper in a big bowl. I’ll admit, this is where I usually sneak a taste or two, just to check seasoning (and, let’s be real, to snack).
- Now, for the part that makes people think you’re fancy: stand the sweet potato slices upright, all spirally and stacked, in a greased pie dish or round baking pan. I just sort of arrange (read: jam) them in, overlapping and snug. Looks cool, promise.
- Sprinkle Parmesan over the top, then scatter any extras (like sage leaves or a whisper of paprika if you’re feeling spicy).
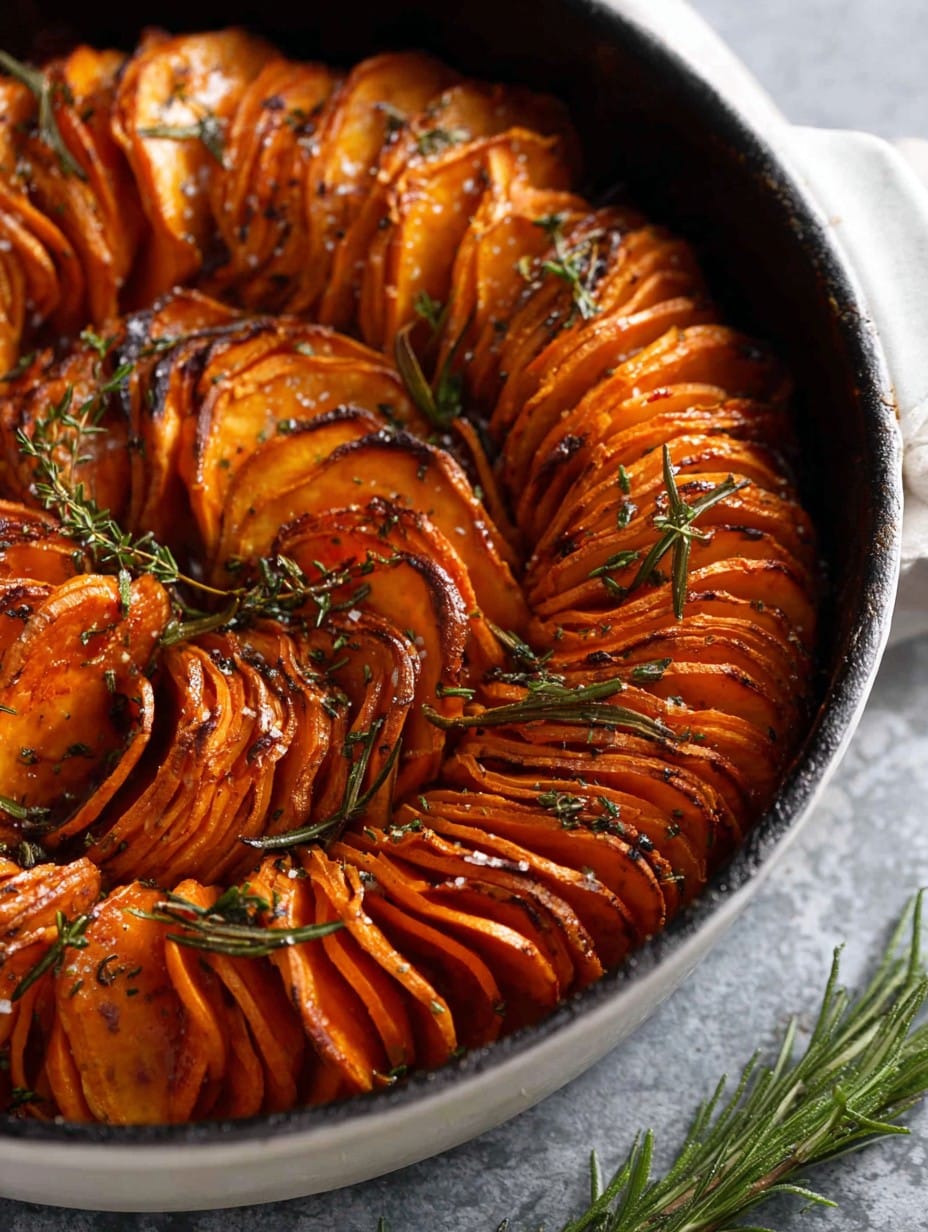
- Bake uncovered for 40 to 50 minutes, until the edges get crispy/brown and the centers are tender—poke one with a fork to check. If it looks a bit dry halfway through, just brush with a little more olive oil.
- Let it sit for 10 minutes before serving. Not sure why, but it somehow always tastes better if I resist the urge to dig in right away…
Notes Learned the Hard Way (Or, Oops Moments)
- If your kitchen gets as cold as mine in winter, leave the sweet potatoes out for a bit—easier to slice.
- I once forgot to oil the baking dish. Everything stuck. Had to eat straight with a spoon (not my proudest day but still tasty).
- Don’t go too thick on your slices unless you like crunchy surprises mixed in with soft ones. Or, actually, maybe you do?
What I’ve Tried for Variations—Wins (and One Big Fail)
- Added a layer of goat cheese crumbles halfway through the spiral: creamy, tangy, zero regrets.
- Topped with crushed pecans for some crunch—a win, except that one time I burned them (watch your nuts!).
- Tried to use purple sweet potatoes. They looked fantastic but got super dry. Maybe I did something wrong?
- A drizzle of maple syrup pre-baking: lovely if you like it sweet, but probably skip it if you’re more on the savory side.
Equipment Chat (Yes, Your Tools Matter… But Also No)
Mandoline slicer is, truthfully, a timesaver. But if you don’t have one, don’t fret—sharp knife does the trick. Once, I used the side of a cheese grater out of pure desperation, but wouldn’t recommend unless you like living on the edge!
Any round(ish) oven-safe dish will work. My cousin once made mini versions in a muffin tin—adorable and super fun for parties.
Storing the Spiral Sweet Potato Bake (If You’ve Got Leftovers)
It’ll keep in the fridge a couple of days, but honestly, in my house it never lasts more than a day! If you do manage to stash some, reheat covered in the oven or microwave—tastes decent cold, but not as good, in my opinion. I think the flavor actually deepens the next day, but I rarely get to test that theory.
How I Like to Serve It (And Family Traditions)
This bake is the unsung hero of Sunday roast dinners. I usually plop it in the center of the table, grab a spoon, and let everyone fend for themselves. Sometimes, I add a little scatter of chives on top for colour (my eldest calls it ‘confetti’). Pair with roasted chicken, grilled halloumi, or—if I’m feeling proper American—alongside a Thanksgiving spread. Or just, you know, eat it straight out of the dish with a fork on your sofa. No judgments.
Lessons Learned (So-Called Pro Tips)
- I once tried to rush the baking by cranking up the heat. Bad idea. Edges burned, centers raw. Patience is key—you’ve been warned.
- If you forget to oil under the spiral, it’s basically sweet potato glue. Actually, just err on the side of more oil rather than less.
- Fresh herbs are great, but don’t panic if you’re out; dried won’t ruin the day.
FAQ: Actual Questions I’ve Gotten
- Q: Can I prep this ahead?
Sure, you can slice and arrange ahead but, on second thought, don’t add the cheese until just before baking or it goes kinda chewy. - Q: Does it freeze well?
I wouldn’t—tried that once and, friend, it came out like sweet potato cardboard. Good for doorstops, not so much for eating. - Q: Is it kid-friendly?
My youngest eats anything with cheese on it, so yes! But, you might wanna skip the red pepper flakes for sensitive palates. - Q: Can I use regular potatoes?
Absolutely, though the flavor’s milder. Come to think of it, a mix is gorgeous (but maybe that’s just me loving a bit of colour on my plate). - Q: Any shortcuts?
Honestly? Get pre-sliced sweet potatoes if your store carries them. Life’s too short for sore wrists.
That’s it! Give it a go. If it looks messy, it probably still tastes fabulous. And if you manage to not eat every crispy bit the minute it comes out of the oven, you’re a stronger person than me.
Ingredients
- 3 large sweet potatoes, peeled and thinly sliced
- 2 tablespoons olive oil
- 2 cloves garlic, minced
- 1 teaspoon dried thyme
- 1 teaspoon dried rosemary
- 1/2 teaspoon salt
- 1/4 teaspoon black pepper
- 1/2 cup grated Parmesan cheese
- 2 tablespoons chopped fresh parsley (optional, for garnish)
Instructions
-
1Preheat the oven to 400°F (200°C). Grease a round baking dish with a little olive oil.
-
2Peel and thinly slice the sweet potatoes using a mandoline or sharp knife to ensure even slices.
-
3In a large bowl, toss the sweet potato slices with olive oil, minced garlic, thyme, rosemary, salt, and black pepper until well coated.
-
4Arrange the sweet potato slices upright in the prepared dish, creating a spiral pattern from the edge inward.
-
5Sprinkle grated Parmesan cheese evenly over the top. Cover with foil and bake for 30 minutes, then uncover and bake for another 20 minutes, or until the potatoes are tender and slightly crispy on top.
-
6Remove from the oven and garnish with fresh chopped parsley before serving.
Approximate Information for One Serving
Nutrition Disclaimers
Number of total servings shown is approximate. Actual number of servings will depend on your preferred portion sizes.
Nutritional values shown are general guidelines and reflect information for 1 serving using the ingredients listed, not including any optional ingredients. Actual macros may vary slightly depending on specific brands and types of ingredients used.
To determine the weight of one serving, prepare the recipe as instructed. Weigh the finished recipe, then divide the weight of the finished recipe (not including the weight of the container the food is in) by the desired number of servings. Result will be the weight of one serving.
Did you make this recipe?
Please consider Pinning it!!