Let Me Tell You About Taco Ranch Bites (And Yes, They Disappear Fast)
You know those times you just need something you can pull together fast for game night, movie marathons, or basically whenever your family is giving you that hungry-puppy stare? Yeah, that’s when Taco Ranch Bites come to the rescue. I first whipped these up on a whim after being guilted into hosting a last-minute potluck. They were such a hit that now, honestly, my friends ask specifically for me to make these – as if I was the taco magician or something. And listen, if you think perfectly round, fancy-looking bites matter, you’re in the wrong kitchen. Mine always come out a bit… rustic. But wildly tasty, that’s what counts, right?
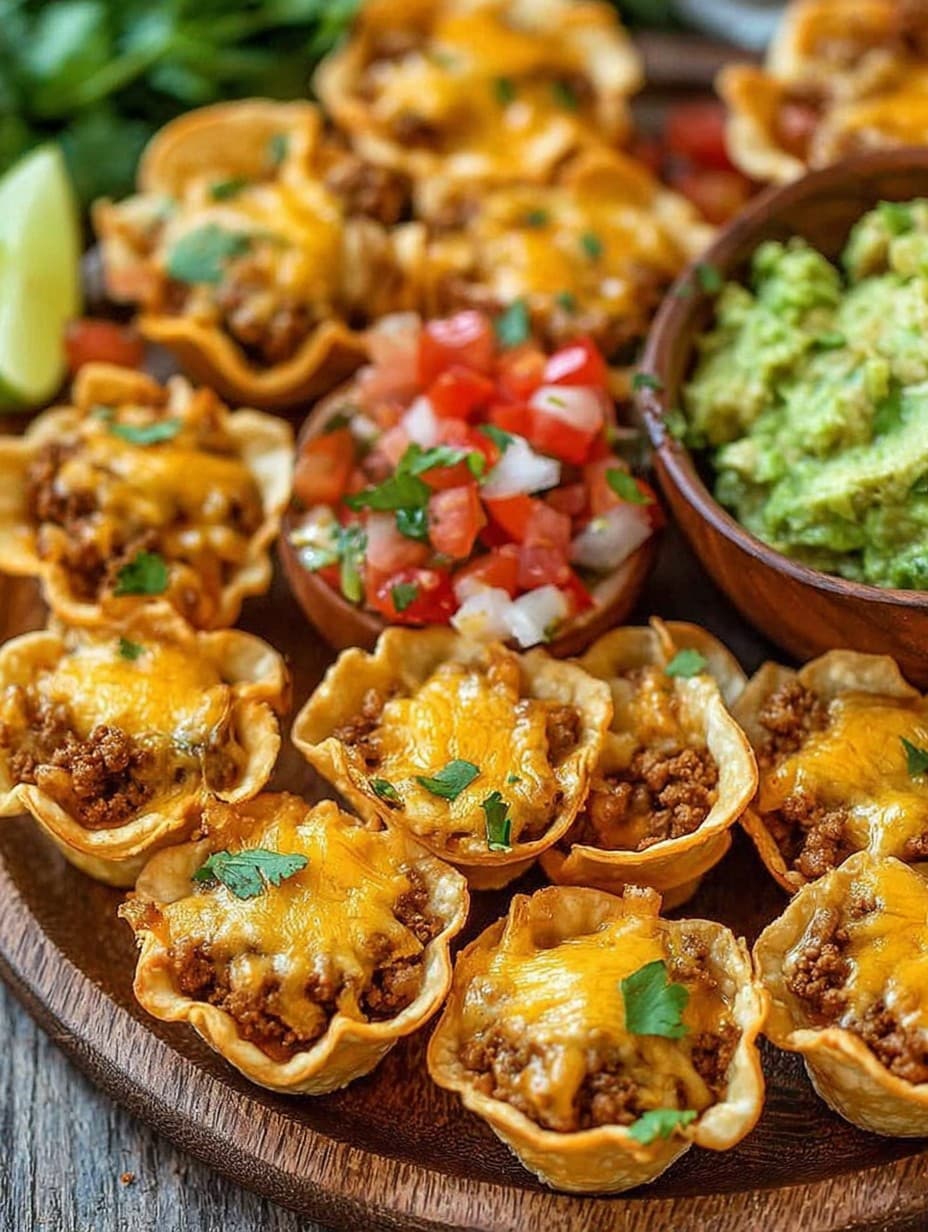
Why I Keep Making These (Other Than Being Pestered)
I make Taco Ranch Bites when I have to feed a crowd without breaking a sweat, or when I just want an excuse to eat with my hands. My family goes bananas for the combo of cheesy, zesty, slightly spicy goodness — they vanish in record time. Even my pickiest nephew, who claims to hate everything besides chicken nuggets, will sneak two of these before dinner (not that I let him… okay, fine, I do). And actually, even when I mess up and the cheese leaks out, they’re still gobbled up. Sometimes I have to physically shoo people away from the tray until it’s cooled. The only real downside is waiting for them to get out of the oven. Impatience is the enemy.
Here’s What You’ll Need For Taco Ranch Bites
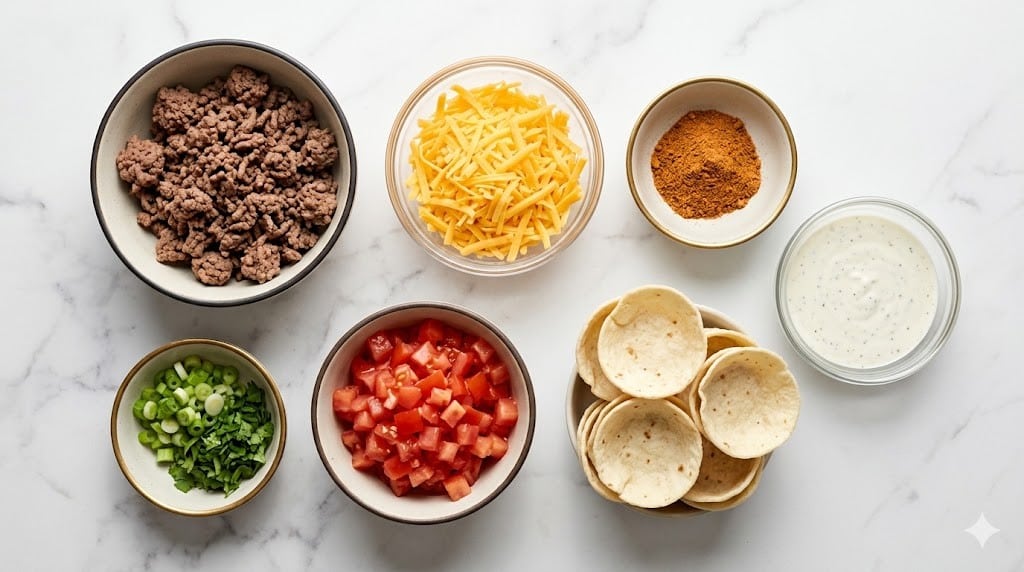
- 1 lb ground beef (sometimes I’ll use ground turkey or even leftover roast chicken, no shame)
- 1 packet taco seasoning (the classic supermarket one, or make your own if you’re fancy; my grandma swears by Old El Paso, but honestly anything is fine)
- 1 packet ranch dressing mix (Hidden Valley is what my neighbor uses, but the store brand never failed me)
- 1 cup shredded cheddar cheese (I’ve thrown in Monterey Jack when cheddar’s running low, nobody seemed to mind)
- 1 can (8 oz) refrigerated crescent roll dough (Pillsbury or whatever’s on sale; sometimes I use biscuit dough if it’s what I have)
- 1/3 cup sour cream (or plain Greek yogurt in a pinch, but it’s just not the same to me)
- 2 tablespoons chopped green onions (optional, but color always makes food more exciting, right?)
- Cooking spray or a dab of oil for your muffin tin (trust me, this makes cleanup a breeze)
How I Get These Taco Ranch Bites on the Table
- Brown the beef. In a biggish skillet, brown your ground beef over medium-high heat. Now’s a great time to drain off fat if you care about that sort of thing (or don’t, I won’t tell anyone).
- Season things up. Sprinkle in the taco seasoning and ranch mix while the beef’s still sizzling. Add a splash of water — just a tablespoon or so — if it starts looking dry. Give it a good stir and let it all simmer for a minute. This is where I usually sneak a pinch to taste; quality control and all that.
- Get cheese involved. Take it off the heat and toss in the shredded cheddar while it’s still warm so it melts. Stir it around until it’s one happy, gooey mess.
- Prep your dough. Unroll the crescent rolls and cut each triangle in half. (Actually, I sometimes just rip them apart roughly if I’m tired, and it still works.) Squish each piece into the bottom and up the sides of a greased mini muffin tin to make little dough cups. Don’t fret if they look a bit, um, ‘freeform’ at first.
- Fill ‘em up. Plop a spoonful of the beef-cheese mixture into each dough cup. I tend to overfill, but hey — more is more.
- Bake magic. Pop the tin in a 375°F oven for about 12-14 minutes, until the dough is puffed and golden and the cheese is bubbly. Sometimes my oven is hotter than the sun, so I check a minute or two early. You’ll smell them and know it’s time.
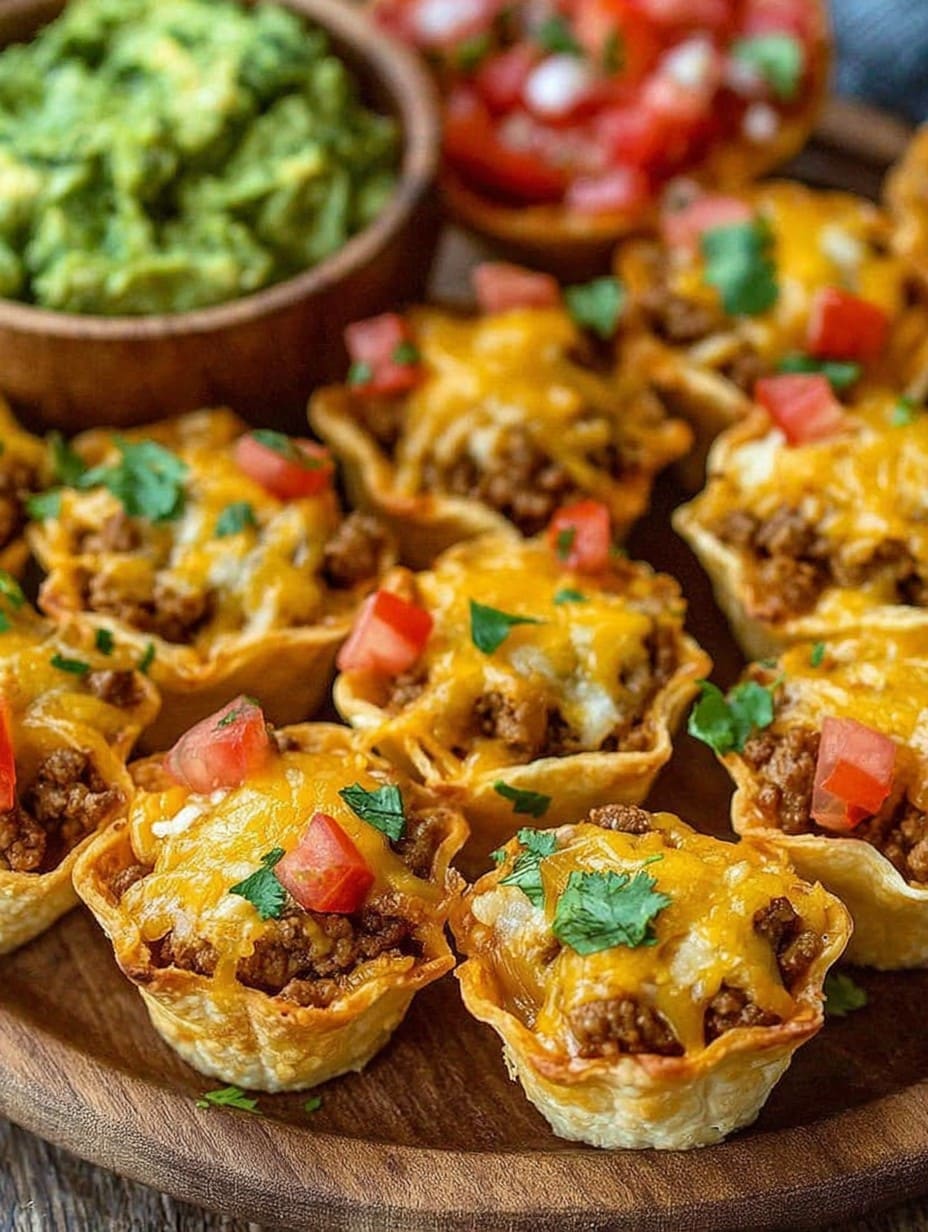
- Add finishing touches. Let them cool for a few minutes (good luck with that), then add a tiny dab of sour cream and a sprinkle of green onions on each one. Or skip it if nobody’s watching.
- Devour. Serve ‘em up right away! Or eat a couple in the kitchen and act innocent when folks ask where the extras went.
Real-World Notes (AKA: Things I’ve Learned the Hard Way)
- If you overstuff the cups, the cheese sometimes leaks out, but those crispy, cheesy bits on the pan are basically a cook’s treat. I call dibs.
- I tried lining with parchment once and, actually, it made things messier. Good old cooking spray is enough.
- If you forget the onion garnish, nobody cries (except maybe me, because green means healthy… sorta).
Variations That Worked — And One That Didn’t (RIP Black Bean Version)
- I swapped ground beef with crumbled plant-based “beef” once and it was surprisingly tasty — for the vegetarian cousin.
- Toss in chopped jalapeños if you like it spicy; my sister once added chopped pickles… that was, uh, unique.
- One time I tried to mash black beans into the mix instead of meat and, well, the texture was a little wonky. Next time I’ll just have black beans on the side.
Equipment You’ll Need (Or, What To Do If You Don’t Have It)
- Mini muffin tin — This helps make the perfect one-bite size. But I’ve done these in a regular 12-cup pan and just made bigger, two-bite guys. Or you can even make hand pies if you’re feeling rebellious.
- Mixing bowl & skillet.
- Sharp knife (for cutting dough) — but hey, clean scissors work too in a pinch.
How I Store (Or Don’t) Taco Ranch Bites
Technically, you’re supposed to store any leftovers in an airtight container in the fridge, where they’ll probably keep for 2-3 days. But honestly, in my house, they never last more than a day — I once tried to hide a few for a midnight snack and found an empty container the next morning. So much for planning ahead!
How I Like to Serve ‘Em (With Bonus Oddball Suggestion)
I usually pile Taco Ranch Bites on a platter and put out bowls of salsa, maybe extra sour cream. My weird uncle dips them in ketchup (I know, don’t ask). Sometimes, for movie night, we just pass the tin around and eat straight form the pan, which is not technically polite but, hey, no complaints here.
Pro Tips—Or Lessons Learned After a Few Flops
- Don’t try rushing the browning stage; I once tried to do it on high heat and, well, let’s just say crunchy ground beef isn’t the move. Moderate heat is your friend.
- Let the bites cool a few minutes. I’ve burned my tongue being overexcited more times than I care to admit.
- If the dough looks a little weird when you press it in, it fixes itself in the oven — like magic, or at least good science.
Some Questions I Actually Get About Taco Ranch Bites
- Can I freeze these?
- Yep, for sure — just skip the garnish and add it when you reheat. Thaw and pop in a hot oven for crispiness. If you microwave them, they’ll get a bit soggy; I learned that the hard way.
- Do I have to use crescent roll dough?
- Honestly, no. Biscuit dough or even pizza dough works, the flavor will just change a bit. I once used puff pastry and it puffed way more than expected but was still tasty.
- Can I make these ahead?
- Sure—you can assemble everything in advance, store in the fridge, and bake right before you need them. Actually, I think the flavors get even snazzier after sitting a few hours.
- How spicy are they?
- Not very spicy as written, unless you use hot taco seasoning. But you can totally jazz it up how you like!
- They stuck in my muffin tin—help?
- Yep, been there. Use a generous amount of cooking spray or even grease the cups with butter. And let them cool a bit before removing; that’s usually the trick.
And, if I forgot to mention something, just holler. I’ll probably think of five more tips the moment I hit send, anyway. Enjoy those Taco Ranch Bites—and let me know if you invent a wild new version! I love a good kitchen story, even if it goes sideways.
Ingredients
- 1 lb ground beef (sometimes I’ll use ground turkey or even leftover roast chicken, no shame)
- 1 packet taco seasoning (the classic supermarket one, or make your own if you’re fancy; my grandma swears by Old El Paso, but honestly anything is fine)
- 1 packet ranch dressing mix (Hidden Valley is what my neighbor uses, but the store brand never failed me)
- 1 cup shredded cheddar cheese (I’ve thrown in Monterey Jack when cheddar’s running low, nobody seemed to mind)
- 1 can (8 oz) refrigerated crescent roll dough (Pillsbury or whatever’s on sale; sometimes I use biscuit dough if it’s what I have)
- 1/3 cup sour cream (or plain Greek yogurt in a pinch, but it’s just not the same to me)
- 2 tablespoons chopped green onions (optional, but color always makes food more exciting, right?)
- Cooking spray or a dab of oil for your muffin tin (trust me, this makes cleanup a breeze)
Instructions
-
1Brown the beef. In a biggish skillet, brown your ground beef over medium-high heat. Now’s a great time to drain off fat if you care about that sort of thing (or don’t, I won’t tell anyone).
-
2Season things up. Sprinkle in the taco seasoning and ranch mix while the beef’s still sizzling. Add a splash of water — just a tablespoon or so — if it starts looking dry. Give it a good stir and let it all simmer for a minute. This is where I usually sneak a pinch to taste; quality control and all that.
-
3Get cheese involved. Take it off the heat and toss in the shredded cheddar while it’s still warm so it melts. Stir it around until it’s one happy, gooey mess.
-
4Prep your dough. Unroll the crescent rolls and cut each triangle in half. (Actually, I sometimes just rip them apart roughly if I’m tired, and it still works.) Squish each piece into the bottom and up the sides of a greased mini muffin tin to make little dough cups. Don’t fret if they look a bit, um, ‘freeform’ at first.
-
5Fill ‘em up. Plop a spoonful of the beef-cheese mixture into each dough cup. I tend to overfill, but hey — more is more.
-
6Bake magic. Pop the tin in a 375°F oven for about 12-14 minutes, until the dough is puffed and golden and the cheese is bubbly. Sometimes my oven is hotter than the sun, so I check a minute or two early. You’ll smell them and know it’s time.
-
7Add finishing touches. Let them cool for a few minutes (good luck with that), then add a tiny dab of sour cream and a sprinkle of green onions on each one. Or skip it if nobody’s watching.
-
8Devour. Serve ‘em up right away! Or eat a couple in the kitchen and act innocent when folks ask where the extras went.
Approximate Information for One Serving
Nutrition Disclaimers
Number of total servings shown is approximate. Actual number of servings will depend on your preferred portion sizes.
Nutritional values shown are general guidelines and reflect information for 1 serving using the ingredients listed, not including any optional ingredients. Actual macros may vary slightly depending on specific brands and types of ingredients used.
To determine the weight of one serving, prepare the recipe as instructed. Weigh the finished recipe, then divide the weight of the finished recipe (not including the weight of the container the food is in) by the desired number of servings. Result will be the weight of one serving.
Did you make this recipe?
Please consider Pinning it!




