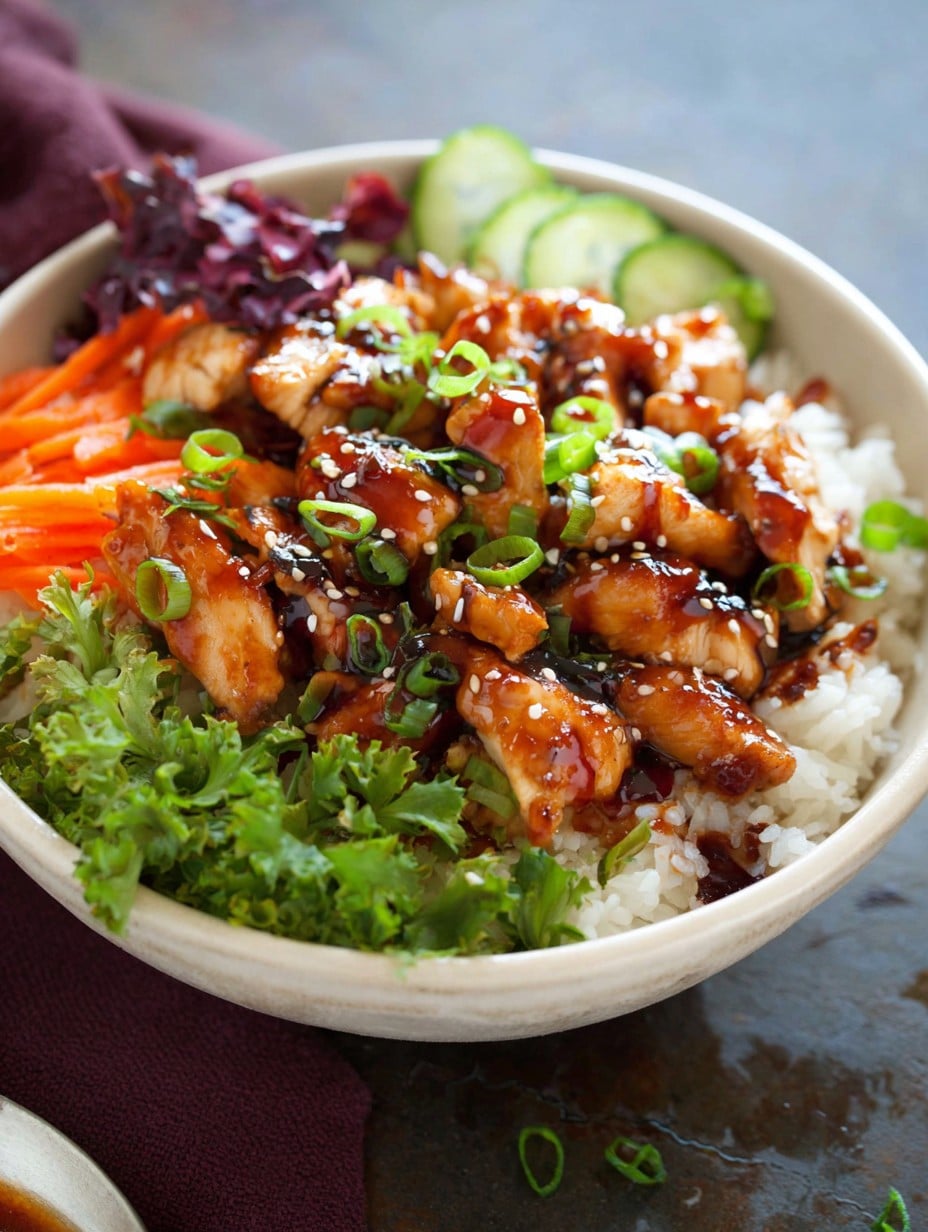
Alright, you know those nights when you just want dinner to cook itself? Well, this Teriyaki Chicken Rice Bowl does most of the heavy lifting for you. I started making something like this back in college, mostly because I couldn’t afford takeout unless it was free pizza night (which, by the way, is an emotional rollercoaster of its own). Since then, this bowl has somehow wormed its way into my “real adult” meal loop. It’s cozy, just the right kind of sticky-sweet, and a total crowd-pleaser—even my neighbor’s moody teenager wanted seconds last time, which never happens.
Why I Keep Coming Back to This
I usually make this when my fridge is looking a bit sad and I need to convince myself I’m eating something healthy-ish. My family goes absolutely wild for it, especially on those chilly evenings when no one can agree on what to eat, but everyone mysteriously appears at the table when they smell this cooking. (My partner claims the sauce is magic; honestly, it’s the garlic.) Once, I tried making a double batch hoping for lunch leftovers the next day—spoiler: didn’t stand a chance. Also, if rice cookers had a medal for bravery, mine would’ve earned it just for this dish.
What You’ll Need (and my usual swaps)
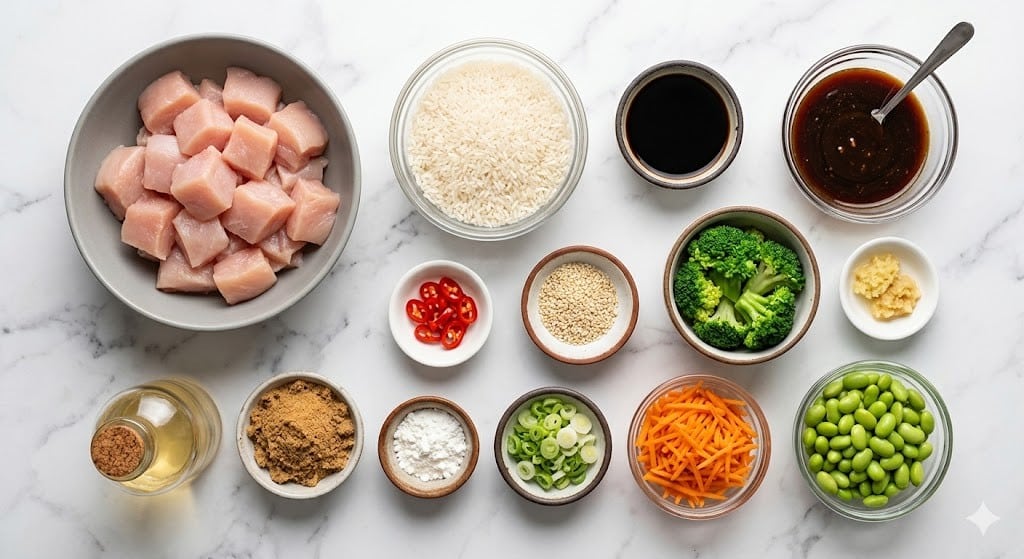
- 2 medium boneless, skinless chicken breasts (about 450g; thighs totally work too—sometimes they’re juicier, actually)
- Salt and black pepper, just a pinch each
- 1 tablespoon vegetable oil (or honestly, olive oil works fine—I don’t always have both)
- 1/2 cup low-sodium soy sauce (Grandma always insisted on Kikkoman, but store-brand is fine)
- 1/4 cup honey or brown sugar (I grab whichever is closer, both are great)
- 2 tablespoons rice vinegar (apple cider vinegar will do in a pinch; tasted just as good last time I ran out)
- 2 tablespoons mirin (optional, but if you’ve got it, use it—it adds a little oomph)
- 1 tablespoon fresh ginger, grated (I’ll be honest, I’ve used the squeeze-tube stuff in a rush; no shame)
- 2 garlic cloves, minced
- 2 teaspoons cornstarch mixed with 2 tablespoons cold water (for thickening—skip if you lose patience)
- 2 cups cooked white rice (short or medium grain, or swap for jasmine if you’re feeling fancy)
- 1 cup steamed broccoli florets (or whatever veggie is rolling around in your crisper, carrots get my vote in winter)
- 1/2 cup shredded carrot (pre-shredded? Go for it. Chopping carrots is my culinary nemesis.)
- 1-2 scallions, sliced thin
- 1 tablespoon sesame seeds (black or white or, occasionally, none when I get lazy—it’s fine)
How to Make Teriyaki Chicken Rice Bowls (My Lazy-Smart Way)
- First off, dice up your chicken into bite-sized bits. I pat them dry and sprinkle with a smidge of salt and black pepper. (I never measure this, just wing it. The chicken doesn’t mind.)
- Heat your oil in a big frying pan over medium-high—when it’s hot, toss in the chicken. Let it get some color, stirring occasionally. About 5-6 minutes usually does the trick, but if the pieces are chunkier, give ’em a minute more. Don’t fuss if it sticks a little—those crusty bits are flavor gold. This is where I usually sneak a taste. No regrets!
- Lower the heat to medium. Push chicken aside for a sec, and in the same pan, pour in your soy sauce, honey (or sugar), vinegar, mirin, ginger, and garlic. Stir it around. The aroma—just wait for it. Let everything simmer together, about 2-3 minutes. The sauce should get all glossy and start smelling borderline irresistible. Don’t worry if it looks thin.
- Mix cornstarch and water in a cup. Pour that into your pan, stir like you mean it, and keep simmering until everything thickens up (maybe 1 min)—if it looks weirdly goopy at first, just keep stirring. Been there!
- Turn off the heat. Chicken should be sticky, saucy, and glossy as heck. (If it’s not, just simmer another minute. No biggie.)
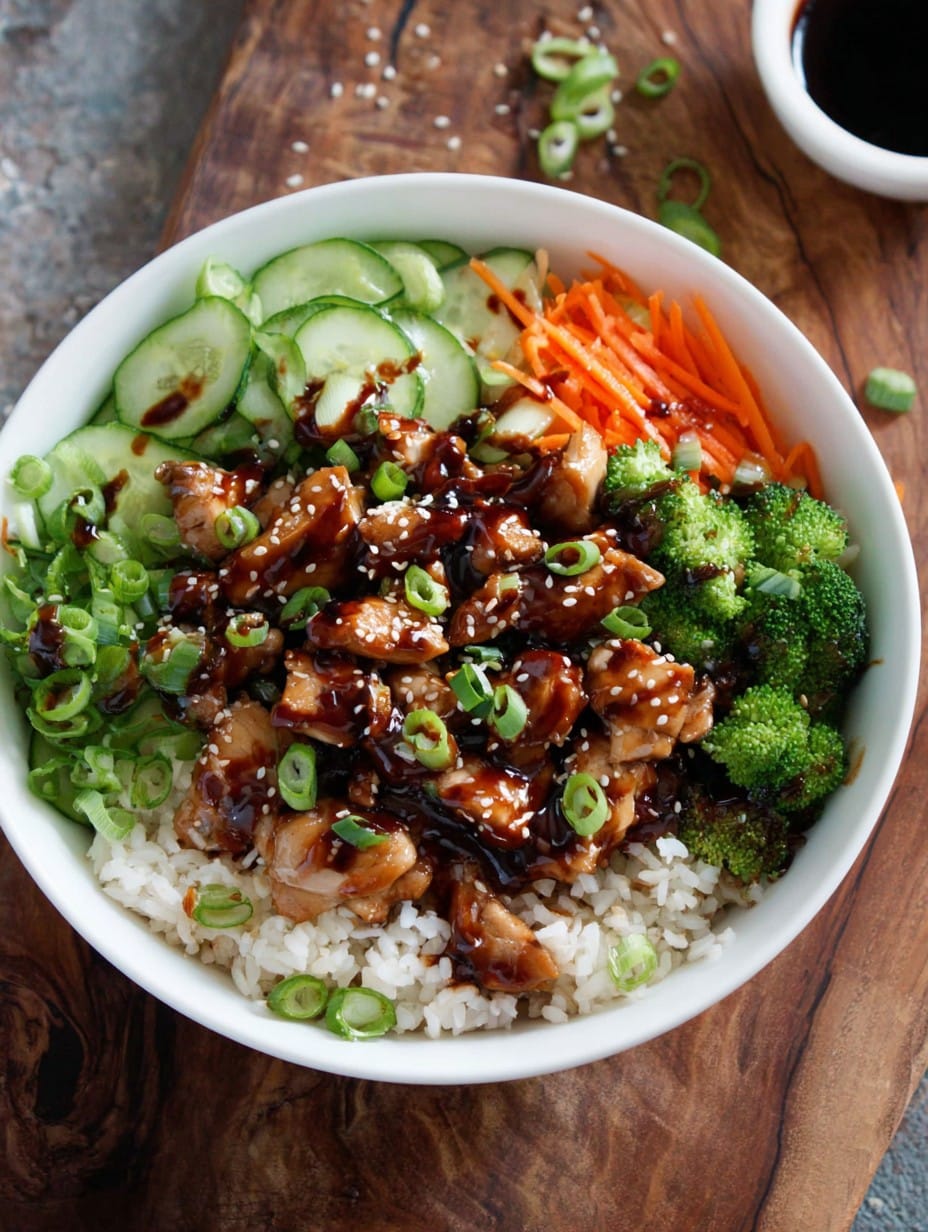
- To build your bowl, start with rice. Spoon that cozy chicken plus all the sauce over the top, then all your veggies—broccoli, carrots, whatever feels right. Chuck scallions and sesame seeds on top. To be honest, half the time I eat it straight from the pan, so…no judgment.
Notes (Usually Learned the Slightly Hard Way)
- If you only have frozen chicken, that works too—a quick microwave defrost and you’re golden.
- Leftover rice works great (actually, I think the texture is better). Fresh rice can sometimes get a bit mushy if you overcook it with the sauce. Learned this the dramatic way!
- Out of soy sauce? Tamari or coconut aminos pass the vibe check, though the flavor’ll be slightly different.
Variations I’ve Actually Tried
- Subbed tofu for the chicken—pretty tasty, especially with a crispy cornflour dusting. But tofu tends to stick, so use nonstick if you can.
- Once tried adding pineapple chunks. Thought it’d be tropical, but it was…confusing? Wouldn’t repeat unless you’re feeling like a mad scientist.
- Beef strips work if you’re out of chicken, though cook them a little less so they stay tender. Learned form experience!
Equipment: Do What You Can!
All you truly need is a large frying pan or deep skillet and maybe a rice cooker or saucepan for the rice. Oh, and a wooden spoon (or plastic, or…I once used a salad tongs, long story). If you don’t have a lid for steaming the broccoli, just zap it in the microwave for a minute in a bowl with a splash of water. Works a treat!
Keeping Leftovers (For as Long as They Last)
Honestly, these bowls keep in the fridge for up to 3 days, but in my house they’re a one-night wonder. Reheat gently in the microwave, or toss the chicken and rice in a frying pan with a dash of water, lid on, for a few minutes. That way it doesn’t get dry (I used to nuke it on high—never again).
How I Serve This (Totally Optional, but…)
I like to pile everything in shallow bowls and eat with chopsticks—mainly because it slows me down enough to actually taste the food. Kids prefer it with extra sauce dumped over the veggies. Sometimes I sprinkle crunchy fried onions on top, which isn’t traditional at all but, wow, it’s tasty. Fridays, I’ve even thrown on a drizzle of spicy mayo.
Pro Tips (a Few I Learned the Hard Way)
- If you rush the sauce thickening, it will taste raw. I once dumped everything in cold because I got impatient and it was not the best.
- Chop your veggies before you start the chicken, trust me or else you’ll be juggling knives with sticky fingers. Not fun.
- Don’t crowd the pan—if your chicken steams instead of browns, it’ll come out kinda bland. (On second thought, better to cook in two batches if you’re doubling up.)
People Actually Ask Me These Things (!)
- Can I make this without rice? Sure! I’ve served it with quinoa, or even over noodles that one desperate night when I ran out. Couscous was…a weird one though, wouldn’t do that again.
- How spicy can I make it? Totally up to you. Add chili flakes or a squirt of sriracha to the sauce. I sometimes split the sauce—half mild, half nuclear—for everyone’s sanity.
- Fresh or frozen veg? Either works. I used to think you had to steam fresh broccoli, but frozen straight from the bag steams up just fine. Don’t stress.
- Can I prep it ahead? Yup, you can chop chicken and veggies a day ahead and stash them in the fridge. The sauce is easy to whisk together ahead, too.
- Is it freezer friendly? The chicken and sauce, yes! Rice, not so much unless you like it a little tougher. The texture gets odd, but if you’re not picky (I’m not judging), go for it.
If you got through all that, kudos! Hope your Teriyaki Chicken Rice Bowl is a hit. If not—you didn’t hear it form me.
Ingredients
- 2 medium boneless, skinless chicken breasts (about 450g; thighs totally work too—sometimes they’re juicier, actually)
- Salt and black pepper, just a pinch each
- 1 tablespoon vegetable oil (or honestly, olive oil works fine—I don’t always have both)
- 1/2 cup low-sodium soy sauce (Grandma always insisted on Kikkoman, but store-brand is fine)
- 1/4 cup honey or brown sugar (I grab whichever is closer, both are great)
- 2 tablespoons rice vinegar (apple cider vinegar will do in a pinch; tasted just as good last time I ran out)
- 2 tablespoons mirin (optional, but if you’ve got it, use it—it adds a little oomph)
- 1 tablespoon fresh ginger, grated (I’ll be honest, I’ve used the squeeze-tube stuff in a rush; no shame)
- 2 garlic cloves, minced
- 2 teaspoons cornstarch mixed with 2 tablespoons cold water (for thickening—skip if you lose patience)
- 2 cups cooked white rice (short or medium grain, or swap for jasmine if you’re feeling fancy)
- 1 cup steamed broccoli florets (or whatever veggie is rolling around in your crisper, carrots get my vote in winter)
- 1/2 cup shredded carrot (pre-shredded? Go for it. Chopping carrots is my culinary nemesis.)
- 1-2 scallions, sliced thin
- 1 tablespoon sesame seeds (black or white or, occasionally, none when I get lazy—it’s fine)
Instructions
-
1First off, dice up your chicken into bite-sized bits. I pat them dry and sprinkle with a smidge of salt and black pepper. (I never measure this, just wing it. The chicken doesn’t mind.)
-
2Heat your oil in a big frying pan over medium-high—when it’s hot, toss in the chicken. Let it get some color, stirring occasionally. About 5-6 minutes usually does the trick, but if the pieces are chunkier, give ’em a minute more. Don’t fuss if it sticks a little—those crusty bits are flavor gold. This is where I usually sneak a taste. No regrets!
-
3Lower the heat to medium. Push chicken aside for a sec, and in the same pan, pour in your soy sauce, honey (or sugar), vinegar, mirin, ginger, and garlic. Stir it around. The aroma—just wait for it. Let everything simmer together, about 2-3 minutes. The sauce should get all glossy and start smelling borderline irresistible. Don’t worry if it looks thin.
-
4Mix cornstarch and water in a cup. Pour that into your pan, stir like you mean it, and keep simmering until everything thickens up (maybe 1 min)—if it looks weirdly goopy at first, just keep stirring. Been there!
-
5Turn off the heat. Chicken should be sticky, saucy, and glossy as heck. (If it’s not, just simmer another minute. No biggie.)
-
6To build your bowl, start with rice. Spoon that cozy chicken plus all the sauce over the top, then all your veggies—broccoli, carrots, whatever feels right. Chuck scallions and sesame seeds on top. To be honest, half the time I eat it straight from the pan, so…no judgment.
Approximate Information for One Serving
Nutrition Disclaimers
Number of total servings shown is approximate. Actual number of servings will depend on your preferred portion sizes.
Nutritional values shown are general guidelines and reflect information for 1 serving using the ingredients listed, not including any optional ingredients. Actual macros may vary slightly depending on specific brands and types of ingredients used.
To determine the weight of one serving, prepare the recipe as instructed. Weigh the finished recipe, then divide the weight of the finished recipe (not including the weight of the container the food is in) by the desired number of servings. Result will be the weight of one serving.
Did you make this recipe?
Please consider Pinning it!




