This Strawberry Cake Roll Might Just Start Family Fights (In a Good Way)
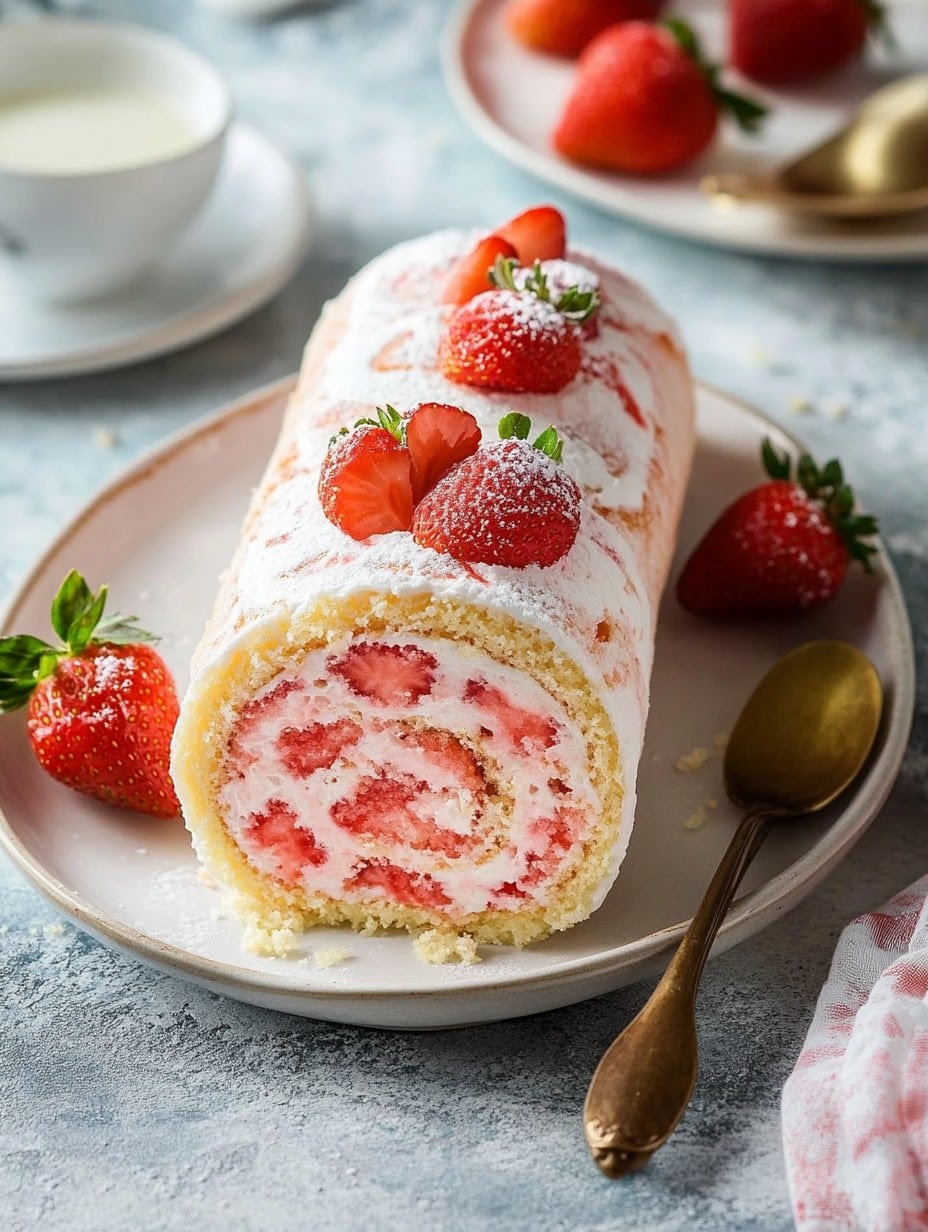
I’ll be honest—when I first set out to make a strawberry cake roll with the pattern baked in, I half-expected it’d turn out like one of those baking fail memes. You know, the ones where the expectation is all Pinterest-glam and the reality’s closer to a bad science experiment? But my niece begged for something “with strawberries and swirls” for her birthday, and I’m a sucker, so here we are. By the end, I was just as giddy as the kids—pattern and all! The look on my grumpy Uncle Pete’s face when he had seconds? Priceless. And the best part is, honestly, it’s a lot easier than it looks (just don’t tell them that).

Why I Keep Coming Back To This Recipe (Even When I Swear I Won’t)
I make this strawberry cake roll when I want to look like I’ve got my baking act way more together than I really do. My family totally loses it over the bright swirls and silly little hearts baked right into the cake. (Pro tip: the pattern hides minor cracks, which is very handy because rolling this thing isn’t always a walk in the park!). Plus, every time I think I’ll experiment with another filling, folks only ask for more strawberries. Also, don’t be fooled—I used to fear the word “sponge,” but this one’s not out to get you… most days.
The Ingredients—With My Usual Substitutions
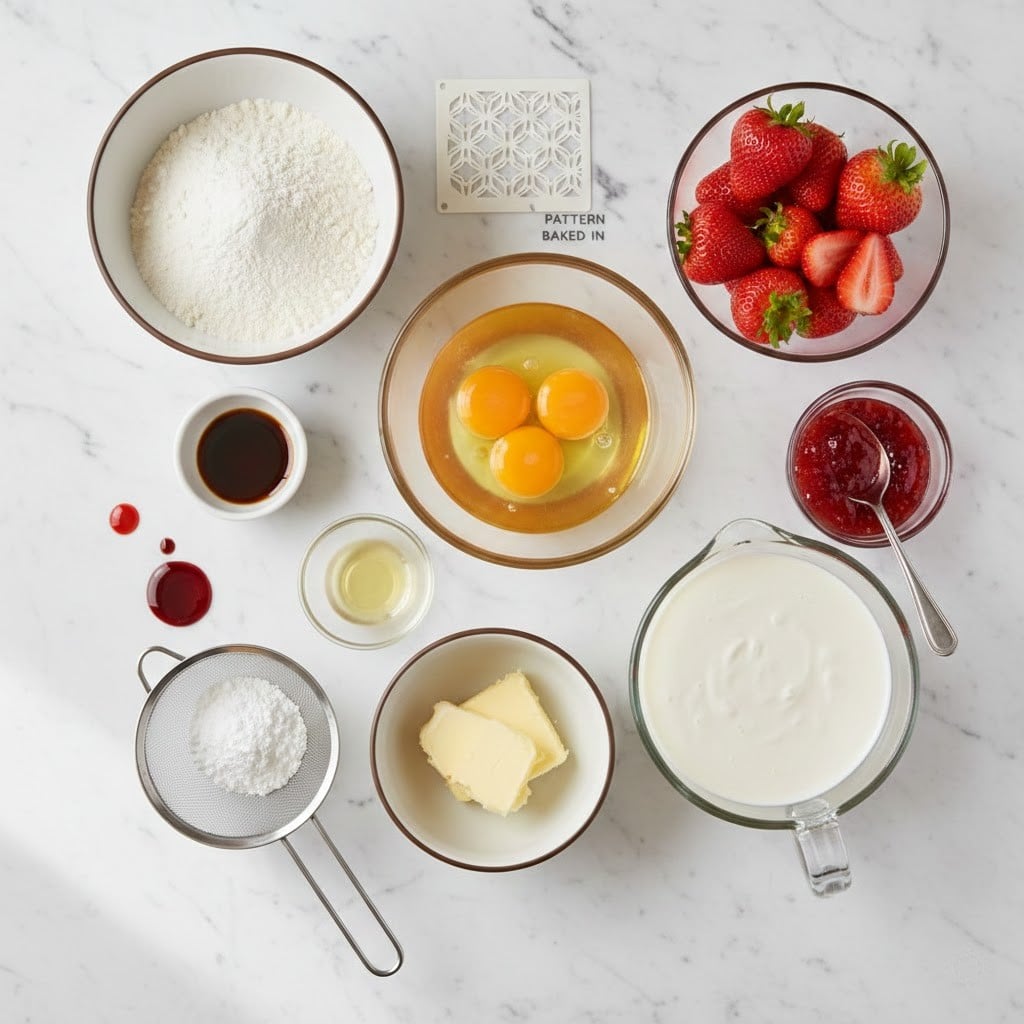
- 3 large eggs (sometimes I use 4 medium if that’s what’s in the fridge)
- 100g (1/2 cup) granulated sugar (regular table sugar, or superfine if you’re feeling fancy)
- 90g (3/4 cup) cake flour (plain all-purpose honestly works fine in a pinch, just sift it!)
- 1 tsp vanilla extract (I’ve swapped in lemon for a zingy thing—results = mixed)
- 1/4 tsp salt
- 20g (about 1.5 tbsp) unsalted butter, melted and cooled
- Food coloring for pattern (red, pink, or whatever wild color your heart fancies)
- 1 tbsp milk (any type—I’ve even used oat milk once, didn’t notice the diff)
- — For the Filling:
- 2/3 cup heavy cream, chilled
- 1 tbsp powdered sugar (sometimes a bit more if you love it sweet)
- 1/2 tsp vanilla or a splash of strawberry liqueur (optional and fun)
- 120g (about 1 heaping cup) fresh strawberries, chopped (frozen is OK but drain well!)
Let’s Actually Make It! (The Fun and The Mess)
- Preheat your oven to 350°F (175°C). Line a 10×15 inch jelly roll pan with parchment. You can butter the sides if you want, I usually forget and it’s been okay so far.
- This is the wild part: for the pattern, mix 2 tbsp of cake batter with food coloring and 1 tsp of the milk. Spoon (or pipe if you’re feeling extra) squiggles, hearts, or polka dots right onto the parchment. Freeze the pan for 10 minutes—(trust me, keeps it sharp). Random shapes are fine, no one will report you.
- For the rest of the batter, whip the eggs and sugar until quadrupled in volume—think pale and fluffy, about 5-7 minutes. Your arm might get tired, but it’s worth it.
- Add vanilla, and salt. Sift in the flour in two goes, folding gently with a spatula and panicking slightly if it deflates (it’s ok, just be gentle-ish). Fold in melted butter at the end. Stop once it’s mostly combined; over-mixing is the enemy.
- Pour (really, kind of plop) the batter over the frozen design in your pan. Spread gently to the edges—don’t fuss if it looks uneven. It’ll bake up fine.
- Bake for 10 to 12 minutes, until barely golden and springy. Overbaking makes it crack more, so hover a bit and maybe do a dance to kill time.
- Straight out the oven, flip the cake onto a tea towel dusted with powdered sugar (or a clean, fluffy old t-shirt, don’t tell anyone I said that). Peel the parchment. Immediately roll the cake up in the towel, starting from the short end with the pattern outside. Let it cool like this—it remembers the shape.
- Meanwhile, for the filling, whisk cream, powdered sugar, and vanilla until soft-medium peaks form. Try not to eat half of it at this stage (I fail a lot). Fold in the chopped strawberries.
- Carefully unroll the cooled cake. It might crack a bit; don’t panic, the filling will glue things together. Spread the whipped cream-strawberry mix all over, almost to the edges.
- Reroll the cake (minus tea towel). Wrap in plastic and chill for at least 30 minutes to set. Freak out over how cute the pattern looks, or just cover it with extra berries to hide flaws.
Some Notes I Learned the Messy Way
- The pattern looks better if you use a thicker batter for it. Don’t over-thin it or it smears when baking.
- I’ve tried rolling the cake before peeling the parchment and I don’t recommend it—you’ll get a rug burn–style disaster.
- If you forget to freeze the piped pattern, it still bakes up, just blurrier. Kids still think it looks cool.
When I Got Bold: Variations (Some Good, Some…Not)
- Tried with lemon curd and raspberries instead, pretty tasty but way messier to slice.
- Used a chocolate cake base once—looked dramatic, but strawberries got overpowered honestly.
- Attempted matcha powder for a green design; tasted solid, but my family swore it looked like swamp camouflage. Not a repeat in our house.
Do I Really Need Fancy Tools? (A Pep Talk)
You’ll want a jelly roll pan for the right thickness, but actually, one time I used a regular cookie sheet with a little foil “dam” at the edge, and it worked okay. For piping patterns, a zip-top bag with the corner snipped is just fine if you can’t find your piping tip (like me, most weeks).
Storage Bits (If It Ever Gets That Far)
Store the finished cake roll in the fridge, tightly wrapped in plastic. It should last 2 days, but, honestly, in my place it’s usually just crumbs by the next morning. If you add lots of berries, it might get a bit weepy after a day, so eat it sooner rather than later.
Serving Vibes
I like thick slices, sometimes dusted with powdered sugar, sometimes with an embarrassing mound of whipped cream and more berries. My mum thinks it’s breakfast if you add yogurt, but that’s a stretch—still, who am I to judge?
Pro Tips I’ve Stumbled Upon
- Take your time rolling up the cake while it’s hot; I once tried to rush this step and ended up with cake confetti. Not as cute as it sounds.
- Layer plastic wrap on your cutting board when filling, so the cleanup isn’t such a bear.
- Don’t try to double the recipe unless you have a commercial oven… trust me, tried that at a church bake sale and it was a comedy of errors.
FAQ—Your Questions, Answered As Best As I Can
- Does this work with gluten-free flour? Actually, yes, but make sure you use a blend with xanthan gum or it gets weirdly fragile. I find the taste changes a tiny bit but it’s still smashing.
- How do I stop the cake from sticking? Loads of powdered sugar on the towel (or t-shirt, see above) is your best friend. Don’t be shy with it.
- Can I freeze this? I wouldn’t—strawberries get watery, and it’s, erm… mushy. But you could freeze the unfilled cake and roll it later. That works out all right.
- What if my pattern bleeds? Welcome to the club; just say it’s “artistic.” Honestly, nobody cares once it’s sliced and full of cream and strawberries.
- The cake cracked! Did I ruin it? No way. The filling covers a multitude of sins. Some cracks just mean more places for cream to hide—almost a bonus.
And if you stuck with me all the way to the end—cheers! May your cake rolls unroll only once and your patterns stay sharp. (Or not. Still tastes ace.)
Ingredients
- 3 large eggs (sometimes I use 4 medium if that’s what’s in the fridge)
- 100g (1/2 cup) granulated sugar (regular table sugar, or superfine if you’re feeling fancy)
- 90g (3/4 cup) cake flour (plain all-purpose honestly works fine in a pinch, just sift it!)
- 1 tsp vanilla extract (I’ve swapped in lemon for a zingy thing—results = mixed)
- 1/4 tsp salt
- 20g (about 1.5 tbsp) unsalted butter, melted and cooled
- Food coloring for pattern (red, pink, or whatever wild color your heart fancies)
- 1 tbsp milk (any type—I’ve even used oat milk once, didn’t notice the diff)
- 2/3 cup heavy cream, chilled
- 1 tbsp powdered sugar (sometimes a bit more if you love it sweet)
- 1/2 tsp vanilla or a splash of strawberry liqueur (optional and fun)
- 120g (about 1 heaping cup) fresh strawberries, chopped (frozen is OK but drain well!)
Instructions
-
1Preheat your oven to 350°F (175°C). Line a 10×15 inch jelly roll pan with parchment. You can butter the sides if you want, I usually forget and it’s been okay so far.
-
2This is the wild part: for the pattern, mix 2 tbsp of cake batter with food coloring and 1 tsp of the milk. Spoon (or pipe if you’re feeling extra) squiggles, hearts, or polka dots right onto the parchment. Freeze the pan for 10 minutes—(trust me, keeps it sharp). Random shapes are fine, no one will report you.
-
3For the rest of the batter, whip the eggs and sugar until quadrupled in volume—think pale and fluffy, about 5-7 minutes. Your arm might get tired, but it’s worth it.
-
4Add vanilla, and salt. Sift in the flour in two goes, folding gently with a spatula and panicking slightly if it deflates (it’s ok, just be gentle-ish). Fold in melted butter at the end. Stop once it’s mostly combined; over-mixing is the enemy.
-
5Pour (really, kind of plop) the batter over the frozen design in your pan. Spread gently to the edges—don’t fuss if it looks uneven. It’ll bake up fine.
-
6Bake for 10 to 12 minutes, until barely golden and springy. Overbaking makes it crack more, so hover a bit and maybe do a dance to kill time.
-
7Straight out the oven, flip the cake onto a tea towel dusted with powdered sugar (or a clean, fluffy old t-shirt, don’t tell anyone I said that). Peel the parchment. Immediately roll the cake up in the towel, starting from the short end with the pattern outside. Let it cool like this—it remembers the shape.
-
8Meanwhile, for the filling, whisk cream, powdered sugar, and vanilla until soft-medium peaks form. Try not to eat half of it at this stage (I fail a lot). Fold in the chopped strawberries.
-
9Carefully unroll the cooled cake. It might crack a bit; don’t panic, the filling will glue things together. Spread the whipped cream-strawberry mix all over, almost to the edges.
-
10Reroll the cake (minus tea towel). Wrap in plastic and chill for at least 30 minutes to set. Freak out over how cute the pattern looks, or just cover it with extra berries to hide flaws.
Approximate Information for One Serving
Nutrition Disclaimers
Number of total servings shown is approximate. Actual number of servings will depend on your preferred portion sizes.
Nutritional values shown are general guidelines and reflect information for 1 serving using the ingredients listed, not including any optional ingredients. Actual macros may vary slightly depending on specific brands and types of ingredients used.
To determine the weight of one serving, prepare the recipe as instructed. Weigh the finished recipe, then divide the weight of the finished recipe (not including the weight of the container the food is in) by the desired number of servings. Result will be the weight of one serving.
Did you make this recipe?
Please consider Pinning it!