So, You Want Brownies… but Not the Sugar Crash?
Brownies are the sort of thing I make when I want comfort and chocolate, but not the guilt spiral afterwards. Actually, my earliest memory of baking brownies is helping my mum (she always let me lick the bowl, naturally) and realizing that chocolatey mess can become something magical if you just trust the process. These days, I try to dodge sugar where I can, and this Zero Sugar Brownies with Greek Yogurt recipe has saved my sweet tooth more times than I care to admit – and sometimes I make them just because the house needs that chocolatey-warm smell. Plus, it’s ridiculously simple, so if you tend to wander off mid-bake (I do), you won’t mess it up. Probably.
Why I Keep Making These Again (and Again…)
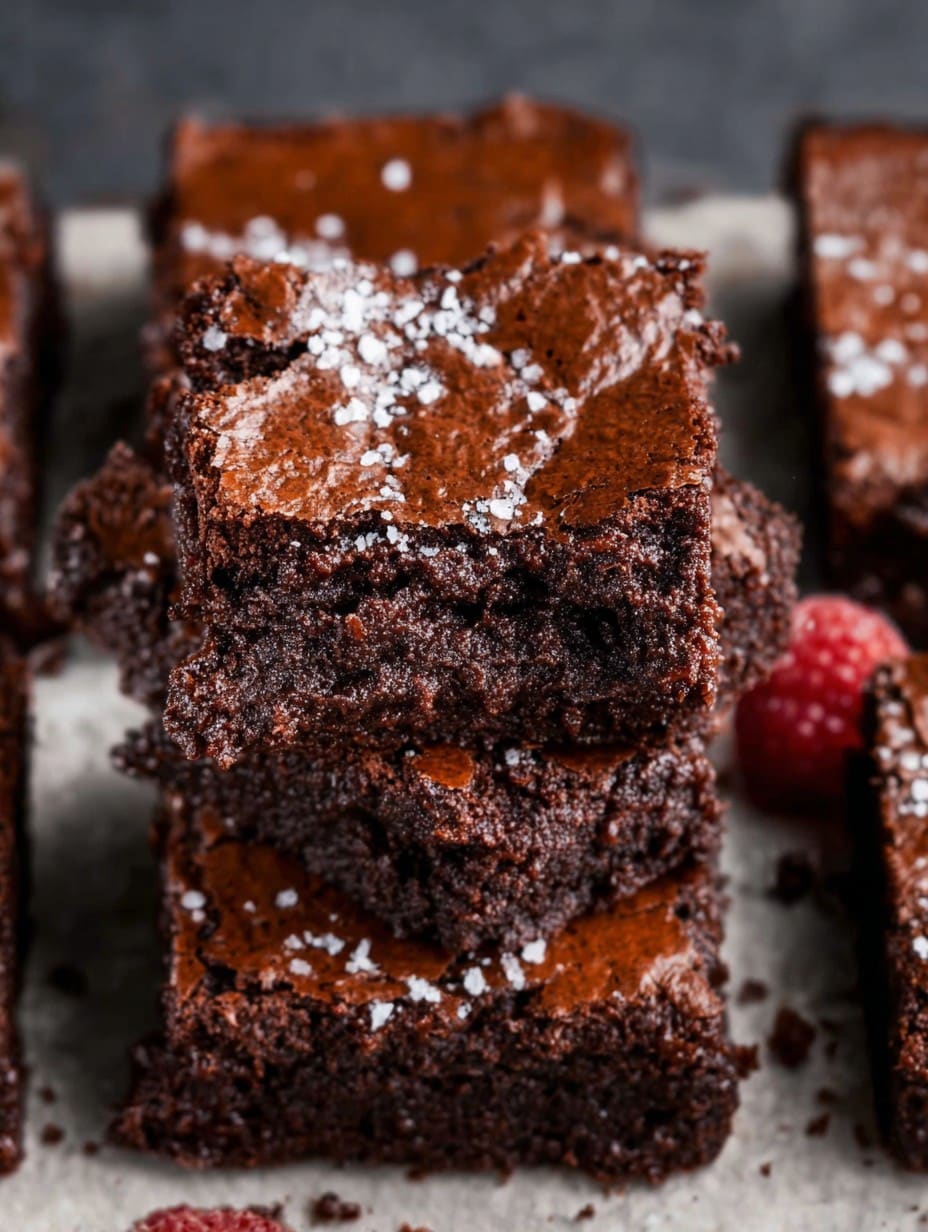
I bake these brownies when my family is requesting dessert after a Tuesday night meatloaf (not the glamor of Friday, but you get me). My kids go absolutely wild for them because they can’t tell they’re healthy (honestly, they’d riot). I’ve tested a lot of sugar swaps and, trust me, most don’t taste right – but with Greek yogurt keeping things moist and fudgy, nobody complains. The batter always looks a touch weird at first (don’t panic), but bake it and you’ll see. Only thing: be prepared for them to vanish faster than you can let them cool – I don’t even pretend to slice them neatly anymore.
You’ll Need (But Don’t Stress Over Brand Names)
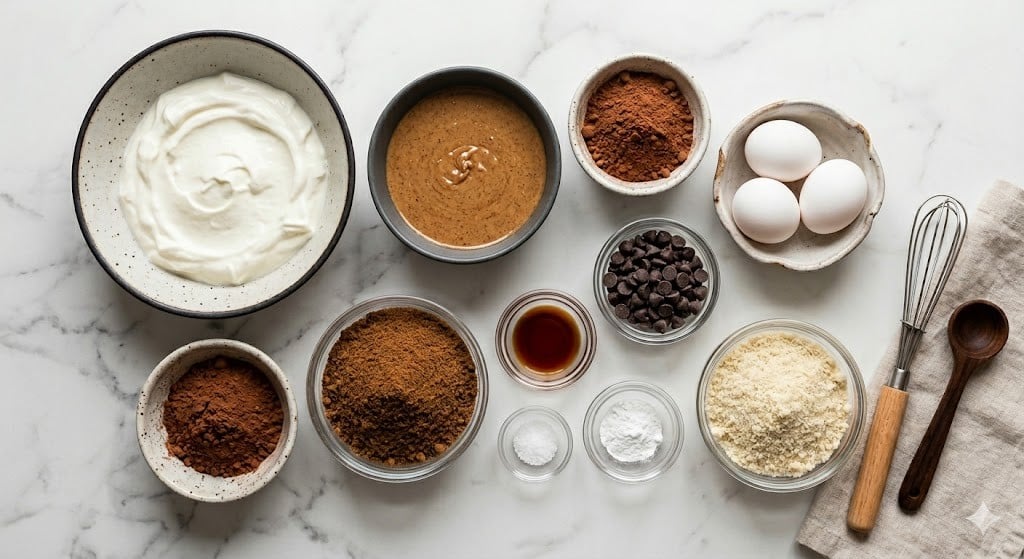
- 1 cup plain Greek yogurt (full fat is my go-to, but low fat works if that’s all you have; my neighbor swears by vanilla Greek yogurt, but I think that’s a bit much)
- 3/4 cup zero-calorie sweetener (like erythritol or monk fruit; to be honest, I use whatever’s on sale)
- 2 large eggs (sometimes I throw in an extra yolk if I’m feeling fancy)
- 2 teaspoons vanilla extract (real, fake… won’t make or break it)
- 1/2 cup unsweetened cocoa powder (Dutch-process is great, but regular is fine; I’ve used whatever comes out of the cupboard first)
- 1/2 cup flour (all-purpose, or whole wheat if that’s what you’ve got – just avoid self-rising, learned that the hard way)
- 1/4 teaspoon salt (I once forgot this, and yes, you’ll notice if you skip it)
- 1/2 teaspoon baking powder (not soda – though I think I mixed them once… worked out alright)
- 1/3 cup sugar-free chocolate chips (optional, but highly recommended; I sometimes chuck in walnuts if I’ve got them)
Okay, Here’s What You Do (With Some Asides)
- Preheat your oven to 350°F (175°C). Grease an 8-by-8 inch pan – I use that ancient nonstick spray, but butter works, too. Or parchment if you feel posh.
- In a big mixing bowl, throw in your Greek yogurt and zero-calorie sweetener. Whisk them up till smooth-ish. This is where it tends to look a bit odd. Don’t fret.
- Add the eggs and vanilla. Whisk like you mean it till it’s all combined. I sometimes crack one egg at a time but, honestly, all at once does the trick, too.
- Sift the cocoa, flour, salt, and baking powder straight into the bowl (or just dump if you’re in a hurry – lumps are not the end of the world). Stir ‘til mostly smooth. This is when I sneak a taste.
- Fold in those sugar-free chocolate chips (and nuts, if you feel inclined). Try not to eat them all out of the bag first, which I have.
- Scrape the batter into your pan and, if you want, smooth out the surface – but if you forget, you get those fun crackly tops, so win-win.
- Bake for 22-25 minutes, but I start checking at 20. My oven runs hot (or maybe it’s just vengeful). Stick a toothpick in – you want a few crumbs clinging, not totally clean.
- Cool in the pan as long as you can stand it (I’m terrible at waiting). Cut into squares, or just attack with a spoon. No judgement.
What I Wish I Knew Before
- Let them cool all the way if you can – they firm up a ton, but I almost never wait long enough.
- If they seem a bit dry, I’ve found microwaving a square with a dab of Greek yogurt on top brings them back to fudgy heaven.
- The kind of sweetener does change the taste a little – monk fruit’s my favorite, but erythritol is everywhere and works in a pinch.
I Tried These Twists (and One Dud…)
- Adding espresso powder: Super deep chocolatey vibe. Highly recommended.
- Peanut butter swirl: Kind of an effort, but my eldest now demands it. Just drop spoonfuls and drag a knife through.
- Swapped in coconut flour once: Not my smartest move. Texture went weirdly sandy. Wouldn’t repeat. Stick to regular flour or whole wheat!
Gear List (And What to Do If You Don’t Have It)
- 8×8-inch baking pan – if you only have a 9×13, just double the recipe or expect flatter brownies
- Mixing bowl – mine’s chipped, no issue
- Whisk, or a sturdy fork will do (I’ve had many whisk casualties over the years)
- Spoon or spatula – a butter knife works when I’m desperate
How to Store ‘em (Not That You’ll Need This Info…)
These brownies keep nicely in an airtight container at room temp for about 3 days—though honestly, in my house, a batch rarely survives through breakfast the next morning. If you actually have leftovers, chill them for fudgier results.
How We Serve Them (Or: Why Plates Are Optional)
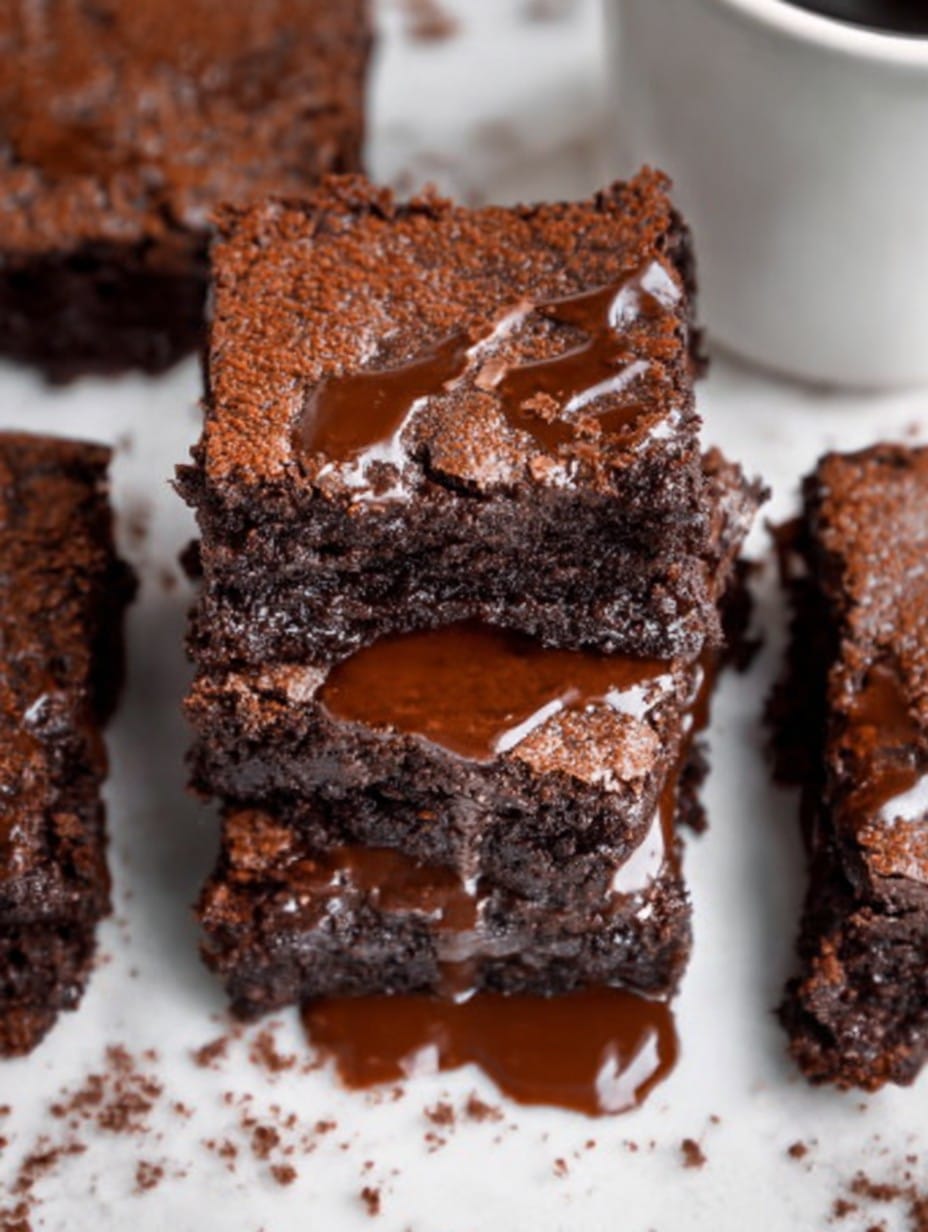
Usually, we cut them when they’re barely cool and eat them right out of the pan. For “fancy” evenings (like, if my in-laws pop by), I dust them with extra cocoa and serve with a dollop of Greek yogurt and a sprinkle of berries. My husband likes his cold with coffee. To each their own.
If You Want to Avoid My Oopses…
- I once tried to rush the cooling step – trust me, they’ll be gloopy. Just wait at least 30 minutes.
- Tossing chips on top before baking seems fun, but they tend to burn. Better mixed in.
- Don’t overbake, or they end up more like chocolate cake – not terrible, but not brownies.
You Asked, So Here’s Me Answering!
- Can I make these gluten-free? Oh sure, just use a 1-to-1 gluten-free flour blend. Almond flour looked… odd, so wouldn’t do that.
- Do they actually taste sweet? They do! With the right sweetener, they’re genuinely sweet. I’ve had folks not notice they’re sugar-free.
- Is Greek yogurt necessary? Actually, I find it’s what keeps things moist, but I once swapped in sour cream and that worked okay, just with a tangier kick. Wouldn’t do plain regular yogurt though, too runny.
- Could I double this recipe? Absolutely! Use a 9×13 pan and keep an eye on your bake time (extra 5-10 minutes, maybe… depends, right?).
- What if I don’t have an 8×8 pan? Any similar-sized dish will do, just watch the thickness and time. I once made ’em in muffin tins—actually quite cute. British friends call it a right doddle.
There you go, brownies with basically no regret and a pretty hearty dose of real-talk. Try it, then come back and tell me if you wiped the pan clean, too.
Ingredients
- 1 cup plain Greek yogurt (full fat is my go-to, but low fat works if that’s all you have; my neighbor swears by vanilla Greek yogurt, but I think that’s a bit much)
- 3/4 cup zero-calorie sweetener (like erythritol or monk fruit; to be honest, I use whatever’s on sale)
- 2 large eggs (sometimes I throw in an extra yolk if I’m feeling fancy)
- 2 teaspoons vanilla extract (real, fake… won’t make or break it)
- 1/2 cup unsweetened cocoa powder (Dutch-process is great, but regular is fine; I’ve used whatever comes out of the cupboard first)
- 1/2 cup flour (all-purpose, or whole wheat if that’s what you’ve got – just avoid self-rising, learned that the hard way)
- 1/4 teaspoon salt (I once forgot this, and yes, you’ll notice if you skip it)
- 1/2 teaspoon baking powder (not soda – though I think I mixed them once… worked out alright)
- 1/3 cup sugar-free chocolate chips (optional, but highly recommended; I sometimes chuck in walnuts if I’ve got them)
Instructions
-
1Preheat your oven to 350°F (175°C). Grease an 8-by-8 inch pan – I use that ancient nonstick spray, but butter works, too. Or parchment if you feel posh.
-
2In a big mixing bowl, throw in your Greek yogurt and zero-calorie sweetener. Whisk them up till smooth-ish. This is where it tends to look a bit odd. Don’t fret.
-
3Add the eggs and vanilla. Whisk like you mean it till it’s all combined. I sometimes crack one egg at a time but, honestly, all at once does the trick, too.
-
4Sift the cocoa, flour, salt, and baking powder straight into the bowl (or just dump if you’re in a hurry – lumps are not the end of the world). Stir ‘til mostly smooth. This is when I sneak a taste.
-
5Fold in those sugar-free chocolate chips (and nuts, if you feel inclined). Try not to eat them all out of the bag first, which I have.
-
6Scrape the batter into your pan and, if you want, smooth out the surface – but if you forget, you get those fun crackly tops, so win-win.
-
7Bake for 22-25 minutes, but I start checking at 20. My oven runs hot (or maybe it’s just vengeful). Stick a toothpick in – you want a few crumbs clinging, not totally clean.
-
8Cool in the pan as long as you can stand it (I’m terrible at waiting). Cut into squares, or just attack with a spoon. No judgement.
Approximate Information for One Serving
Nutrition Disclaimers
Number of total servings shown is approximate. Actual number of servings will depend on your preferred portion sizes.
Nutritional values shown are general guidelines and reflect information for 1 serving using the ingredients listed, not including any optional ingredients. Actual macros may vary slightly depending on specific brands and types of ingredients used.
To determine the weight of one serving, prepare the recipe as instructed. Weigh the finished recipe, then divide the weight of the finished recipe (not including the weight of the container the food is in) by the desired number of servings. Result will be the weight of one serving.
Did you make this recipe?
Please consider Pinning it!




