Alright, friend, let me tell you. The first time I tried making a batch of these Crumbl copycat chocolate chip cookies, I was a little overwhelmed (those giant bakery cookies always seemed out of my league). But here’s the thing: they’re actually pretty straightforward. The hardest part is waiting for them to cool enough so you don’t scorch your mouth like I did the first time—lesson learned, sort of. Anyway, if you’ve ever had a late-night craving for those ooey-gooey cookies from Crumbl but didn’t want to fork over your life savings for a box, this copycat recipe has your back. Oh, and if you’re anything like me, you’ll probably eat the dough right out of the bowl before it even hits the oven (guilty as charged, no shame).
Why I Love Making These—And You Probably Will, Too
I honestly make these whenever I want to impress someone (or just myself, honestly). My family goes absolutely nuts for them—the cookie jar transforms into a black hole: you open the lid and *poof*, they vanish. Soggy Monday? Bake a batch. Need a bribe for a sibling? These do the trick. If you’ve ever struggled to get cookies thick instead of flat as a pancake, this recipe actually works. (Took me a few tries, but finally cracked it. The struggle was real!)
Gather These Ingredients (Swaps Welcome!)
- 1 cup (226g) unsalted butter – You can use salted and just cut the added salt, but my grandma swore by Land O’Lakes. I’ve literally grabbed whatever was cheapest and survived.
- 3/4 cup light brown sugar – Dark brown works in a pinch; it’ll just taste a bit more caramely.
- 1/2 cup granulated sugar
- 2 large eggs
- 2 tbsp milk – Honestly, oat milk works if your fridge is barren.
- 1 tbsp vanilla extract – The real stuff if you can swing it, but imitation won’t ruin your day here.
- 3 cups all-purpose flour (about 375g)
- 1 1/2 tsp baking powder
- 1/2 tsp baking soda
- 1/2 tsp salt – Table, sea, whatever you’ve got.
- 2 heaping cups semi-sweet chocolate chips – If you’re feeling fancy, go for chunks or mix chips and chunks. Or just use whatever you forgot at the back of the pantry, I won’t tell.
Let’s Make Some Cookies (No Sweat)
- Soften your butter—Don’t melt it, but you’re aiming for the just-squishable stage. If you forget to take it out early (I always do), microwave 10 seconds at a time until it’s good. Then pop it in your stand mixer or a big bowl.
- Cream together the butter, brown sugar, and white sugar until it’s fluffy and you can’t see sugar granules. (This is when I sneak a pinch. Perks of being the baker, right?)
- Add eggs, milk, and vanilla. Mix again until it gets smooth-ish.
- Toss in the flour, baking powder, baking soda, and salt. No need to sift unless you’re feeling fancy. Start mixing—on low, or else flour everywhere. Trust me.
- Stir in your chocolate chips. You can hand-stir or keep using the mixer but, personally, I like folding them in because somehow it feels more legit.
- Scoop out huge balls of dough (I’m talking the size of a golf ball, or a bit bigger if you’re wild). Plop them onto a lined baking sheet. Give ’em space—they spread out some.
- Chill the dough right on the sheet for at least 30 minutes. Actually, I find it works even better if you go for an hour, but who can wait that long?
- Bake at 350°F (about 180°C) for 12 to 15 minutes, until the tops look set and just a little golden around the edges. The centers will look a little underdone—that’s exactly what you want. They’ll finish as they cool.
- Let ’em cool on the baking sheet a few minutes (or on a rack if you’ve got one). Or just eat one straight away like I do—careful, hot chocolate chips are basically lava.
Little Notes I’ve Picked Up (Usually the Hard Way)
- My dough always looks a little too soft before chilling, but somehow it pulls together in the fridge—so don’t stress, it won’t become soup.
- Don’t panic if the cookies seem tall out of the oven. A gentle tap with a spatula settles them (or just leave ’em like little cookie mountains).
- If you add too many chocolate chips… Well, is that even a problem?
Variations I’ve Tried, For Better Or Worse
- Once swapped out half the chocolate chips for peanut butter chips—shockingly good.
- Tried making them with almond flour once; they tasted okay, but the texture was a bit weird. Maybe skip that experiment unless you have to.
- You can halve the recipe or double it for a crowd. Once, doubling led to dough flying everywhere—I don’t recommend multitasking and dancing while mixing, though.
If You’re Lacking Gear, No Worries
Stand mixer is great, but I’ve made these with a wooden spoon and good old elbow grease. No parchment paper? Butter the pan, it’s pretty forgiving. I used a mug to flatten a few once, when my cookie scoop went MIA.
Storage? I Laugh—They’re Gone in a Day
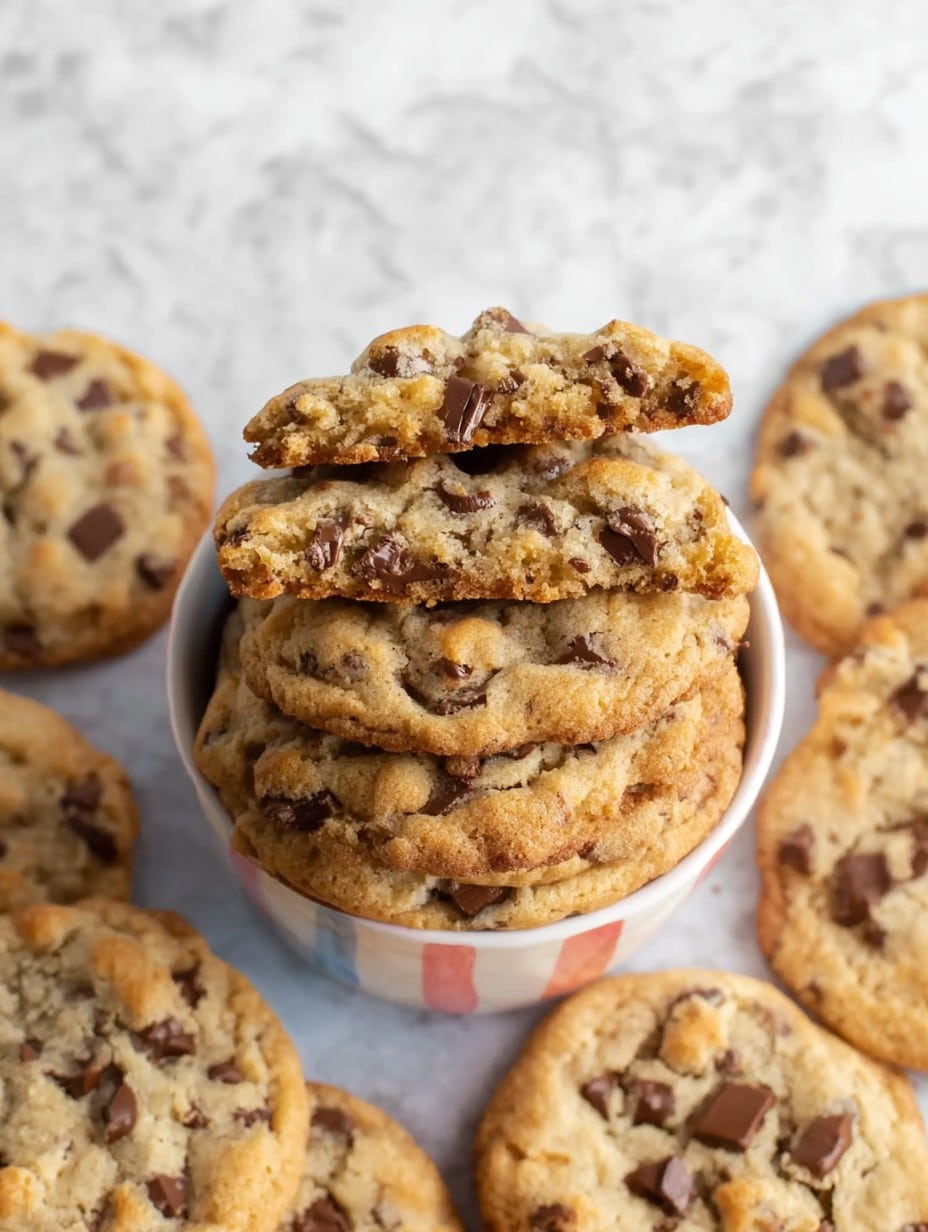
But, in the improbable event you have leftovers (seriously, how?), they keep in an airtight container on the counter for 2 to 3 days. Though—I think they taste better the next day, after everything gets all cozy and melded together. If you’re looking to freeze them, both the dough and baked cookies do fine for a month or two; here’s a handy guide on cookie storage I found from King Arthur Baking.
Here’s How I Serve Them (Spoiler: Warm & Gooey Wins)
I love these best when they’re slightly warm, maybe with a scoop of vanilla ice cream—my sister dunks hers in cold milk, like it’s required by law. On holidays, I’ve stacked them up with a little powdered sugar on top (fancy, but not too fancy), and everyone loves it.
If You Want to Avoid My Cookie Goofs, Read This
- I once tried to bake these on a dark pan without parchment – they baked way too fast on the bottom. Light-colored pans are your friend.
- If you rush the chilling, the cookies flatten out way too much (sad, floppy disks instead of proper cookies).
- Don’t overbake—if you wait for them to look totally browned, they’ll end up dry. Trust the slightly gooey look. I learned that the hard way, multiple times.
Got Questions? I’ve Heard a Few!
- “Do I have to chill the dough?”
- Okay, technically you can skip it, but the cookies will probably spread out like islands in the sun. Chill it—even just 20 minutes helps.
- “What’s the best chocolate to use?”
- Honestly? Whatever you like. I’ve used cheap store-brand chips and splurged on Ghirardelli, both turned out lovely. The big chips do give those bakery pockets of goo, though.
- “Can I make these gluten free?”
- I’ve swapped the flour for Bob’s Red Mill 1-to-1 baking flour once and it was actually decent! The texture is a touch different but still good.
- “Why are my cookies coming out flat?”
- Happened to me when my butter was too melty! Stick to softened, not melted. And don’t skip the chilling part. Oh, and measure your flour right—check this guide on measuring flour if you’re forever eyeballing like me.
- “Help, my dough is too stiff to scoop!”
- If that happens, let it sit out for a few minutes or add another splash of milk. Maybe your flour packed down funny.
Anyway, enough rambling from me. If you try these, let me know how it goes—or what wild combination you tried. I swear, baking is half magic and half not burning down the kitchen.
Ingredients
- 1 cup unsalted butter, softened
- 1 1/4 cups brown sugar, packed
- 1/2 cup granulated sugar
- 2 large eggs
- 2 teaspoons pure vanilla extract
- 3 cups all-purpose flour
- 1 teaspoon baking soda
- 1/2 teaspoon salt
- 2 cups semisweet chocolate chips
Instructions
-
1Preheat oven to 350°F (175°C) and line two baking sheets with parchment paper.
-
2In a large bowl, cream together the softened butter, brown sugar, and granulated sugar until light and fluffy.
-
3Add the eggs and vanilla extract, beating until well combined.
-
4Whisk together the flour, baking soda, and salt in a separate bowl, then gradually mix into the wet ingredients.
-
5Fold in the semisweet chocolate chips until evenly distributed throughout the dough.
-
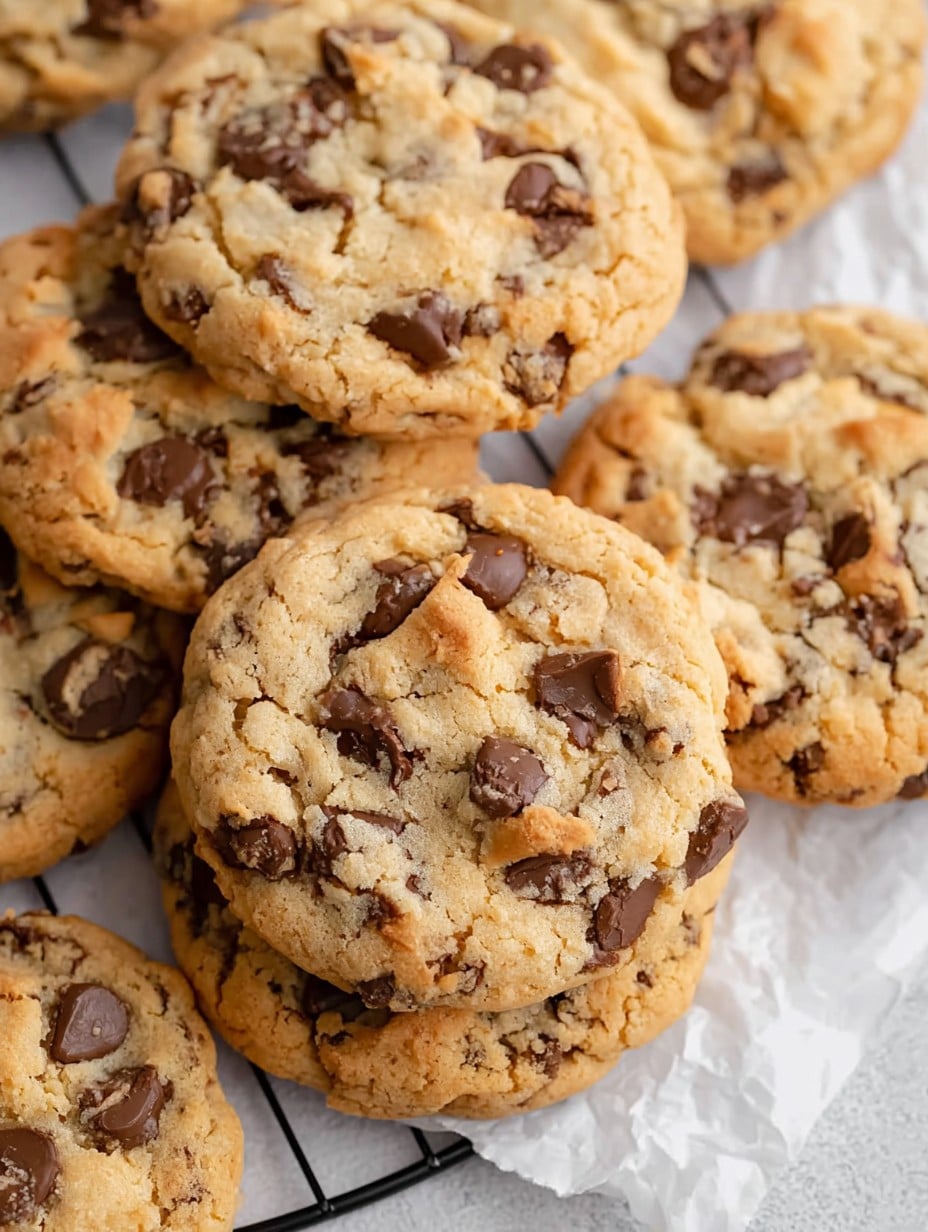
6Scoop large balls of dough onto the prepared baking sheets, spacing them a few inches apart. Bake for 13-15 minutes or until the edges are just golden brown. Let cookies cool on the baking sheet for 10 minutes before transferring to a wire rack.
Approximate Information for One Serving
Nutrition Disclaimers
Number of total servings shown is approximate. Actual number of servings will depend on your preferred portion sizes.
Nutritional values shown are general guidelines and reflect information for 1 serving using the ingredients listed, not including any optional ingredients. Actual macros may vary slightly depending on specific brands and types of ingredients used.
To determine the weight of one serving, prepare the recipe as instructed. Weigh the finished recipe, then divide the weight of the finished recipe (not including the weight of the container the food is in) by the desired number of servings. Result will be the weight of one serving.
Did you make this recipe?
Please consider Pinning it!!




