Let Me Tell You About This Cheesecake
You ever try to impress your in-laws and, instead of something fancy from a bakery, decide to just wing it with something wildly ambitious like a homemade Red Velvet Strawberry Cheesecake? Yeah, me neither… except I absolutely did, and here’s the thing: it worked. The room went quiet (except for forks clinking on plates), and even my brother-in-law—who usually acts like dessert is beneath him—asked for seconds. That’s pretty much all I need to call something a win.

This one’s a bit of a mashup, honestly. Red velvet (which, let’s face it, is just chocolate cake with a sense of drama), silky cheesecake, and—because I once bought too many punnets on sale—fresh strawberries. Dead easy to jazz up, makes a total show-stopper, and it tastes even better than it looks (and it looks pretty smashing, with that vivid red and white swirl). Honestly, it’s become one of my go-to recipes for whenever I want to impress or just… treat myself. Sometimes you need the fancy stuff on a boring Wednesday, right?
Why You’ll Love Making This
I make this cheesecake when I’ve got a little too much time and want to procrastinate on real chores (avoiding laundry, cake is way more fun). My family goes a bit giddy for this combo—it’s somehow classic and a little bit bonkers at the same time. Also, it’s one of those desserts that forgives you if things go a bit sideways. Like, the first time I tried to marble the layers, it kind of smudged together, but folks thought I meant for it to look ‘rustic.’ (Sure, let’s go with that!) My only ‘complaint’ is washing all the bowls after, but honestly, that’s what teens are for, isn’t it?
Here’s What You’ll Need (and My Random Swaps)
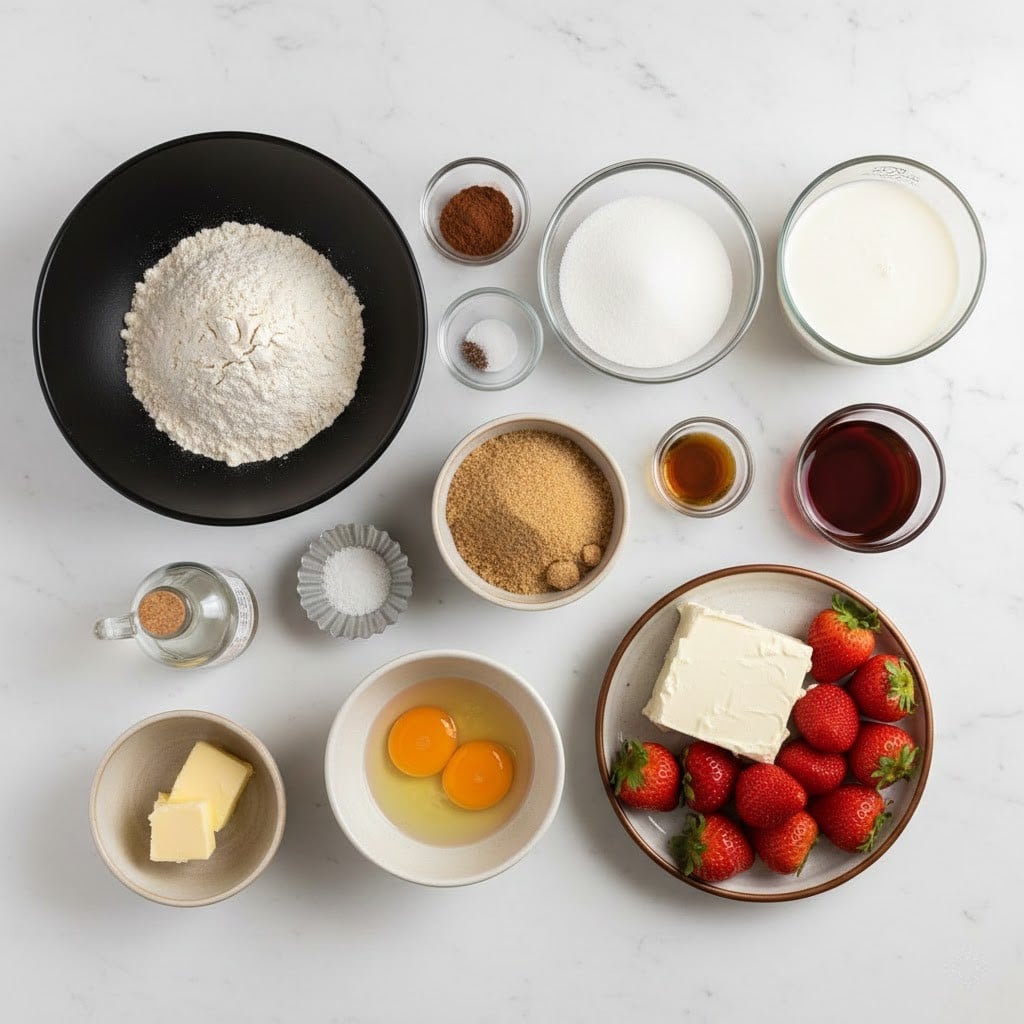
- 1 1/2 cups crushed chocolate cookies (I use Oreos, but my grandma swore by Nabisco Famous Wafers—really, any will do)
- 1/4 cup melted butter (I’ll use margarine if I’m out, nobody notices)
- 2 cups cream cheese, room temp (full fat. No, the low-fat kind isn’t quite right, but, hey, do you)
- 3/4 cup granulated sugar
- 2 large eggs
- 2 tbsp unsweetened cocoa powder (I sometimes use Dutch process but regular works fine)
- 1/3 cup buttermilk (or 1/3 cup milk with a splash of vinegar—tastes almost the same, promise)
- 2 tsp vanilla extract
- 1 tsp white vinegar (it brings the red velvet ‘zing’, but if you forget, it’s not the end of the world)
- Red food coloring (how much is up to you, but I use like 2 heaping teaspoons, and occasionally overdo it so it looks like a crime scene, oops)
- About 1 1/2 cups chopped strawberries (plus more for topping, ‘cause why not?)
- Optional: whipped cream, for serving
How I Pull This Cheesecake Together
- Crust time: Bash up those cookies until they’re pretty fine (kids love this job), mix with melted butter, then press into the bottom of a springform pan (I use a 9-inch, but anything close-ish works). Pop it in the freezer while you deal with the rest.
- Get the cheesecake bits going: Beat that cream cheese with sugar till it’s smooth—seriously, lumps will haunt you later. Sometimes the butter stays a bit lumpy, but it all sorts itself out. Beat in eggs one at a time. Add in a teaspoon of vanilla too, because more is more.
- Make it red velvet: Scoop out about a cup of that mixture and set it aside (you’ll use it for marbling later!). To the rest, blend in cocoa powder, buttermilk, white vinegar, and then the food dye. Stir until you’ve hit your desired shade of ‘wow.’
- Strawberry chaos: Fold in 1 cup of chopped strawberries to the red velvet portion. Resist the urge to eat too many as you go. Or don’t.
- Assemble the showpiece: Pour that dramatic red velvet layer onto the cooled crust. Now, dollop spoonfuls of the plain (white) cheesecake mix over the top in random spots. Grab a butter knife and swirl it through. Don’t overthink it; even weird swirls look great once baked.
- Bake it! Your oven should be preheated at 325°F (160°C). Pop the whole contraption in (I sometimes do a water bath, sometimes not, depending on my mood—honestly, I’ve never noticed a massive difference). Bake for 50-60 minutes—but check at 45. The edges should be set but the middle jiggly. (It keeps setting as it cools, so don’t panic.)
- Let it chill—literally: Now for the hardest part: let it cool to room temp, then chill in the fridge at least 4 hours (overnight’s best, but who are we kidding?).
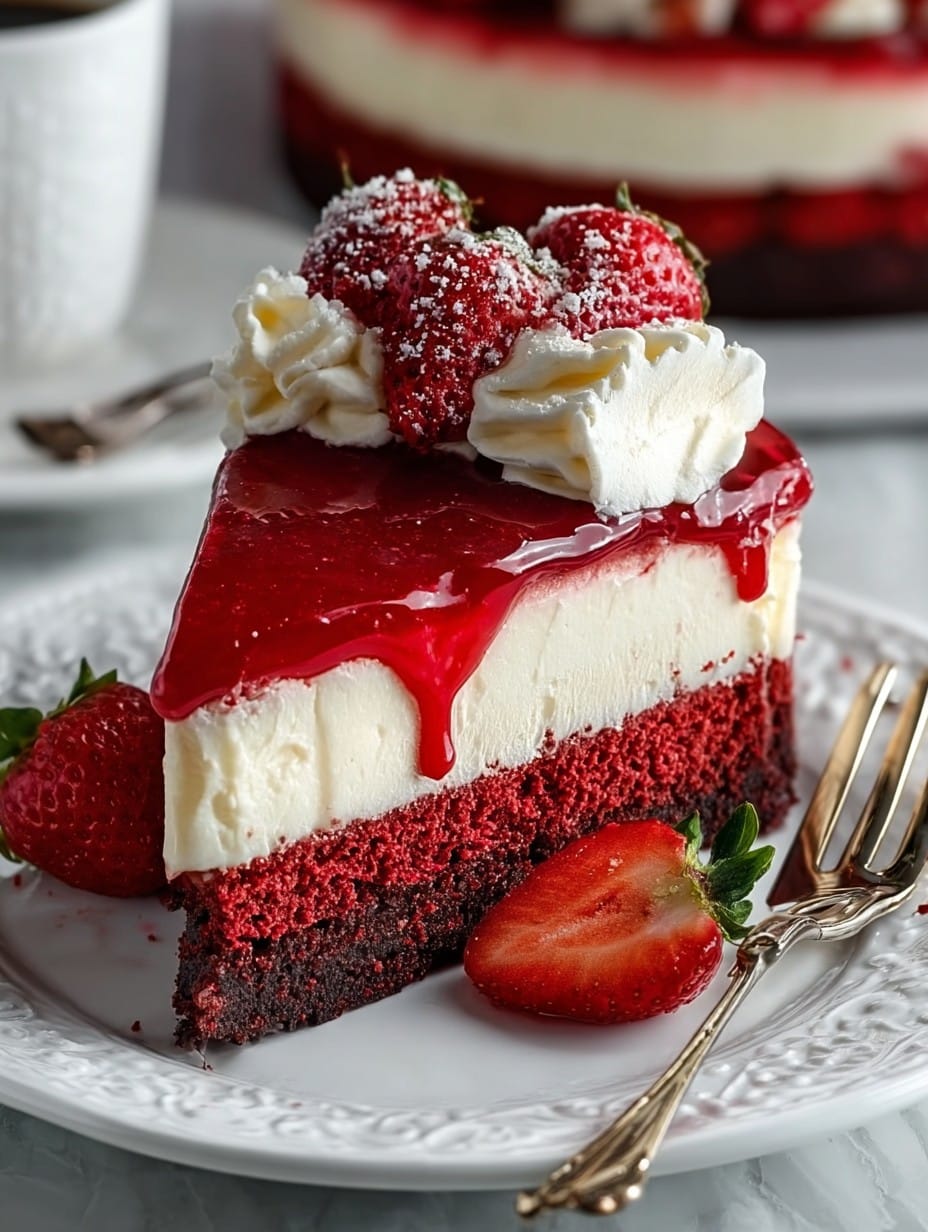
- Top and serve: Pile on more strawberries and a cloud of whipped cream just before serving. This is where I usually sneak a forkful from the back, you know, for quality control.
Notes From the Trenches
- If you’re in a rush, I’ve straight-up skipped the whole swirling step. It’s not as pretty but still tastes bonkers good.
- Once I forgot to leave the cream cheese out, and it made the batter a bit chunky—still ate it, but maybe give your cheese some time to relax.
- I think it tastes better the next day, but it’s hard to wait.
- I always seem to make a huge mess with the food dye, so maybe don’t wear your favorite shirt.
Variations That Actually (Usually) Work
- Tried it with raspberries once—strangely tart, but not terrible. Blueberries, though? Meh. Not for me. Maybe you’ll prove me wrong.
- Mini cheesecakes in muffin tins are cute and you can eat three without feeling guilty. Or at least that’s what I tell myself.
- Toss a chocolate ganache over the top for extra drama; it’s extra, but sometimes we deserve a little too much.
- I attempted a gluten-free crust (those almond crackers? Eh… not my best, but it sort of worked.)
What If I Don’t Have That Fancy Pan?
So hey, if you don’t have a springform pan, I once did this in a regular cake pan lined with baking paper crisscrossed—I just kind of lifted it out once cooled. Required some wiggling, but did the job (mostly in one piece!).
How Does This Keep? (Does It?)
Cover and stash in the fridge for up to 4 days, but honestly, in my house it never lasts more than a day or two. Someone always nicks a slice late at night—sometimes it’s me.
How I Love to Serve This
I like to cut big old wedges and pile on extra berries; sometimes I add a drizzle of strawberry sauce for extra ‘oomph.’ At family birthdays, candles go in, and the kids argue over which swirl’s the best looking (even though it all tastes the same in the end, doesn’t it?). Oh, and coffee. This needs coffee!
Hard-Won Tips (Trust Me, I’ve Messed Up)
- I once tried to rush the chilling part, thinking an hour would be fine—big mistake. Ended up with sad, gloppy cheesecake soup.
- If your base gets too crumbly, actually, I find it works better if you pack it in with the bottom of a glass—I used to just tap with a spoon, but that’s not enough muscle.
- Don’t go wild with the red dye; too much and people start making jokes about the cake bleeding. Awkward.
Real FAQs From Friends (With My Real Answers)
- Can I use frozen strawberries? For the topping, sure! For baking into the batter, they go a bit mushy—but sometimes you just use what you’ve got.
- Do I have to use a water bath? Nah, I usually don’t bother. Occasionally it’ll crack a bit, but then you just hide it with berries or cream. Easy fix.
- Is it supposed to jiggle when I pull it out? Yep! Bit of movement is good; it’ll firm up as it chills.
- Can you freeze it? You can freeze slices, but they sometimes go a wee bit icy when thawed. Still tasty. Really.
- Do I really have to let it chill overnight? You’ll get a cleaner cut if you do, but if you’re desperate (been there), three hours in the fridge is… passable. Oops.
So there you go! If you make it, let me know how wild your swirls get. Or just tell me if your family polishes it off faster than mine—mine are quick, I warn you!
Ingredients
- 1 1/2 cups all-purpose flour
- 1 cup granulated sugar
- 2 tablespoons unsweetened cocoa powder
- 1 teaspoon baking soda
- 1/2 teaspoon salt
- 2 large eggs
- 3/4 cup vegetable oil
- 1/2 cup buttermilk
- 2 teaspoons red food coloring
- 1 teaspoon vanilla extract
- 16 oz cream cheese, softened
- 3/4 cup powdered sugar
- 1 teaspoon lemon juice
- 1 1/2 cups fresh strawberries, sliced
- 1/2 cup heavy whipping cream
Instructions
-
1Preheat the oven to 325°F (163°C). Grease and line a 9-inch round cake pan.
-
2In a large bowl, whisk together flour, granulated sugar, cocoa powder, baking soda, and salt.
-
3In a separate bowl, beat eggs, oil, buttermilk, red food coloring, and vanilla extract. Add the wet ingredients to the dry ingredients and mix until just combined.
-
4Pour the batter into the prepared pan and bake for 30-35 minutes, or until a toothpick comes out clean. Let cool completely.
-
5For the cheesecake layer, beat the cream cheese, powdered sugar, and lemon juice until smooth. Whip the heavy cream until stiff peaks form and fold gently into the cream cheese mixture.
-
6Spread the cheesecake layer evenly over the cooled red velvet cake. Arrange sliced fresh strawberries on top. Refrigerate for at least 1 hour before serving.
Approximate Information for One Serving
Nutrition Disclaimers
Number of total servings shown is approximate. Actual number of servings will depend on your preferred portion sizes.
Nutritional values shown are general guidelines and reflect information for 1 serving using the ingredients listed, not including any optional ingredients. Actual macros may vary slightly depending on specific brands and types of ingredients used.
To determine the weight of one serving, prepare the recipe as instructed. Weigh the finished recipe, then divide the weight of the finished recipe (not including the weight of the container the food is in) by the desired number of servings. Result will be the weight of one serving.
Did you make this recipe?
Please consider Pinning it!!




