Let Me Tell You How These Cookies Started…
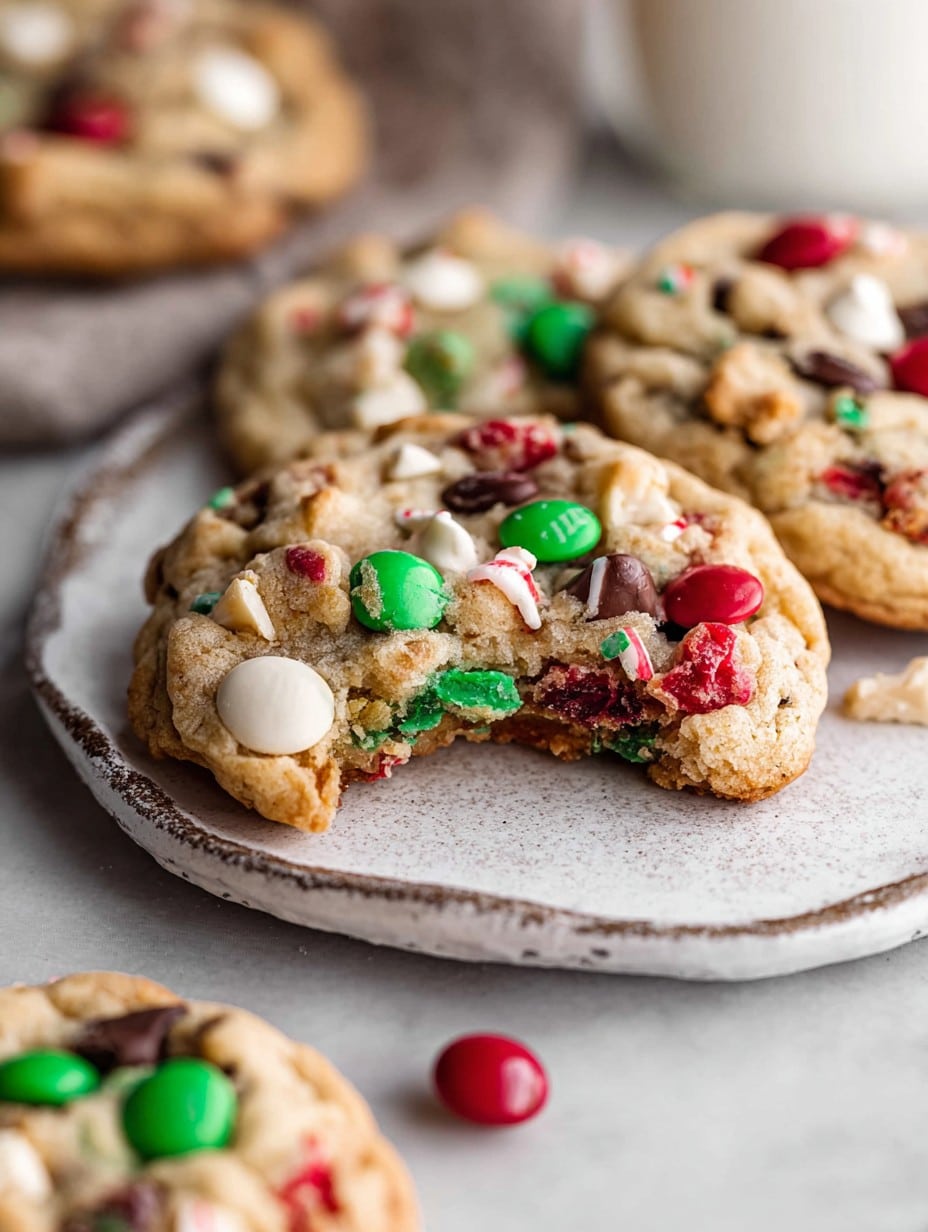
If you’ve ever stood in your kitchen two days before Christmas, surrounded by half-bags of holiday M&Ms, squished candy canes, and a very questionable box of pretzels that’s almost definitely seen better days—congrats, you’re my people. That’s exactly how these Christmas Kitchen Sink Cookies came about. The first batch I made was a total accident after I tried “cleaning out” the baking drawer (ha!). I threw in pretty much everything but the kitchen sink (yep, that’s the joke—don’t groan). But wow, my family devoured them in a single sitting and actually, I find they taste even better when you’re not too precious about precise ingredients.
Why You’ll Love These (Accidental) Cookies
I usually whip these up when: I need something fun & festive in a hurry, I’ve got grabby little hands underfoot, or when I just can’t face another plain sugar cookie. My family kind of freaks out when the baking tray comes out smelling like caramel and peppermint and whatever else I tossed in. I even catch myself snacking on the raw dough (shhh, don’t tell my gran). The best part? No two batches ever taste quite the same. One year, I forgot the chocolate chips but doubled the toffee bits. It was pure chaos—in a good way. (Tip: Don’t try to make them too healthy. One time, I used whole wheat flour. No one forgave me for weeks.)
What You’ll Need (and What You Can Totally Swap)
- 2 1/4 cups all-purpose flour (I’ve made these with plain flour from Lidl; it’s grand)
- 1 teaspoon baking soda
- 1/2 teaspoon salt (sea salt flakes if you’re feeling fancy)
- 1 cup unsalted butter, room temp (honestly, I’ve microwaved it from cold when I forget)
- 1 cup brown sugar, packed
- 1/2 cup white sugar
- 2 large eggs (seen a TikTok hack with flax eggs—worked okay, but not my fave)
- 1 teaspoon vanilla extract (my grandmother swore by Dr. Oetker, but I think any will do)
- 1 1/2 cups semi-sweet chocolate chips (or dark chips, chopped chocolate bar, whatever’s lurking)
- 1 cup holiday M&Ms (plain, peanut, mini—the more the merrier)
- 1 cup crushed pretzels (smashed with a rolling pin—very therapeutic)
- 1/2 cup chopped toffee bits or caramel pieces (skip if you’re not into sticky stuff)
- 1/2 cup crushed candy canes or peppermints (add more for a punch of mint)
Sometimes I also sneak in: raisins, dried cranberries, or even leftover granola (wild, right?). And once, I didn’t have candy canes, so I threw in mint Aero—surprisingly delicious.
Here’s How You Toss ‘em Together
- Preheat oven to 350°F (175°C). Line two baking trays with parchment. Or foil if that’s all you’ve got—it works, just peels off funny sometimes.
- Mix the flour, baking soda, and salt in a bowl. Not fancy—just give it a quick stir with a fork.
- In another bowl (or a stand-mixer if you’re posh), beat the soft butter and sugars until creamy—about 2 mins. I admit, sometimes I just do this with a big wooden spoon, especially if the mixer is buried under everything else in the cupboard.
- Add eggs one at a time, beating well. Then vanilla. The dough might look weirdly slippery at this stage; that’s fine, just keep going.
- Gradually add the dry stuff. Don’t dump it all at once (I do this every other Christmas and regret the flour cloud that sticks to my jumper).
- Stir in chocolate chips, M&Ms, pretzels, toffee bits, and candy canes. At this point—sneak a taste. I always do. If you’re feeling rogue, toss in whatever else your heart desires. Dough should be seriously chunky.
- Scoop out big heaped tablespoons onto the baking trays, leaving enough space because they’ll spread. If you want to be artsy, press a few extra candies on top.
- Bake about 10 to 12 minutes—edges should look golden but middles will still seem soft and undercooked. Take them out! They firm as they cool, promise.
- Let them cool on the tray for a bit or move to a rack if you remember (sometimes I don’t— they’re fine either way, usually).
The Notes I Wish Someone Had Told Me
- Don’t worry if your dough looks way too full of mix-ins. That’s the point. Actually, more stuff = better cookies in my book.
- If you skip chilling the dough, it’s not the end of the world. But if your kitchen’s hot, maybe pop it in the fridge for half an hour so you get nice thick cookies.
- Parchment is a lifesaver for sticky caramel bits. I learned this the hard way—scraping burnt caramel off a tray is not very Christmassy.
- I sometimes overbake these, thinking they’re not done. But softer is better for these—it’s easy to miss that point while you’re multitasking.
If You’re Feeling Adventurous…
Oh, I’ve tried all sorts with these: coconut flakes (delicious), mini marshmallows (they sort of melt into puddles, but still yum), and once—popcorn (weird texture, but the kids didn’t complain). One experiment with chopped apple… don’t. Turns soggy. Sally’s Baking Addiction does a fun version with potato chips instead of pretzels if you’re game.
Equipment Notes (Or: Don’t Stress!)
- Mixing bowls (I just use two—one for wet, one for dry)
- Electric mixer (hand or stand, or just your trusty wooden spoon—arms count as exercise!)
- Parchment paper (seriously, it makes life easier, but foil or even a buttered tray works)
- Cookie scoop (never owned one, just use two spoons—the wonky ones are the best anyway)
Keeping Them Fresh (If You Can)
Store cooled cookies in an airtight tin or container (I use an old Celebrations tub; recycling, right?). They should last three days at room temp, but honestly, in my house, a dozen vanish by the next morning. You can freeze the dough in scoops and bake fresh if you want. Or, as one reader pointed out, straight from frozen works—just add a minute or two to the baking time.
How We Serve ‘Em At Home
We pile the cookies onto a chipped Christmas platter and sneak them with hot cocoa while wrapping gifts on Christmas Eve; sometimes, the little ones sandwich vanilla ice cream between two cookies for a real treat (messy but worth it). Occasionally, I grab a couple with a cup of strong tea and call it lunch. Don’t judge.
A Few Pro-Tips That Came From Oops Moments
- I once tried doubling the peppermint—let’s just say, a little goes a long way unless you like extra-tingly teeth.
- Don’t skip the parchment, especially if you’ve got sticky toffee bits in there. I learned this after chiseling caramel fossils off my best tray.
- One year, I rushed and plopped the dough straight on hot trays and they spread into one big cookie pancake. Wait til trays cool, trust me.
- Mix gently—the more you beat the dough, the tougher the cookies. Learned that the hard way one December when everything came out more like biscuits than cookies.
By the way—if you want more technical baking help, King Arthur Baking has loads of tips, though honestly, just winging it works here.
Wait, Did You Ask…? (FAQ Time)
- Can I use gluten free flour? Yeah, I’ve done it with a 1:1 gluten free blend. Comes out a bit more crumbly but still tasty. Just keep an eye during baking.
- Are these OK nut-free? Yep! Just skip the toffee or anything nut-based. Though double-check your chocolates, as always. But in a pinch, swap in extra candy.
- Help—I only have margarine! Use it, no biggie, but it makes the cookies spread more. Maybe chill the dough first. I’ve done it when that’s all that was left after baking sprees.
- What if my cookies turned out too flat? Classic! Probably too much butter, or trays were warm. Or you just embraced the big-flat-cookie vibe. Still delicious dunked in milk, honestly.
- Can I halve the recipe? Absolutely. Sometimes I just eyeball half, and they’ve never failed. Math skills not required.
- Are these really Christmas-y enough? The answer is… who cares? Slap some red & green candy on top and you’re sorted for holiday spirit. Or just call them “Festive Chaos Cookies” if anyone complains.
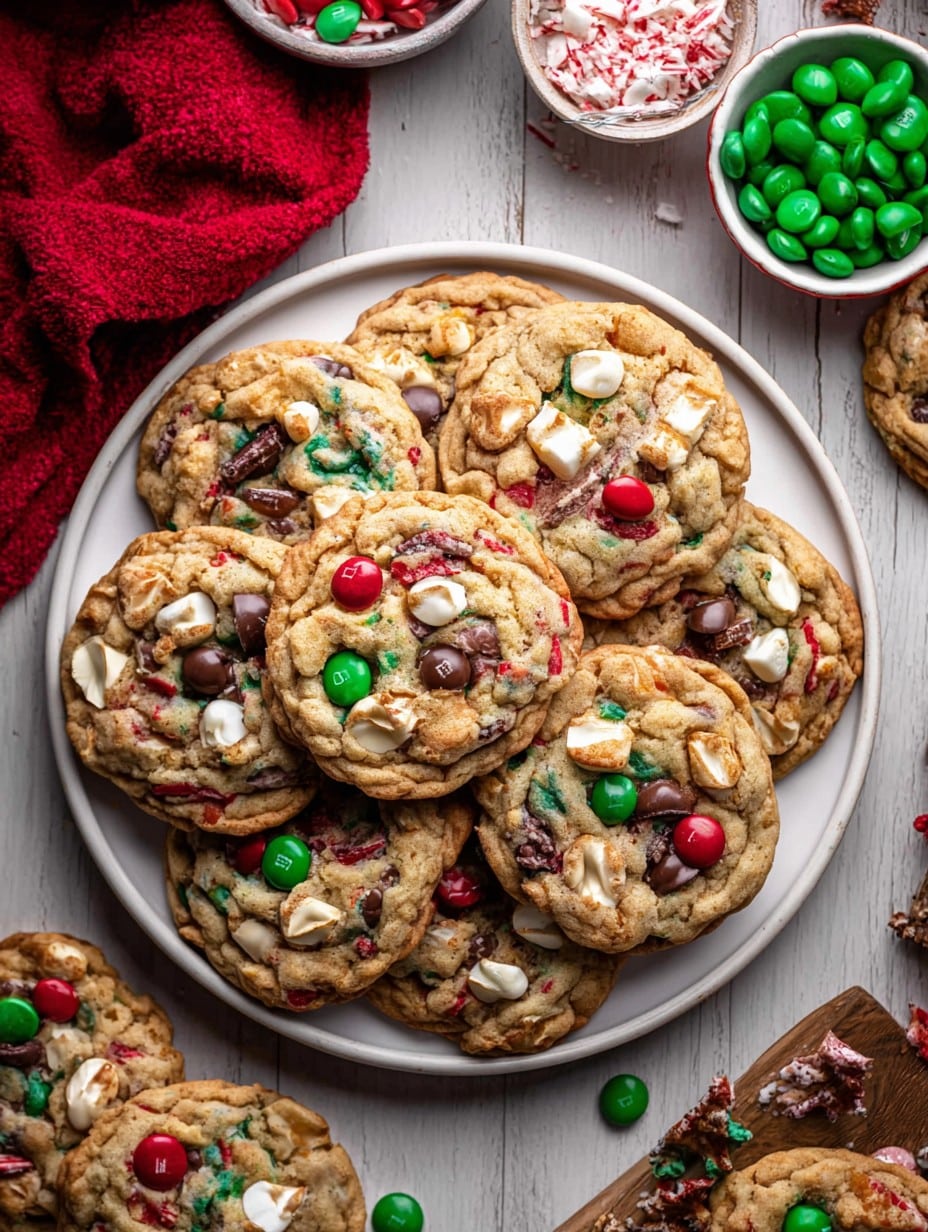
So, that’s my wild and wonky guide to Christmas Kitchen Sink Cookies. They’re never the same twice, which is half the fun. Feel free to improvise and let me know what you end up tossing in—especially if you discover some wild combo that actually works. Happy baking! Here’s another quirky cookie idea if you’re so inclined.
Ingredients
- 1 cup unsalted butter, softened
- 1 cup light brown sugar, packed
- 1/2 cup granulated sugar
- 2 large eggs
- 2 teaspoons vanilla extract
- 2 1/2 cups all-purpose flour
- 1 teaspoon baking soda
- 1/2 teaspoon salt
- 1 cup semi-sweet chocolate chips
- 3/4 cup red and green chocolate candies (M&M’s or similar)
- 1/2 cup toffee bits
- 1/2 cup chopped pretzels
- 1/2 cup holiday sprinkles
Instructions
-
1Preheat oven to 350°F (175°C) and line two baking sheets with parchment paper.
-
2In a large bowl, cream together butter, brown sugar, and granulated sugar until light and fluffy.
-
3Beat in eggs one at a time, then mix in vanilla extract.
-
4In a separate bowl, whisk together flour, baking soda, and salt. Gradually add to the wet ingredients and mix until just combined.
-
5Fold in chocolate chips, holiday candies, toffee bits, chopped pretzels, and sprinkles.
-
6Scoop dough onto prepared baking sheets. Bake for 12-14 minutes or until edges are golden. Cool on wire racks before serving.
Approximate Information for One Serving
Nutrition Disclaimers
Number of total servings shown is approximate. Actual number of servings will depend on your preferred portion sizes.
Nutritional values shown are general guidelines and reflect information for 1 serving using the ingredients listed, not including any optional ingredients. Actual macros may vary slightly depending on specific brands and types of ingredients used.
To determine the weight of one serving, prepare the recipe as instructed. Weigh the finished recipe, then divide the weight of the finished recipe (not including the weight of the container the food is in) by the desired number of servings. Result will be the weight of one serving.
Did you make this recipe?
Please consider Pinning it!!




