Green Bean Casserole, the Ina Garten Way (ish)
Okay, so let’s talk Green Bean Casserole. To be honest, I grew up on the classic kind (canned soup, those crunchy onions that always taste kinda stale), but then one holiday I tried giving Ina Garten’s version a whirl after binge-watching her buttery magic on TV. You ever feel like she’s just chatting in your kitchen while you cook? That was the vibe. Anyway, my first try was — well, let’s call it a learning experiment. Turns out, fresh green beans actually have to be cooked (who knew?), and, um, don’t try to swap evaporated milk for cream unless you want a minor revolt at Thanksgiving. But after a few tweaks, I think I’ve landed on a version that even my picky cousin devours — except that one time when I burnt the onions because I got distracted by some drama in the living room. Happens to the best of us.

Why I Always Come Back to This Recipe
I make this when I want people to think I’m fancier than I actually am. My family goes bananas for it because it’s not that gloopy, too-salty casserole from the 90s (sorry Mom!). The sauce, it’s velvety and real, like the food they pretend to eat on those cooking shows. Plus, you can pronounce everything in it, which is rare in a casserole at my house. If you’ve ever felt totally overwhelmed by all the steps in a from-scratch recipe, I get it (boy, do I get it). But this one — once you’ve got the hang of it — feels like second nature. And honestly, if you ever need a reason to eat more green beans, smothering them in a creamy mushroom sauce is a solid excuse, right?
What You’ll Need (with my weirder swaps)
- 1 pound fresh green beans (trimmed, or the bagged pre-trimmed ones if you’re feeling lazy — I often do)
- 2 tablespoons unsalted butter (but, my grandma always used salted, and it all tasted fine, so you do you!)
- 1 small yellow onion, thinly sliced (sometimes I use shallots if they’re rolling around in my produce drawer)
- 8 oz cremini or button mushrooms, sliced (honestly, portobellos work, too, and you can even use canned if you’re in a pinch — just don’t tell Ina)
- 2 cloves garlic, minced (or more, if you’ve got in-law visits coming up)
- 2 tablespoons all-purpose flour
- 1 cup chicken stock (or veggie stock, if you’re keeping it full-on veggie)
- 1 cup heavy cream (I’ve tried half-and-half, but… it’s just not as rich)
- 1/2 teaspoon ground black pepper
- 3/4 teaspoon kosher salt (got regular salt? Use a little less)
- 1 1/2 cups crispy fried onions (the store kind, or go wild and make your own if you’re an overachiever)
- Big handful grated parmesan (optional, but oh man does it make a difference)
How I Actually Cook It (distraction included)
- Prep your beans: Bring a big pot of salted water to a rolling boil. Toss in the green beans and cook them till they’re bright and just-tender — usually, about 3 minutes does it for me, but I’ve definitely left them too long and ended up with mush. Immediately drain and dunk them into a bowl of ice water to keep that color. Trust me, skipping the ice water means sad, limp beans (been there, done that).
- Make the good stuff: In a big ol’ skillet (I use my cast iron, but whatever), melt the butter over medium heat, toss in onions, and sauté them for maybe 5 minutes till they’re softening up and a little sweet-smelling. This is where you’ll want to sneak a bite — I always do, even though they’re not really done yet.
- Mushrooms enter: Add those mushrooms. Keep stirring until they turn golden and shrink up — probably 7-ish minutes, maybe a bit more if you’re chatting with someone and lose track of time. Garlic goes in, stir a minute till fragrant, but don’t let it go brown or it’ll taste weird (I learned that the hard way).
- Thicken it up: Sprinkle in the flour and cook, stirring, for 1-2 minutes to get rid of any raw flour taste. Don’t worry if it looks a bit weird at this stage – it always does! Pour in the stock, then the cream, whisking as you go to smooth things out. Bring it to a gentle simmer, and let it thicken a few minutes; if it gets super thick, splash in more stock. Or… a little water, if you spaced out and used up all your stock for soup yesterday.
- Assemble time: Dump the beans into a large baking dish (any shape). Pour the mushroom sauce all over and gently mix so everything’s coated. I usually freak out that it looks too saucy, but it thickens in the oven, promise. Sprinkle most of the fried onions on top, save a handful for later. If you’re feeling wild, add a shower of parmesan now.
- Bake: Pop into a 375°F oven for about 20 minutes, uncovered, till bubbling and golden. (One time, I completely forgot about it and things got… extra crispy. Not great.)
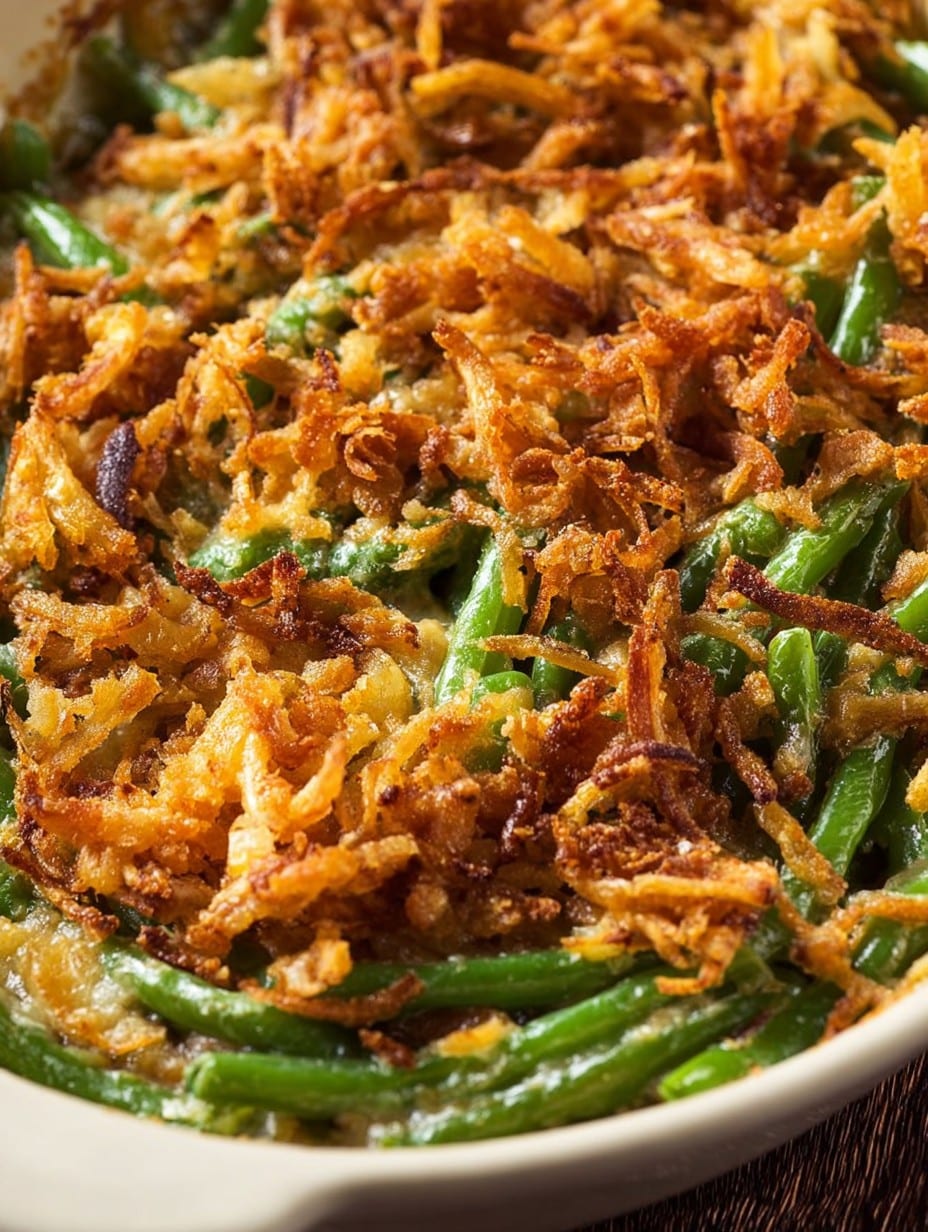
- Final flourish: Scatter remaining fried onions on top; bake 5-7 minutes more. You get that gorgeous crunchy finish. This is when the kitchen starts smelling dangerous (as in, you’ll want to eat it straight out of the pan).
- Let it sit a few minutes before serving, or at least that’s what you’re supposed to do — honestly, we dive in hot most times.
Things I Wish I Knew Earlier (Notes)
- Turns out, overcooked beans just taste… sad. But undercooked ones are squeaky between your teeth, so it’s a balance game.
- If you use pre-sliced mushrooms, rinse them quick; otherwise they can make the sauce watery. Ask me how I know.
- The onion topping is best added in two waves, just trust me. All at once and the top burns, every time (well, every time I get distracted).
Switch-Ups and Experiments (Some Good, Some Bad)
- I tried adding bacon once — tasty, but it kinda overpowered everything. Maybe leave it out unless you’re a real bacon fanatic.
- Swap in broccoli florets for half the green beans for weirdly good results. I know it sounds odd, but it works.
- Went rogue with oat cream instead of dairy for a vegan friend; it tasted okay, just not quite as lush.
- Actually, I find it works better if you don’t cram the beans too tight in the dish; they steam instead of bake if they’re too squished. Live and learn!
What You Need (But Here’s a Shortcut)
- Large pot for beans (got a Dutch oven or even a big pasta pot? Both work)
- Large skillet or frying pan (mine’s ancient, but nonstick or stainless both do the trick)
- Big spoon or spatula (I once used a salad fork; not recommended but it did scrape the sides well!)
- Baking dish (don’t have a fancy one? Honestly, any oven-safe dish, even a cake pan, will do in a pinch)
And if you’re stuck without an ice bath for the beans, just pop them in a colander and rinse under cold water. It’s not quite as dramatic, but it works.
Stashing Leftovers (If That Ever Happens)
Store whatever’s left in the fridge, covered tightly. It’ll keep for 2-3 days, though honestly, in my house it never lasts more than a day! Sometimes I think it even tastes better the next morning when the flavors settle and the beans soak up more of the sauce. If reheating, do it gently so the cream doesn’t split – I use the oven at 325°F, or the microwave if I’m in a hurry (it’s still delicious, though the onions get less crunchy).
How We Eat It (Serving Traditions & My Odd Favorites)
This is the kind of thing I plop on the holiday table alongside roast turkey or ham, but honestly, it’s also brilliant with grilled chicken, or even that time I made it with only salad for dinner (it was “veg night” — my teens rolled their eyes, but scraped their plates). For some reason, I love adding a dash of hot sauce to my serving. My sister insists on a side of cranberry sauce, which is… well, her thing.
What I Learned the Hard Way (Pro Tips)
- Don’t rush the sautéing bit for onions and mushrooms; I once cranked up the heat to save time and ended up with weird bitter bits. Low and slow’s better here, even if you’re hungry.
- Prepping your beans the day before is smart, because slicing onions with watery eyes while trying to do ten things is, uh, not fun.
- On second thought, go easy on the salt upfront; parmesan and fried onions both add more than you think. I overdid it once and, wow, salty city.
Oh, and here’s a left-field detail: I usually forget where I put the nutmeg, but if you’ve got a tiny pinch, it can add a nice background warmth to the sauce. Entirely optional.
Questions Folks Have Literally Asked Me (FAQ)
- Do I really need to blanch the beans first?
Yeah, I’d say so. If you skip it, the beans stay tough and kinda raw-tasting, which… isn’t great. Unless you specifically like crunchy beans, then hey — you do you! - Can I make it ahead?
Absolutely. I often make the whole thing up to the baking stage a day before, stick it in the fridge, then bake with the onions added right before serving. Saves a heap of hassle when company’s over. - How do I get the sauce less thick?
If it seizes up, just whisk in a glug of milk or a bit more stock while it’s on the stove, gently. - Could I freeze this?
Technically yes, but honestly, it gets weirdly watery and the onions go flabby. So I probably wouldn’t (but if you give it a go, let me know how it turns out!). - What if I don’t like mushrooms?
Well, first — you monster (kidding, mostly). You can leave them out, or swap in diced zucchini or even corn for a totally different vibe. The sauce will still work, promise.
If you give this a try (with or without onions on the side, no judgment), shout at me in the comments — I’d love to know if you add anything weird to make it your own. Good luck, and try not to burn the onions; I’ve made that mistake enough for both of us!
Ingredients
- 1 1/2 pounds fresh green beans, trimmed and cut into 2-inch pieces
- 2 tablespoons unsalted butter
- 1 medium yellow onion, finely chopped
- 8 ounces cremini mushrooms, sliced
- 2 cloves garlic, minced
- 1 1/2 cups half-and-half or whole milk
- 3 tablespoons all-purpose flour
- 1 teaspoon kosher salt
- 1/2 teaspoon freshly ground black pepper
- 1 cup grated Gruyère cheese
- 1 1/2 cups crispy fried onions (store-bought or homemade)
Instructions
-
1Preheat the oven to 375°F (190°C). Bring a large pot of salted water to a boil and blanch the green beans for 3-4 minutes. Drain and set aside.
-
2In a large skillet, melt the butter over medium heat. Add the chopped onion and cook for about 3 minutes until softened. Add the mushrooms and cook until they release their moisture and are lightly browned, about 6 minutes.
-
3Stir in the garlic and cook for 1 minute. Sprinkle the flour over the vegetables and cook, stirring constantly, for 2 minutes.
-
4Gradually whisk in the half-and-half and bring to a simmer. Cook, stirring frequently, until the sauce thickens, about 4-5 minutes. Season with salt and pepper.
-
5Add the blanched green beans and Gruyère cheese to the skillet and stir to coat evenly. Transfer the mixture to a 2-quart baking dish.
-
6Top with crispy fried onions and bake for 25 minutes until bubbly and golden. Let stand for 5 minutes before serving.
Approximate Information for One Serving
Nutrition Disclaimers
Number of total servings shown is approximate. Actual number of servings will depend on your preferred portion sizes.
Nutritional values shown are general guidelines and reflect information for 1 serving using the ingredients listed, not including any optional ingredients. Actual macros may vary slightly depending on specific brands and types of ingredients used.
To determine the weight of one serving, prepare the recipe as instructed. Weigh the finished recipe, then divide the weight of the finished recipe (not including the weight of the container the food is in) by the desired number of servings. Result will be the weight of one serving.
Did you make this recipe?
Please consider Pinning it!!




