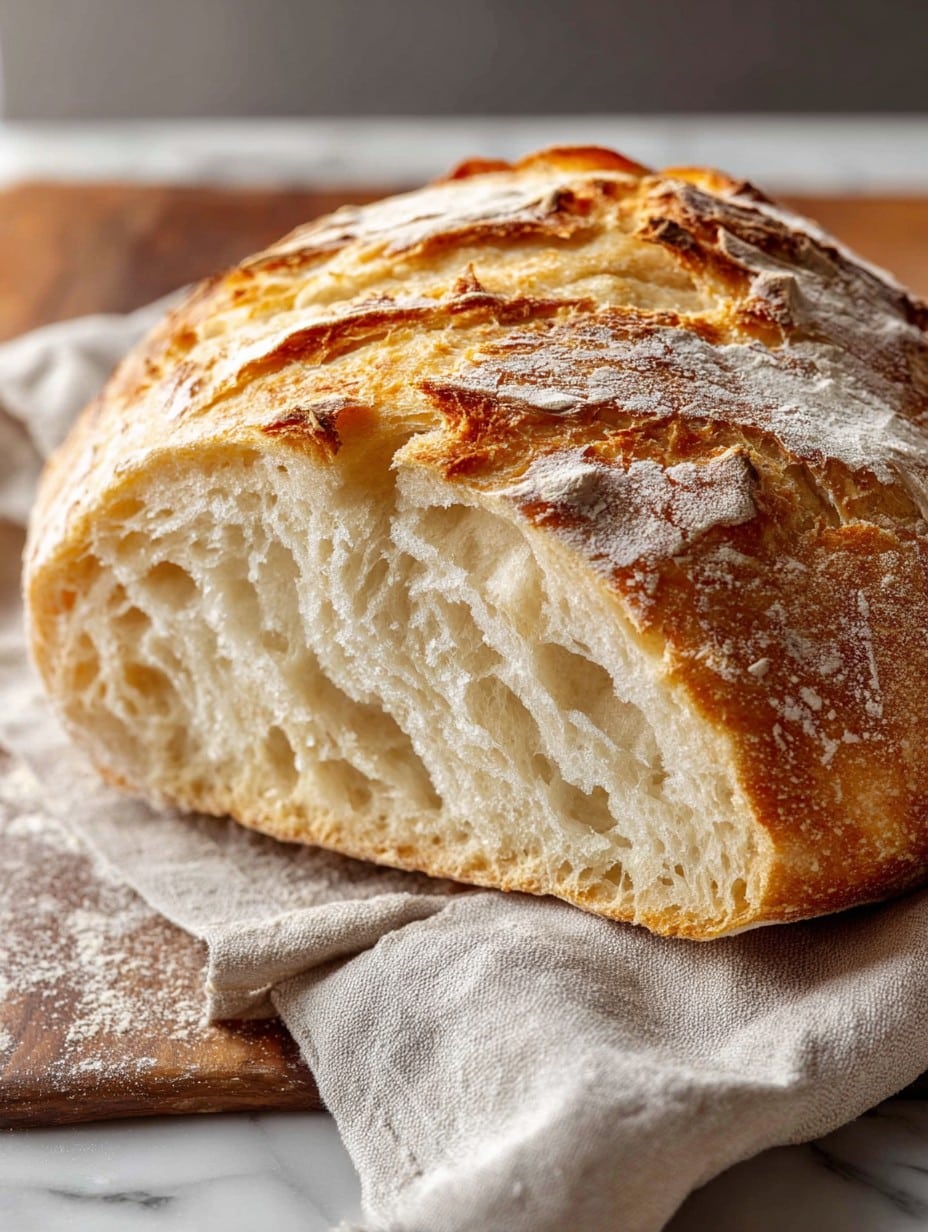
I’m not sure if there’s any feeling quite like pulling a homemade loaf of artisan bread out of my oven, even if my first attempt looked more like a mutant football than anything you’d want to serve with dinner. Seriously, who knew flour could take on that shape? But over time, and after making this easy crusty loaf about a hundred times (one time, my dog almost swiped the dough right off the counter—I wish I was joking), I finally nailed the method my family can’t stop asking for. Warning: the smell will coat your whole house in a way that practically shouts, “Yes, a real person with flour in their hair lives here!”
Why I Keep Coming Back to This Bread
I make this artisan bread any time I want to impress guests—or just myself after a long week. My family goes absolutely nuts for the crunchy crust (and you know what? So do I, no shame). Plus, you don’t need any weird specialty flour or fancy gadgets. Honestly, there’s something so satisfying about mixing a shaggy dough with a spoon (I use an old wooden one that’s almost more glue than wood at this point), and then, poof – a rustic beauty comes out of the oven. And if you’re short on time, you can let it rise overnight, or if you’re like me and forgot to plan ahead, just a few hours on the counter will do the trick.
What You’ll Need for This Crusty Loaf (Plus, a Few Backup Plans)
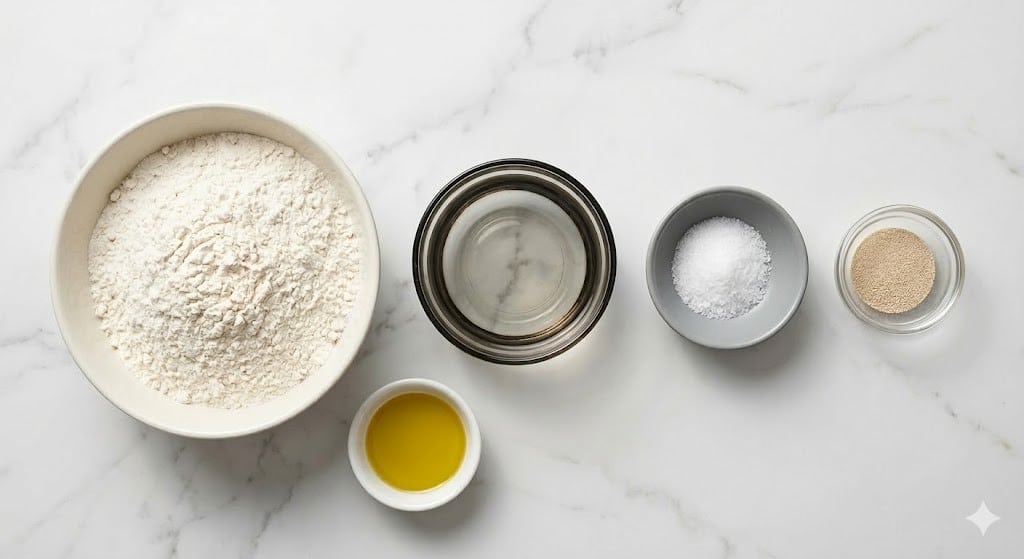
- 3 cups all-purpose flour (or bread flour, but all-purpose works fine—my neighbor swears by King Arthur, but honestly, generic turns out just as tasty)
- 1 1/2 cups warm water (I usually just go for “bathwater warm”—you know, the kind you stick your finger in and don’t wince)
- 2 teaspoons coarse salt (sea salt if you’re feeling fancy, regular table salt works in a pinch)
- 1/2 teaspoon instant yeast (also called rapid-rise yeast; I sometimes use active dry and just let it hang out a bit longer)
- Extra flour for dusting (this stuff will end up everywhere—embrace it)
How to Make Artisan Bread—Here’s My Real-Life Method
- In a large mixing bowl, dump in the flour, salt, and yeast. Give them a quick mix—honestly, you don’t need to sift anything. I just use my fingers sometimes for fun.
- Pour in the warm water and stir with a sturdy spoon or even your hand, until a messy, sticky dough forms—don’t overthink it. It’ll look weird and muckier than you’d expect. That’s normal.
- Cover the bowl with plastic wrap or a clean tea towel. Let it sit somewhere not too drafty for 3 to 8 hours. (Overnight is fine, too.) You want it puffy with bubbles, and yes, it smells a bit funky—that’s just the yeast showing off.
- Generously flour your work surface and plop the dough out onto it. Sprinkle extra flour on top, then gently shape it into a ball-ish shape. No need for perfection. Actually, I find it works better if you just sort of herd it rather than knead. Too much manhandling and it pouts.
- Line a bowl with parchment paper and put the dough ball inside or, honestly, just keep it on the counter with a tea towel if you’re short bowls (guilty). Let it rest another 30-60 minutes, which is exactly when I start preheating the oven to 450°F (230°C). If you have a Dutch oven, pop it in the oven now to heat up. (I’ve used a heavy pot with a lid when my Dutch oven was holding soup hostage. It worked! Kind of.)
- Once the oven (and pot if you’re using one) is hot, carefully lower the dough (still on parchment) into the pot. If it droops, just tuck it back. Pop the lid on and bake for 30 minutes, then remove the lid and go for another 10-15 minutes to get that glorious, ridiculous crust.
- Remove the bread (sometimes with slightly burnt fingertips; wear mitts, trust me) and let it cool on a rack for at least 30 minutes, which is absolutely the hardest part. Try not to slice in too soon—though, I do, all the time.
Notes from My Kitchen
- The dough always looks a bit rough—don’t sweat it.
- I once left it out for 24 hours and it was even tangier—happy accident, but wouldn’t do it every time.
- If the crust gets a bit too thick, just slice thinner. Or use it for soup bowls (found this out by mistake!).
Bread Experiments (And That One That Flopped)
- Add a handful of shredded cheddar and some black pepper before the first rise—wow, so good.
- Sneak in a handful of seeds or nuts for texture. I love sunflower seeds and sometimes, chia.
- I tried mashing in half a roasted sweet potato once. Oddly dense, but edible with a lot of butter. Wouldn’t recommend unless you like your bread extra doughy.

The Tools I Use (and the Ones I Don’t)
A Dutch oven is top choice for that super crispy crust, but I’ve used a regular heavy pot with a lid in a pinch. I even tried a really old loaf pan covered with foil—worked, but not so pretty. So don’t stress too much about the tools.
How I Store This Bread (Or, It Never Lasts That Long)
Supposedly, you can store this bread in a paper bag at room temp for up to 2 days. (Plastic bag if you want it softer, though it gets a bit chewy.) But, honestly, in my house it usually disappears by the next morning. In winter, I slice and freeze half the loaf—if it somehow survives untouched.
Serving Ideas – What We Eat It With
I love this bread with salted butter and a dollop of really good jam. My partner always dunks a fat slice into homemade soup, even if it’s just out of a can (hey, no judgment). Oh, and sometimes we just tear off chunks and, for no good reason, eat it standing at the counter.
Pro Tips (Learned the Long Way)
- I once tried skipping the “let it cool” part—ended up with a gummy loaf. Just wait, trust me (or don’t, but don’t blame me).
- Don’t use cold water, and don’t overwork the dough. I got in my head about it years ago and ended up with bread as dense as my old textbooks.
- Also, flour gets absolutely everywhere. Think of it as part of your kitchen’s charm.
Some Frequently Asked Questions (From Real Folks, Honest)
- Can I use regular yeast instead of instant? Yep! Just let the dough rise a little longer. Goes for active dry. I’ve done it both ways—same result, just more waiting.
- What if I don’t have a Dutch oven? Like I said earlier, any heavy lidded pot works. Even foil over a loaf pan in a pinch, though it might not win any beauty contests. No Dutch oven? No stress—give it a go anyway.
- Why did my bread seem flat? Maybe the yeast was a bit tired (check the date), or your water was too hot/cold. Or maybe you just caught it on a bad day. Happens to the best of us.
- Is this recipe freezer-friendly? Oh, absolutely. Slice it up, freeze it in a Ziploc, and toast straight from frozen. But honestly, good luck having any left to freeze.
- Can I double the recipe? Yes, but only if you’ve got a big enough pot or two. I tried once with a small pot… Let’s just say it overflowed in a spectacular (and doughy) fashion.
And if you’re still reading, I’ll just say—nothing beats the satisfaction of a homemade loaf. Even if you step away for a cup of tea and come back to see the dog staring at your flour-covered counter. Such is life. Happy baking!
Ingredients
- 3 cups all-purpose flour (or bread flour, but all-purpose works fine—my neighbor swears by King Arthur, but honestly, generic turns out just as tasty)
- 1 1/2 cups warm water (I usually just go for “bathwater warm”—you know, the kind you stick your finger in and don’t wince)
- 2 teaspoons coarse salt (sea salt if you’re feeling fancy, regular table salt works in a pinch)
- 1/2 teaspoon instant yeast (also called rapid-rise yeast; I sometimes use active dry and just let it hang out a bit longer)
- Extra flour for dusting (this stuff will end up everywhere—embrace it)
Instructions
-
1In a large mixing bowl, dump in the flour, salt, and yeast. Give them a quick mix—honestly, you don’t need to sift anything. I just use my fingers sometimes for fun.
-
2Pour in the warm water and stir with a sturdy spoon or even your hand, until a messy, sticky dough forms—don’t overthink it. It’ll look weird and muckier than you’d expect. That’s normal.
-
3Cover the bowl with plastic wrap or a clean tea towel. Let it sit somewhere not too drafty for 3 to 8 hours. (Overnight is fine, too.) You want it puffy with bubbles, and yes, it smells a bit funky—that’s just the yeast showing off.
-
4Generously flour your work surface and plop the dough out onto it. Sprinkle extra flour on top, then gently shape it into a ball-ish shape. No need for perfection. Actually, I find it works better if you just sort of herd it rather than knead. Too much manhandling and it pouts.
-
5Line a bowl with parchment paper and put the dough ball inside or, honestly, just keep it on the counter with a tea towel if you’re short bowls (guilty). Let it rest another 30-60 minutes, which is exactly when I start preheating the oven to 450°F (230°C). If you have a Dutch oven, pop it in the oven now to heat up. (I’ve used a heavy pot with a lid when my Dutch oven was holding soup hostage. It worked! Kind of.)
-
6Once the oven (and pot if you’re using one) is hot, carefully lower the dough (still on parchment) into the pot. If it droops, just tuck it back. Pop the lid on and bake for 30 minutes, then remove the lid and go for another 10-15 minutes to get that glorious, ridiculous crust.
-
7Remove the bread (sometimes with slightly burnt fingertips; wear mitts, trust me) and let it cool on a rack for at least 30 minutes, which is absolutely the hardest part. Try not to slice in too soon—though, I do, all the time.
Approximate Information for One Serving
Nutrition Disclaimers
Number of total servings shown is approximate. Actual number of servings will depend on your preferred portion sizes.
Nutritional values shown are general guidelines and reflect information for 1 serving using the ingredients listed, not including any optional ingredients. Actual macros may vary slightly depending on specific brands and types of ingredients used.
To determine the weight of one serving, prepare the recipe as instructed. Weigh the finished recipe, then divide the weight of the finished recipe (not including the weight of the container the food is in) by the desired number of servings. Result will be the weight of one serving.
Did you make this recipe?
Please consider Pinning it!




