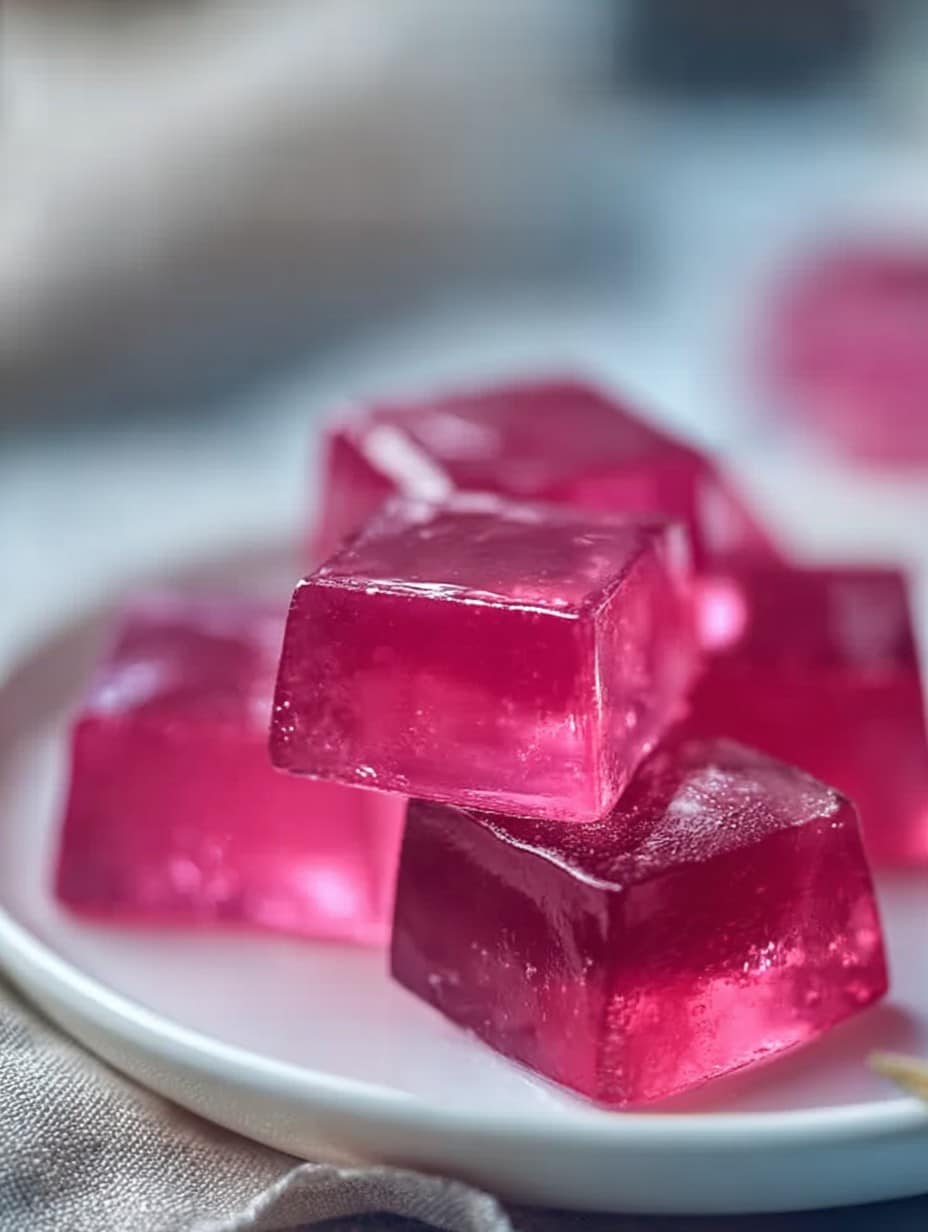
Have you ever craved something that tastes like childhood and is just wobbly enough that eating it feels a bit silly? Dr Oz Pink Gelatin pretty much fits that bill. The first time I made it, my cousin Martha tried to balance a chunk on the spoon and it promptly did a backflip into her lap, which sent us into giggles for a solid five minutes. If you ask me, food that inspires laughter is absolutely worth making. My mum claims it’s only for kids’ parties, but honestly, it brightens up any table – even if it’s just a Wednesday night when you’ve run out of clever meal ideas.
Why you’ll actually love making this (trust me)
I make this whenever I need a pop of fun color. My family goes a bit bananas for it, especially my youngest who acts like it’s Christmas every time the fridge door opens. There’s zero shame in loving wobbly food! If you’ve ever struggled with store-bought gelatin leaving that funky aftertaste (yeah, me too), this homemade version is way fresher. Plus, you can mess with the fruits, though beware: not all fruits play nice with gelatin (looking at you, pineapple). Oh, and if it doesn’t set perfectly? It tastes just as good in a bowl. Or, I once poured the entire batch into a mug and just ate it with a spoon when it didn’t set right. No regrets.
My ingredients list – with swaps and lazy-day cheats
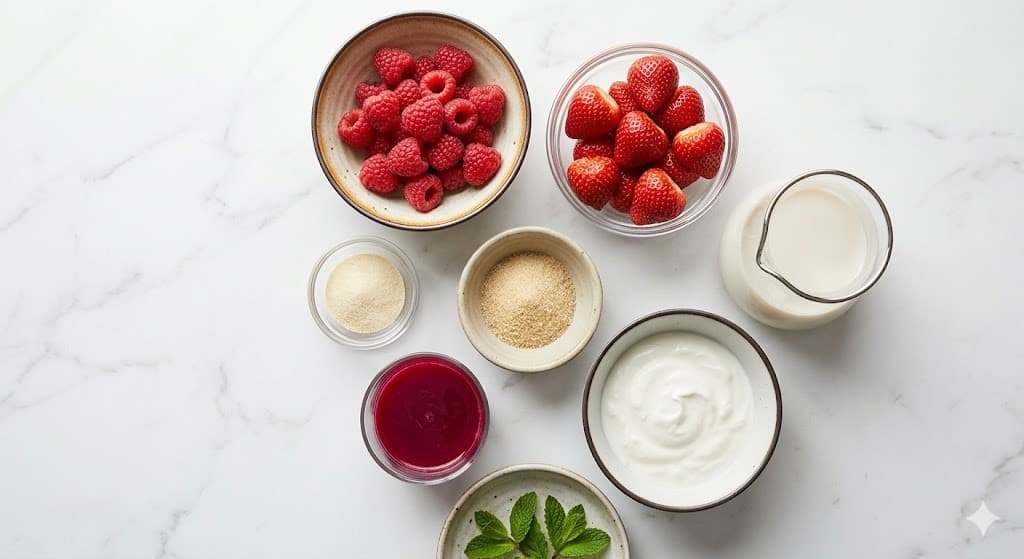
- 1 package (3 oz) strawberry-flavored gelatin (I use Jell-O but any brand really works fine; my grandma swears by the stuff from Aldi)
- 1 cup boiling water (mug-full, roughly – just make sure it’s good and hot)
- 1/2 cup cold water (sometimes I use fridge water, sometimes just toss an ice cube or two in if impatient)
- 1/2 cup vanilla yogurt (Greek, regular, or even raspberry yogurt if you’re feeling wild)
- 1/2 cup canned crushed pineapple, drained (when I’m in a pinch, I’ve skipped this. Don’t tell Dr Oz?)
- 1/2 cup chopped strawberries, fresh or thawed frozen (if you’re out, honestly just double up on the pineapple, nobody will riot)
How I actually make Dr Oz Pink Gelatin (sometimes with half the kitchen dirty)
- Dissolve the strawberry gelatin in the boiling water. Stir it like you’re stirring a magic potion – no dry bits left behind. (This is where I usually get distracted and start cleaning the counter. Don’t leave it sitting; keep going!)
- Stir in the cold water. If you’re using ice cubes rather than cold water, just make sure they melt before you move on – learned that the hard way once, ended up gnawing a chunk of ice with my dessert.
- Whisk in the yogurt until the mixture turns that pretty opaque-pink shade. It might look wonky or lumpy at first but give it a good beating and it smooths out. Don’t panic! Actually, a fork works just fine if you’ve misplaced your whisk (happens to me a lot).
- Fold in the crushed pineapple and chopped strawberries. Or dump them in and swirl them around with enthusiasm, because life’s too short for dainty folding some days.
- Pour the whole mix into a medium bowl, or a 4-cup mold if you’re feeling fancy. Cover and pop it in the fridge. Let it set at least 4 hours; overnight is better, but who’s got that kind of patience?
- When set, run a butter knife or a bit of warm water around the edge if you’re unmolding (I usually just scoop it). Scoop into bowls, plop on a plate, or just dig in straight from the vessel. No judgment.
Notes I learned the (occasionally sticky) hard way
- If you rush the setting time, you’ll end up with wobbly soup. Still delicious, but… not quite right!
- Some yogurts make it more tart – I actually like Greek best because it’s creamy but not too sweet.
- Pineapple must be canned and well-drained. Fresh pineapple is, for reasons I forget, a disaster with gelatin.
- I once forgot the strawberries and nobody even noticed.
Variations (yes, I’ve tried these and one was weird)
- Use raspberry gelatin and blueberries for a purple twist. Taste is great, but color sometimes comes out a shade worthy of a sci-fi movie…
- Skip the pineapple and use mandarin orange segments. I liked it, my daughter did not.
- Once tried adding a splash of coconut milk. Don’t. It gets weirdly curdled!
- You can make individual servings in mason jars, which looks cute if you’re hosting brunch. Or if you just want to avoid fights over who got the biggest scoop.
Equipment – and what to do if you’re missing stuff
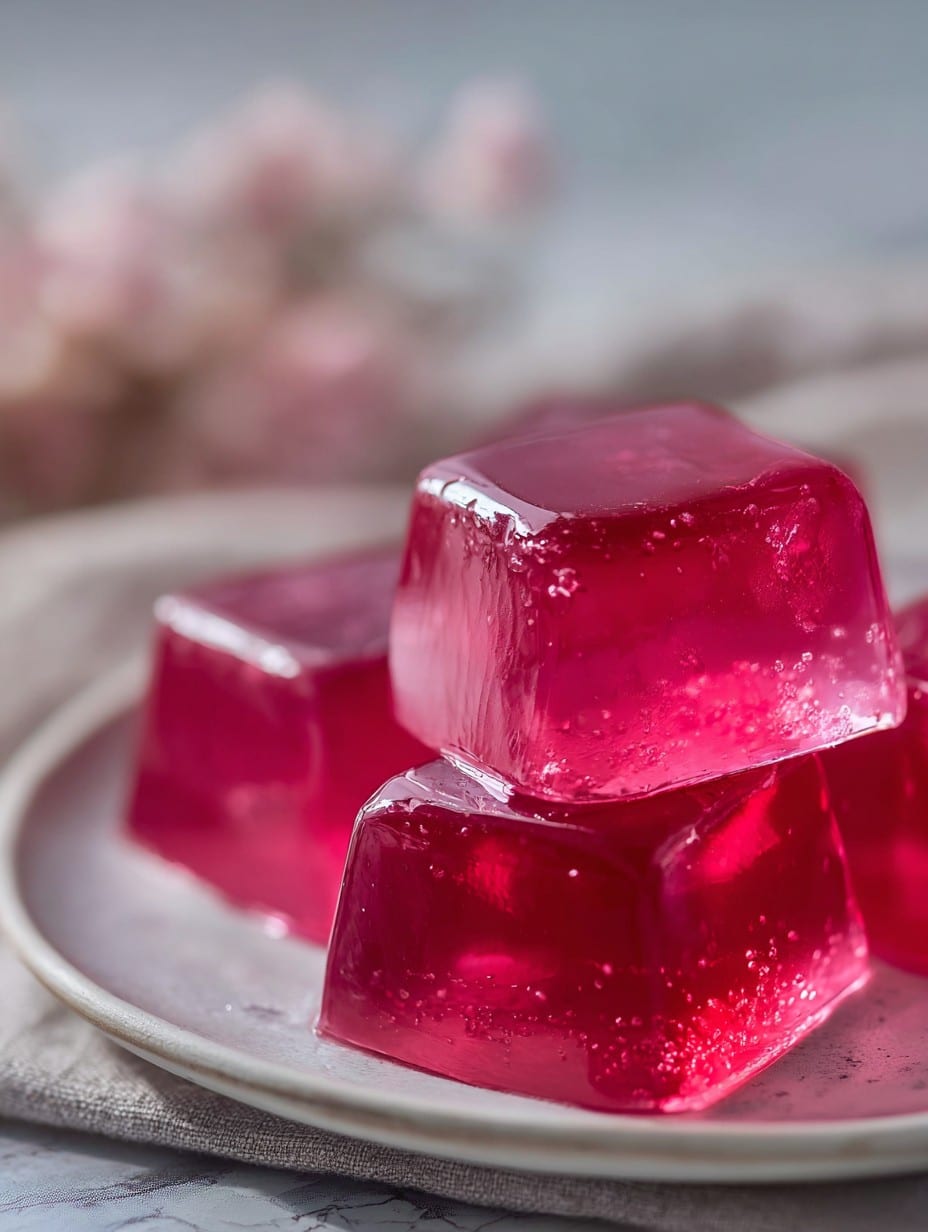
You’ll want a medium mixing bowl, a whisk (or big fork in a pinch), and either a mold or any bowl with a bit of flair. No proper mold? Honestly, Tupperware works just as well. I even grabbed a big teacup once. Use what you’ve got and don’t let the fancy folk judge.
Storing it (not that it lasts very long at my place)
Technically, this keeps well for 3 days in the fridge, just covered to avoid any funky fridge odors. Honestly, in our house, if it’s not gone by the next morning, someone’s probably gotten sick of it – never see leftovers much past day two!
How I love to serve it up (brace yourself for nostalgia)
My favorite is scooping it into those old mismatched ice cream dishes my aunt handed down. I’m not above squirting a bit of whipped cream on top either. Sometimes we plop a maraschino cherry just for kicks (and color – kids dig it, adults act like they don’t).
Pro tips (lessons learned the bumpy way)
- Never rush the chill. I once tried freezing it to speed things up – came out grainy and just wrong, lesson learned.
- Stir the gelatin thoroughly before adding anything else. If not, little rubbery blobs sneak in. Pretty sure that’s not what Dr Oz meant by “surprise texture.”
FAQ – you’ve actually asked me these!
- Do I have to use strawberry gelatin? Nope! Try any flavor. I like cherry sometimes; it’s not as pink, but it works. Grape? Not gonna lie, that one’s for the bold.
- Can I make this dairy-free? Sure! Use coconut or almond-based yogurt. Actually, the coconut one is decent (but don’t add actual coconut milk to the gelatin, see above about curdles!)
- What if my gelatin never sets? Don’t sweat it. Spoon it into bowls and call it a parfait. Tastes the same – just less jiggly.
- Any shortcuts? I’ve mixed the cold water and yogurt together by mistake once – turns out, doesn’t matter much at all. Just don’t skip dissolving the gelatin in hot water, though.
- Will kids eat it? If my bunch are anything to go by – absolutely. But, fair warning, pink-stained shirts are basically guaranteed.
And, before I forget, if you manage to balance a spoonful on your nose, you’ve officially won at dessert tonight. Let me know how it goes – or just enjoy the nostalgic, jiggly, pink happiness!
Ingredients
- 1 package (3 oz) strawberry-flavored gelatin (I use Jell-O but any brand really works fine; my grandma swears by the stuff from Aldi)
- 1 cup boiling water (mug-full, roughly – just make sure it’s good and hot)
- 1/2 cup cold water (sometimes I use fridge water, sometimes just toss an ice cube or two in if impatient)
- 1/2 cup vanilla yogurt (Greek, regular, or even raspberry yogurt if you’re feeling wild)
- 1/2 cup canned crushed pineapple, drained (when I’m in a pinch, I’ve skipped this. Don’t tell Dr Oz?)
- 1/2 cup chopped strawberries, fresh or thawed frozen (if you’re out, honestly just double up on the pineapple, nobody will riot)
Instructions
-
1Dissolve the strawberry gelatin in the boiling water. Stir it like you’re stirring a magic potion – no dry bits left behind. (This is where I usually get distracted and start cleaning the counter. Don’t leave it sitting; keep going!)
-
2Stir in the cold water. If you’re using ice cubes rather than cold water, just make sure they melt before you move on – learned that the hard way once, ended up gnawing a chunk of ice with my dessert.
-
3Whisk in the yogurt until the mixture turns that pretty opaque-pink shade. It might look wonky or lumpy at first but give it a good beating and it smooths out. Don’t panic! Actually, a fork works just fine if you’ve misplaced your whisk (happens to me a lot).
-
4Fold in the crushed pineapple and chopped strawberries. Or dump them in and swirl them around with enthusiasm, because life’s too short for dainty folding some days.
-
5Pour the whole mix into a medium bowl, or a 4-cup mold if you’re feeling fancy. Cover and pop it in the fridge. Let it set at least 4 hours; overnight is better, but who’s got that kind of patience?
-
6When set, run a butter knife or a bit of warm water around the edge if you’re unmolding (I usually just scoop it). Scoop into bowls, plop on a plate, or just dig in straight from the vessel. No judgment.
Approximate Information for One Serving
Nutrition Disclaimers
Number of total servings shown is approximate. Actual number of servings will depend on your preferred portion sizes.
Nutritional values shown are general guidelines and reflect information for 1 serving using the ingredients listed, not including any optional ingredients. Actual macros may vary slightly depending on specific brands and types of ingredients used.
To determine the weight of one serving, prepare the recipe as instructed. Weigh the finished recipe, then divide the weight of the finished recipe (not including the weight of the container the food is in) by the desired number of servings. Result will be the weight of one serving.
Did you make this recipe?
Please consider Pinning it!




