Balsamic Chicken and Why It Tastes Like a Hug
The first time I made balsamic chicken was—no joke—because I’d forgotten to defrost anything else and had exactly three ingredients left in the fridge (plus the balsamic, which I always buy on sale just in case). I think I was supposed to bring dessert to book club that night, but instead, everyone just ended up eating chicken and, trust me, no one complained. Honestly, there’s something magical about this combo. It’s zippy, a little sweet, ridiculously easy to whip together and, if you’re like me and forget to marinate until the last second, pretty forgiving. Also, one time I dropped a forkful on the dog and even she loved it—so, rave reviews all around.

Why You’ll Love This Dish (Swear, I’m Not Overselling)
I drag out this balsamic chicken routine whenever I need something unfussy that feels like a fancy little celebration. My family seems to think I’ve gone all-out when I make this (ha!). I love it because the clean-up doesn’t make me curse, and if I serve it with rice, I get next-day lunches, too. And if you’ve ever scorched balsamic so the kitchen reeks for an hour, don’t sweat it: low and slow is your new best friend. I sometimes make this ahead thinking it’ll last for a couple days, but, ah, who am I kidding? It’s usually gone by breakfast.
Ingredients: Substitutions, Shortcuts, and Outright Cheats
- 4 boneless, skinless chicken breasts (thighs work if you like things juicier—my cousin only uses thighs because “life’s too short for dry chicken”)
- 1/4 cup balsamic vinegar (grab the fancy stuff if you want, but the regular grocery store kind is just fine—my grandmother would probably be appalled, but, well, she’s not here cooking tonight)
- 2 tablespoons olive oil (sometimes I cheat and use canola if I’m out—don’t judge me)
- 3 cloves garlic, minced (confession, I use the pre-minced jar some nights. Sometimes… I just can’t be bothered)
- 2 teaspoons honey (or brown sugar; maple syrup also works surprisingly well, though it does make it a bit “breakfast-y”)
- 1 teaspoon dried Italian seasoning (or just toss in a little oregano and basil if that’s what’s rattling around in your cupboard—one time I used herbes de Provence and didn’t hate it)
- Salt & pepper (to taste, obviously—I go heavy on the peppery side for more kick)
- Chopped fresh parsley (optional, but it makes you look like you know what you’re doing)
Let’s Actually Make This Chicken—Here’s How
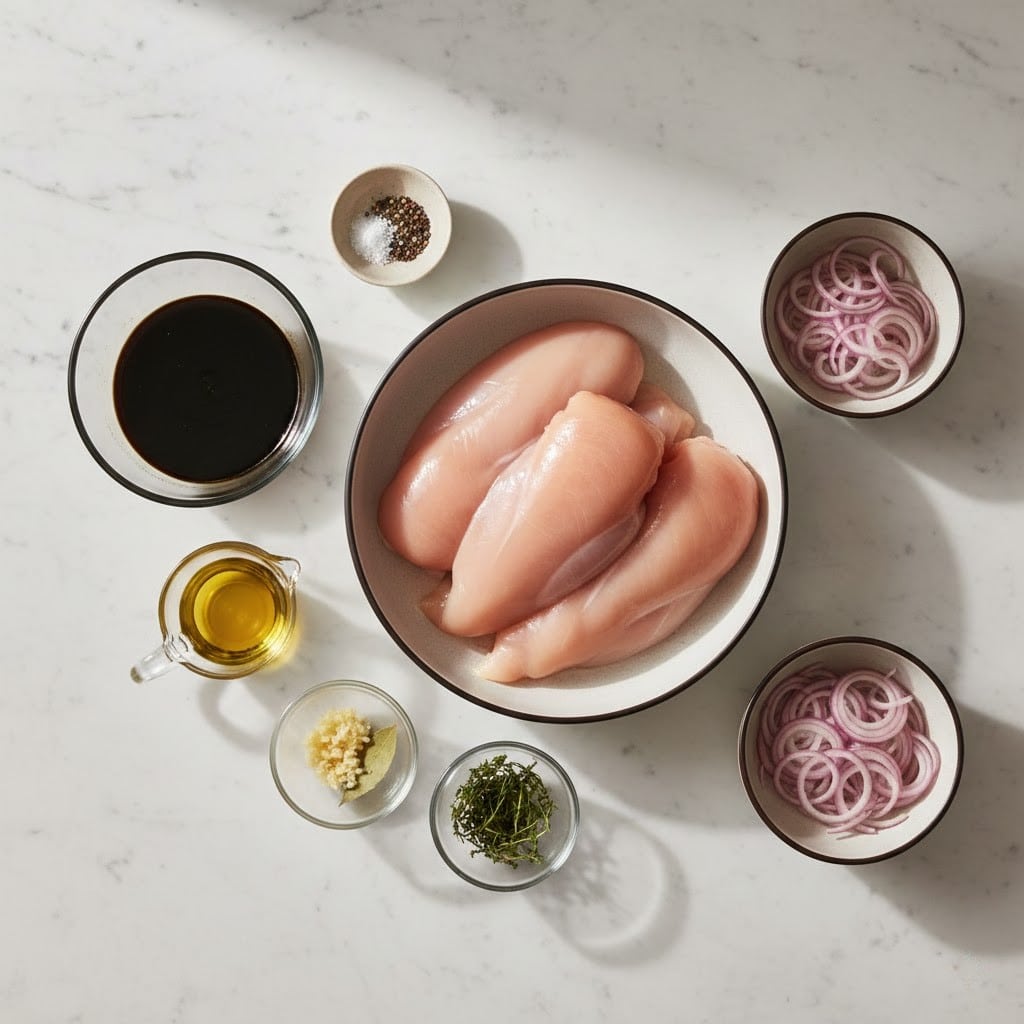
- Mix your sauce: In a bowl or honestly right in a zip-top bag (less to clean!), combine balsamic, oil, garlic, honey, Italian seasoning, and a generous pinch of salt and pepper. Swirl it around; if you use a bag, just squish everything together.
- Marinate the chicken: Toss the chicken in. If you remember in advance, let it sit for 30 minutes or a day in the fridge. If you forgot, honestly 10 minutes is still totally fine (I’ve done five, nobody ever noticed).
- Sear time: Medium-high heat, splash of oil in a big skillet (cast iron if you’re showing off, but any pan’s cool). Brown chicken for 3-4 minutes per side. The sauce gets a bit dark—don’t panic! That’s flavor, not failure.
- Add the marinade: Pour the rest of the marinade over. Lower the heat, let it bubble away for another 8-10 minutes, flipping once. Sometimes the sauce gets thick, sometimes not—still tastes brill. This is where I sneak a little taste and usually forget it’s hot and burn my tongue.
- Rest and serve: Move chicken to a plate, spoon some of that tangy syrup over top, sprinkle with parsley if you can be bothered. Done. Smells amazing, right?
Some Notes for Your Sanity
- If you’re out of honey, brown sugar works, but don’t go overboard or it gets weirdly like candy chicken—happened once, never again.
- If the sauce gets too thick (like, almost sticky), just splash in a bit of water or broth.
- You can bake this in the oven at 400°F (200°C) for 20-25 minutes if you don’t want the stovetop drama.
- I think leftovers taste richer the next day—but again, rarely happens here.
Variations: What Actually Works (and What Doesn’t…)
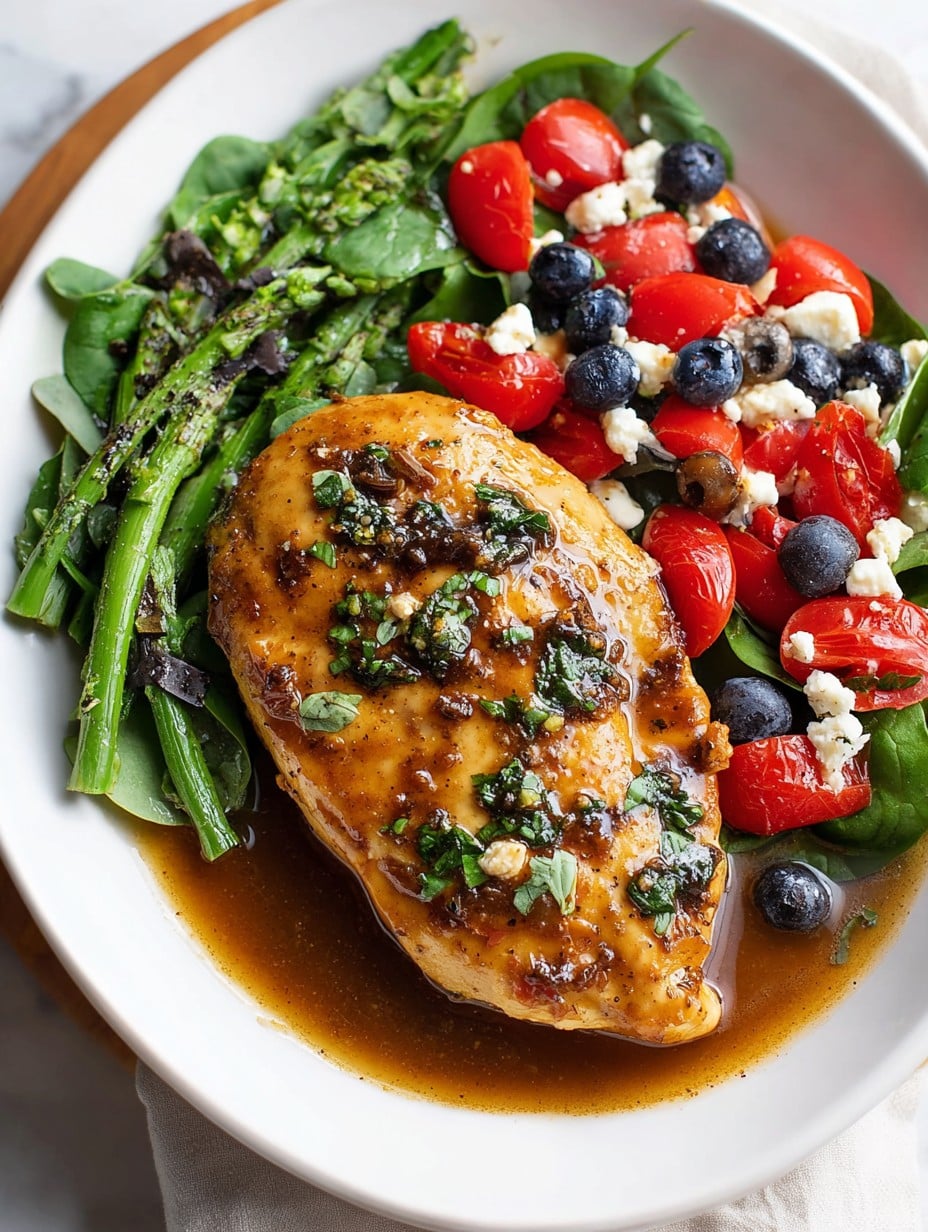
- With cherry tomatoes: Toss in a handful for some juice and color. Yeah, it’s not classic, but it’s tasty.
- Go Mediterranean: Add olives and feta. I tried this after too much red wine once and—it turned out great!
- Don’t try with pineapple: Thought it would be a “tropical chicken” moment. Nope. Just, no.
Equipment Chat: No Fancy Stuff Required (Mostly)
- Large skillet or frying pan: Nonstick or cast iron. If you only have a small pan, work in batches—just takes longer, but saves the mess (and, maybe, your sanity).
- Tongs or a spatula: Forks work, but you might chase your dinner across the pan; been there, not fun.
- Bowl or bag for marinade: Actually, I now just use the pan as a mixing bowl, less washing up.
How to Store (If You Have Leftovers… Good Luck)
Store in a tight container in the fridge for up to 3 days. I’ve read it can freeze, but actually I find it gets a bit weird with the sauce. It barely ever lasts past lunch at my place anyway. If you plan for leftovers, double the batch, honestly.
What to Serve With—My Odd Little Traditions
- White rice, every time. My kids would riot if I served anything else.
- Steamed green beans or broccoli—mainly because it makes me feel like I tried.
- A fat chunk of bread to mop up sauce (my dad calls this “sauce soppin’”).
Pro Tips: Mistakes I’ve Actually Made
- Once, I tried to rush the marinating—threw everything in the pan straight away. It’s just not the same. Ten minutes does make a difference!
- Be generous with your seasoning—chicken can be shy on flavor otherwise.
- If your pan looks like a mess at the end, congratulations! That way, you know the sauce got all caramelized and yummy.
FAQ: Things Folks Have Actually Asked Me
- Can I make this with frozen chicken? Yeah, if you’re desperate, though I’d probably thaw it in the microwave a bit first. More flavor gets in that way.
- Can I skip the garlic? You could, I guess, but… why?
- Do I have to use that much vinegar? Actually, you can pull back a bit if you find it sharp—but I like the kick.
- Is this good cold? Surprisingly, yes! My husband swears by balsamic chicken sandwiches the next day.
- Why does my sauce burn? Ooh, been there. Lower your heat after searing and maybe splash a spoonful water in if it looks too thick.
- What if I don’t have Italian seasoning? Just use what you’ve got—oregano, basil, thyme, even a pinch rosemary if you’re feeling wild.
So, that’s my not-so-fancy, occasionally random, totally delicious take on balsamic chicken—may your pan never burn and your leftovers last just long enough for breakfast. Oh, and don’t forget to pour yourself a glass of whatever’s open; after all, you deserve it for making dinner that tastes this good. Cheers!
Ingredients
- 4 boneless, skinless chicken breasts
- 1/4 cup balsamic vinegar
- 2 tablespoons olive oil
- 2 tablespoons honey
- 3 garlic cloves, minced
- 1 teaspoon dried Italian herbs
- 1/2 teaspoon salt
- 1/4 teaspoon black pepper
Instructions
-
1In a bowl, whisk together balsamic vinegar, olive oil, honey, minced garlic, Italian herbs, salt, and black pepper.
-
2Place chicken breasts in a shallow dish and pour the marinade over them. Let marinate for at least 10 minutes.
-
3Preheat oven to 400°F (200°C). Heat a large oven-safe skillet over medium-high heat.
-
4Sear the chicken breasts for 2-3 minutes on each side until golden brown.
-
5Transfer the skillet to the preheated oven and bake for 15-20 minutes, until the chicken is cooked through.
-
6Remove from the oven and let the chicken rest for a few minutes before serving. Drizzle with extra pan juice if desired.
Approximate Information for One Serving
Nutrition Disclaimers
Number of total servings shown is approximate. Actual number of servings will depend on your preferred portion sizes.
Nutritional values shown are general guidelines and reflect information for 1 serving using the ingredients listed, not including any optional ingredients. Actual macros may vary slightly depending on specific brands and types of ingredients used.
To determine the weight of one serving, prepare the recipe as instructed. Weigh the finished recipe, then divide the weight of the finished recipe (not including the weight of the container the food is in) by the desired number of servings. Result will be the weight of one serving.
Did you make this recipe?
Please consider Pinning it!!




